How to Change Skin on Minecraft Java: A Step-by-Step Guide
Gaming enthusiasts around the world can agree that Minecraft Java is one of the most popular and addicting games of all time. With its endless possibilities and creative freedom, it’s no wonder players are constantly seeking ways to personalize their gaming experience. One way to do that is by changing your Minecraft Java skin. In this blog post, we’ll provide you with a step-by-step guide on how to change your skin and give your character a brand new look!
Key Takeaways:
- Changing your Minecraft Java skin allows you to customize the appearance of your character in the game.
- There are several methods you can use to change your skin, including using the official Minecraft website, third-party websites, or downloading and installing custom skin packs.
Method 1: Using the Official Minecraft Website
The official Minecraft website provides a convenient and secure way to change your skin. Here’s how you can do it:
- Visit the official Minecraft website by typing “Minecraft” in your web browser’s search bar.
- Click on the “Skins” tab on the top navigation bar of the website.
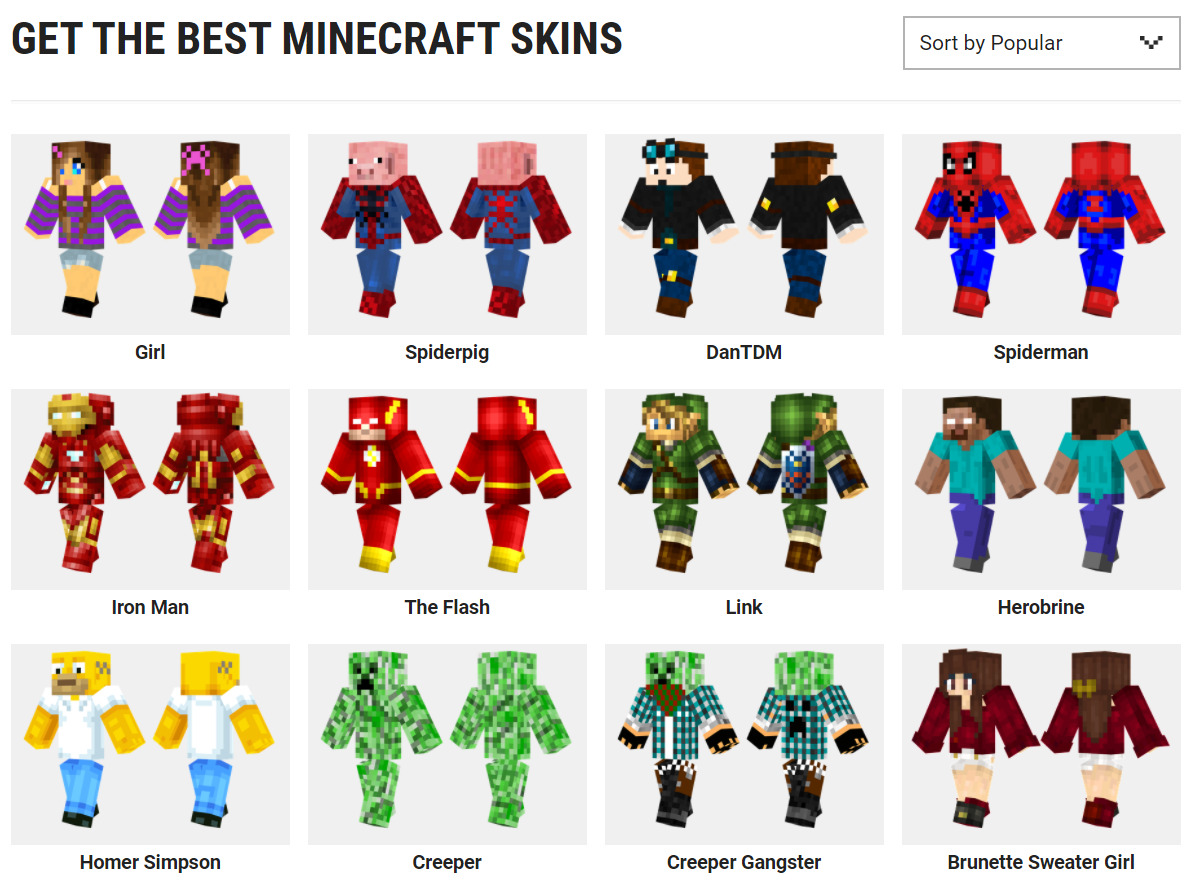
- Browse through the available skins or use the search function to find a specific one you like. There are both free and paid options available.
- Once you’ve found the perfect skin, click on it to view a larger preview. If you’re happy with your choice, click the “Download” button.
- After the skin has downloaded, open the Minecraft Java launcher on your computer.
- Click on the “Skins” tab in the launcher and select “Browse” or “Choose New Skin.”
- Locate the downloaded skin file on your computer and select it. The launcher will automatically apply the new skin to your character.
- Launch the game, and you’ll see your character sporting the brand new skin you’ve chosen!
Method 2: Using Third-Party Websites
If you prefer a wider range of skin options, you can also use trusted third-party websites to change your Minecraft Java skin. Follow these steps:
- Search for “Minecraft Java skins” or “Minecraft skins” on your favorite search engine.
- Select a reputable website that offers a vast collection of skins for Minecraft Java.
- Browse through the available skins until you find one that catches your eye.
- Click on the skin to download it to your computer. Ensure that you’re downloading a skin file compatible with Minecraft Java.
- Open the Minecraft Java launcher and follow the same steps mentioned in Method 1 to change your skin.
Method 3: Using Custom Skin Packs
If you’re feeling adventurous and want to explore even more skin options, you can try installing custom skin packs. Here’s how:
- Search for “Minecraft Java custom skin packs” or “Minecraft skin packs” on your favorite search engine.
- Look for trusted websites or forums that offer custom skin packs for Minecraft Java.
- Download the desired skin pack file to your computer.
- Open the Minecraft Java launcher and click on “Skins.”
- Select “Browse” or “Choose New Skin” and locate the downloaded custom skin pack file on your computer.
- Select the pack you wish to use, and the launcher will automatically apply the new skins to your character.
- Launch the game, and you’ll have an exciting assortment of new skins for your enjoyment!
Now that you know how to change your Minecraft Java skin using different methods, you can let your imagination run wild and express your personality through your character’s appearance. Whether you choose an official skin from Minecraft’s website or explore the vast options provided by third-party websites and custom skin packs, the possibilities are endless!
Remember, changing your Minecraft Java skin is all about personalization and creativity. So go ahead, experiment with different skins, and embark on a new gaming adventure!