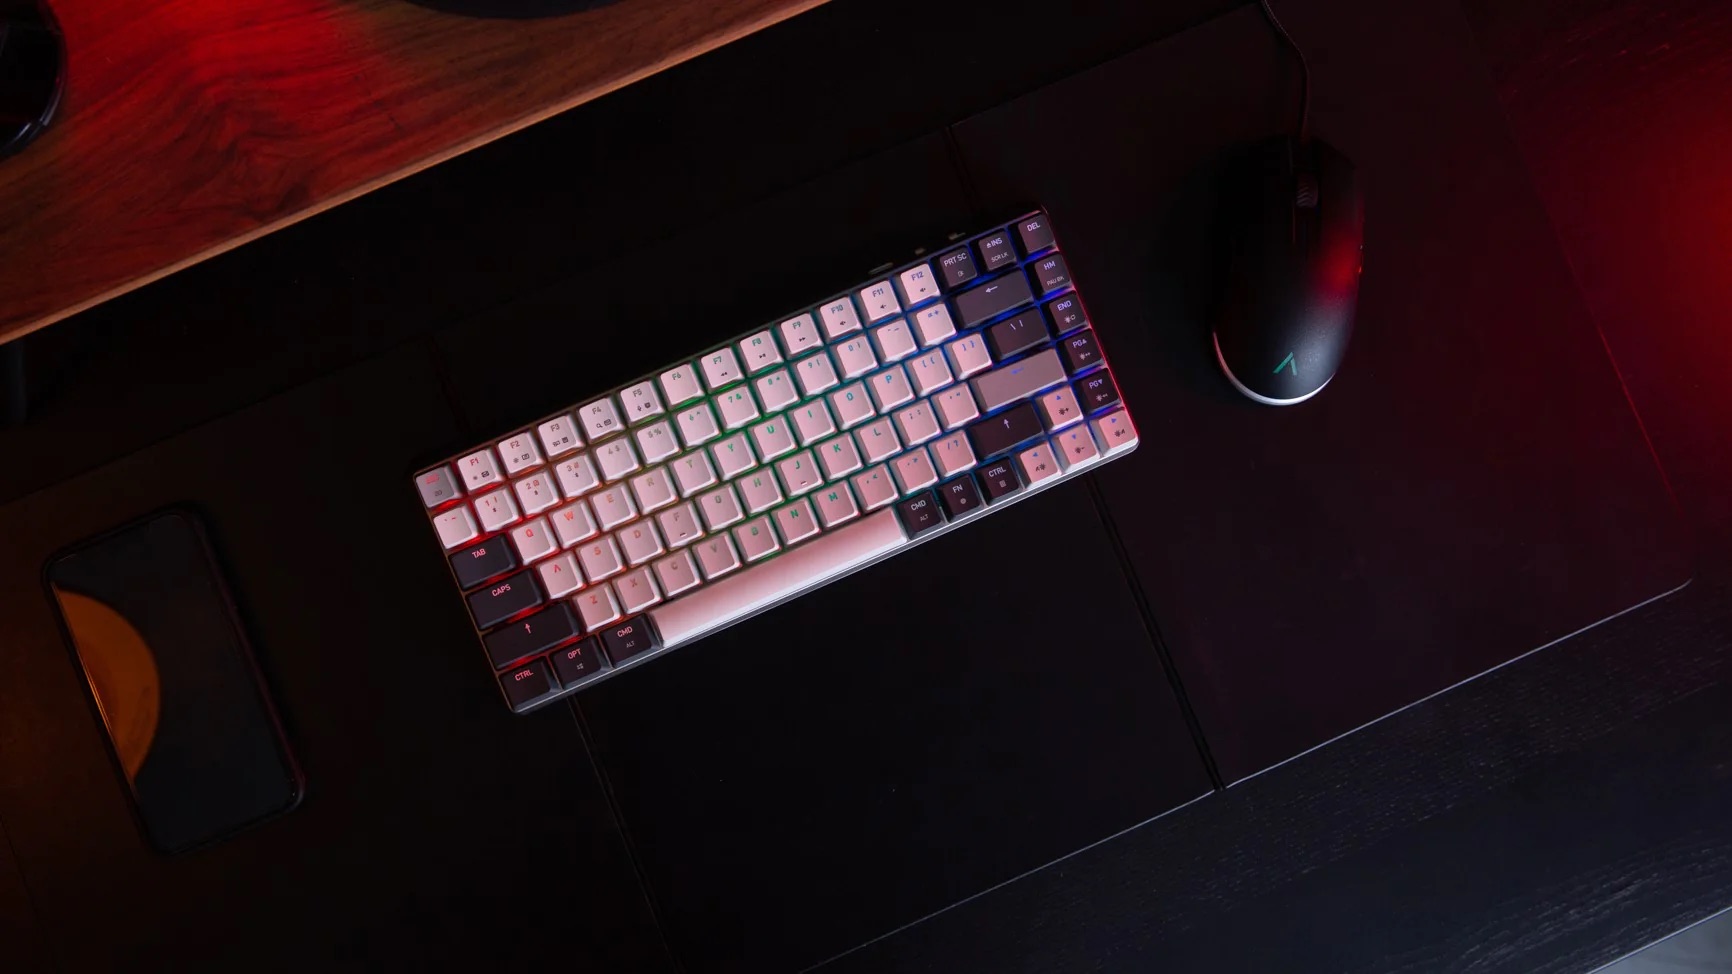
Introduction
Welcome to the world of gaming keyboards! Whether you're an avid gamer or a casual user, your keyboard is an essential tool that withstands countless hours of use. Over time, the keys can accumulate dust, crumbs, and other debris, affecting both the performance and aesthetics of your beloved gaming keyboard. However, fear not, as regular cleaning can restore your keyboard to its former glory and ensure optimal functionality for your gaming endeavors.
In this guide, we will walk you through the step-by-step process of cleaning your gaming keyboard. By following these simple yet effective techniques, you can maintain a pristine and responsive keyboard that enhances your gaming experience. From gathering the necessary supplies to reconnecting and testing your keyboard, each step is crucial in revitalizing your gaming keyboard's performance and appearance.
So, grab your cleaning supplies and let's dive into the world of keyboard maintenance. Whether you're a seasoned gamer or new to the gaming community, taking care of your keyboard is a fundamental aspect of ensuring a seamless and enjoyable gaming experience. Let's embark on this cleaning journey to restore your gaming keyboard to its former glory!
Step 1: Gather Your Supplies
Before embarking on the cleaning process, it’s essential to gather the necessary supplies to ensure a thorough and effective cleaning session for your gaming keyboard. Here’s what you’ll need:
- Compressed Air: This is a crucial tool for removing dust and debris from hard-to-reach areas, such as between the keys and inside the keyboard base.
- Microfiber Cloth: Use a soft, lint-free microfiber cloth to wipe down the keys and the surface of the keyboard. This will help remove smudges, fingerprints, and other surface stains.
- Isopropyl Alcohol: A solution of isopropyl alcohol and water can be used to clean the keys and disinfect the keyboard. It’s important to use a diluted solution to prevent damage to the keyboard’s surface.
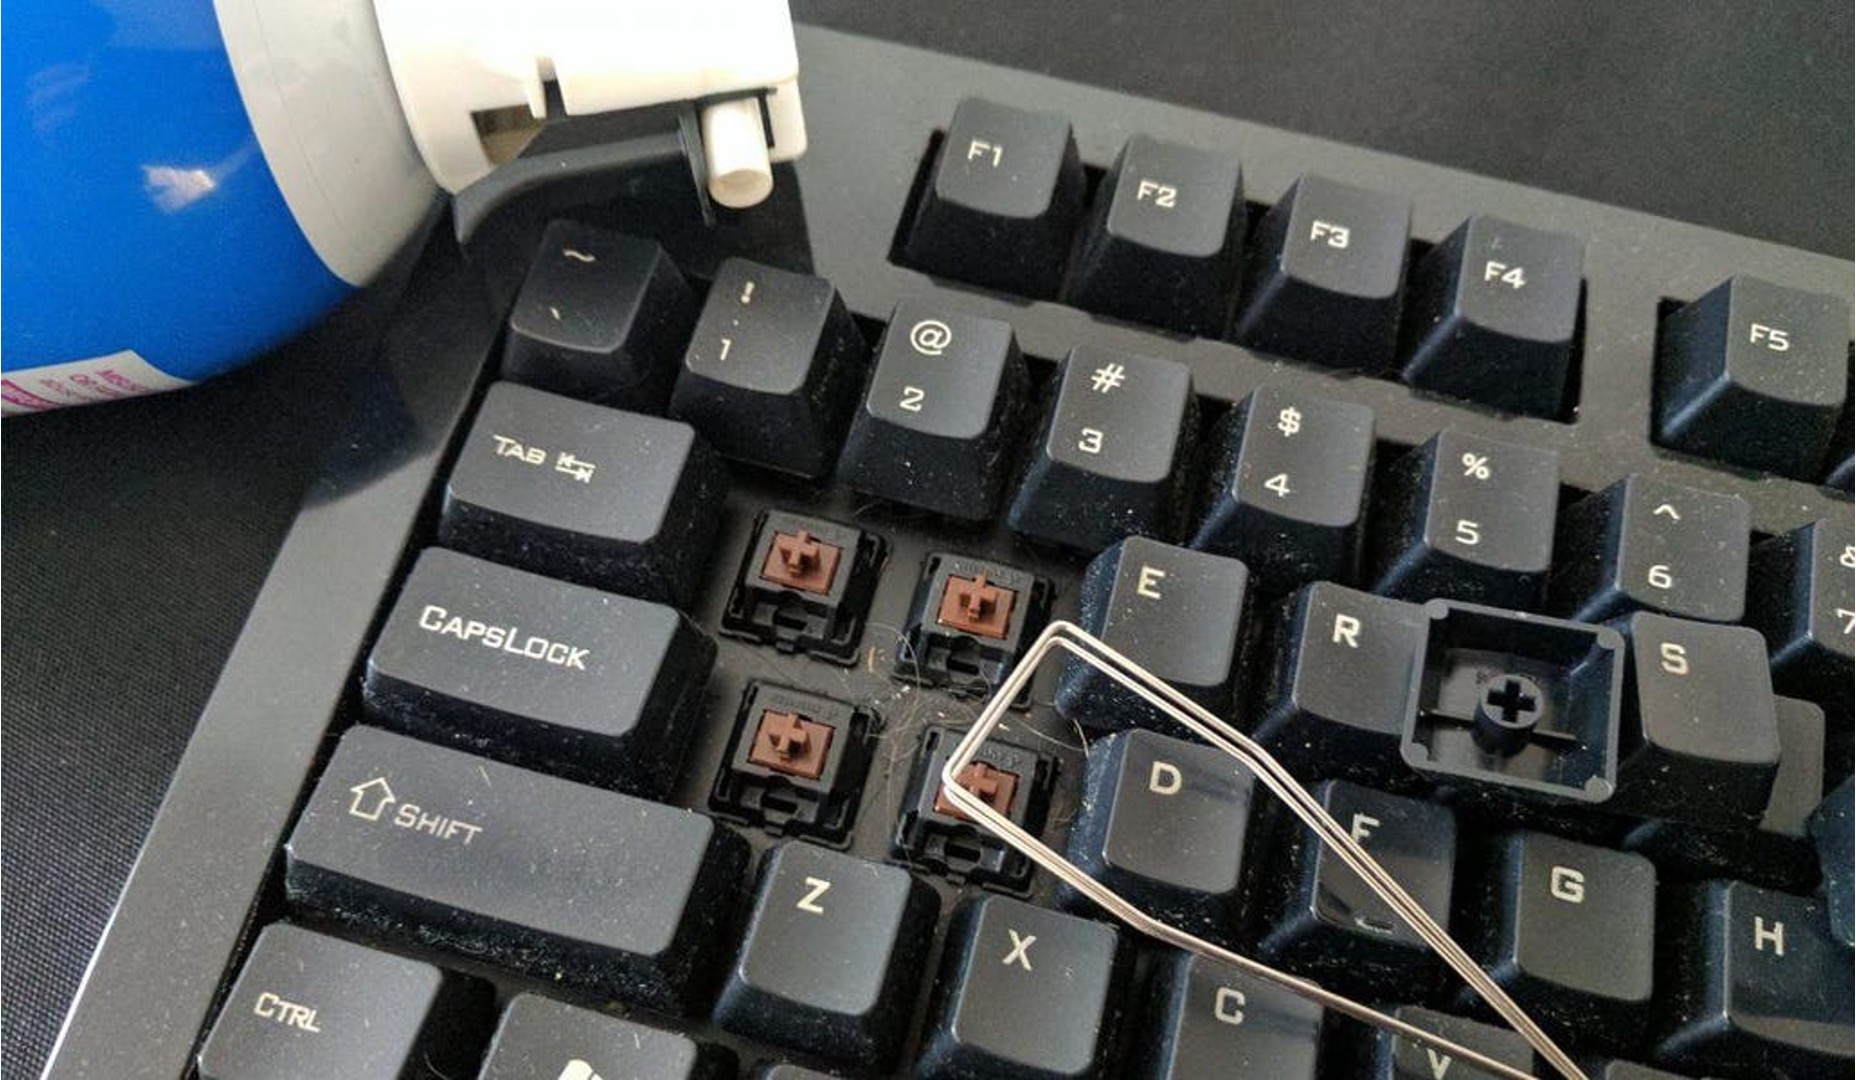
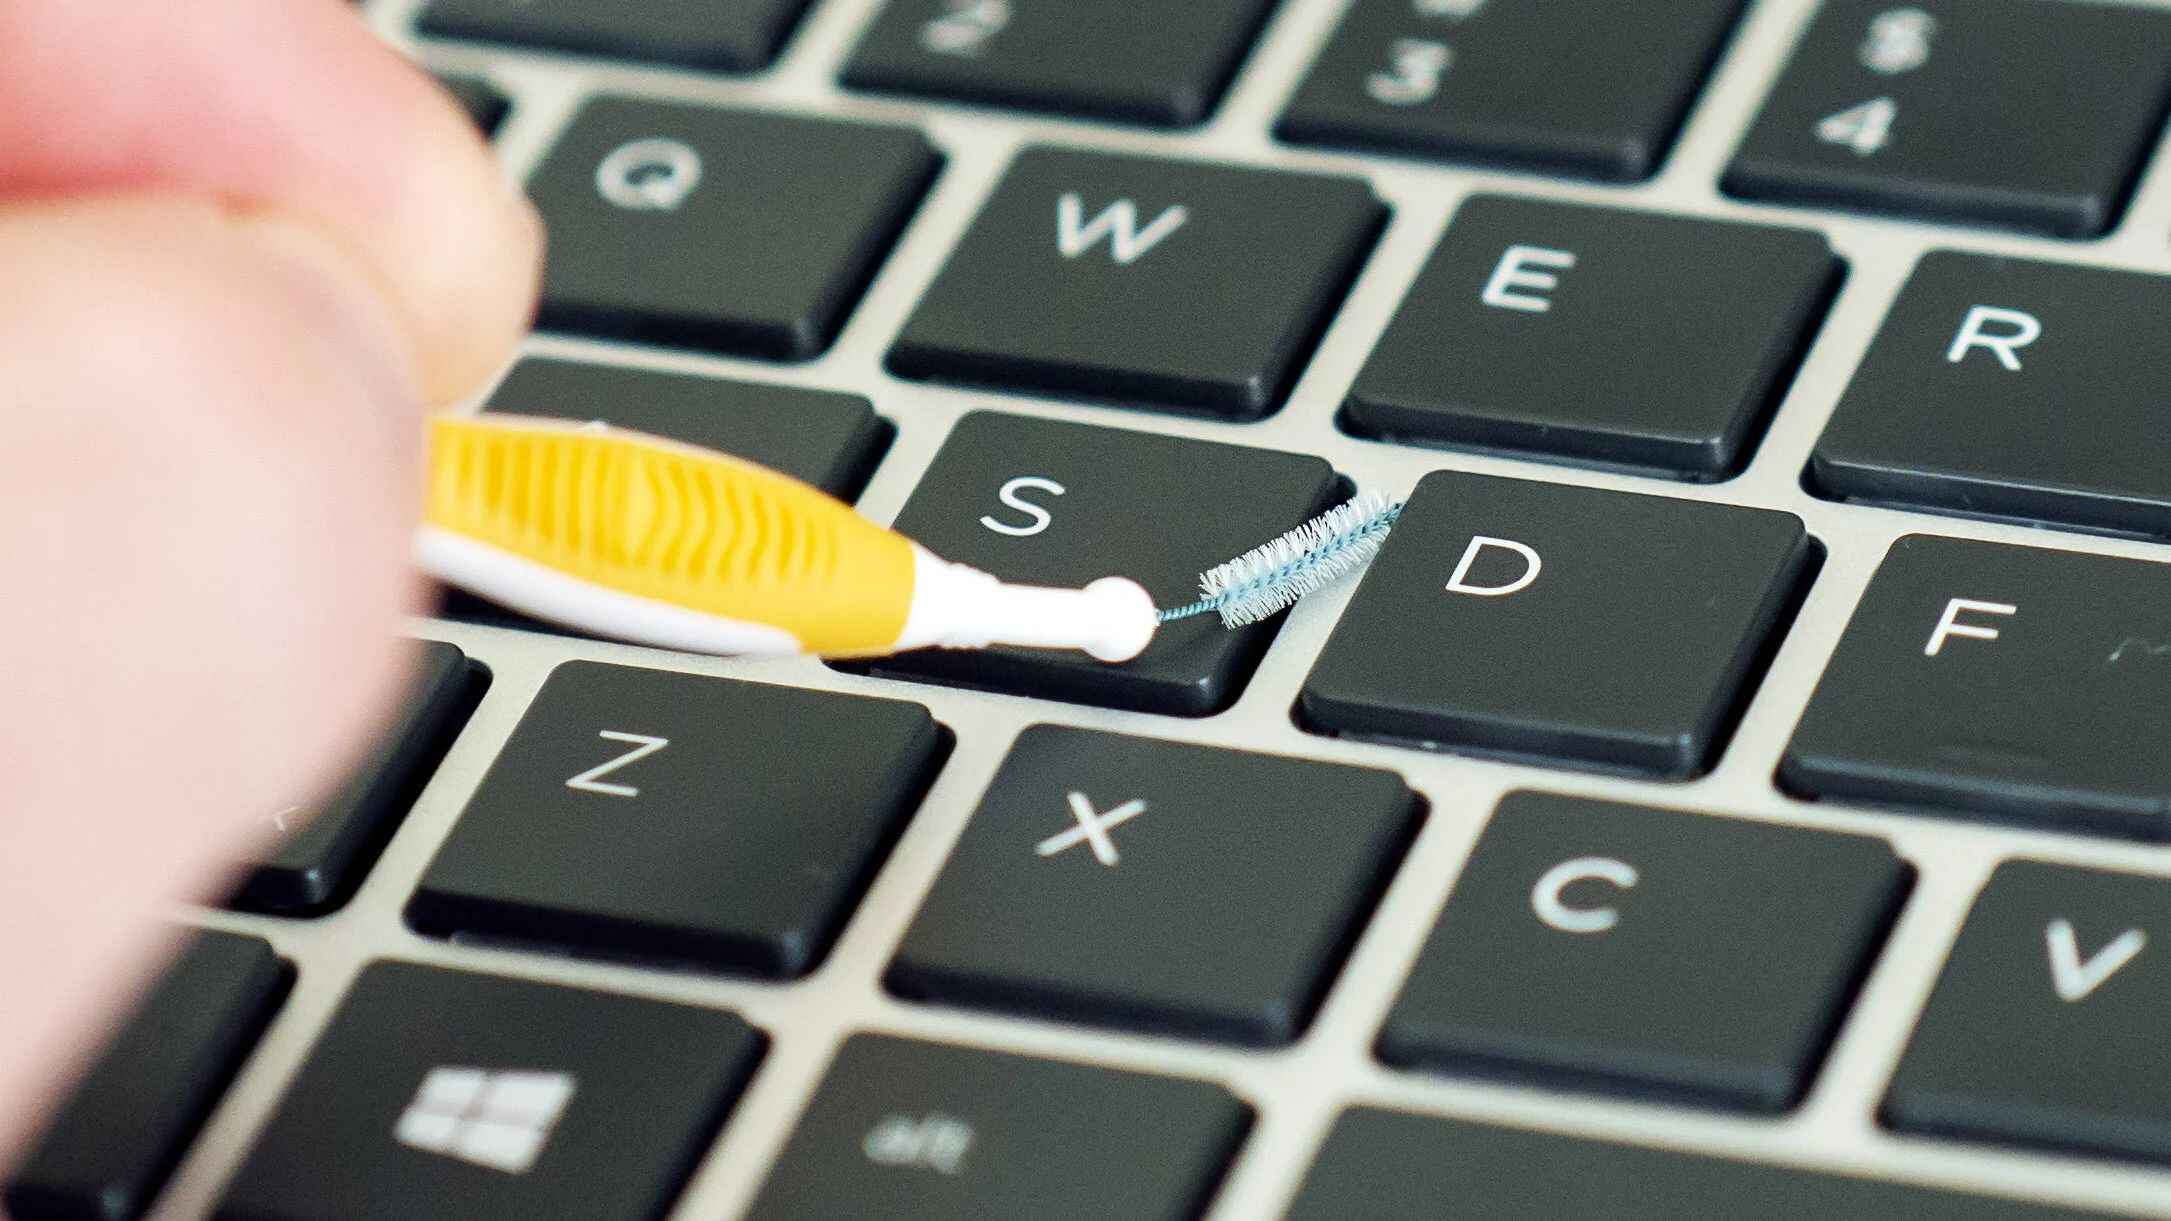
- Cotton Swabs: These are handy for cleaning between the keys and reaching tight spaces that are difficult to access with a cloth.
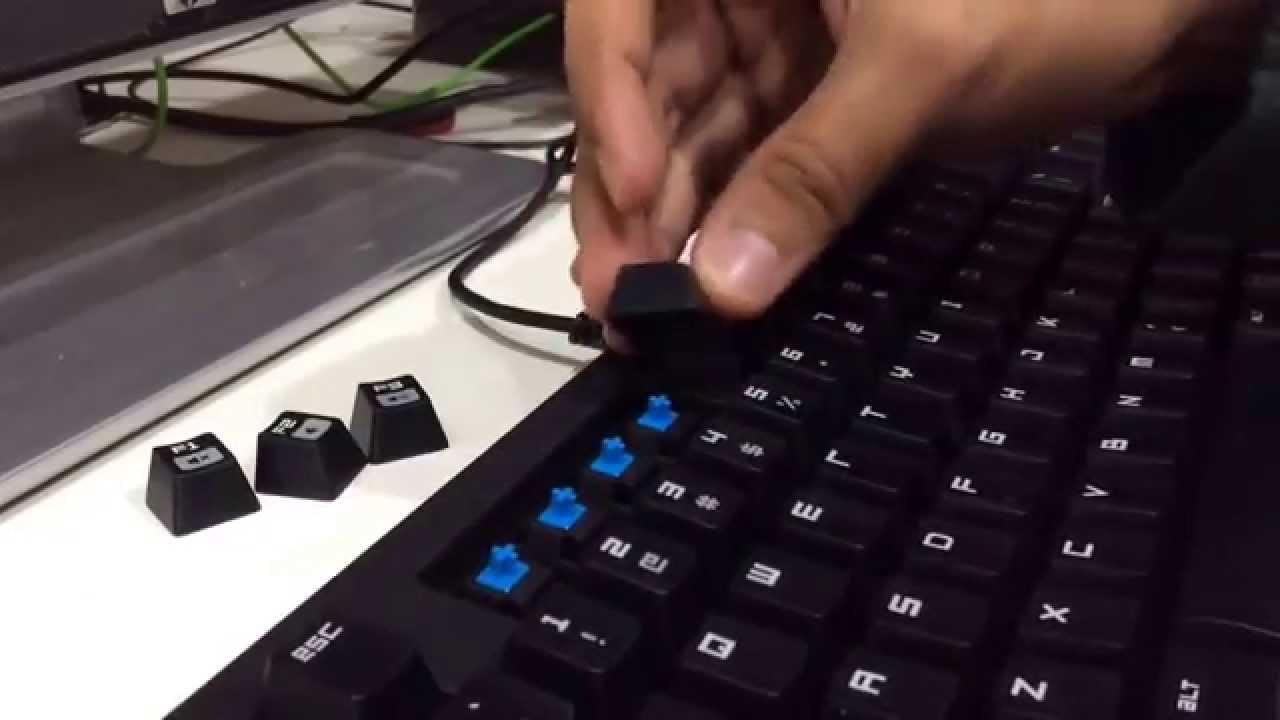
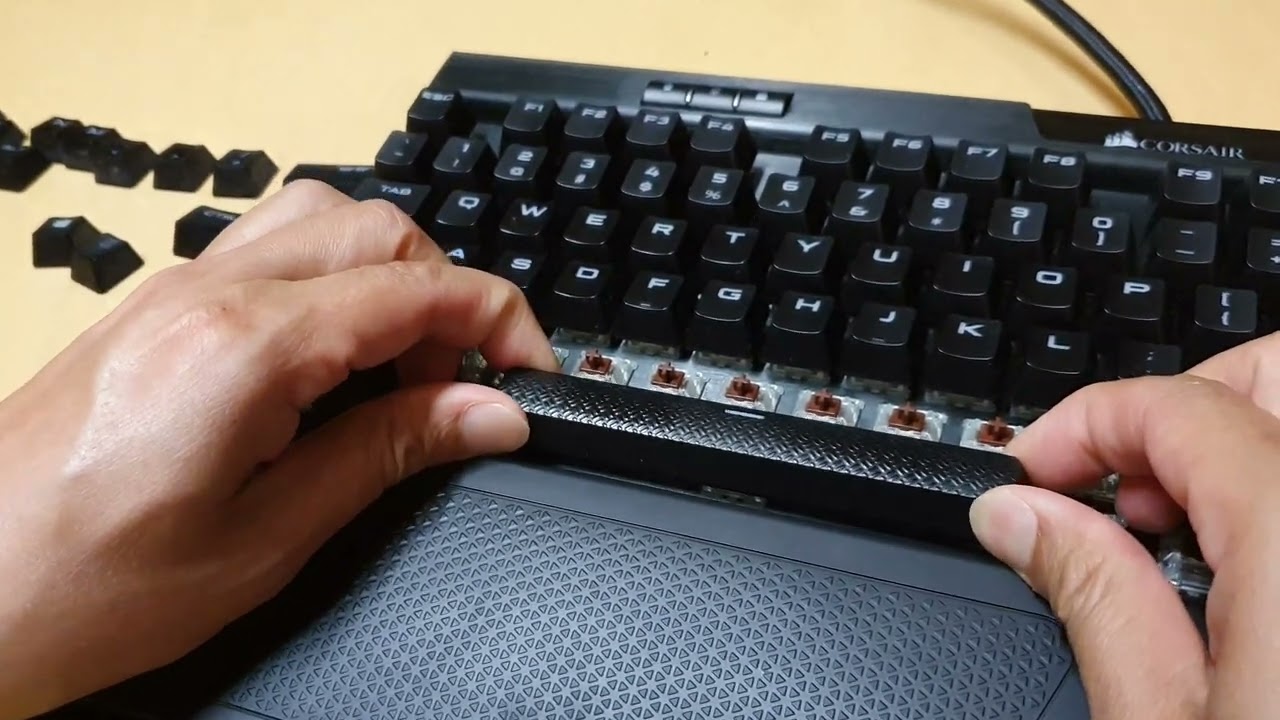
- Keyboard Keycap Puller: If your keyboard allows for keycap removal, a keycap puller can make the process much easier and prevent damage to the keys.
By ensuring you have these supplies on hand, you’ll be well-equipped to tackle the cleaning process with efficiency and precision. With these tools at your disposal, you can effectively remove dirt, grime, and germs from your gaming keyboard, ultimately enhancing its longevity and performance.
Step 2: Disconnect and Turn Off Your Keyboard
Prior to initiating the cleaning process, it’s crucial to disconnect your gaming keyboard from your computer or gaming console. This step is essential to prevent any accidental input or damage while cleaning. Follow these steps to ensure a safe disconnection:
- Turn Off Your Computer: If your keyboard is connected to a desktop computer, ensure that the computer is powered off. For laptops, shut down the device and disconnect any external keyboards.
- Unplug the Keyboard: Gently unplug the keyboard’s USB or other connecting cables from the computer or gaming console. Take care to avoid applying excessive force, as this may damage the ports or cables.
- Turn Off Wireless Keyboards: If you’re using a wireless gaming keyboard, switch it off using the designated power button or switch. This will prevent any unintended keystrokes during the cleaning process.
By disconnecting and turning off your keyboard, you minimize the risk of electrical damage and ensure a safe cleaning experience. This precautionary measure sets the stage for a thorough and hassle-free cleaning process, allowing you to focus on revitalizing your keyboard without any concerns about potential damage or malfunctions.
Step 3: Shake Out Debris
Once your gaming keyboard is disconnected and powered off, it’s time to remove loose debris and particles that may have accumulated between the keys. Follow these steps to effectively shake out the debris:
- Hold the Keyboard Upside Down: Carefully turn the keyboard upside down to allow any loose debris, such as crumbs or dust, to fall out. Gently shake the keyboard to dislodge any trapped particles.
- Tap the Keyboard: Lightly tap the back of the keyboard to encourage any remaining debris to dislodge and fall out. Be mindful not to apply excessive force, as this may cause damage to the keys or internal components.
- Use a Soft Brush: If there are stubborn particles trapped between the keys, use a soft-bristled brush to gently dislodge and remove them. Ensure that the brush is clean and free of any abrasive particles that could scratch the keys.
Shaking out the debris is an essential initial step in the cleaning process, as it allows you to remove loose particles that may hinder the effectiveness of subsequent cleaning methods. By taking the time to dislodge and remove debris, you pave the way for a more thorough and successful cleaning experience, ultimately restoring your gaming keyboard to its optimal condition.
Step 4: Use Compressed Air
Compressed air is a highly effective tool for removing stubborn dust, dirt, and debris from the intricate components of your gaming keyboard. Follow these steps to utilize compressed air for a thorough cleaning:
- Select the Nozzle Attachment: Attach the narrow nozzle to the compressed air can to direct the airflow precisely where needed.
- Hold the Keyboard at an Angle: Position the keyboard at a slight angle to allow debris to dislodge and be expelled from the keyboard.
- Apply Short Bursts of Air: Depress the trigger on the compressed air can in short, controlled bursts to dislodge dust and debris from between the keys and other hard-to-reach areas.
- Focus on Specific Areas: Direct the airflow between individual keys and along the keyboard’s surface to ensure comprehensive cleaning.
- Reposition the Keyboard: Rotate and tilt the keyboard to access different angles, ensuring that all debris is effectively dislodged and removed.
Using compressed air is an efficient method for dislodging and removing trapped debris from your gaming keyboard, especially from areas that are challenging to access using traditional cleaning tools. By incorporating this step into your cleaning routine, you can effectively restore your keyboard’s responsiveness and maintain its overall cleanliness.
Step 5: Clean Between Keys
Ensuring that the spaces between the keys are free from dirt and debris is essential for maintaining the functionality and appearance of your gaming keyboard. Follow these steps to effectively clean between the keys:
- Use a Cotton Swab: Moisten a cotton swab with a small amount of isopropyl alcohol and carefully insert it between the keys. Gently maneuver the swab to dislodge and absorb any dirt or grime trapped in these spaces.
- Employ a Soft Brush: A soft-bristled brush can also be used to sweep away debris from between the keys. Ensure that the brush is clean and dry to avoid introducing moisture or additional particles.
- Repeat the Process: Continue using the cotton swab and brush to thoroughly clean between all the keys, paying special attention to areas where debris is more likely to accumulate.
- Inspect for Residual Debris: After cleaning between the keys, visually inspect the spaces and use the compressed air to remove any remaining particles that may have been dislodged during the cleaning process.
By meticulously cleaning between the keys, you can prevent the buildup of dirt and debris that may impede the keyboard’s performance and detract from its aesthetic appeal. This step is crucial for maintaining the tactile responsiveness of the keys and ensuring that your gaming keyboard remains in optimal condition.
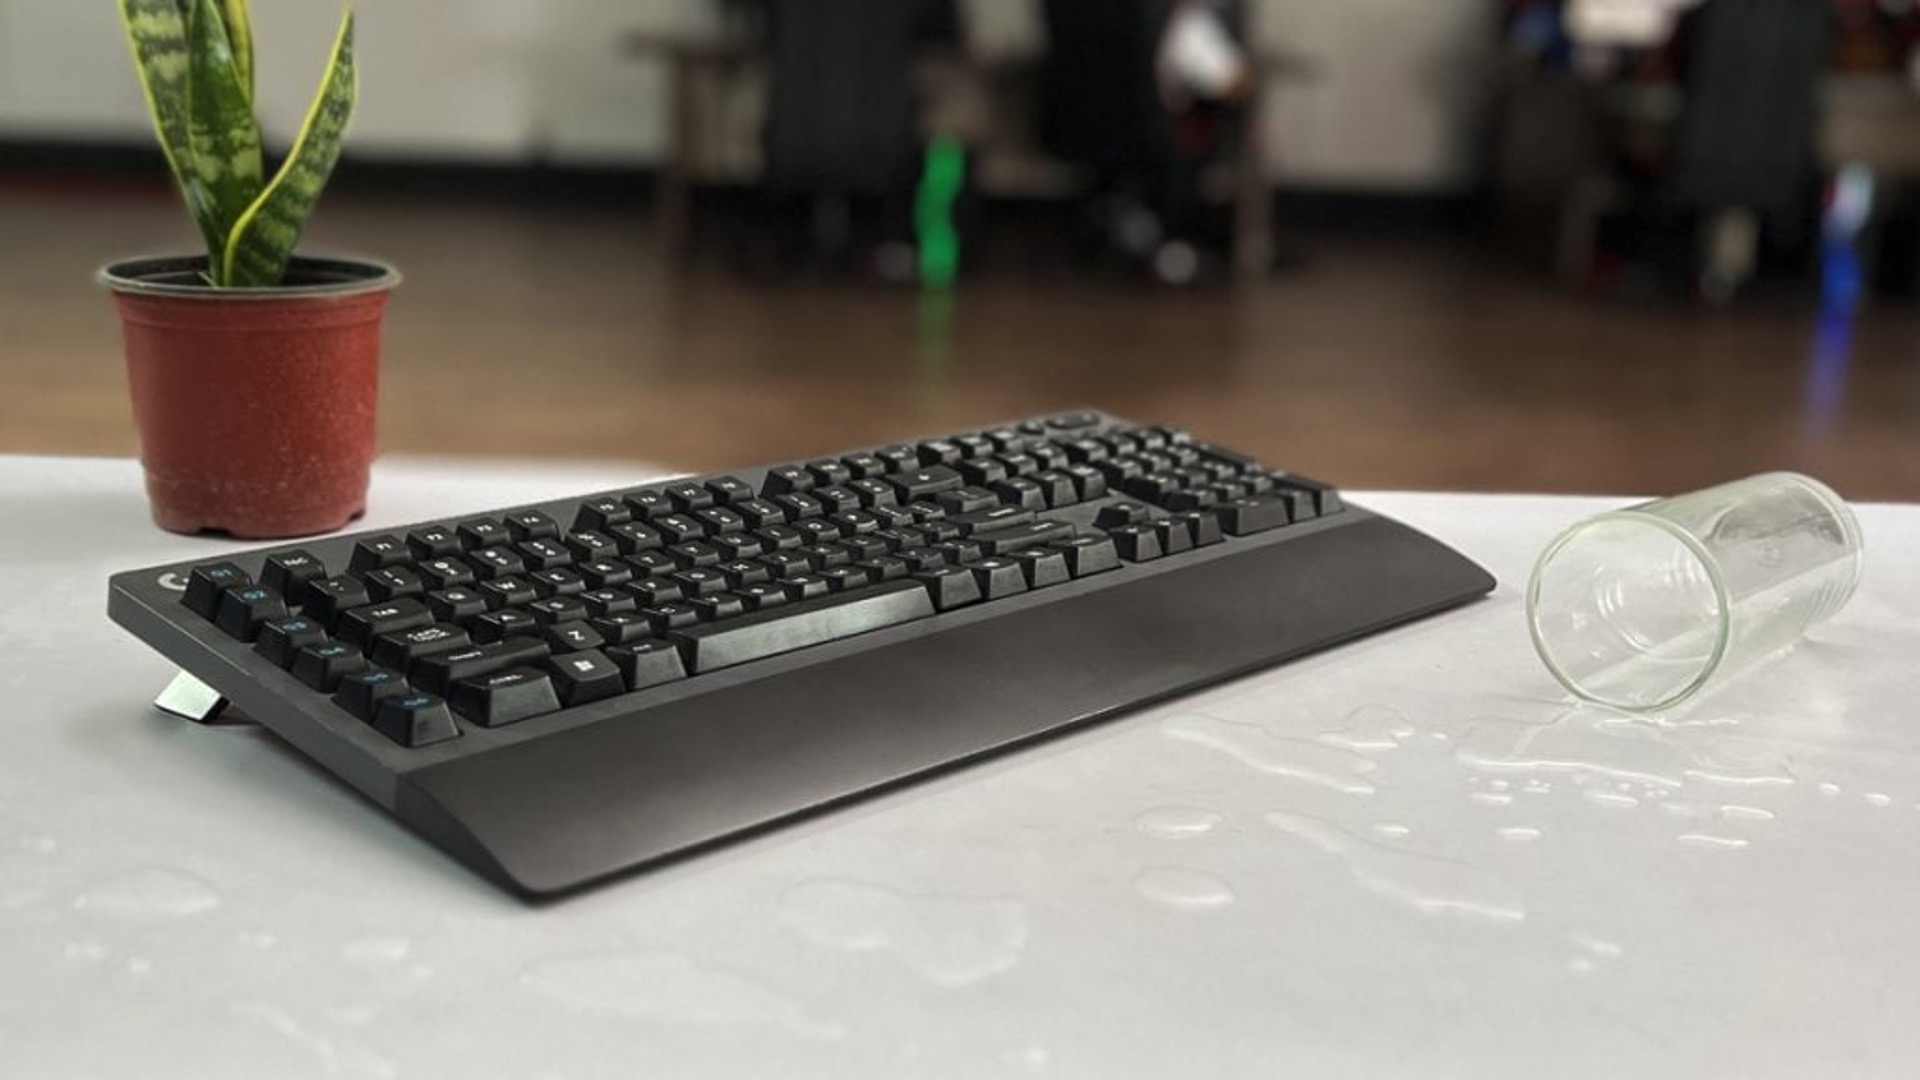
Step 6: Wipe Down the Keys
Thoroughly wiping down the keys of your gaming keyboard is essential for removing smudges, fingerprints, and surface stains, ultimately restoring its visual appeal and tactile feel. Follow these steps to effectively clean and sanitize the keys:
- Use a Microfiber Cloth: Dampen a microfiber cloth with a small amount of isopropyl alcohol or water. Ensure that the cloth is not dripping wet, as excess moisture can seep into the keyboard and cause damage.
- Gently Wipe the Keys: Starting from one end of the keyboard, gently wipe each key in a sweeping motion to remove any visible smudges or stains. Take care to apply gentle pressure to avoid dislodging the keys or causing damage.
- Focus on Stubborn Stains: For stubborn stains or grime, use a slightly more concentrated solution of isopropyl alcohol and water on the microfiber cloth to target and remove these blemishes.
- Dry the Keys: After wiping down the keys, use a dry section of the microfiber cloth to remove any residual moisture and ensure that the keys are left clean and dry.
By meticulously wiping down the keys, you can eliminate unsightly marks and maintain a clean and hygienic keyboard surface. This step not only enhances the visual appeal of your gaming keyboard but also contributes to a more pleasant and comfortable typing experience.
Step 7: Clean the Keyboard Base
While focusing on the keys is essential, cleaning the keyboard base is equally important for ensuring a comprehensive cleaning process. Follow these steps to effectively clean the base of your gaming keyboard:
- Use Compressed Air: Direct the airflow from the compressed air can into the crevices and openings of the keyboard base to dislodge and remove any trapped dust or debris.
- Wipe Down the Base: Dampen a microfiber cloth with a small amount of isopropyl alcohol or water and gently wipe the surface of the keyboard base. Pay attention to areas where dirt and grime may accumulate, such as around the edges and seams.
- Inspect for Residual Debris: After wiping down the base, use a flashlight or adequate lighting to inspect for any remaining debris. Use the compressed air or a soft brush to remove any stubborn particles.
- Dry the Base: Once the base is clean, use a dry microfiber cloth to ensure that it is completely dry and free from any moisture. This step is crucial for preventing damage to the internal components of the keyboard.
By dedicating attention to cleaning the keyboard base, you can ensure that all aspects of your gaming keyboard are free from dirt, dust, and grime. This comprehensive approach not only contributes to the overall cleanliness of the keyboard but also supports its longevity and optimal functionality.
Step 8: Reconnect and Test Your Keyboard
After completing the cleaning process, it’s essential to reconnect and test your gaming keyboard to ensure that it is functioning optimally. Follow these steps to safely reconnect and test your keyboard:
- Reconnect the Keyboard: Carefully plug the keyboard’s USB or connecting cables back into the appropriate ports on your computer or gaming console. Ensure that the connection is secure but avoid using excessive force.
- Power On Your Computer: If your keyboard is connected to a desktop computer, power on the computer. For laptops, turn on the device and wait for it to boot up.
- Test the Keys: Open a text document or any application that allows text input and test each key to ensure that they are all functioning correctly. Pay attention to any keys that may feel sticky or unresponsive.
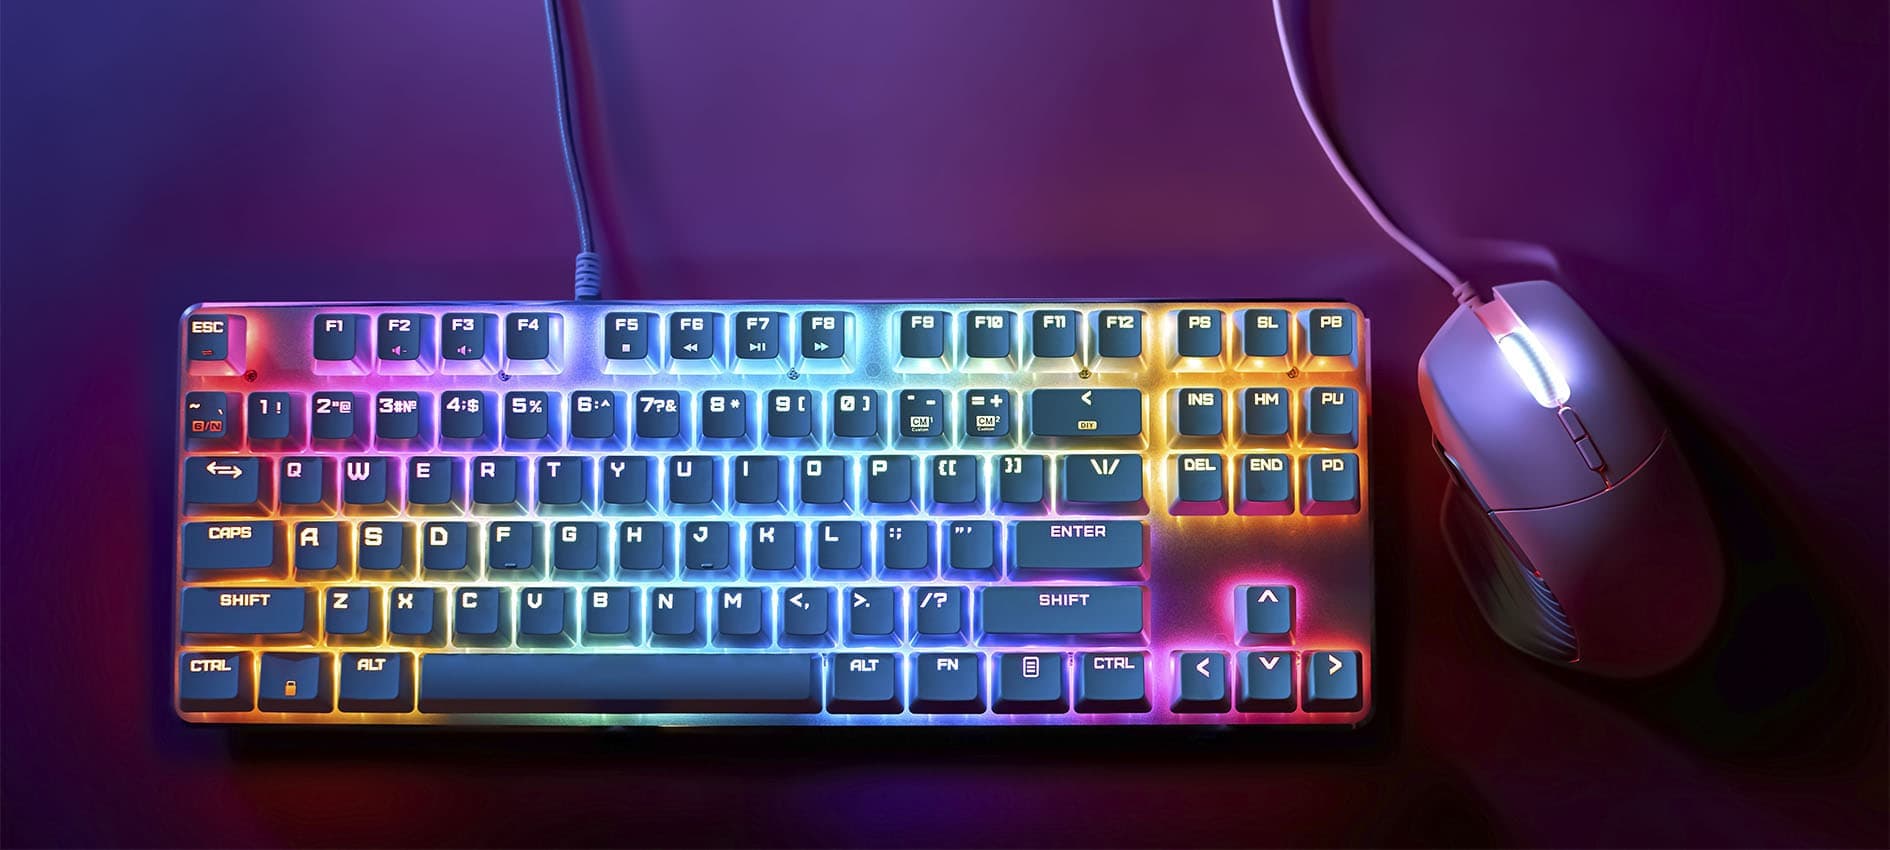
- Verify Key Illumination (If Applicable): If your gaming keyboard features LED illumination, verify that the lighting is functioning as expected. Adjust any lighting settings as desired.
By reconnecting and testing your keyboard, you can confirm that it is in proper working order following the cleaning process. This step allows you to address any issues promptly and ensures that your gaming keyboard is ready for seamless and enjoyable use.