Introduction
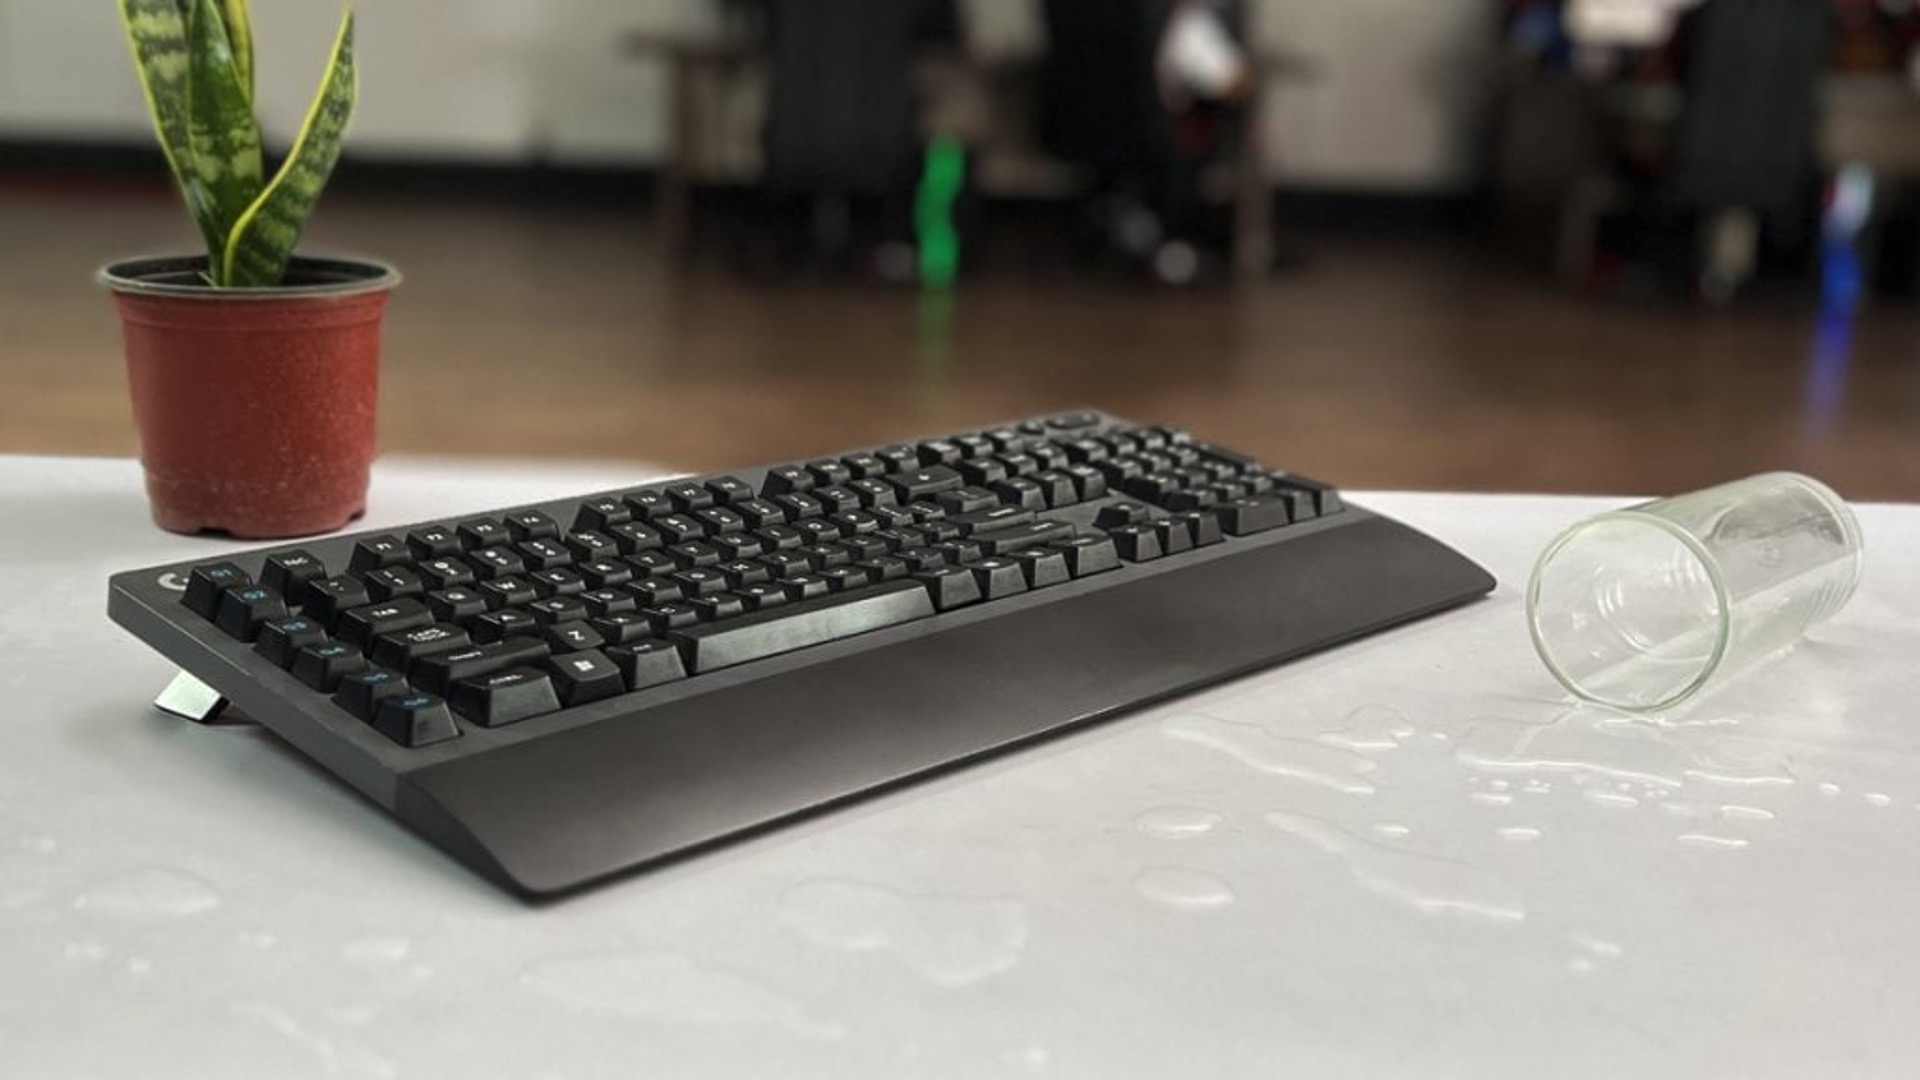
Water or liquid damage to a gaming keyboard can be a gamer's worst nightmare. Whether it's a spilled drink or an accidental immersion, liquid damage can render your beloved keyboard non-functional. However, all hope is not lost. With the right knowledge and careful steps, it's possible to salvage a liquid-damaged gaming keyboard and restore it to its former glory. In this guide, we will walk through the process of assessing, disassembling, cleaning, drying, and reassembling a liquid-damaged gaming keyboard. By following these steps, you can potentially save your keyboard from the brink of destruction and get back to your gaming adventures in no time.
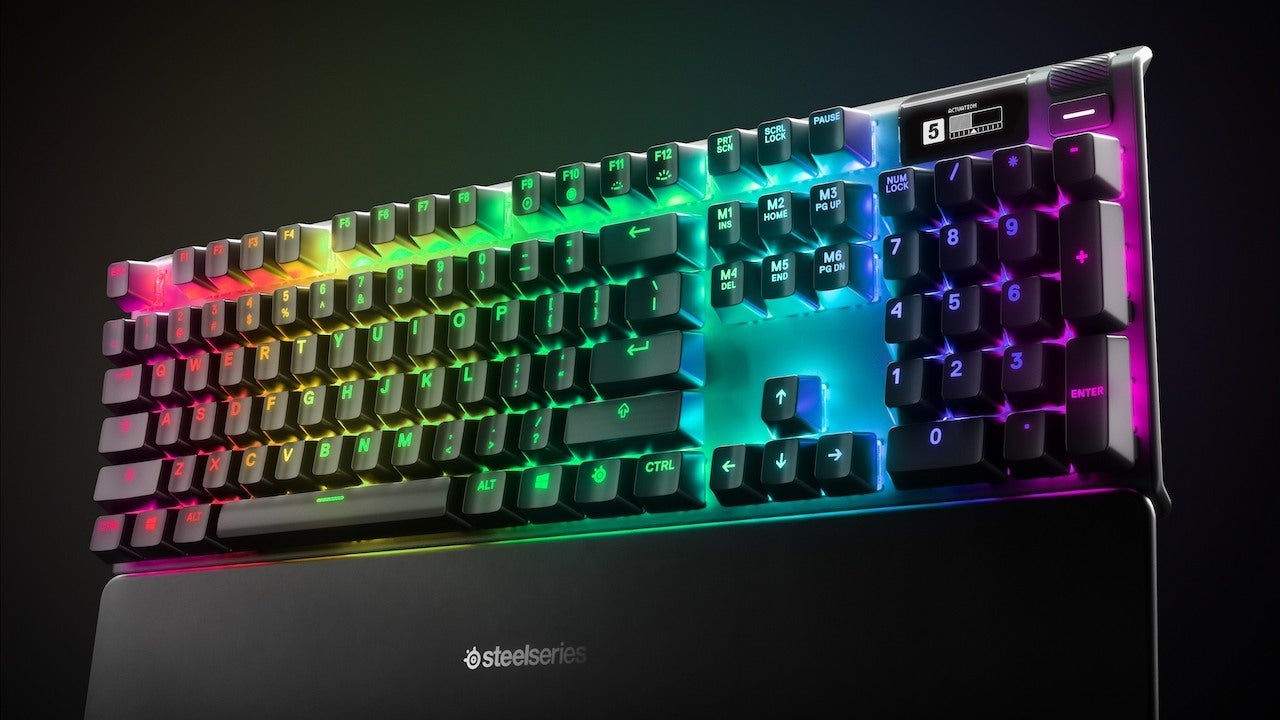
A gaming keyboard is a crucial tool for gamers, offering features and functionalities tailored to enhance the gaming experience. From customizable keys to advanced lighting effects, a gaming keyboard is often a significant investment and a key part of a gamer's setup. When liquid damage occurs, it can not only disrupt gameplay but also lead to potential long-term issues if not addressed promptly.
Understanding the intricacies of fixing liquid damage on a gaming keyboard is essential for any gamer. It not only saves money by avoiding the need for a costly replacement but also empowers gamers to take matters into their own hands and revive their trusted peripherals. With the right approach and a bit of patience, it's possible to breathe new life into a liquid-damaged gaming keyboard and continue enjoying its benefits for years to come.
In the following sections, we will delve into the step-by-step process of assessing the damage, disassembling the keyboard, cleaning the components, drying the keyboard, reassembling the keyboard, and testing it to ensure that it's fully functional. Each step is crucial in the journey toward salvaging a liquid-damaged gaming keyboard, and by following these guidelines, you can increase the likelihood of a successful restoration. Let's embark on this keyboard-saving adventure and bring your gaming keyboard back to life.
Assessing the Damage
When liquid makes its way into a gaming keyboard, the first step is to assess the extent of the damage. This initial assessment is crucial in determining the severity of the situation and devising an appropriate plan of action to address the issue effectively.
Upon discovering the liquid spill, the immediate response should be to disconnect the keyboard from the power source and any connected devices. This helps prevent further damage and minimizes the risk of electrical hazards. Once disconnected, the keyboard should be placed on a dry, absorbent surface, with the keys facing downward to allow any residual liquid to drain out.
Next, it’s essential to identify the type of liquid that has infiltrated the keyboard. Water, soda, coffee, or any other liquid can have varying effects on the keyboard’s components. Water, for instance, is less corrosive than sugary or acidic liquids, but all liquids can cause malfunctions and damage if not addressed promptly.
Visually inspect the keyboard for signs of liquid entry, such as wet keys, visible residue, or pooling of liquid around the edges. If the liquid spill is substantial, it’s advisable to remove the keycaps carefully to assess the extent of the damage beneath the surface. Additionally, if the keyboard has any built-in lighting or display features, check for any irregularities or malfunctioning lights, as these can indicate internal damage.
After the initial assessment, it’s crucial to resist the temptation to test the keyboard immediately, as doing so can exacerbate the damage and pose safety risks. Instead, proceed with the subsequent steps outlined in this guide to ensure a thorough and safe restoration process.
By accurately assessing the damage and understanding the nature of the liquid intrusion, you can lay the groundwork for a systematic approach to restoring the gaming keyboard. This proactive assessment sets the stage for the subsequent steps, guiding the process toward a successful recovery and minimizing the potential for long-term issues stemming from the liquid damage.
Disassembling the Keyboard
Once the extent of the liquid damage has been assessed, the next critical step in the restoration process is disassembling the gaming keyboard. Disassembling the keyboard allows for thorough cleaning and drying of its components, addressing the liquid infiltration effectively.
Before beginning the disassembly, it’s essential to gather the necessary tools for the task. A small Phillips-head screwdriver, a keycap puller (if applicable), and a soft, lint-free cloth are typically required for this process. Additionally, having a clean, well-lit workspace can facilitate a smooth disassembly process and minimize the risk of misplacing small components.
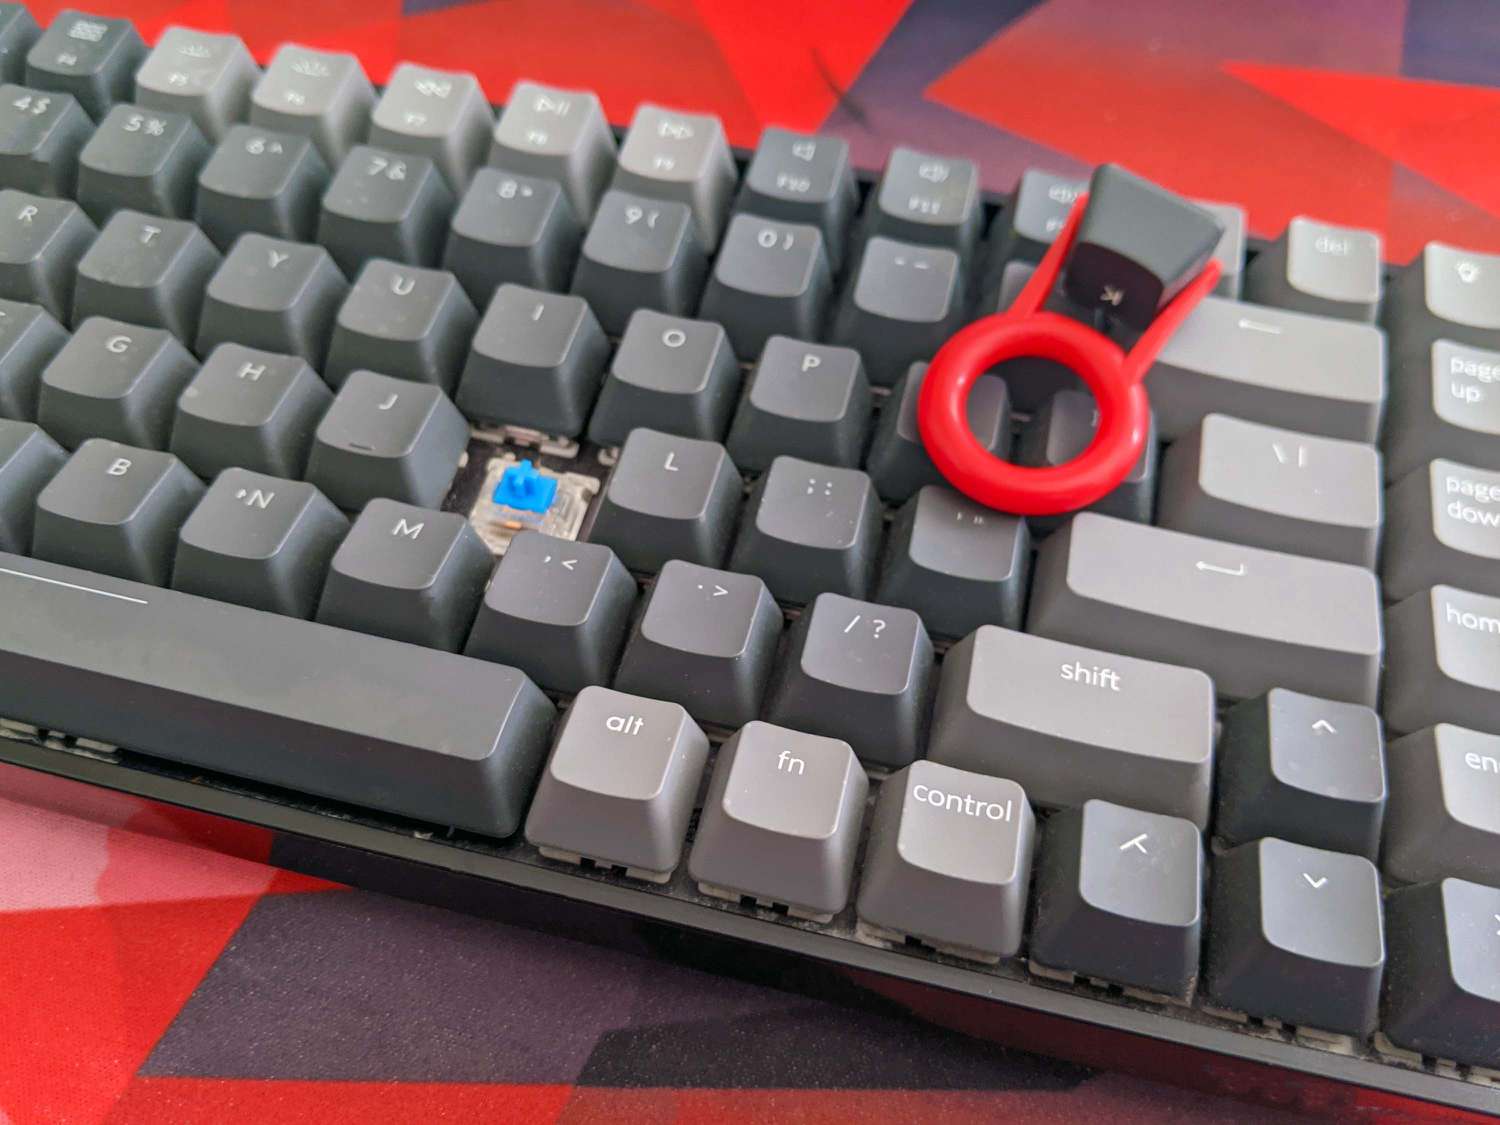
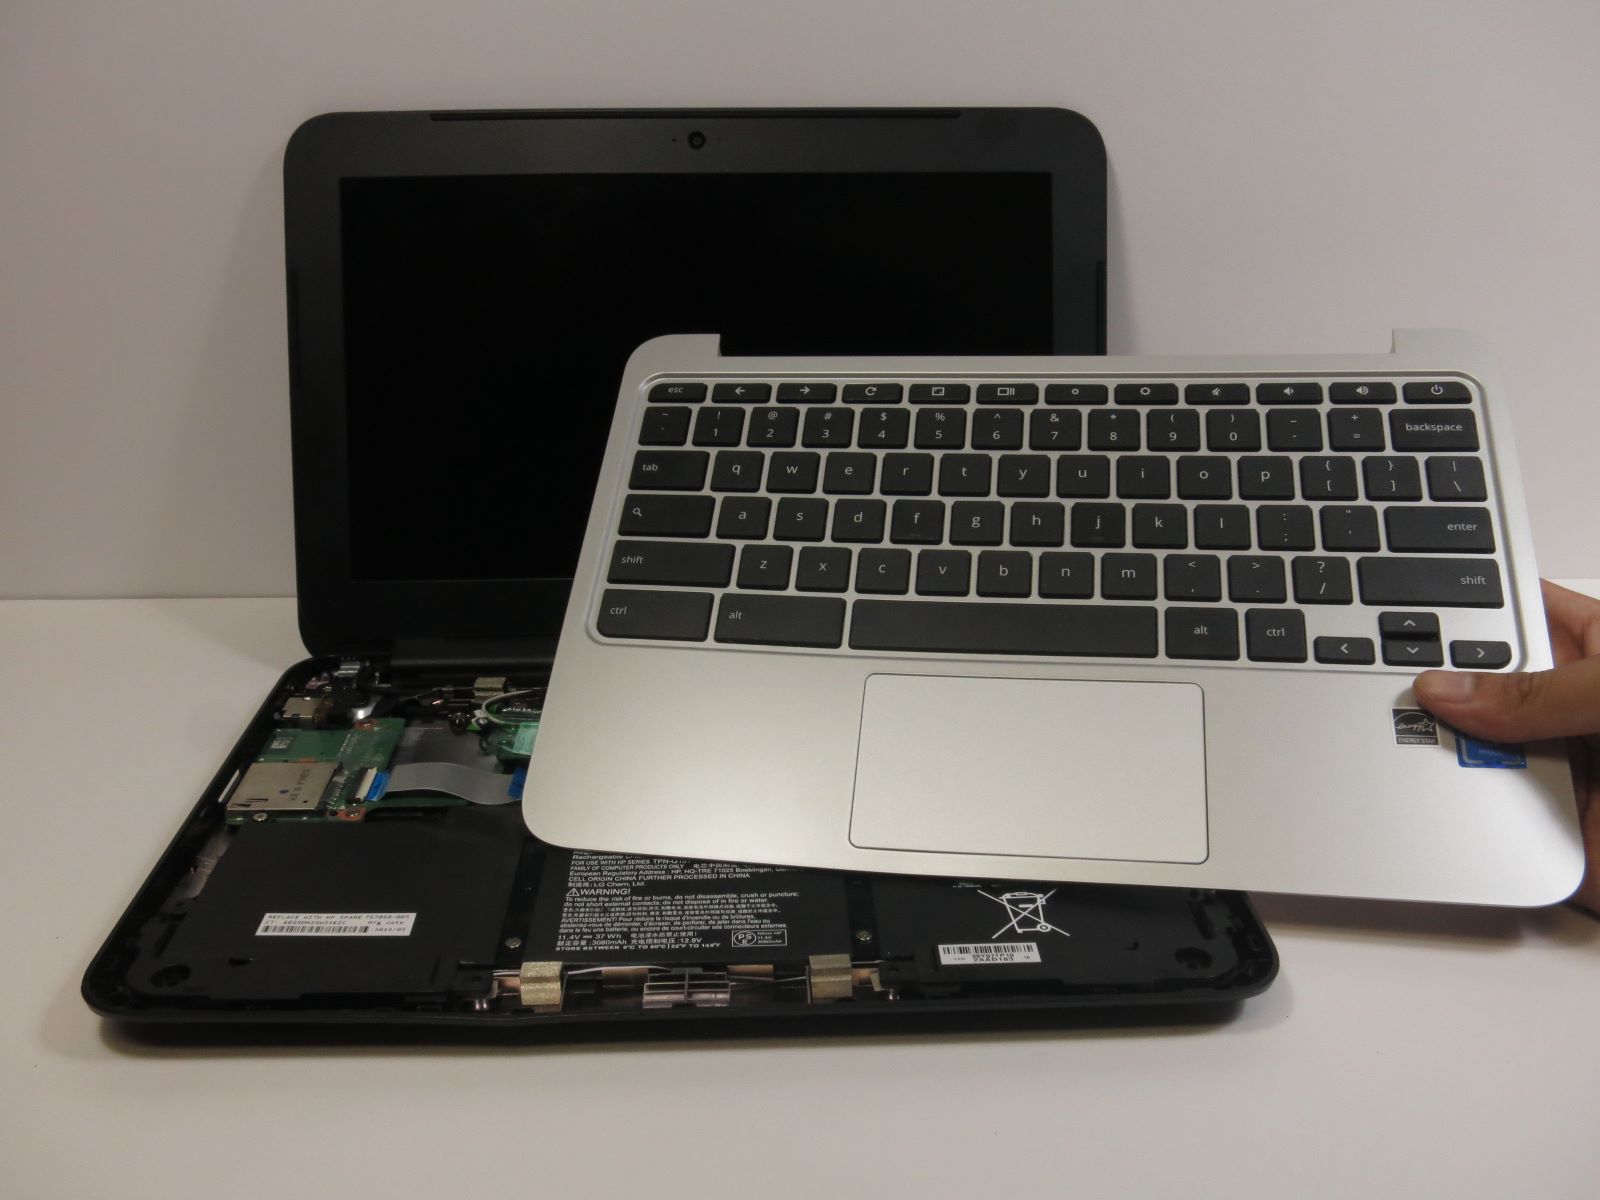
Start by carefully removing the keycaps from the keyboard. A keycap puller can aid in this process, ensuring that the keycaps are lifted gently and uniformly without causing damage. As you remove the keycaps, arrange them methodically, either in a keycap tray or a pattern that allows for easy reassembly later.
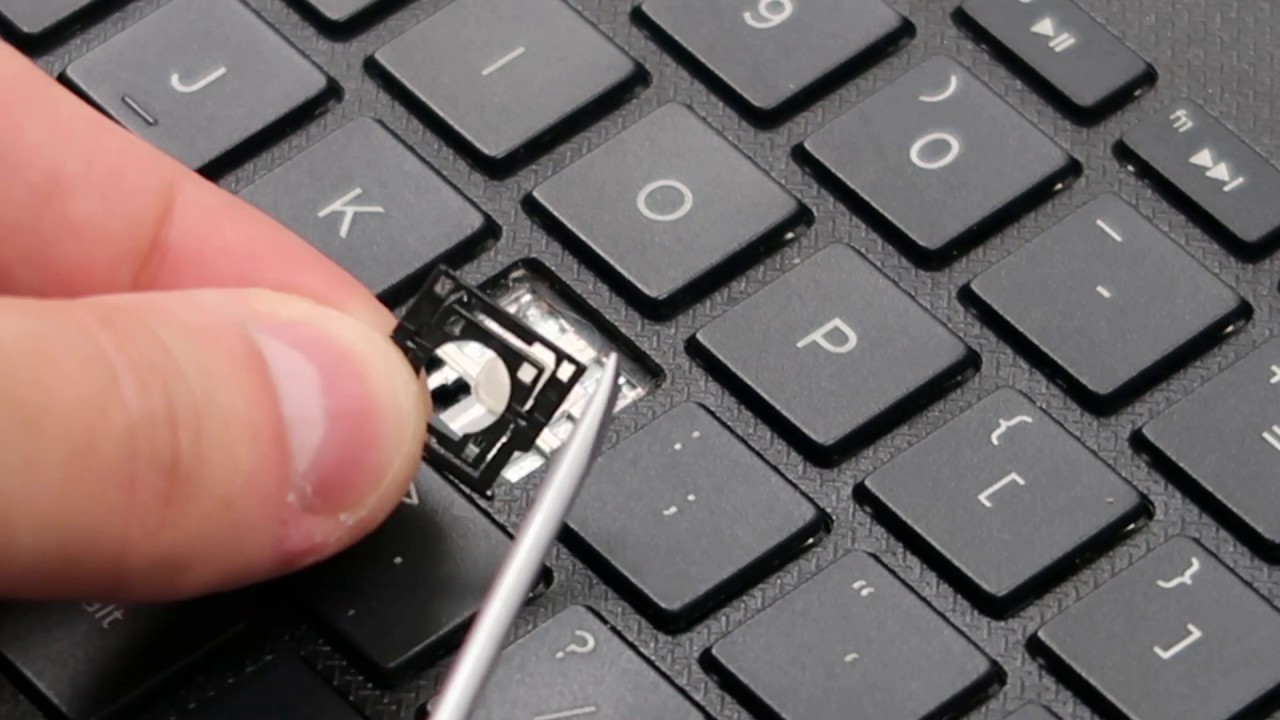
Once the keycaps are removed, the keyboard’s internal components, such as the membrane or mechanical switches, become accessible. Depending on the keyboard model, this may involve removing screws that secure the keyboard’s top plate or carefully releasing latches that hold the keyboard’s components in place. It’s crucial to consult the keyboard’s manual or online disassembly guides specific to the model to avoid damaging the keyboard during this process.
As the keyboard’s internal components are exposed, take note of their arrangement and connections to facilitate reassembly later. If applicable, disconnect any cables or ribbon connectors with caution, ensuring that they are handled gently to prevent damage. Throughout the disassembly, it’s advisable to take photographs or make notes to document the process, providing a reference for reassembly.
By methodically disassembling the gaming keyboard, you create the foundation for thorough cleaning and drying, addressing the liquid damage at its core. This meticulous approach sets the stage for the subsequent steps, empowering you to navigate the restoration process with confidence and precision.
Cleaning the Components
After disassembling the gaming keyboard, the focus shifts to cleaning the components to remove any liquid residue and prevent potential damage or malfunctions. Cleaning the keyboard’s components thoroughly is crucial in the restoration process, as it helps mitigate the effects of the liquid intrusion and ensures the keyboard’s optimal performance once reassembled.
Begin the cleaning process by addressing any visible liquid residue on the keycaps, keyboard frame, and internal components. A soft, lint-free cloth lightly dampened with isopropyl alcohol can be used to gently wipe the surfaces, effectively removing any lingering liquid and residue. Exercise caution to avoid saturating the components with alcohol, as excessive moisture can lead to further damage.
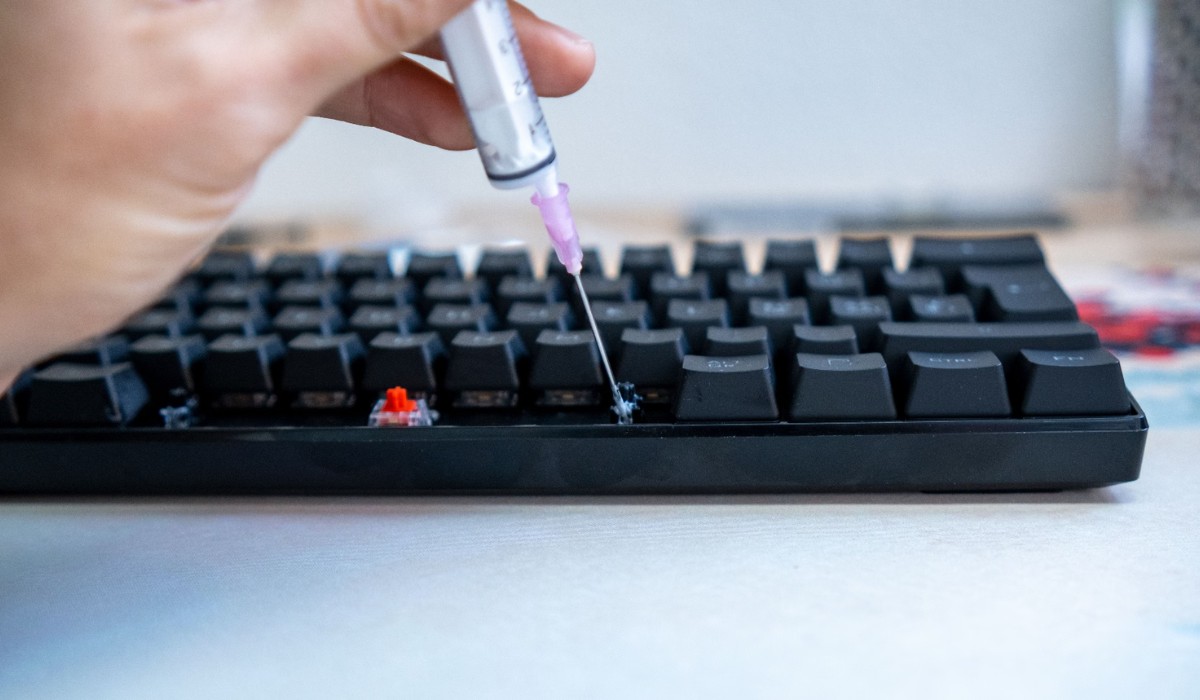
For areas that are difficult to access or require more targeted cleaning, such as the switches and PCB (printed circuit board), compressed air can be employed to dislodge any debris or liquid remnants. Using short bursts of compressed air, carefully direct the airflow to clear any foreign particles or moisture from these intricate components.
If the liquid spill involved substances that may leave sticky or stubborn residues, such as sugary or caffeinated beverages, a mild cleaning solution can be prepared using a mixture of dish soap and water. Dampen a clean cloth with this solution and gently clean the affected areas, ensuring that no excess moisture seeps into the keyboard’s sensitive components.
Additionally, if the keycaps were removed during the disassembly process, take the opportunity to clean them thoroughly. Submerging the keycaps in warm, soapy water and gently scrubbing them with a soft brush can help remove any residual liquid or grime. After cleaning, allow the keycaps to air dry completely before reattaching them to the keyboard.
By meticulously cleaning the keyboard’s components, you not only address the visible effects of the liquid damage but also lay the groundwork for a successful restoration. This careful cleaning process ensures that the keyboard’s components are free from residual liquid and contaminants, setting the stage for the subsequent steps in the restoration journey.
Drying the Keyboard
After the cleaning process, the next crucial step in salvaging a liquid-damaged gaming keyboard is thorough drying. Proper drying is essential to ensure that all components are free from moisture, preventing potential corrosion or malfunctions once the keyboard is reassembled and powered on.
Begin the drying process by allowing the cleaned components to air dry in a well-ventilated area. Placing the components on a clean, dry cloth or towel can aid in the evaporation of any residual moisture. It’s important to ensure that the components are positioned in a manner that allows air to circulate around them, expediting the drying process.
If the liquid spill was substantial or if there are areas that are challenging to dry adequately through air evaporation alone, the use of desiccants can be beneficial. Silica gel packets, often found in packaging or available for purchase, can help absorb moisture effectively. Place the cleaned components and desiccant packets in a sealable container, ensuring that the components do not come into direct contact with the desiccants, and allow them to remain sealed for a period to facilitate thorough drying.
Another method to expedite drying involves the use of gentle heat. Placing the components in a warm, dry area, away from direct sunlight or extreme heat sources, can aid in accelerating the evaporation of residual moisture. It’s crucial to exercise caution when using heat, ensuring that it remains at a gentle and safe level to prevent damage to the components.
Throughout the drying process, it’s essential to exercise patience and allow sufficient time for the components to dry completely. Rushing this step can lead to residual moisture being trapped within the keyboard, potentially leading to long-term issues once the keyboard is reassembled and in use.
By prioritizing thorough drying, you mitigate the risk of residual moisture causing damage to the keyboard’s components, setting the stage for a successful restoration. This meticulous approach ensures that the keyboard’s internals are free from moisture, safeguarding against potential issues and increasing the likelihood of a fully functional keyboard once reassembled.
Reassembling the Keyboard
With the components thoroughly cleaned and dried, the next pivotal step in the restoration process is reassembling the gaming keyboard. Reassembly requires precision and care to ensure that all components are returned to their rightful places, setting the stage for the keyboard’s functional restoration.
Begin by referring to any documentation or reference materials specific to the keyboard model to guide the reassembly process. If photographs or notes were taken during the disassembly, utilize them as visual aids to assist in the correct placement of components and cables. Ensuring that the workspace is clean and well-lit can facilitate a smooth reassembly process.
If any cables or ribbon connectors were disconnected during the disassembly, carefully reattach them to their respective ports, ensuring that they are secured snugly but without excessive force. It’s crucial to verify that all connections are made accurately, as improper connections can lead to functionality issues once the keyboard is in use.
As you reassemble the keyboard, pay close attention to the alignment and seating of components, such as switches, PCB, and stabilizers. Ensuring that these components are positioned correctly and securely can prevent potential malfunctions and guarantee the keyboard’s optimal performance once reassembled.
When reattaching the keycaps, refer to the arrangement established during the initial disassembly, ensuring that each keycap is placed correctly and uniformly. Taking a methodical approach to reattaching the keycaps can streamline the process and minimize the risk of errors or misplaced keycaps.
Throughout the reassembly process, exercise patience and attention to detail, taking the time to verify each step before proceeding to the next. This meticulous approach not only minimizes the risk of errors but also sets the stage for a successful reassembly, laying the foundation for the keyboard’s functional restoration.
By methodically reassembling the gaming keyboard, you pave the way for its return to operational status, leveraging careful precision and attention to detail. This pivotal step in the restoration process brings the keyboard one step closer to its former functionality, setting the stage for the final phase: testing the keyboard to ensure its full operational capability.
Testing the Keyboard
After completing the reassembly process, the final and critical step in restoring a liquid-damaged gaming keyboard is testing its functionality. Testing the keyboard ensures that all components are functioning as intended, validating the success of the restoration efforts and preparing the keyboard for regular use.
Before connecting the keyboard to any power source, visually inspect the reassembled components to ensure that everything appears in order. Verify that all cables and connectors are securely in place, and that no foreign objects or debris are present within the keyboard’s internal cavity.
Once the visual inspection is complete, reconnect the keyboard to the power source and any associated devices. As the keyboard powers on, pay close attention to the functionality of the keys, lighting effects (if applicable), and any additional features unique to the keyboard model. Test each key systematically to ensure that they register inputs accurately and consistently.
If the keyboard features customizable keys or programmable functions, verify that these functionalities are operational as well. Additionally, if the keyboard includes lighting effects or display features, ensure that these elements are functioning as intended, without any irregularities or malfunctions.
During the testing phase, it’s advisable to engage in typical keyboard usage, such as typing and executing gaming commands, to gauge the keyboard’s responsiveness and accuracy. This comprehensive testing approach allows for the identification of any residual issues and provides the opportunity to address them promptly.
If any keys exhibit irregular behavior or if certain features are not functioning correctly, it may be necessary to revisit the specific components or connections to troubleshoot and address the issues. Thorough testing and troubleshooting can aid in pinpointing any lingering effects of the liquid damage and taking the necessary steps to resolve them.
By conducting comprehensive testing, you verify the successful restoration of the gaming keyboard, ensuring that it is fully operational and ready for use. This final phase of the restoration process not only validates the effectiveness of the restoration efforts but also provides peace of mind, knowing that the keyboard has been salvaged from the brink of potential irreparable damage.