**
Introduction
**
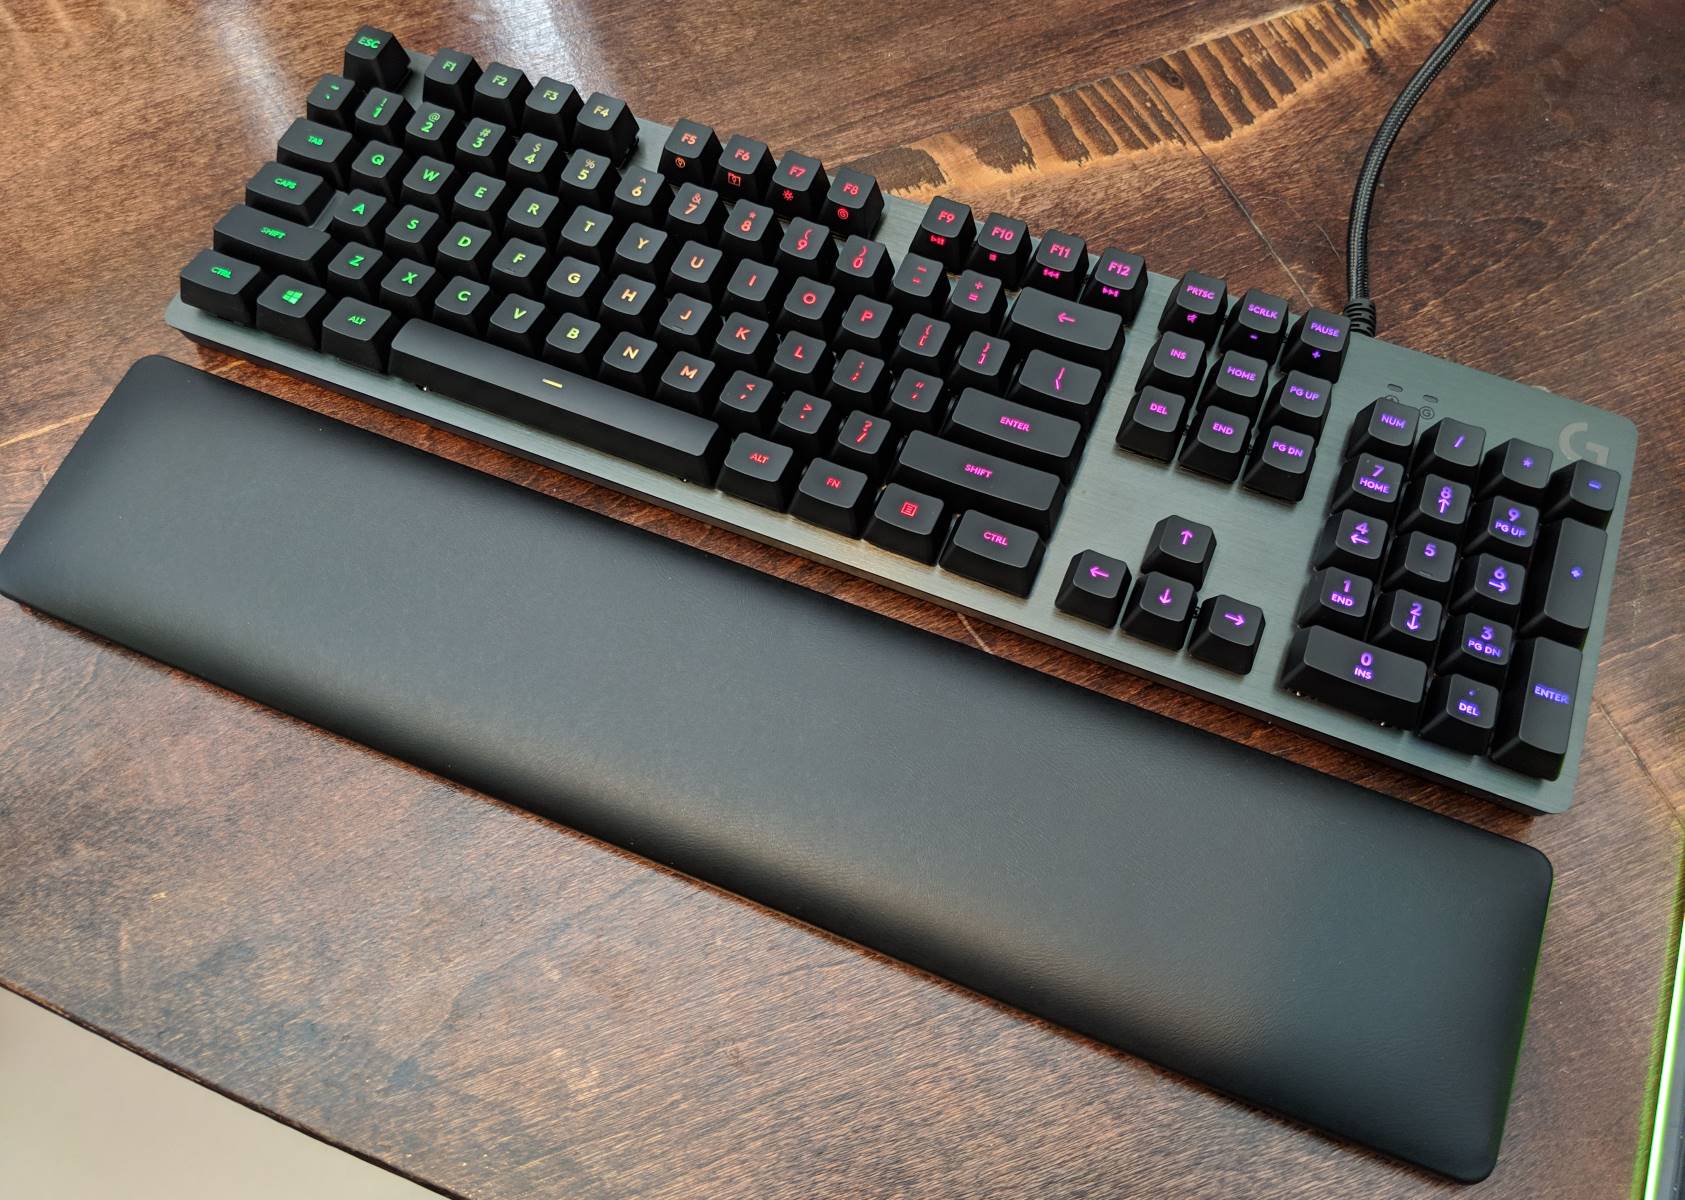
If you're an avid gamer or someone who spends a significant amount of time typing, your keyboard is likely to accumulate dust, debris, and even the occasional spill. Taking apart your GX gaming keyboard for a thorough cleaning can help maintain its performance and prolong its lifespan. While the task may seem daunting at first, with the right tools and careful approach, it can be a straightforward process.
By following this guide, you'll gain the confidence and knowledge needed to disassemble, clean, and reassemble your GX gaming keyboard effectively. Whether you're dealing with sticky keys, unresponsive switches, or simply want to give your keyboard a deep clean, this step-by-step tutorial will walk you through the process, ensuring that you can maintain your keyboard in optimal condition.
Taking apart your GX gaming keyboard may seem like a complex task, but with the right guidance and a methodical approach, you can successfully clean and maintain your keyboard for prolonged use. So, gather your tools and let's dive into the process of dismantling and cleaning your GX gaming keyboard to keep it in top-notch condition.
With the right tools and a careful approach, you can easily disassemble your GX gaming keyboard to clean and maintain its performance. This guide will provide you with the necessary steps to ensure that your keyboard remains in optimal condition for a satisfying gaming or typing experience. Let's get started on the journey to uncovering the inner workings of your GX gaming keyboard.
Tools and Materials Needed
Before embarking on the process of disassembling your GX gaming keyboard, it’s essential to gather the necessary tools and materials to ensure a smooth and efficient cleaning process. Here’s a comprehensive list of items you’ll need:
- Phillips head screwdriver: This will be used to remove any screws securing the keyboard casing.
- Keycap puller: An essential tool for safely removing the keycaps without causing damage to the switches or the keycap stems.
- Cotton swabs or soft bristle brush: Ideal for cleaning hard-to-reach areas and removing debris from the keyboard’s components.
- Isopropyl alcohol: A gentle and effective cleaning solution for removing grime, oil, and dirt from the keycaps and keyboard housing.
- Microfiber cloth: Use this to wipe down the keyboard components and ensure they are free from any residual cleaning solution or debris.
- Compressed air canister: Perfect for blowing away dust and debris from the keyboard’s internal components and crevices.
- Flat, clean surface: Find a spacious and clean area to work on, providing ample space to lay out the keyboard and its components during the disassembly and cleaning process.
By ensuring you have these tools and materials at your disposal, you’ll be well-equipped to proceed with the disassembly and cleaning of your GX gaming keyboard. With these items in hand, you can confidently tackle the task and restore your keyboard to its optimal condition.
Gathering the necessary tools and materials is a crucial first step in preparing to disassemble and clean your GX gaming keyboard. By having these items on hand, you’ll be well-prepared to navigate the cleaning process effectively and ensure that your keyboard receives the care it deserves.
Removing the Keycaps
Before delving into the disassembly of the keyboard’s internal components, it’s essential to start with the removal of the keycaps. This process allows for thorough cleaning of the keycaps and access to the switches and underlying keyboard structure. Here’s a step-by-step guide to removing the keycaps from your GX gaming keyboard:
- Prepare the workspace: Find a well-lit and spacious area to work in, ensuring that you have ample room to lay out the keycaps and maintain visibility during the removal process.
- Use the keycap puller: Gently position the keycap puller around the edges of a keycap, ensuring that it securely grasps the sides without applying excessive force. With a firm grip, pull upwards to detach the keycap from the switch stem. Repeat this process for each keycap, taking care not to bend or damage the switches beneath.
- Organize the keycaps: As you remove the keycaps, consider organizing them in a manner that will facilitate easy reassembly. You may choose to arrange them in a pattern that mirrors their layout on the keyboard or utilize a keycap tray to keep them in order.
- Inspect for debris: With the keycaps removed, take a moment to inspect the exposed switches and the underlying keyboard surface for any accumulated debris or dust. This visual check will help identify areas that require attention during the cleaning process.
By following these steps, you’ll be able to safely and methodically remove the keycaps from your GX gaming keyboard, setting the stage for a comprehensive cleaning of both the keycaps and the keyboard’s underlying components. This initial step is crucial in preparing the keyboard for a thorough maintenance process, ensuring that each component can be effectively cleaned and inspected.
Removing the keycaps from your GX gaming keyboard is a fundamental step in the cleaning and maintenance process. By carefully following these steps, you’ll be able to access the switches and underlying components, setting the stage for a thorough cleaning that will contribute to the keyboard’s optimal performance and longevity.
Disassembling the Keyboard
Once the keycaps have been removed, the next crucial step is to disassemble the GX gaming keyboard to access its internal components. This process requires a methodical approach to ensure that the keyboard is dismantled safely and efficiently. Here’s a detailed guide to disassembling your GX gaming keyboard:
- Locate and remove screws: Using a Phillips head screwdriver, carefully identify and remove the screws securing the keyboard’s casing. These screws are typically located on the underside of the keyboard and may be concealed beneath rubber pads or stickers. Keep the removed screws in a safe place for reassembly.
- Separate the keyboard casing: With the screws removed, gently separate the top and bottom halves of the keyboard casing. Take care to note any clips or retention mechanisms that may need to be disengaged to avoid causing damage to the casing.
- Handle with care: As you disassemble the keyboard, handle the components with care to prevent any undue stress or damage. Pay attention to any cables or ribbon connectors that may be attached to the keyboard’s internal circuitry, ensuring that they are gently detached to avoid strain.
- Access the internal components: Once the keyboard casing is removed, you’ll have access to the internal components, including the PCB (printed circuit board), switches, and other electronic elements. Take this opportunity to inspect the components for any visible debris, dust, or signs of wear.
By following these steps, you’ll be able to effectively disassemble your GX gaming keyboard, gaining access to its internal components for thorough cleaning and inspection. This process sets the stage for a comprehensive maintenance routine, allowing you to address any accumulated debris and ensure the keyboard’s optimal functionality.
Disassembling your GX gaming keyboard is a critical step in the maintenance process, providing access to its internal components for thorough cleaning and inspection. By carefully following the disassembly steps outlined here, you’ll be well-prepared to address any accumulated debris and maintain the keyboard in prime condition for continued use.
Cleaning the Components
With the internal components of your GX gaming keyboard accessible after disassembly, it’s time to embark on the cleaning process to ensure that each element is free from debris and grime. Taking the time to thoroughly clean the components will contribute to the keyboard’s optimal performance and longevity. Here’s a detailed guide to cleaning the various keyboard components:
- Cleaning the keycaps: Submerge the keycaps in a bowl of warm water mixed with a gentle dish soap. Use a soft bristle brush or a microfiber cloth to gently scrub each keycap, ensuring that any accumulated grime or residue is removed. Rinse the keycaps thoroughly with clean water and allow them to air dry completely before reassembly.
- Cleaning the keyboard casing: Wipe down the interior and exterior of the keyboard casing using a mild cleaning solution, such as isopropyl alcohol. Ensure that all surfaces are thoroughly cleaned and dried to remove any dust or debris that may have accumulated over time.
- Cleaning the switches and PCB: Use compressed air to gently blow away any dust or debris from the switches and the PCB. Take care to hold the compressed air canister upright to prevent any moisture from being released. Additionally, use a soft brush or cotton swabs lightly dampened with isopropyl alcohol to clean the switches and PCB, removing any stubborn residue.
- Inspecting for remaining debris: After cleaning the components, take a moment to inspect each element for any remaining debris or residue. Address any areas that may require further cleaning to ensure that the components are entirely free from grime.
By meticulously cleaning each component, you’ll be able to ensure that your GX gaming keyboard is free from debris and grime, setting the stage for its optimal functionality and a satisfying user experience. This comprehensive cleaning process will contribute to the keyboard’s longevity and performance, making it well worth the effort.
Cleaning the various components of your GX gaming keyboard is a crucial step in maintaining its optimal functionality and longevity. By following the detailed cleaning process outlined here, you’ll be able to address any accumulated debris and ensure that each component is thoroughly cleaned and inspected, contributing to the keyboard’s overall performance.
Reassembling the Keyboard
After thoroughly cleaning the components of your GX gaming keyboard, the reassembly process is a critical step in ensuring that the keyboard is restored to its optimal functionality. Carefully reassembling the keyboard components will allow for a seamless and satisfying user experience. Here’s a detailed guide to reassembling your GX gaming keyboard:
- Positioning the keyboard casing: Align the top and bottom halves of the keyboard casing, ensuring that any clips or retention mechanisms are engaged securely. Take care to position the casing evenly before proceeding with the reattachment of screws.
- Securing the casing: Using the Phillips head screwdriver, reinsert and tighten the screws to secure the keyboard casing. Ensure that each screw is fastened snugly but not overtightened to avoid causing damage to the casing or components.
- Attaching the keycaps: With the keyboard casing reassembled, begin attaching the clean and dry keycaps to their respective switch stems. Press down gently on each keycap to ensure that it is seated securely and evenly, avoiding any tilting or misalignment.
- Testing the keys: Once all keycaps are reattached, perform a quick test of the keys to ensure that they depress smoothly and register accurately. This test will help identify any keycaps that may require further adjustment.
By following these steps, you’ll be able to effectively reassemble your GX gaming keyboard, ensuring that each component is securely positioned and ready for use. This meticulous reassembly process sets the stage for a satisfying user experience, allowing you to enjoy the keyboard’s renewed functionality and responsiveness.
Reassembling your GX gaming keyboard is a crucial step in the maintenance process, ensuring that each component is securely positioned and ready for use. By carefully following the reassembly steps outlined here, you’ll be well-prepared to restore the keyboard to its optimal functionality, providing a seamless and satisfying user experience.
Testing the Keyboard
After completing the reassembly process, it’s essential to conduct thorough testing to ensure that your GX gaming keyboard functions optimally. Testing the keyboard will allow you to verify the responsiveness of the keys and the overall functionality, providing confidence in its restored performance. Here’s a detailed guide to testing your GX gaming keyboard:
- Keystroke testing: Begin by typing on the keyboard and testing each key to ensure that they register accurately and without any sticking or inconsistency. Pay close attention to the responsiveness of the keys, verifying that each press results in the intended character input.
- Functional testing: Test any additional features or functionalities present on your GX gaming keyboard, such as media controls, macro keys, or customizable settings. Verify that these features operate as expected, ensuring that the keyboard’s full range of capabilities is functional.
- Typing experience evaluation: Spend some time typing on the keyboard to evaluate the overall typing experience. Pay attention to the tactile feedback, key travel, and general comfort during use, ensuring that the keyboard provides a satisfying and responsive typing experience.
- Gaming performance assessment: If you use the GX gaming keyboard for gaming, engage in gameplay to assess its performance in a gaming environment. Verify that the keyboard’s responsiveness and key actuation meet your gaming requirements, ensuring a seamless gaming experience.
By conducting comprehensive testing, you’ll be able to verify that your GX gaming keyboard has been successfully restored to its optimal functionality. This thorough evaluation process will provide confidence in the keyboard’s performance, allowing you to resume gaming or typing activities with assurance in its responsiveness and reliability.
Testing your GX gaming keyboard is a crucial final step in the maintenance process, ensuring that the keyboard functions optimally and meets your performance expectations. By following the detailed testing guide outlined here, you’ll be able to thoroughly evaluate the keyboard’s responsiveness and overall functionality, providing confidence in its restored performance.


