Introduction
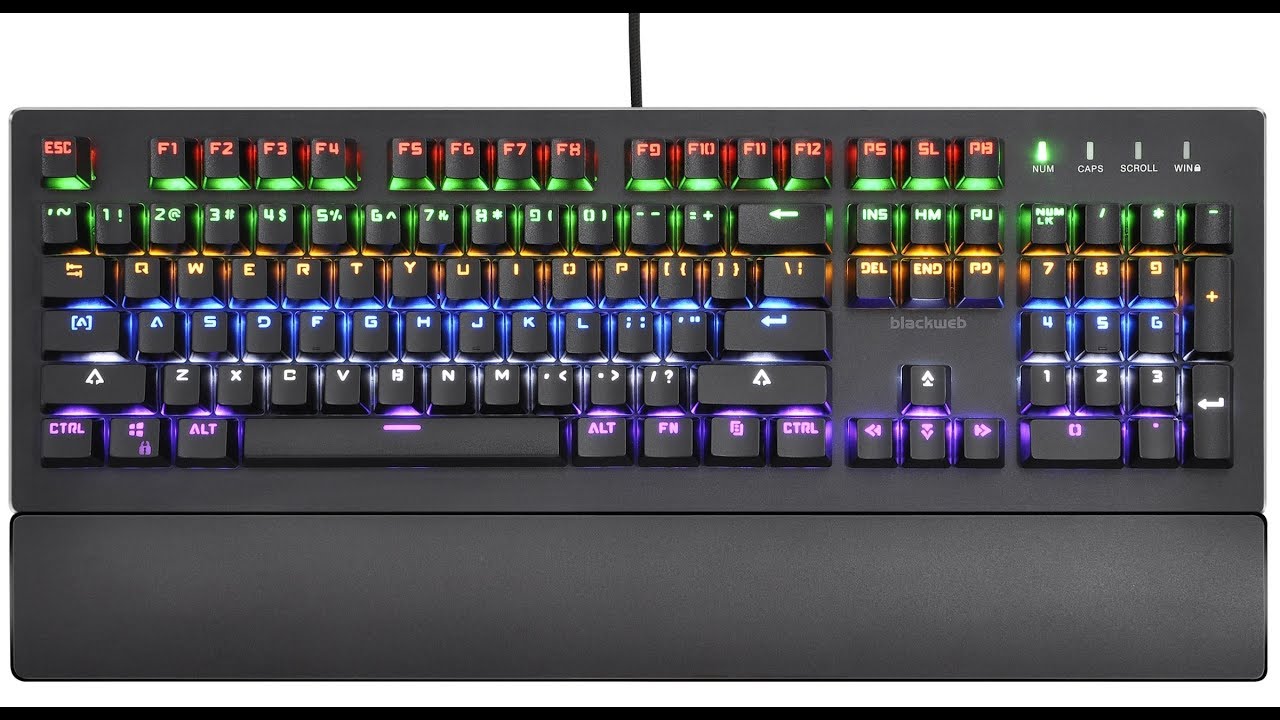
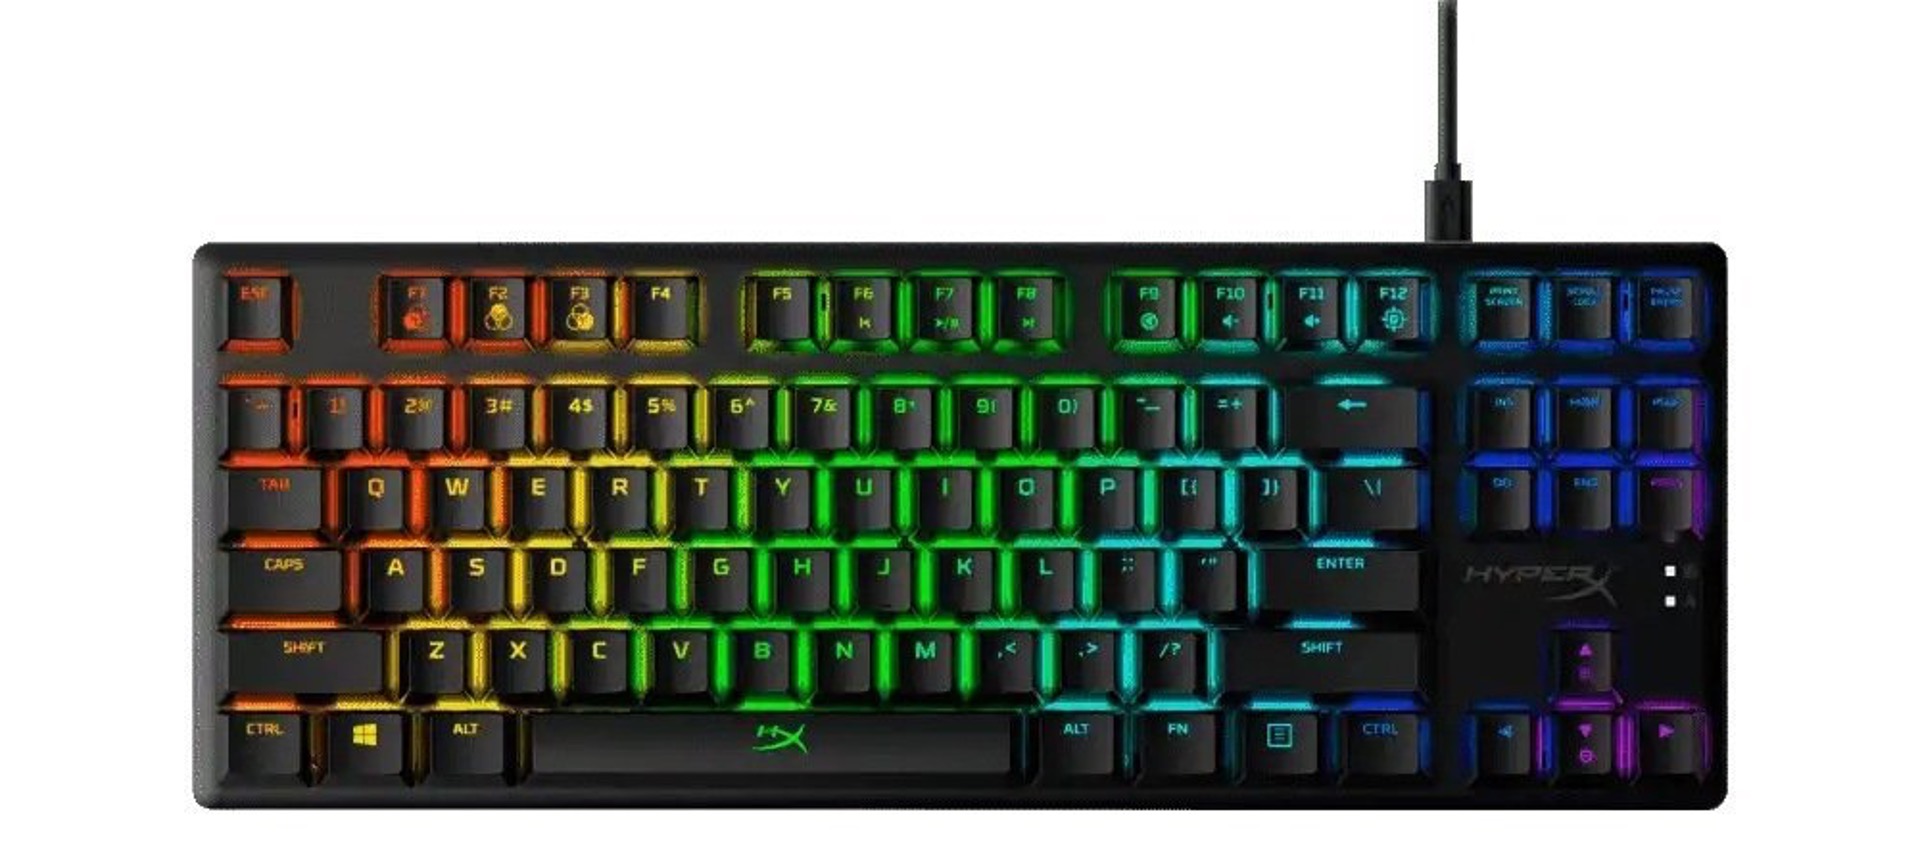
Gaming keyboards are a crucial component of any gamer's setup, offering a tactile and responsive platform for executing commands with precision. However, the wear and tear of intense gaming sessions can lead to individual keys becoming unresponsive or malfunctioning. In such instances, it becomes necessary to remove and reattach the affected key to restore optimal functionality. This guide will walk you through the step-by-step process of safely removing and reattaching a key on your gaming keyboard.
Whether you're an avid gamer or a casual user, understanding how to effectively manage and maintain your gaming keyboard can significantly enhance your overall experience. By mastering the skill of removing and reattaching keys, you can ensure that your keyboard remains in top condition, allowing you to immerse yourself fully in your gaming adventures without any technical hindrances.
In the following sections, we will explore the tools required for this task, the process of removing the key, placing it back securely, and finally, testing the key to confirm its proper functionality. By following these instructions, you can easily troubleshoot and address individual key issues, prolonging the lifespan of your gaming keyboard and optimizing your gaming performance. Let's delve into the detailed steps required to put the key back on your gaming keyboard and get back to your gaming endeavors seamlessly.
Tools Needed
Before embarking on the task of putting the key back on your gaming keyboard, it’s essential to gather the necessary tools to ensure a smooth and efficient process. The following tools are recommended for this task:
- Keycap Puller: This specialized tool is designed to safely remove keycaps from mechanical keyboards without causing damage. It provides a firm grip and prevents any accidental slippage during the removal process.
- Tweezers or Small Flat-Head Screwdriver: In the absence of a keycap puller, tweezers or a small flat-head screwdriver can be used to carefully lift and remove the keycap. However, it’s crucial to exercise caution to avoid scratching or damaging the key or the keyboard’s surface.
- Clean Cloth: Having a clean, lint-free cloth on hand is beneficial for wiping the keycap and the keyboard’s surface, ensuring that no dust or debris interferes with the reattachment process.
- Compressed Air Duster: To thoroughly clean the area beneath the keycap and remove any accumulated dust or particles, a can of compressed air duster can be employed to maintain the keyboard’s hygiene and functionality.
By assembling these essential tools, you can proceed with confidence, knowing that you have everything required to safely and effectively put the key back on your gaming keyboard. With the tools in hand, you are now prepared to move on to the next step of removing the keycap.
Removing the Key
Before delving into the process of removing the key from your gaming keyboard, it’s important to exercise caution and attentiveness to prevent any damage to the keycap or the keyboard itself. Follow these steps to safely remove the key:
- Assess the Keycap: Identify the key that requires attention and determine the type of switch it utilizes. Most gaming keyboards feature mechanical switches, and understanding the specific switch type can aid in selecting the appropriate method for key removal.
- Position the Keyboard: Lay the keyboard on a flat, stable surface, ensuring that it is secure and does not wobble or slide during the key removal process. This stability is crucial for maintaining precision and avoiding accidental damage.
- Use the Keycap Puller: If you have a keycap puller, carefully position it around the keycap, ensuring a firm and secure grip. Apply even pressure and gently pull upwards to detach the keycap from the switch. If you don’t have a keycap puller, tweezers or a small flat-head screwdriver can be used as alternatives, but exercise extreme care to avoid slippage or damage.
- Remove the Keycap: Once the keycap is loosened, lift it gently and steadily to detach it from the switch. Be mindful of any resistance and avoid sudden or forceful movements to prevent damage to the switch or the keycap’s mounting points.
- Clean the Area: After removing the keycap, inspect the exposed switch and the surrounding area for any dust, debris, or residue. Use a can of compressed air duster to gently clean the switch and its vicinity, ensuring that it is free from any obstructions that may affect the reattachment process.
By following these steps, you can safely and effectively remove the key from your gaming keyboard, setting the stage for the subsequent process of placing the key back securely. With the keycap successfully removed, you are now ready to proceed to the next phase of this maintenance task.
Placing the Key Back
Once the keycap has been safely removed from your gaming keyboard, the next crucial step is to securely place it back onto the switch without causing any damage. Follow these steps to ensure the key is reattached properly:
- Inspect the Keycap and Switch: Before reattaching the keycap, examine both the key and the switch to ensure they are clean and free from any debris or damage. Any foreign particles or obstructions can hinder the reattachment process and affect the key’s functionality.
- Align the Keycap: Position the keycap directly above the switch, ensuring that it is correctly aligned with the switch housing. Take care to align the keycap evenly to prevent any uneven pressure during the reattachment process.
- Apply Even Pressure: With the keycap properly aligned, apply gentle and even pressure to press it down onto the switch. Ensure that the keycap’s mounting points align with the switch housing, and avoid exerting excessive force that may cause damage to the switch or the keycap.
- Confirm Secure Attachment: Once the keycap is pressed down, verify that it is securely attached to the switch and does not wobble or feel loose. A properly reattached keycap should sit firmly in place, allowing for smooth and consistent keystrokes during use.
- Test the Key: After reattaching the keycap, test the key by pressing it multiple times to verify its responsiveness and functionality. Ensure that the key registers each press accurately and does not exhibit any sticking or irregular behavior.
By methodically following these steps, you can successfully place the key back onto your gaming keyboard, restoring its optimal functionality and ensuring a seamless gaming experience. With the key securely reattached, the final step involves testing the key to confirm its proper operation, allowing you to address any potential issues before concluding the maintenance process.
Testing the Key
After securely reattaching the keycap to your gaming keyboard, it is essential to conduct thorough testing to confirm the key’s proper functionality. Follow these steps to ensure that the key is responsive and operating as intended:
- Keystroke Testing: Press the reattached key multiple times to assess its responsiveness and consistency. Each keystroke should register accurately without any delays or irregularities, indicating that the keycap is securely and functionally attached to the switch.
- Key Combination Testing: If the reattached key is part of a key combination used in gaming or other applications, test the combination to ensure that all keys involved function harmoniously and produce the intended results. Verify that the key combination registers accurately and without any issues.
- Typing Test: Type a series of words or sentences that involve the reattached key to evaluate its performance during regular typing tasks. Pay attention to the key’s responsiveness, tactile feedback, and overall comfort during typing, ensuring that it seamlessly integrates with the rest of the keyboard’s keys.
- Gameplay Testing: If the reattached key is frequently used during gaming sessions, engage in gameplay to assess its performance in the gaming environment. Test the key’s responsiveness, precision, and consistency during gaming actions, ensuring that it enhances rather than hinders the gaming experience.
By diligently testing the reattached key using the outlined methods, you can confidently verify its proper functionality and integration into your gaming keyboard. Thorough testing ensures that the key operates seamlessly across various scenarios, allowing you to resume your gaming or typing activities without any disruptions or concerns about the reattached key’s performance.
Conclusion
Mastering the skill of removing and reattaching keys on your gaming keyboard is a valuable asset that empowers you to maintain and optimize your gaming experience. By following the step-by-step process outlined in this guide, you have acquired the knowledge and proficiency to troubleshoot individual key issues and ensure the seamless operation of your gaming keyboard.
From gathering the essential tools to safely removing the key, placing it back securely, and conducting thorough testing, each phase of the process contributes to the overall maintenance and functionality of your gaming keyboard. The careful attention to detail and precision exhibited during these tasks underscores the importance of maintaining a well-functioning keyboard for an enhanced gaming and typing experience.
By understanding the intricacies of your gaming keyboard and being equipped with the necessary skills to address key-related issues, you can confidently navigate the maintenance and upkeep of this essential peripheral. Additionally, the ability to troubleshoot and resolve individual key concerns can prolong the lifespan of your gaming keyboard, ensuring its reliability and performance over time.
As you apply the knowledge gained from this guide, you are empowered to tackle key-related issues with confidence, allowing you to immerse yourself fully in your gaming adventures without the distraction of malfunctioning keys. By maintaining a proactive approach to keyboard maintenance, you can optimize your gaming setup and elevate your overall gaming experience.
With the successful completion of the key reattachment process and thorough testing, you can now enjoy the seamless functionality of your gaming keyboard, knowing that you possess the skills to address key-related concerns effectively. By incorporating these maintenance practices into your routine, you can uphold the performance and longevity of your gaming keyboard, ensuring that it remains a reliable and responsive tool for your gaming endeavors.