Introduction
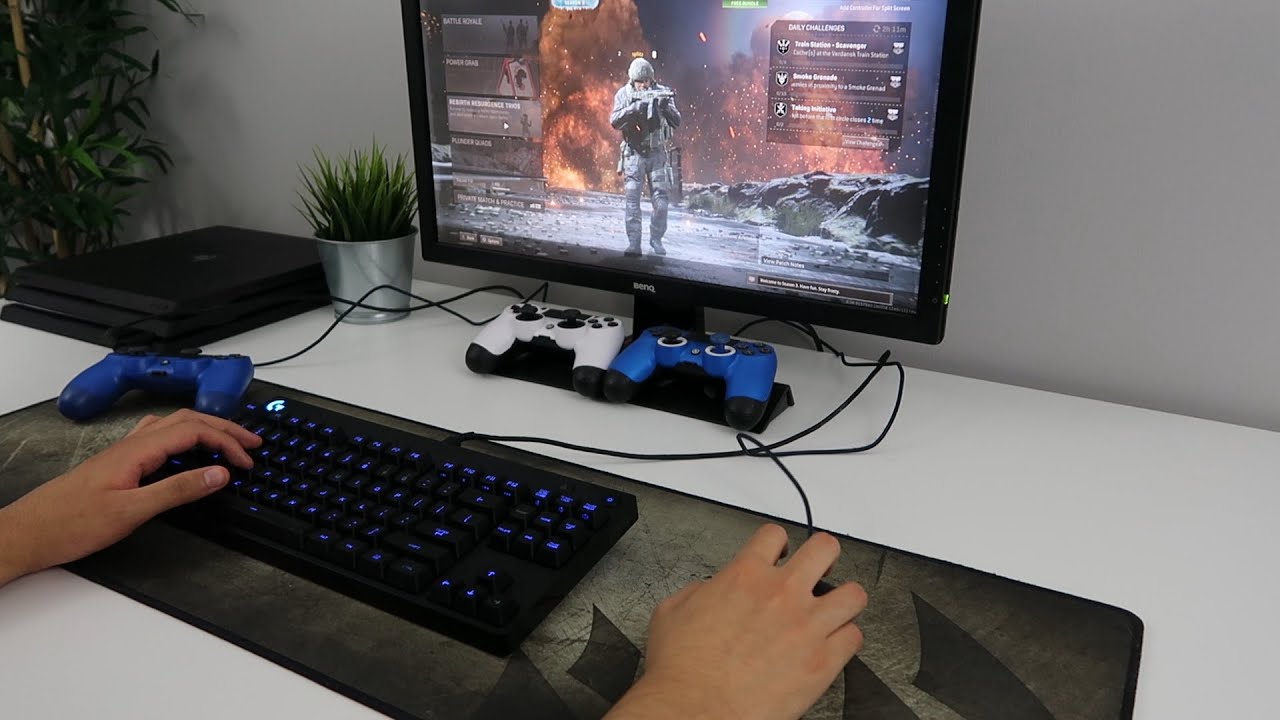
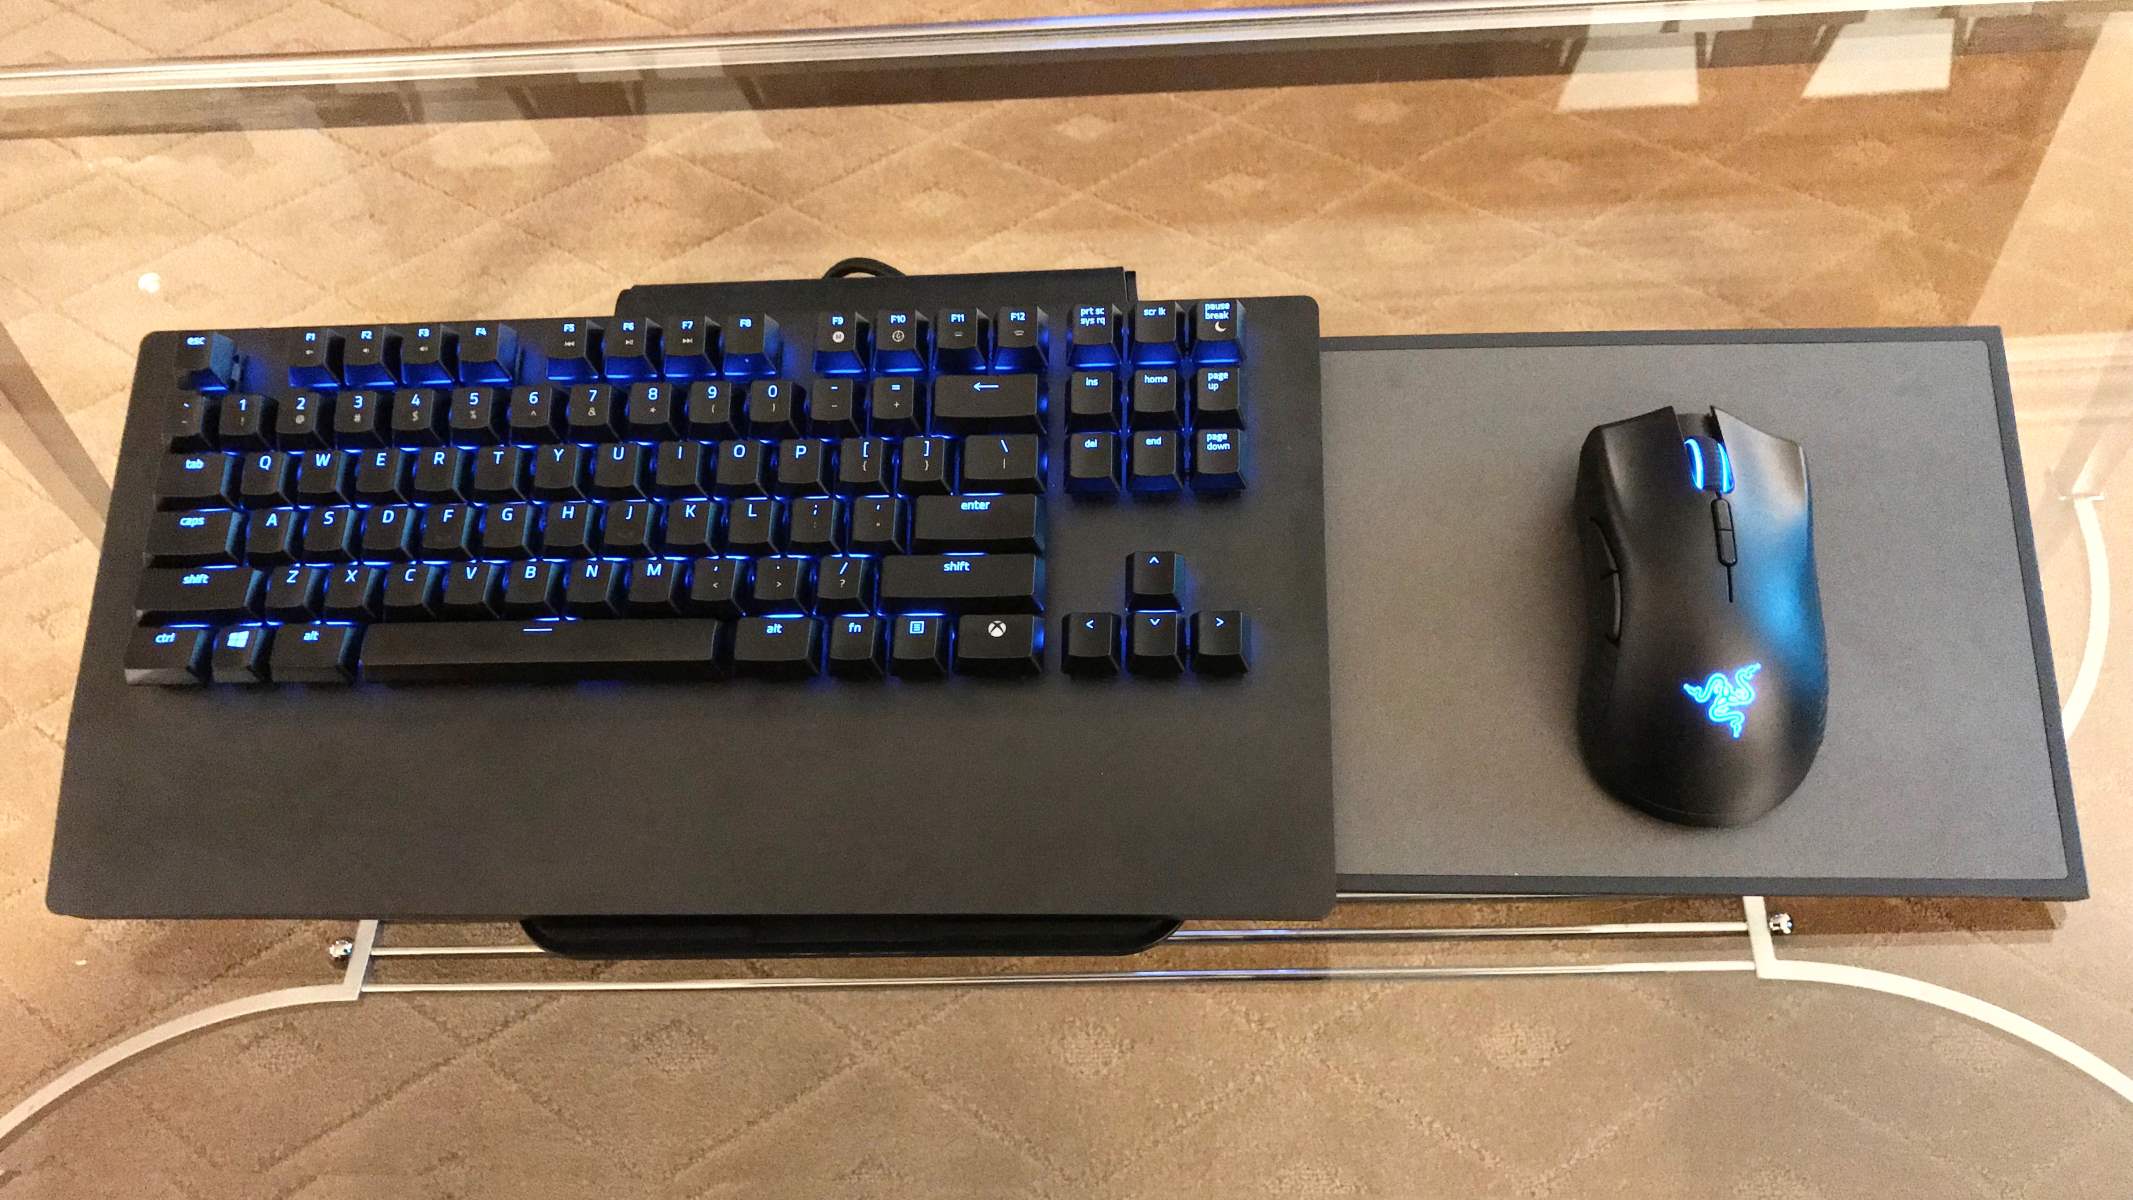
Are you tired of using the on-screen keyboard on your PS4 to navigate menus and type messages? Fortunately, you can connect a wireless keyboard to your PS4 for a more convenient and efficient gaming experience. With a wireless keyboard, you can easily enter text, search the internet, and even chat with your friends while playing your favorite games.
Connecting a wireless keyboard to your PS4 is a simple process that does not require any technical expertise. In this article, we will guide you through the step-by-step instructions to help you seamlessly connect your wireless keyboard to your PS4. By following these easy steps, you can enhance your gaming experience and enjoy the convenience of typing with a physical keyboard.
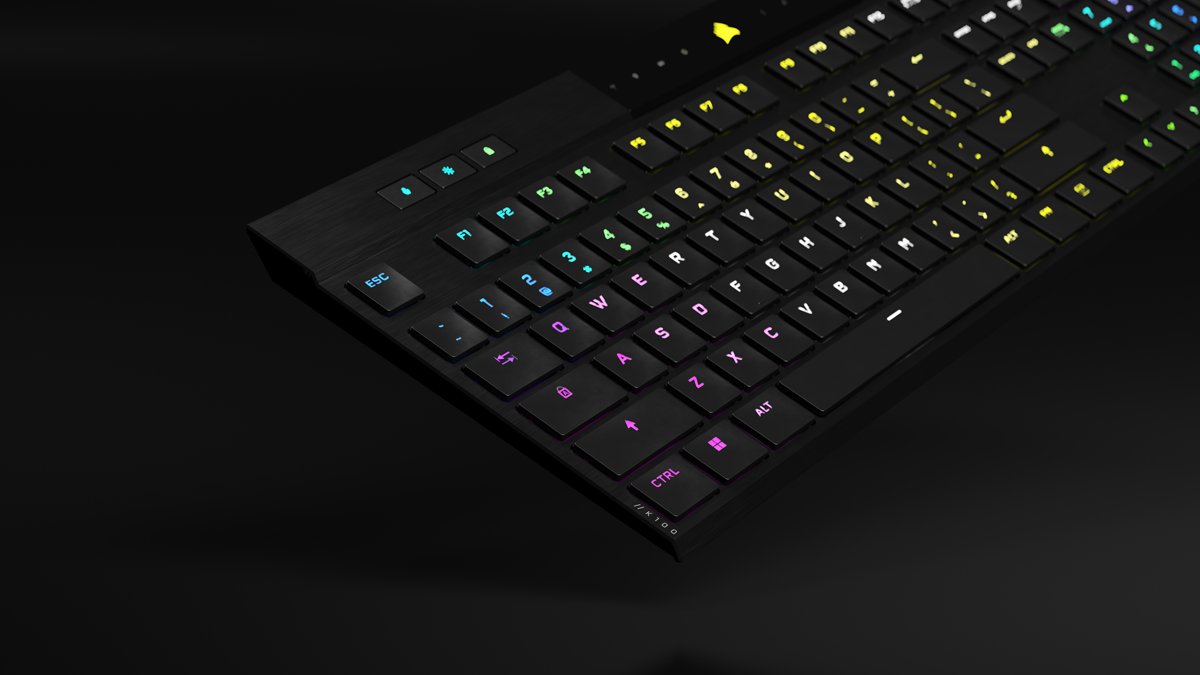
Before we dive into the setup process, it is important to note that not all wireless keyboards are compatible with the PS4. Make sure to check the compatibility of your keyboard with the PS4 system before proceeding. A compatible keyboard will need to have Bluetooth functionality in order to establish a wireless connection with your PS4.
Now that you have confirmed the compatibility of your wireless keyboard, let’s jump into the process of connecting it to your PS4. It is worth mentioning that these instructions are specifically for the PS4 system software version 6.0 or later, so make sure your system is up to date.
Step 1: Check Compatibility
The first step in connecting a wireless keyboard to your PS4 is to ensure that the keyboard is compatible with the system. Not all wireless keyboards are designed to work with the PS4, so it is important to check the compatibility before proceeding.
To check the compatibility of your wireless keyboard, you can refer to the manufacturer’s website or user manual. Look for any specific requirements or instructions for connecting the keyboard to gaming consoles. Additionally, you can search online forums or community boards where users share their experiences with different keyboards and their compatibility with the PS4.
One important feature to look for in a wireless keyboard is Bluetooth functionality. The PS4 uses Bluetooth technology to establish a wireless connection, so make sure that your keyboard supports Bluetooth. If your keyboard does not have Bluetooth capability, it will not be compatible with the PS4.
It is also a good idea to check if the keyboard requires any driver installation or additional software. Some keyboards may require specific drivers to be installed on the PS4 to ensure proper functionality. The manufacturer’s website or user manual should provide instructions on how to install any necessary drivers or software.
By checking the compatibility of your wireless keyboard with the PS4, you can avoid any frustrating situations where the keyboard is unable to connect or function properly. Ensuring compatibility from the start will make the setup process much smoother and more successful.
Step 2: Turn on your PS4
Before you can connect your wireless keyboard to your PS4, you need to ensure that your gaming console is powered on. Make sure that your PS4 system is connected to a power source and press the power button to turn it on.
If your PS4 is in rest mode or standby mode, press the power button on the console or the PS4 controller to wake it up. The console should display the home screen on your connected television or monitor.
During this step, it is crucial to have your TV or monitor turned on and set to the appropriate input source for the PS4. This way, you can easily navigate the PS4 menu and complete the setup process.
Once your PS4 is turned on and the home screen is displayed, you can move on to the next step of connecting your wireless keyboard.
Note: If your PS4 is already turned on and you are using it, make sure to save your progress and exit any active game or application before proceeding with the setup process. This will ensure that you don’t lose any unsaved data during the setup process.
Step 3: Go to the Settings Menu
Once your PS4 is powered on, it’s time to navigate to the settings menu where you can access the options to connect your wireless keyboard. To do this, you will need to use your PS4 controller.
Grab your PS4 controller and press the PS button in the center of the controller. This will bring up the quick menu on the screen. From the quick menu, navigate to the far right and select the “Settings” option. Press the X button to enter the settings menu.
Within the settings menu, you will find various options to customize your PS4 and manage system preferences. There will be different categories listed on the left side of the screen, such as “System,” “Network,” “Sound and Screen,” and more.
Navigate to the “System” category and press the X button to access additional system settings. This is where you will find the options to connect external devices like a wireless keyboard.
Once you have entered the “System” category, scroll down or use the left thumbstick to navigate to the “Devices” option. Press the X button to select it. This will open a new set of options related to external devices and their connections.
Now that you are in the settings menu and have reached the “Devices” section, you are one step closer to connecting your wireless keyboard. Keep following the steps to successfully establish the connection and start enjoying the convenience of a physical keyboard on your PS4.
Step 4: Access the Devices Option
After entering the settings menu on your PS4, you will need to navigate to the “Devices” option to access the settings related to external devices, including your wireless keyboard. This step will guide you through finding and selecting the “Devices” option.
Using your PS4 controller, scroll down or use the left thumbstick to navigate to the “Devices” option in the list of settings categories. Once you have highlighted the “Devices” option, press the X button to select it.
By selecting the “Devices” option, you will enter the settings menu specifically for connecting and managing external devices on your PS4. This menu provides you with various options to configure and customize the connections and functionality of devices like controllers, keyboards, and headsets.
Within the “Devices” menu, you may see options such as “Controllers,” “Audio Devices,” and more. These options allow you to manage different types of devices connected to your PS4. For connecting a wireless keyboard, focus on the options related to keyboards or Bluetooth devices.
Scroll down or navigate through the list of options within the “Devices” menu to find the section related to keyboards or Bluetooth devices. The exact location and naming of this section may vary based on your PS4 system software version, but it should be labeled in a way that indicates the connection settings for external keyboards.
Once you have located the appropriate section, proceed to the next step to continue the setup process and establish a connection between your wireless keyboard and your PS4.
Step 5: Choose Bluetooth Devices
Now that you have accessed the “Devices” menu in the settings of your PS4, it’s time to select the option for connecting Bluetooth devices, which includes your wireless keyboard. This step will guide you through choosing the appropriate option within the “Devices” menu.
Using your PS4 controller, scroll down or use the left thumbstick to navigate through the options within the “Devices” menu. Look for the section that is specifically related to Bluetooth devices or wireless connections.
Once you have found the Bluetooth devices section, press the X button to access it. This will reveal the available options for managing Bluetooth connections on your PS4.
In the Bluetooth devices section, you will likely see options such as “Register New Device” or “Pair New Device.” Selecting one of these options will allow you to initiate the pairing process and establish a connection with your wireless keyboard.
Depending on your PS4 system software version, there may be other options or steps involved in the Bluetooth device setup process. Follow the on-screen instructions and prompts to proceed with the pairing process.
It is important to note that you may need to put your wireless keyboard into pairing mode while the PS4 is searching for devices. Refer to the user manual or instructions provided by the keyboard manufacturer on how to activate pairing mode.
Once the PS4 detects your wireless keyboard, it will be listed as an available device. Select your keyboard from the list using your PS4 controller and press the X button to choose it.
After selecting your wireless keyboard, the PS4 will attempt to establish a connection with it. This process may take a few seconds as the devices exchange information and establish a secure connection.
Once the connection is successfully established, you will receive a notification on your PS4 screen indicating that the wireless keyboard is now connected and ready to use.
Step 6: Put Your Keyboard into Pairing Mode
In order for your wireless keyboard to be detected and connected to your PS4, you need to put it into pairing mode. This step will guide you through the process of activating pairing mode on your keyboard.
The specific method to activate pairing mode may vary depending on the make and model of your wireless keyboard. However, most keyboards have a dedicated button or combination of keys to initiate the pairing process.
Refer to the user manual or instructions provided by the keyboard manufacturer to determine the exact steps to put your keyboard into pairing mode.
Typically, to activate pairing mode, you would need to press and hold a specific button on the keyboard, such as the Bluetooth button or a combination of function keys. Look for any indicator lights on the keyboard that indicate it is in pairing mode.
Some keyboards may also have a switch that needs to be toggled to activate pairing mode. Make sure to follow the manufacturer’s instructions carefully to ensure you enter the correct mode.
Once your keyboard is in pairing mode, it will start broadcasting its Bluetooth signal and be ready to establish a connection with your PS4.
Keep in mind that the pairing mode on your keyboard is typically only active for a certain amount of time to conserve battery life. If you are unable to connect your keyboard within the specified time, you may need to repeat the steps to put it into pairing mode again.
Now that your keyboard is in pairing mode, you are ready to proceed with the next step and connect it to your PS4.
Step 7: Select Your Wireless Keyboard on the PS4
With your wireless keyboard in pairing mode and your PS4 searching for devices, it’s time to select your keyboard on the PS4 and establish the connection. This step will guide you through the process of choosing and connecting your wireless keyboard on the PS4.
On your PS4 screen, a list of available devices will be displayed, including your wireless keyboard. This list will show the names or identifiers of the detected devices.
Using your PS4 controller, navigate through the list of available devices. Look for the name or identifier of your wireless keyboard and highlight it.
Once you have selected your wireless keyboard, press the X button to choose it as the device you want to connect to your PS4.
The PS4 will now attempt to establish a connection with your wireless keyboard. It will send a pairing request to the keyboard and wait for a response.
On your wireless keyboard, you may see a prompt or notification indicating that a device is trying to connect. Follow the instructions provided by your keyboard manufacturer to accept the pairing request.
After accepting the pairing request, your wireless keyboard and the PS4 will exchange encryption codes to ensure a secure connection.
Once the connection is successfully established, your PS4 will display a confirmation message on the screen. It will indicate that your wireless keyboard is now connected and ready to use.
At this point, you can safely close the Bluetooth or devices settings menu on your PS4. Your wireless keyboard is now fully connected and ready to be used for text entry, navigating menus, and other functions on your PS4.
Make sure to test your keyboard’s functionality by opening a new text field or entering a search query. If your keyboard is working properly, you can move on to the final step to ensure your connection is stable.
Step 8: Test Your Connection
After successfully connecting your wireless keyboard to your PS4, it is important to test the connection to ensure everything is working as expected. This step will guide you through testing the functionality of your wireless keyboard on your PS4.
Start by navigating to a text field or any area where you can enter text on your PS4. This can be in a messaging app, the internet browser, or any other application that requires text input.
Using your wireless keyboard, start typing and verify that the input is being registered correctly on your PS4. Check for any delays or missing keystrokes, as these may indicate a problem with the connection.
You can also test other functions of your wireless keyboard, such as using special keys, function keys, or multimedia keys. Ensure that they are working as intended and that the PS4 recognizes them.
If you encounter any issues or your keyboard is not functioning as expected, try the following troubleshooting steps:
- Restart your PS4 and try reconnecting your wireless keyboard.
- Ensure that your keyboard batteries are charged or replace them with fresh batteries.
- Double-check that your wireless keyboard is within range of your PS4 and that there are no obstructions that may interfere with the wireless signal.
- Refer to the user manual or instructions provided by the keyboard manufacturer for any specific troubleshooting steps.
If you have successfully tested your connection and your wireless keyboard is functioning properly on your PS4, congratulations! You can now enjoy the convenience of using a physical keyboard for text input and navigation on your PS4.
If you continue to experience issues with your wireless keyboard connection, it may be worth contacting the keyboard manufacturer’s support for further assistance.
Conclusion
Connecting a wireless keyboard to your PS4 can greatly enhance your gaming experience by providing a more convenient and efficient way to navigate menus, enter text, and perform various functions on your console. With the step-by-step instructions provided in this guide, you can easily connect your wireless keyboard to your PS4 and start enjoying the benefits.
Before getting started, it is important to check the compatibility of your wireless keyboard with the PS4. Ensure that your keyboard has Bluetooth functionality and meets any other specific requirements mentioned by the manufacturer.
Once you have confirmed compatibility, you can proceed with the setup process. Turn on your PS4, access the settings menu, and navigate to the devices section. Choose the option for Bluetooth devices and put your keyboard into pairing mode.
Select your wireless keyboard on the PS4 and establish the connection. Test the functionality of your keyboard by entering text and using various keys. If everything is working properly, congratulations – your wireless keyboard is successfully connected to your PS4.
If you encounter any issues, refer to the troubleshooting steps provided in this guide or contact the keyboard manufacturer’s support for assistance.
Now that you have connected your wireless keyboard to your PS4, you can enjoy the convenience and efficiency it brings to your gaming experience. Whether you use it for text entry, internet browsing, or communication with friends, a wireless keyboard can make navigating your PS4 easier and more enjoyable.
Remember to keep your wireless keyboard within range of your PS4 and ensure that the keyboard batteries are charged for optimal performance. By taking care of your wireless keyboard and maintaining the connection, you can enjoy seamless gaming sessions and make the most out of your PS4 experience.