Introduction
Welcome to our guide on how to connect your Seenda Wireless Keyboard! If you’ve recently purchased this sleek and efficient keyboard, you’re probably eager to start using it with your device. Whether you’re connecting it to a laptop, tablet, or even a smartphone, we’ve got you covered with this step-by-step tutorial.
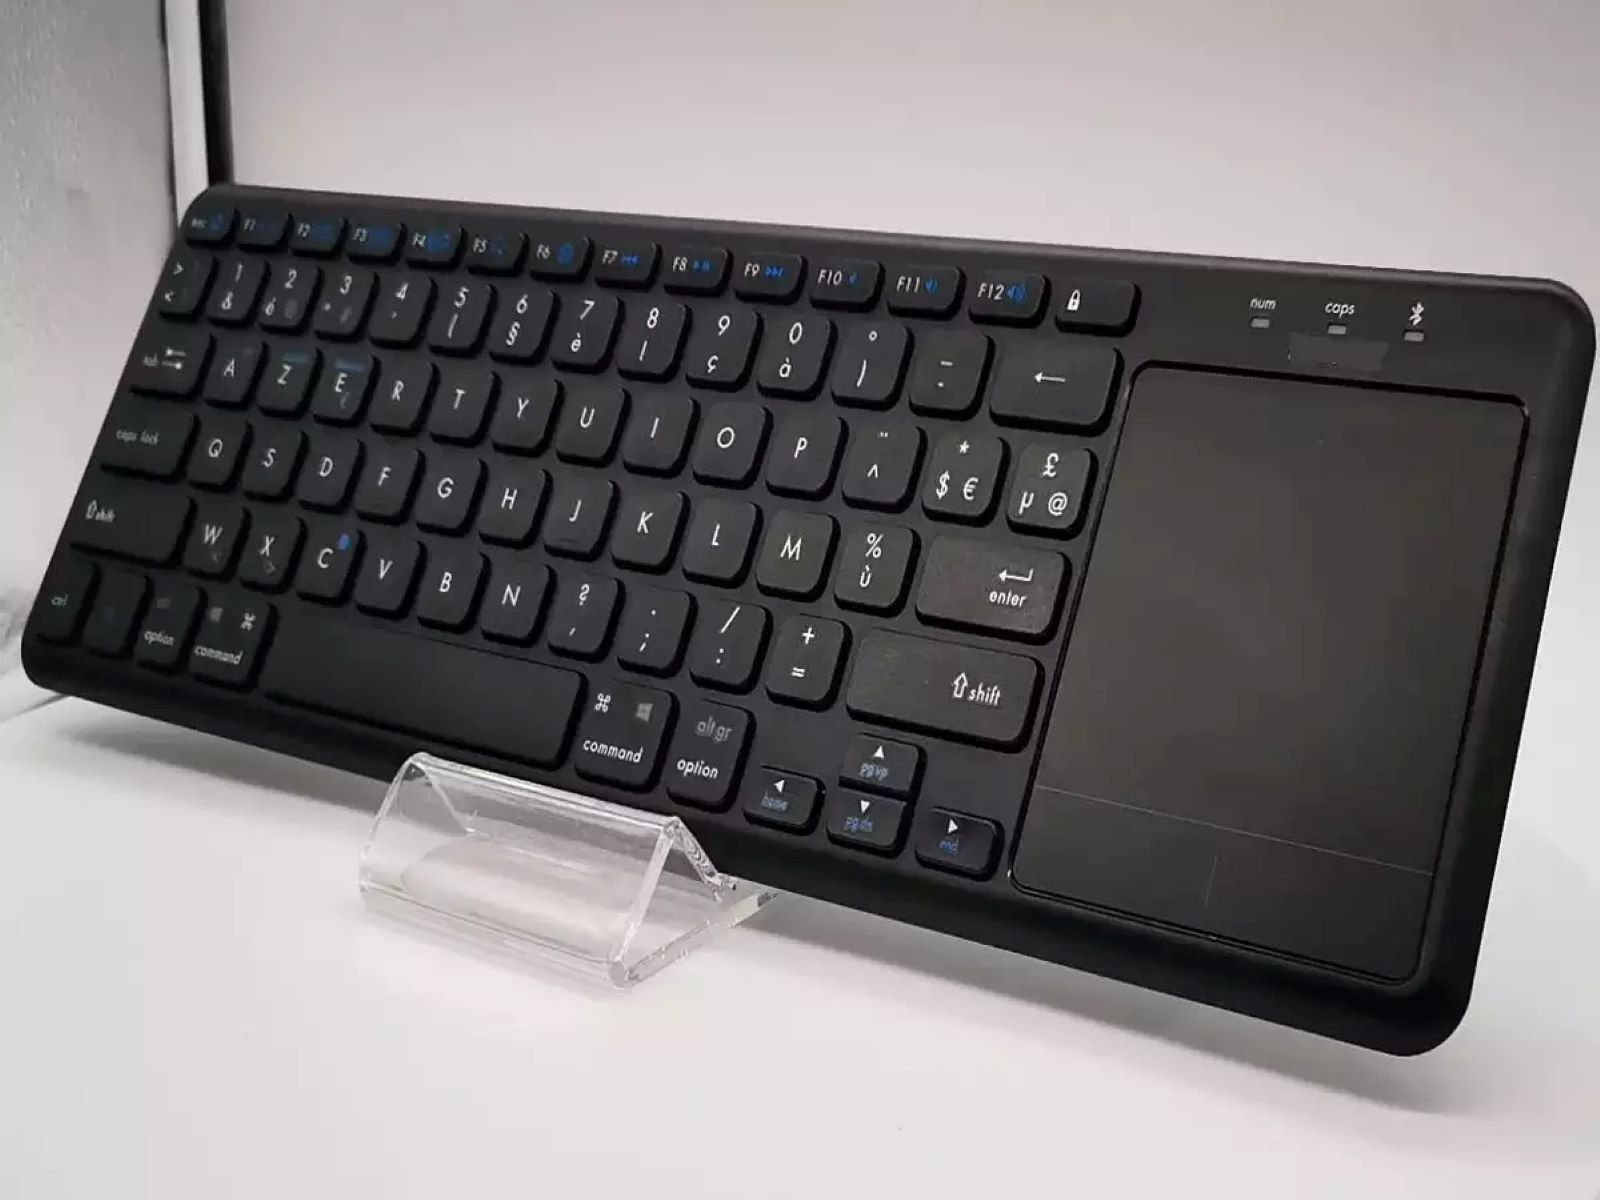
The Seenda Wireless Keyboard offers a convenient and clutter-free typing experience. With its Bluetooth capability, you can connect it to a wide range of devices and enjoy the flexibility of working or typing from a distance. This keyboard is known for its long battery life and ergonomic design, making it a popular choice for both professionals and casual users.
In this guide, we’ll walk you through the process of setting up your Seenda Wireless Keyboard and establishing a seamless connection with your device. By following these easy steps, you’ll be typing away in no time.
So, let’s dive in and get started!
Step 1: Turn on the keyboard
The first step to connecting your Seenda Wireless Keyboard is to turn it on. Locate the power switch on the keyboard, usually located on the back or side. Flip the switch to the “On” position to activate the keyboard.
Once the keyboard is turned on, you may see an LED indicator light up, indicating that it is ready for pairing. The specific location and color of the LED may vary depending on the model of your Seenda Wireless Keyboard.
It’s important to ensure that your keyboard has sufficient battery power before attempting to connect it to a device. If the LED light doesn’t turn on or if it starts blinking, it may be an indication that the battery needs to be replaced or recharged. Please refer to the user manual for instructions on how to properly charge the keyboard’s battery.
Now that you’ve turned on your Seenda Wireless Keyboard, you’re ready to move on to the next step, which is activating Bluetooth on your device.
Step 2: Activate Bluetooth on your device
In order to connect your Seenda Wireless Keyboard to your device, you need to ensure that Bluetooth is activated. Bluetooth allows your device to communicate wirelessly with the keyboard, establishing a connection for seamless typing.
The process of activating Bluetooth may vary depending on the device you’re using. However, the steps are generally similar across different platforms. Here’s a general guide:
- Go to the settings menu on your device. This is usually represented by a gear icon.
- Look for the “Bluetooth” option in the settings menu and tap on it to access the Bluetooth settings.
- Toggle the Bluetooth switch to the “On” position. This will activate Bluetooth on your device.
- Once Bluetooth is activated, your device will start searching for nearby devices to pair with. It may take a few moments for the device to discover the Seenda Wireless Keyboard.
Keep in mind that some devices may require you to enter a passcode or perform additional steps to activate Bluetooth pairing. Refer to your device’s user manual or online support resources for specific instructions.
Now that you’ve activated Bluetooth on your device, you’re ready to move on to the next step, which is pairing the keyboard with your device.
Step 3: Pairing the keyboard
After activating Bluetooth on your device, the next step is to pair your Seenda Wireless Keyboard with your device. Pairing establishes a secure and encrypted connection between the keyboard and your device, allowing you to use the keyboard for typing.
Follow these steps to pair your Seenda Wireless Keyboard:
- On your device, navigate to the Bluetooth settings menu.
- Under the list of available devices, locate the entry that represents your Seenda Wireless Keyboard. It may be listed as “Seenda Keyboard” or a similar name.
- Tap on the entry to initiate the pairing process. Your device may prompt you to confirm the pairing request.
- The LED indicator on your keyboard may start flashing or change color to indicate that it is in pairing mode.
- Wait for your device to establish the connection with the keyboard. Once the pairing is successful, your device will display a confirmation message.
It’s important to note that the pairing process may require some patience, especially if there are other Bluetooth devices nearby. In some cases, you may need to move closer to your device or restart the pairing process if the connection fails initially.
Now that your Seenda Wireless Keyboard is successfully paired with your device, you’re ready to move on to the next step, which is entering the passkey.
Step 4: Entering the passkey
Once you have successfully paired your Seenda Wireless Keyboard with your device, you may be prompted to enter a passkey or PIN code to complete the connection. The passkey is a security measure that ensures only authorized devices can connect to your keyboard.
Follow these steps to enter the passkey:
- Check your device’s screen for a prompt asking for a passkey or PIN code.
- Look for the passkey displayed on your Seenda Wireless Keyboard. It is typically a combination of numbers and/or letters.
- Using the keyboard, type in the passkey displayed on your Seenda Wireless Keyboard.
- Once you have entered the passkey, press the “Enter” key or a similar key on the keyboard to confirm.
- Your device will verify the passkey and establish the final connection with the keyboard.
If the passkey you entered is correct, your device will display a confirmation message indicating that the connection has been successfully established. You are now ready to use your Seenda Wireless Keyboard for typing and other tasks on your device.
In case the passkey is not accepted, ensure that you have entered the correct passkey and try again. If you continue to face issues, consult the user manual or customer support for further assistance.
Now that you have entered the passkey and established the connection, it’s time to move on to the final step, which is testing the keyboard connection.
Step 5: Test the connection
Now that you have successfully paired and entered the passkey for your Seenda Wireless Keyboard, it’s time to test the connection to ensure everything is working as expected. Testing the connection will allow you to confirm that the keyboard is properly communicating with your device and that you can use it for typing and other tasks.
Follow these steps to test the connection:
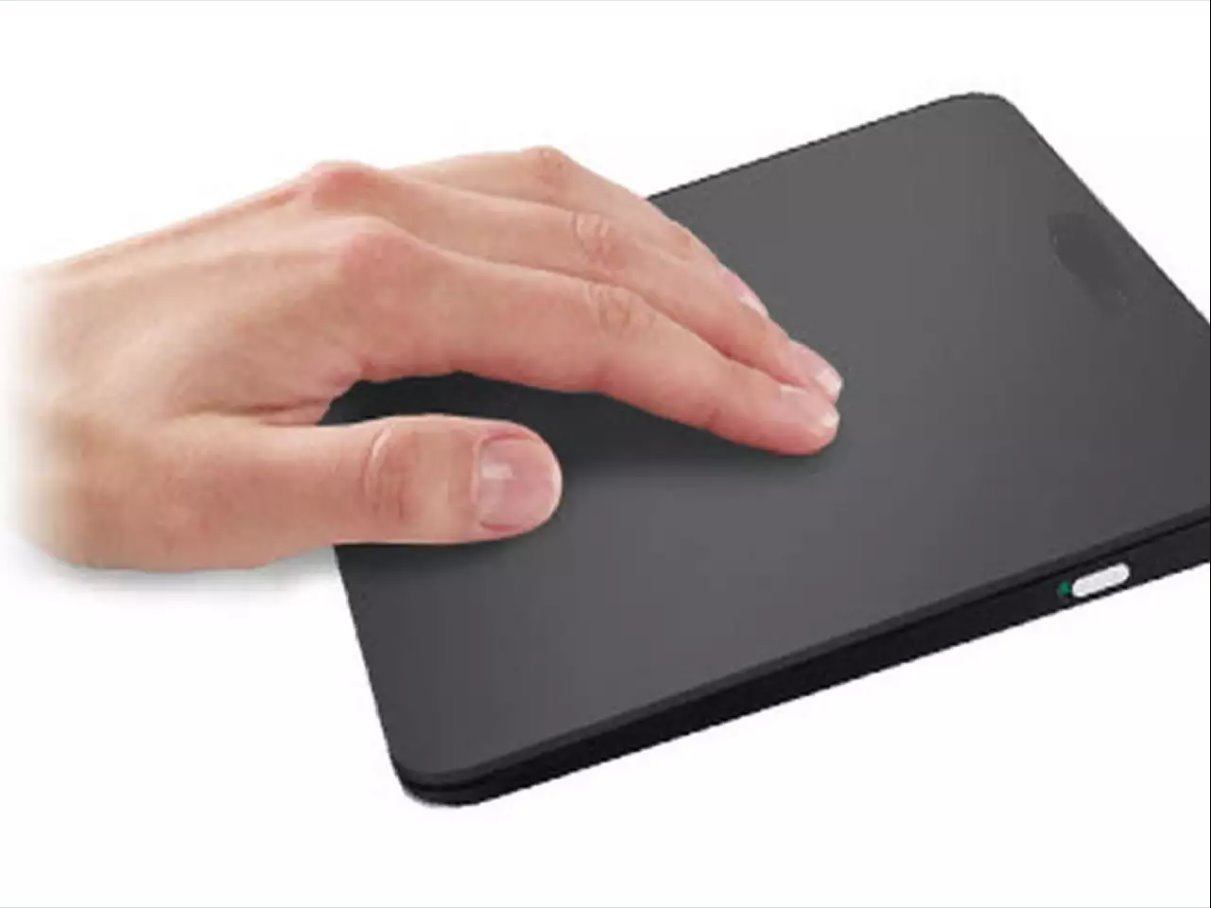
- Open a text editor or any application where you can type on your device.
- Place your hands on the Seenda Wireless Keyboard and start typing. You should see the characters appearing on the screen as you type.
- Try out various keys and functions on the keyboard, such as the special function keys, media controls, and function keys (if applicable). Ensure that all the keys are functioning correctly.
- Check the responsiveness of the keyboard by typing at different speeds and testing different combinations of keys.
- If you encounter any issues with the keyboard not registering keystrokes or experiencing delays, try restarting the keyboard and reconnecting it to your device.
If everything is working smoothly during the testing phase, congratulations! You have successfully connected your Seenda Wireless Keyboard to your device. You can now enjoy the convenience and comfort of typing with your new keyboard.
If you experience any ongoing issues or find that the keyboard is not working as expected, refer to the user manual provided with your keyboard or contact Seenda’s customer support for further assistance.
With the connection successfully tested and established, you can now fully utilize your Seenda Wireless Keyboard for all your typing needs.
FAQs about Seenda Wireless Keyboard
Here are some frequently asked questions about the Seenda Wireless Keyboard:
-
Q: How do I know if my Seenda Wireless Keyboard is compatible with my device?
A: Seenda Wireless Keyboard is compatible with a wide range of devices, including laptops, tablets, and smartphones. It supports various operating systems such as Windows, macOS, iOS, and Android. However, it’s always recommended to check the product specifications or the user manual to ensure compatibility with your specific device.
-
Q: Can I connect the Seenda Wireless Keyboard to multiple devices simultaneously?
A: The Seenda Wireless Keyboard is designed to connect to one device at a time. If you want to connect it to another device, you will need to disconnect it from the current device and follow the pairing process again to connect it to the new device.
-
Q: How far can I use the Seenda Wireless Keyboard from my device?
A: The Bluetooth range of the Seenda Wireless Keyboard is typically around 10 meters (33 feet), allowing you to use it comfortably within that range. However, the range may vary depending on the specific environment and any potential obstructions.
-
Q: How long does the battery of the Seenda Wireless Keyboard last?
A: The battery life of the Seenda Wireless Keyboard can vary depending on usage. With regular use, the battery can last for several months before needing to be recharged or replaced. It’s recommended to turn off the keyboard when not in use to conserve battery power.
-
Q: How do I clean and maintain the Seenda Wireless Keyboard?
A: To clean the Seenda Wireless Keyboard, use a soft, lint-free cloth and gently wipe the keys and the surface of the keyboard. Avoid using harsh chemicals or abrasive materials that can damage the keyboard. It’s also advisable to keep the keyboard away from liquids and excessive dust to maintain its performance.
These are just a few commonly asked questions about the Seenda Wireless Keyboard. If you have any additional queries or concerns, refer to the user manual or reach out to Seenda’s customer support for further assistance.
Conclusion
Congratulations! You have successfully learned how to connect your Seenda Wireless Keyboard to your device. By following the simple steps outlined in this guide, you can now enjoy the convenience and flexibility of typing wirelessly.
The Seenda Wireless Keyboard offers an ergonomic design, long battery life, and compatibility with a wide range of devices. With its Bluetooth capability, you can easily connect it to your laptop, tablet, or smartphone, providing a seamless typing experience wherever you go.
Remember to turn on the keyboard, activate Bluetooth on your device, pair the keyboard, enter the passkey, and test the connection to ensure everything is working smoothly. If you encounter any issues along the way, consult the user manual or contact Seenda’s customer support for assistance.
Whether you’re a professional who needs to type on the go or a casual user looking for a hassle-free typing experience, the Seenda Wireless Keyboard is a reliable and convenient choice.
Thank you for choosing the Seenda Wireless Keyboard, and happy typing!