Introduction
Are you tired of constantly replacing batteries in your wireless keyboard? Fortunately, there is a better alternative – charging your wireless keyboard! By following a few simple steps, you can ensure your wireless keyboard remains powered up and ready to use. In this article, we will walk you through the process of charging your wireless keyboard effectively and efficiently.
Having a fully charged wireless keyboard is essential for seamless and uninterrupted work or play. Whether you use it for typing documents, gaming, or browsing the web, knowing how to charge your wireless keyboard is a valuable skill that can save you time and money in the long run.
In the following sections, we will guide you on how to charge your wireless keyboard step by step. We will cover important considerations such as checking the battery level, locating the charging port, connecting the charging cable, and monitoring the charging progress. By the end of this article, you will be equipped with the knowledge to keep your wireless keyboard powered up and ready when you need it.
Step 1: Check the Battery Level
Before you begin the charging process, it is important to check the battery level of your wireless keyboard. Most wireless keyboards are equipped with a battery indicator light or an on-screen battery level indicator. Make sure to consult your keyboard’s user manual to determine how to access this information on your specific model.
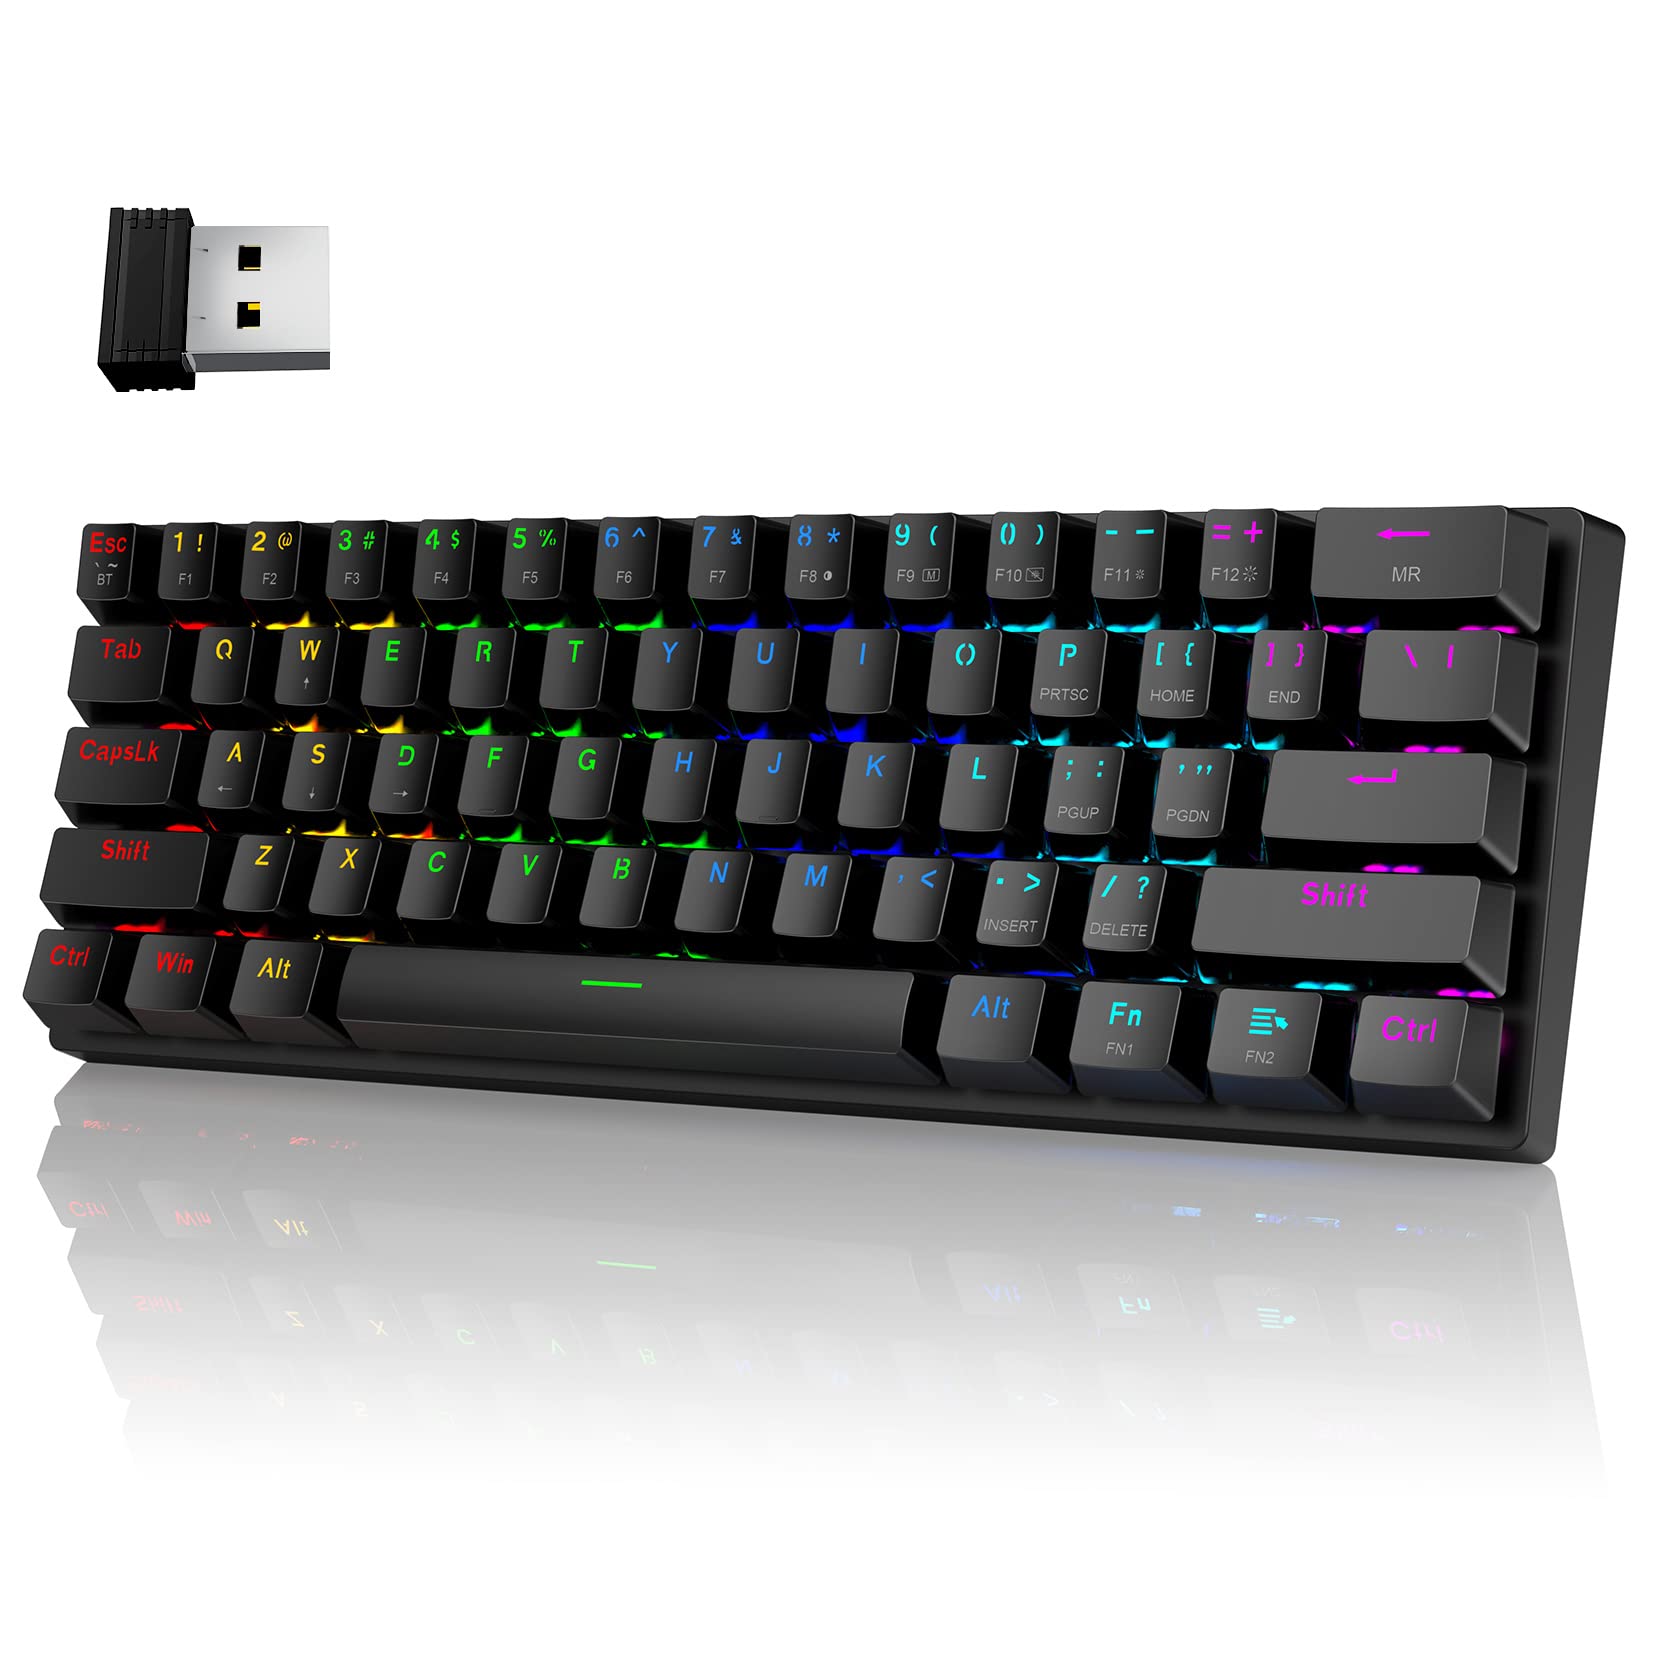
To check the battery level, turn on your wireless keyboard and look for the battery indicator light. The light can be located either on the keyboard itself or on the USB receiver that you plug into your computer. The indicator light may be colored or may blink to indicate the battery status.
If the battery indicator light is green or solid, it means that your keyboard has sufficient battery power and does not require immediate charging. However, if the light is red or blinking, it indicates a low battery level, and you should proceed with the charging process to ensure uninterrupted keyboard usage.
Keep in mind that the battery life of wireless keyboards can vary depending on usage and battery quality. It is a good practice to periodically check the battery level and recharge the keyboard when necessary to avoid unexpected power loss during important tasks.
Step 2: Locate the Charging Port
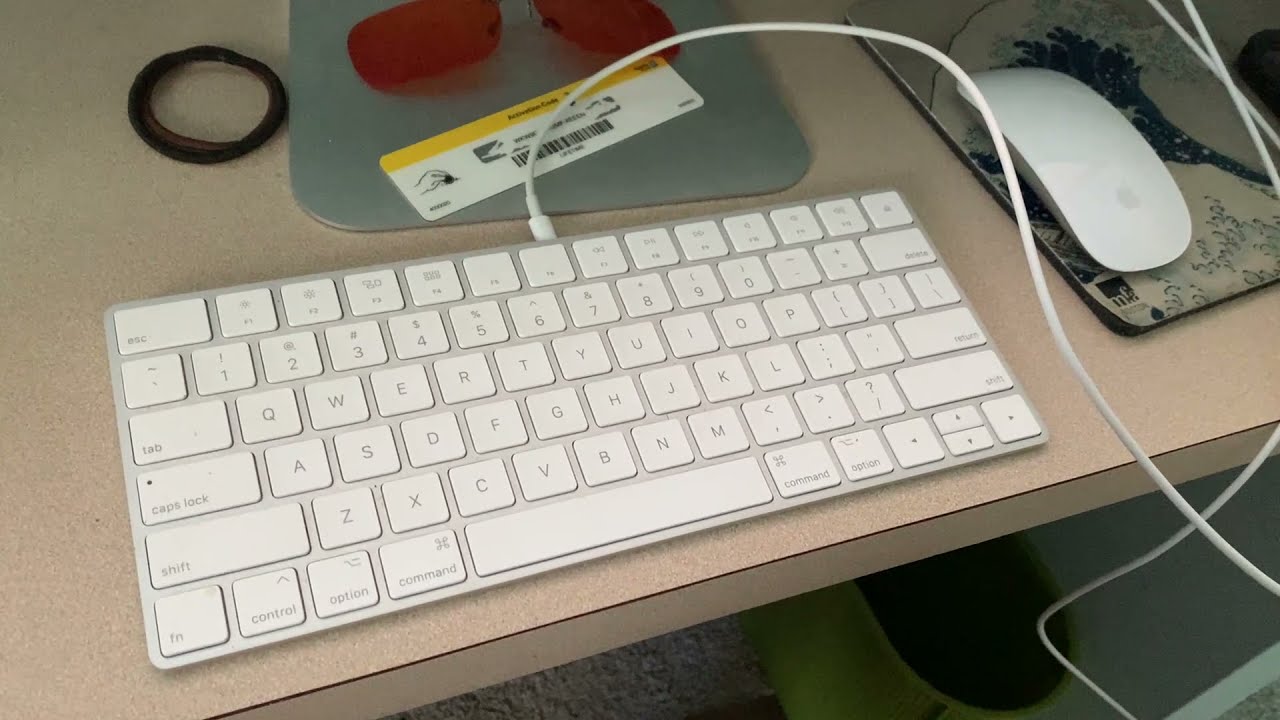
To begin the charging process, you need to locate the charging port on your wireless keyboard. The placement of the charging port can vary depending on the make and model of your keyboard. It is often located on the backside of the keyboard or around the edges. The charging port is typically a small rectangular or circular slot.
If you have trouble finding the charging port, refer to the user manual that came with your wireless keyboard. The manual will provide detailed instructions and illustrations on the exact location of the charging port for your specific keyboard model.
In some wireless keyboards, the charging port may be hidden beneath a protective cover. Gently lift the cover to reveal the charging port. It’s important to handle the keyboard with care while accessing the charging port to prevent any damage.
Once you have located the charging port, ensure that it is clean and free from dust, debris, or any other objects that may obstruct the connection. Use a soft cloth or a can of compressed air to gently clean the charging port, if needed. This will help establish a secure and reliable connection between the charging cable and your wireless keyboard.
Now that you have found and prepared the charging port, you are ready to proceed to the next step and connect the charging cable to your wireless keyboard.
Step 3: Connect the Charging Cable
With the charging port located, it’s time to connect the charging cable to your wireless keyboard. Start by ensuring that the charging cable is in good condition and undamaged. A damaged cable may not provide a stable connection or could even pose a safety risk.
Take the charging cable and gently insert it into the charging port of your wireless keyboard. Make sure that the cable is aligned correctly with the port and insert it firmly but carefully. Avoid using excessive force to prevent any potential damage to the port or cable.
Once the charging cable is securely connected, you may notice that the battery indicator light on your keyboard starts to illuminate. This indicates that the charging process has begun.
It’s essential to keep the charging cable and the wireless keyboard in a stable position during the charging process. Any accidental movement or dislodging of the cable may interrupt the charging and result in incomplete charging or no charging at all. If necessary, you can use cable management clips or straps to secure the cable to your desk or the back of your computer for added stability.
Remember to avoid placing any heavy objects on top of the charging cable, as this can strain the cable or cause it to dislodge. Maintaining a clean and organized workspace will minimize the risk of accidentally damaging the cable or disrupting the charging process.
Now that the charging cable is securely connected, we can move on to the next step and connect it to a power source for charging your wireless keyboard.
Step 4: Connect to Power Source
After connecting the charging cable to your wireless keyboard, the next step is to connect it to a power source. This will provide the necessary electricity to charge the keyboard’s battery.
Most wireless keyboards come with a USB charging cable that can be connected to a variety of power sources, such as a computer, laptop, USB wall adapter, or power bank. Depending on your preference and availability, choose the most convenient power source for charging your wireless keyboard.
If you’re connecting the charging cable to a computer or laptop, locate an available USB port on the device. USB ports are typically located on the sides or back of the device. Carefully plug the charging cable into the USB port, ensuring a secure connection.
On the other hand, if you’re using a USB wall adapter or power bank, connect the charging cable to the USB port on the adapter or power bank. Then, plug the adapter or power bank into a nearby power outlet. Make sure to use a compatible USB wall adapter or power bank with the appropriate voltage and amperage to ensure safe and efficient charging.
Once the charging cable is connected to the power source, you may observe the battery indicator light on your wireless keyboard change or start blinking, indicating that the charging process has commenced.
It’s important to note that different keyboards have varying charging times. It is advisable to refer to your keyboard’s user manual or manufacturer’s guidelines to determine the estimated charging time. Avoid disconnecting the keyboard prematurely, as it may result in incomplete charging and affect battery performance.
Now that you have connected the charging cable to a power source, you can move on to the next step and monitor the charging progress to ensure a full and successful charge.
Step 5: Monitor the Charging Progress
Once your wireless keyboard is connected to a power source, it’s important to monitor the charging progress to ensure the battery reaches a full charge. This will prevent any unexpected power loss during use and maximize the battery life of your keyboard.
Begin by referring to the user manual or manufacturer’s guidelines to determine the estimated charging time for your keyboard model. This will give you an idea of how long the charging process will take.
While the keyboard is charging, keep an eye on the battery indicator light. It may change color or continue to blink, indicating that the battery is being charged. The exact behavior of the battery indicator light during charging can vary depending on the keyboard make and model. Refer to your keyboard’s documentation for specific details.
During the charging process, it’s recommended not to use the keyboard, as this can slow down the charging and prolong the time required to reach a full charge. If you need to use a keyboard during charging, it’s best to resort to a backup wired keyboard or use the keyboard sparingly to minimize power consumption.
While monitoring the charging progress, it’s also important to ensure that the charging cable remains securely connected to both the keyboard and the power source. Any accidental disconnection can interrupt the charging process and may result in incomplete charging.
If you notice any unusual behavior, such as the battery indicator light not changing or the charging process taking longer than expected, check the connections and consult the troubleshooting section of the user manual. Additionally, double-check that you are using the correct charging cable and power source compatible with your wireless keyboard.
By diligently monitoring the charging progress, you can ensure that your wireless keyboard reaches a full charge, allowing you to enjoy uninterrupted usage when you need it the most.
Step 6: Disconnect the Charging Cable
Once your wireless keyboard has reached a full charge, it’s time to disconnect the charging cable. Disconnecting the cable correctly will ensure the longevity and proper functioning of both the cable and the keyboard.
Before disconnecting the charging cable, it’s important to verify that the battery indicator light on your keyboard has stopped blinking or changed to a solid color. This indicates that the battery is fully charged and ready for use.
To disconnect the charging cable, gently hold the connector and pull it out of the charging port on your keyboard. It’s crucial to use a firm grip but avoid exerting excessive force to prevent any damage to the charging port or cable.
Once the charging cable is disconnected, take a moment to inspect the cable for any signs of damage or wear. If you notice any fraying, exposed wires, or other issues, it’s advisable to replace the cable to ensure safe and efficient charging in the future.
After removing the charging cable, close any protective covers that may have been opened to access the charging port. This will help keep the port clean and protected from dust or debris when not in use.
Now that the charging cable is safely disconnected, you can fully enjoy the wireless functionality of your keyboard. It’s recommended to store the charging cable in a safe and easily accessible location for future use.
Remember to periodically check the battery level of your wireless keyboard and recharge it as needed to avoid sudden power loss. Regularly maintaining a charged battery will ensure optimal performance and a seamless user experience with your wireless keyboard.
Step 7: Test the Wireless Keyboard
After disconnecting the charging cable, it’s important to test your wireless keyboard to ensure it is functioning correctly and ready to use. Testing the keyboard will help verify that the charging process was successful and that the battery is holding a charge.
Start by turning on your wireless keyboard and checking if it responds to your keystrokes. Type a few words, navigate through different applications, or perform any other tasks that you frequently do with your keyboard to test its responsiveness.
Check for any delays, skipped keystrokes, or other unexpected behavior that may indicate a problem. If you notice any issues, try restarting your computer or reconnecting the wireless receiver to troubleshoot the problem.
It’s also a good idea to test the range of your wireless keyboard by moving a few meters away from your computer or USB receiver. Ensure that the keyboard still registers your keystrokes reliably even at a distance. This will provide valuable insight into the overall performance and connectivity of your wireless keyboard.
If your wireless keyboard includes additional features or multimedia keys, test their functionality as well. Verify that volume controls, play/pause, and other specialized keys work as intended.
Overall, testing your wireless keyboard after charging will help ensure that it is in good working condition and ready for use. If you encounter any issues during the testing process, consult the user manual for troubleshooting steps or contact the manufacturer’s customer support for assistance.
Now that you have successfully tested your wireless keyboard, you are ready to enjoy its wireless convenience and functionality in all your computing tasks.
Conclusion
Charging your wireless keyboard is a simple yet essential process to ensure its uninterrupted functionality and optimal performance. By following the step-by-step guide outlined in this article, you can easily charge your wireless keyboard and eliminate the need for constant battery replacements.
Remember to regularly check the battery level of your keyboard and recharge it as needed to prevent sudden power loss. Maintaining a charged battery will ensure optimal performance and a seamless user experience with your wireless keyboard.
During the charging process, be mindful of the battery indicator light on your keyboard and monitor the charging progress. This will help you determine when the battery is fully charged and when it is safe to disconnect the charging cable.
Properly connecting and disconnecting the charging cable is crucial to prevent any damage to the charging port or cable itself. Pay attention to the placement of the charging port and ensure that it remains clean and free from debris for a reliable connection.
Lastly, don’t forget to test your wireless keyboard after charging to ensure that it is functioning correctly. Test its responsiveness, range, and the functionality of any additional features or keys it may have.
By following these steps and incorporating them into your routine, you can confidently charge your wireless keyboard and enjoy its wireless convenience in all your computing endeavors.


