Introduction
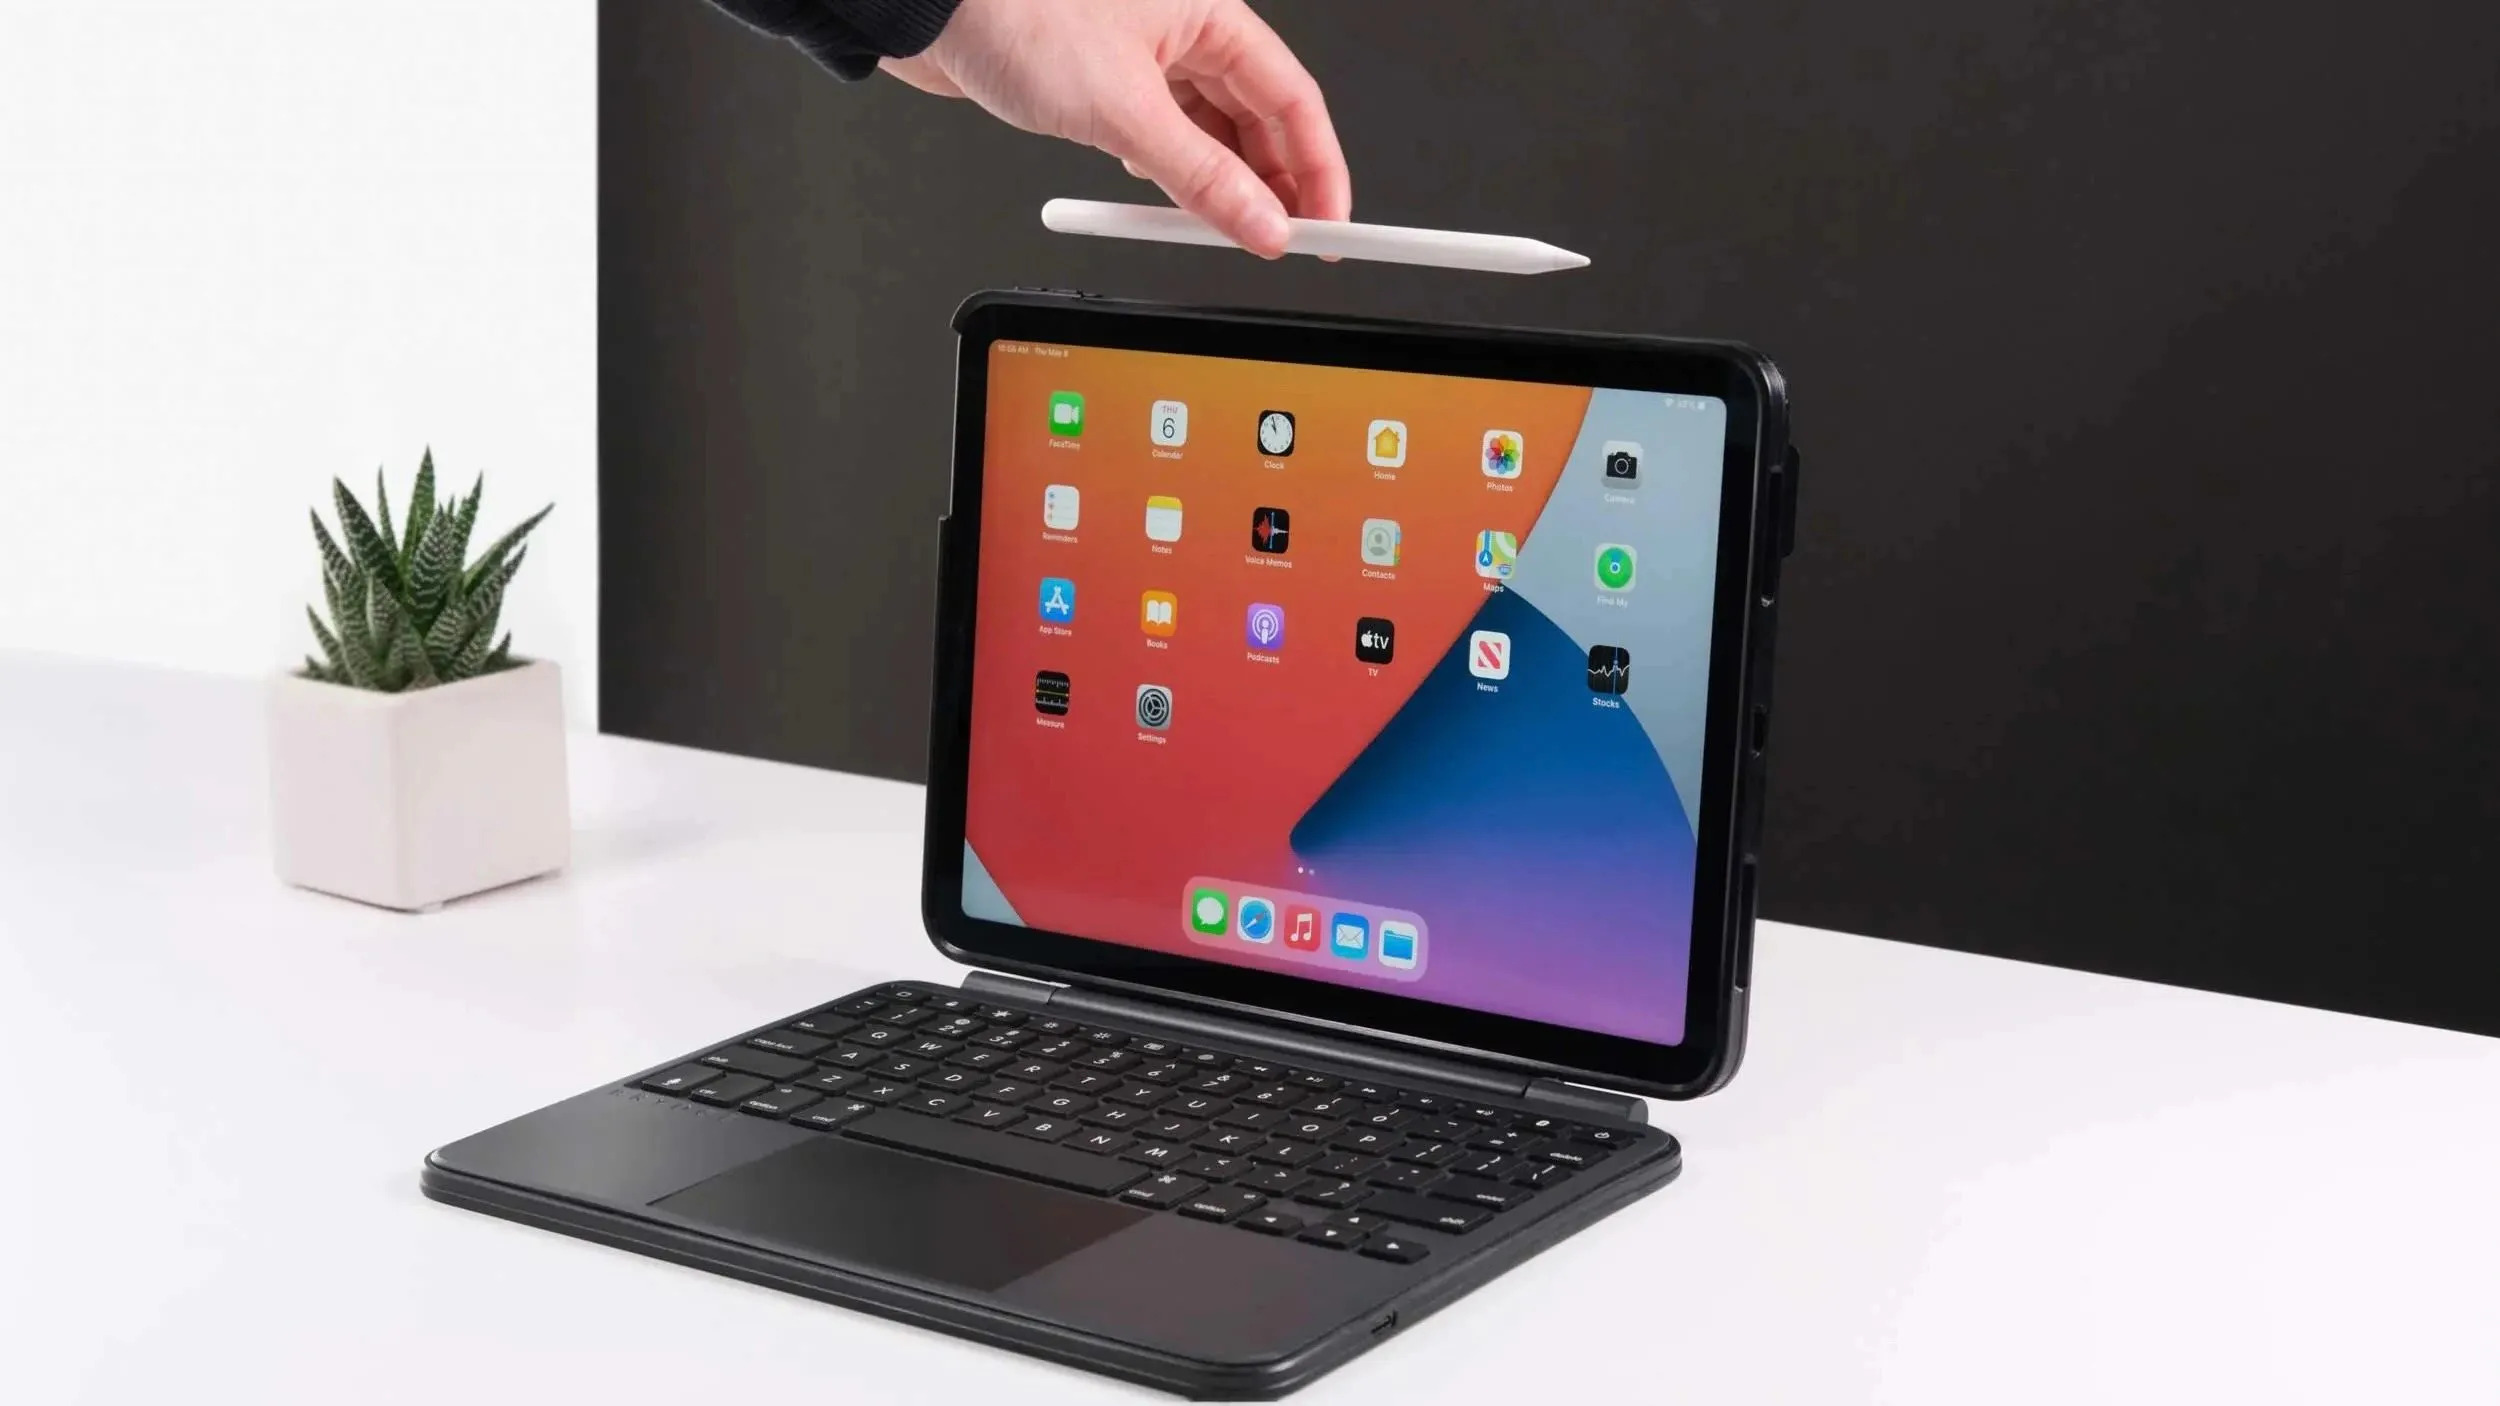
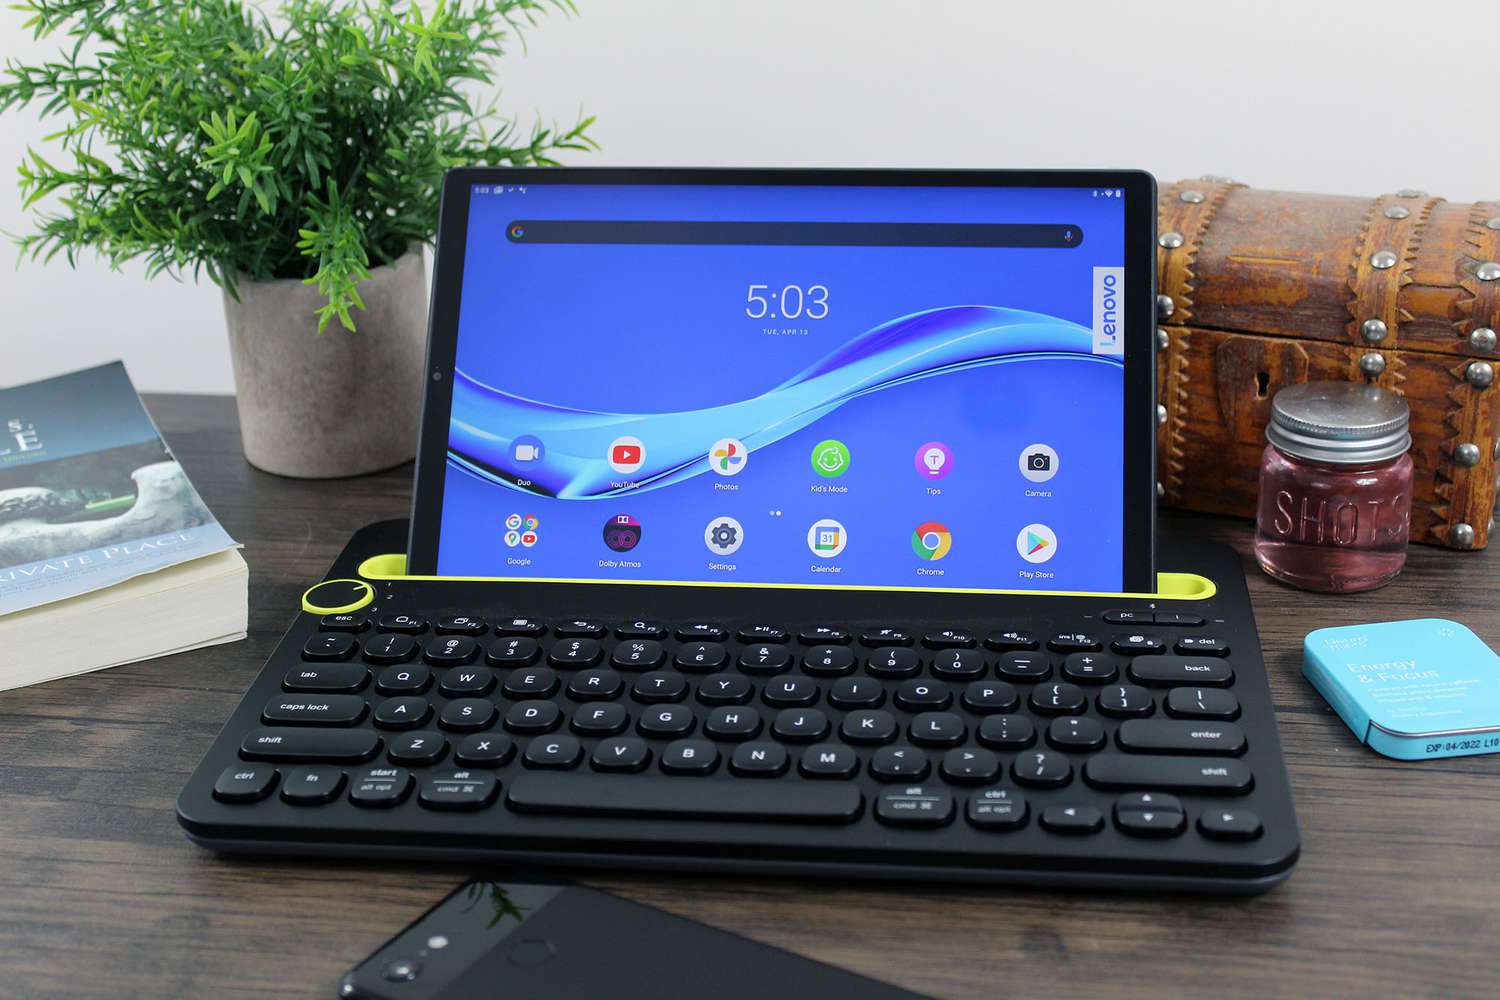
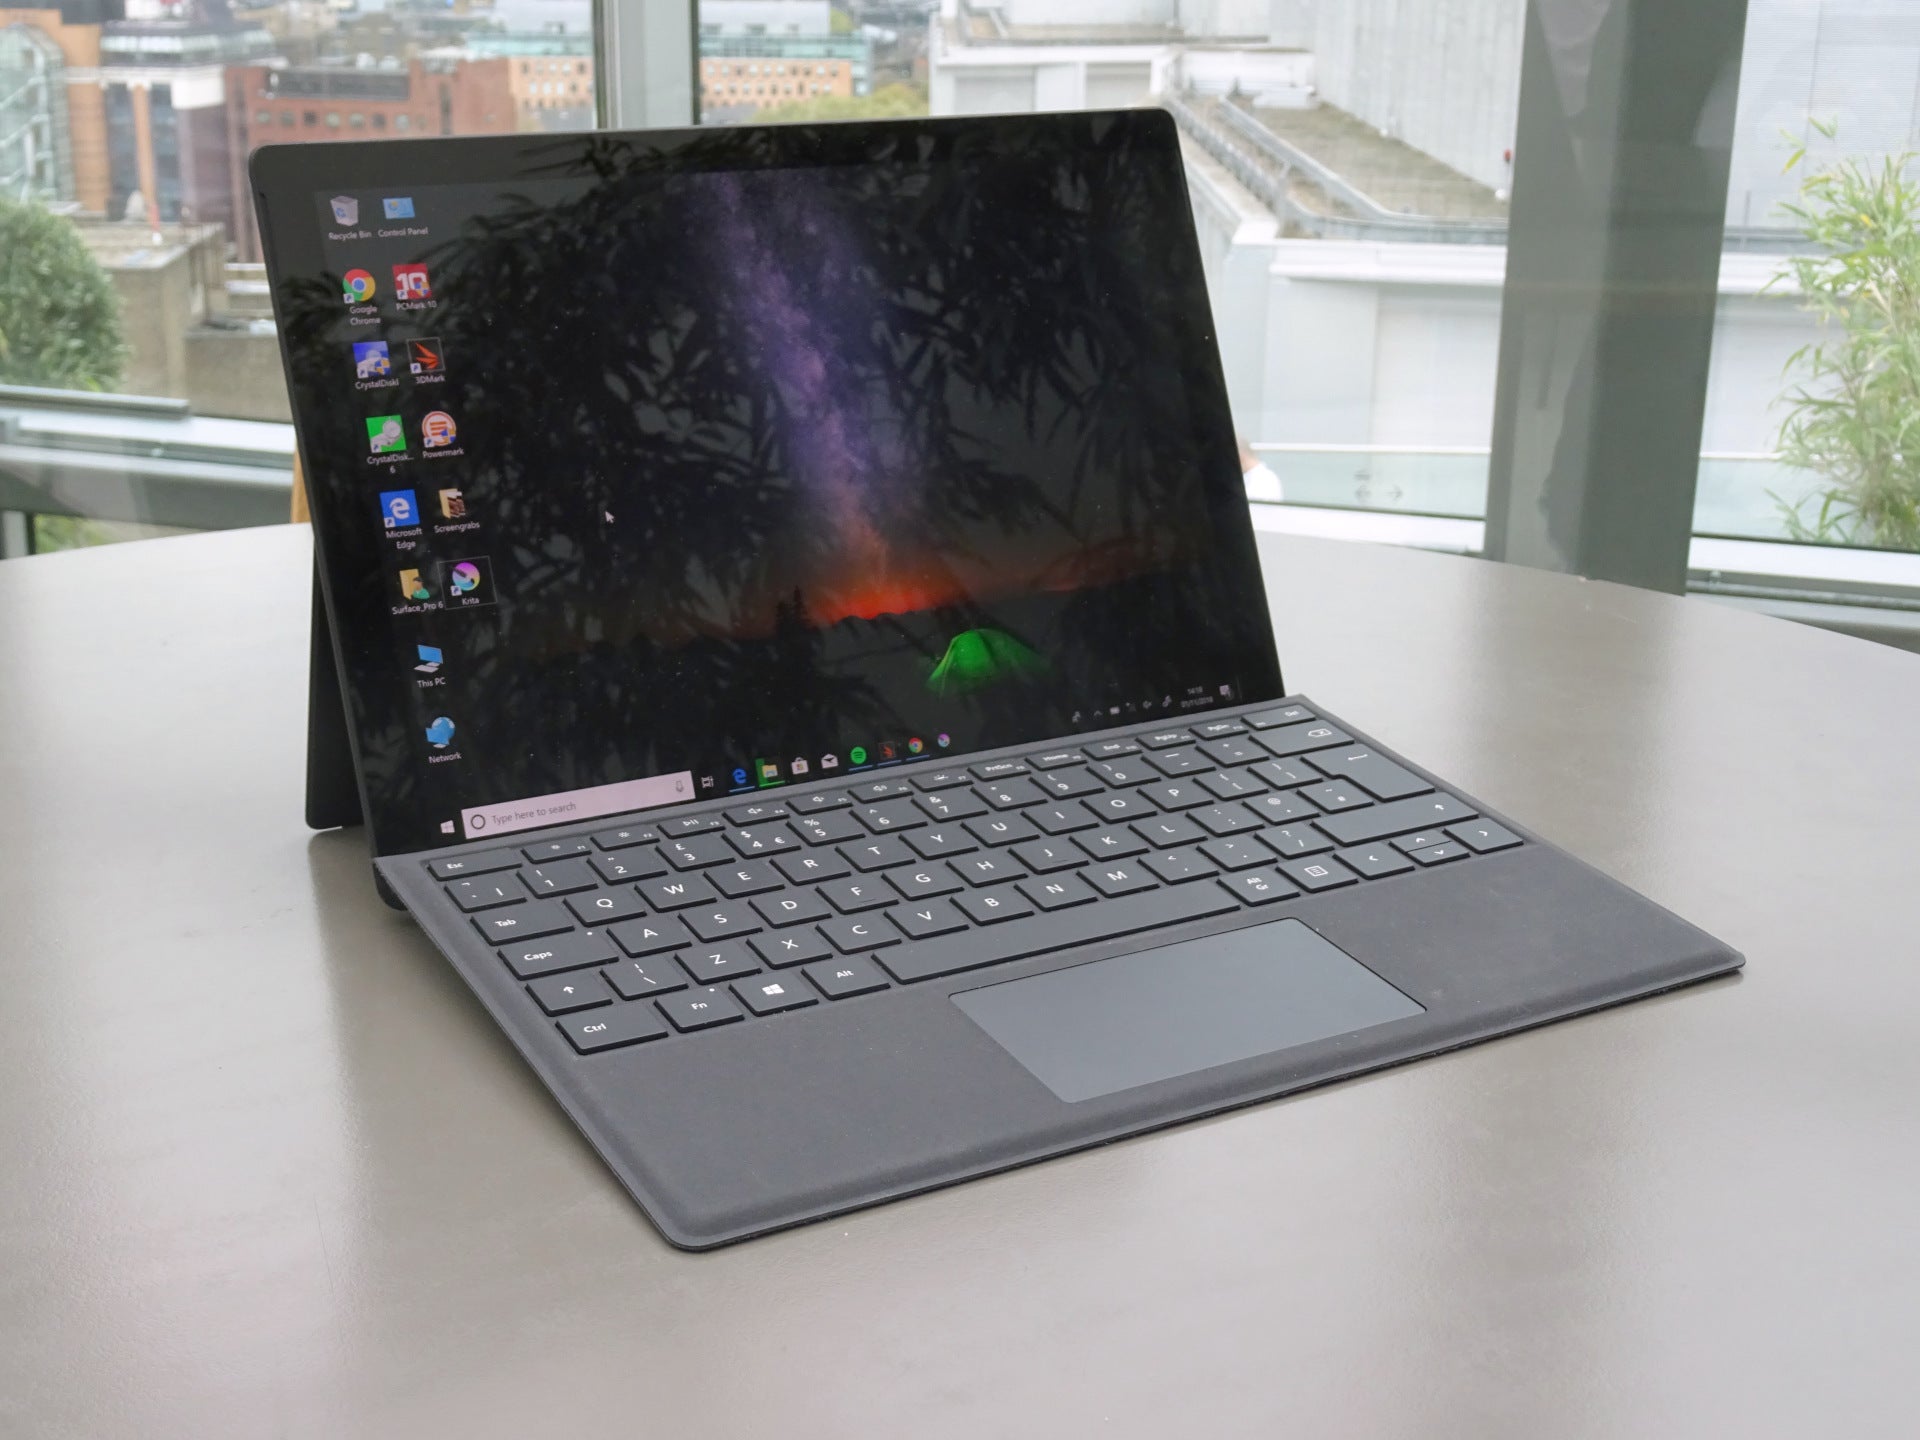
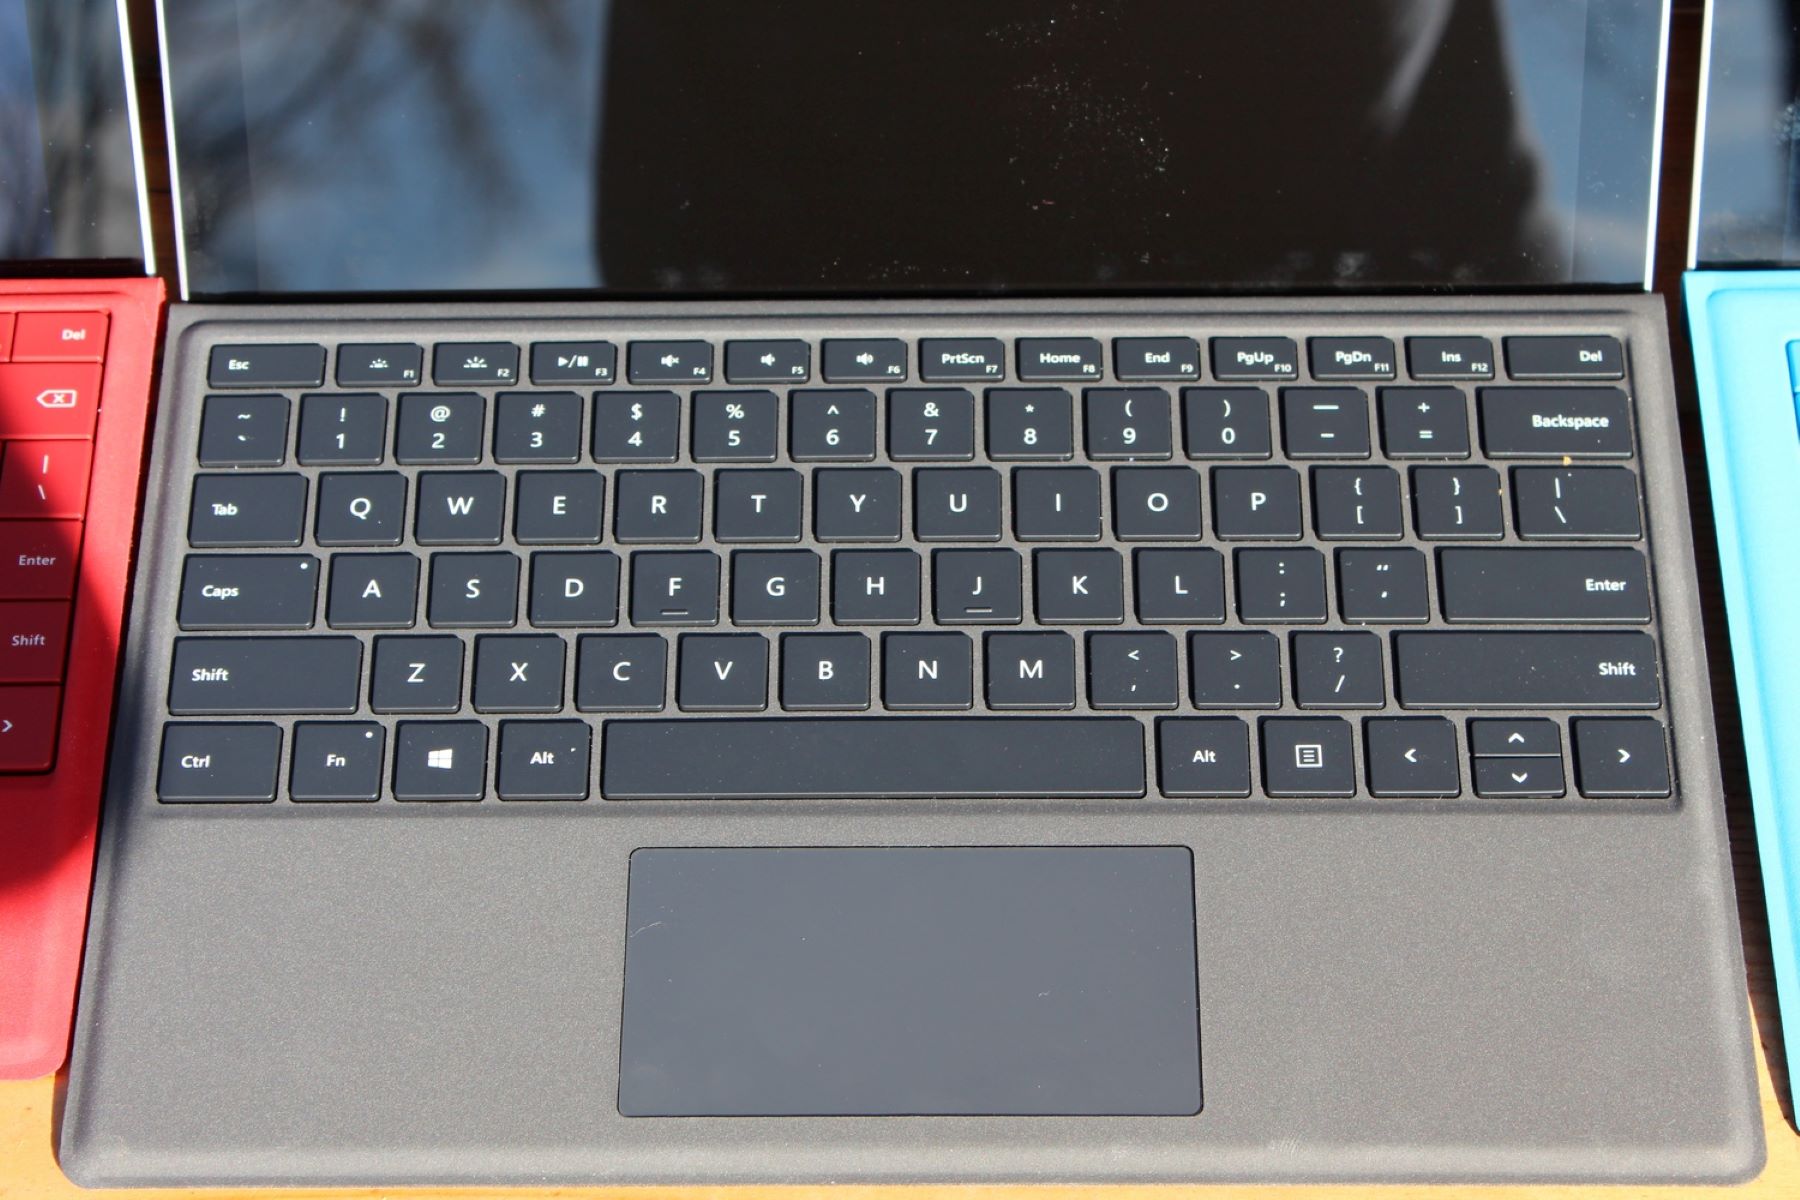
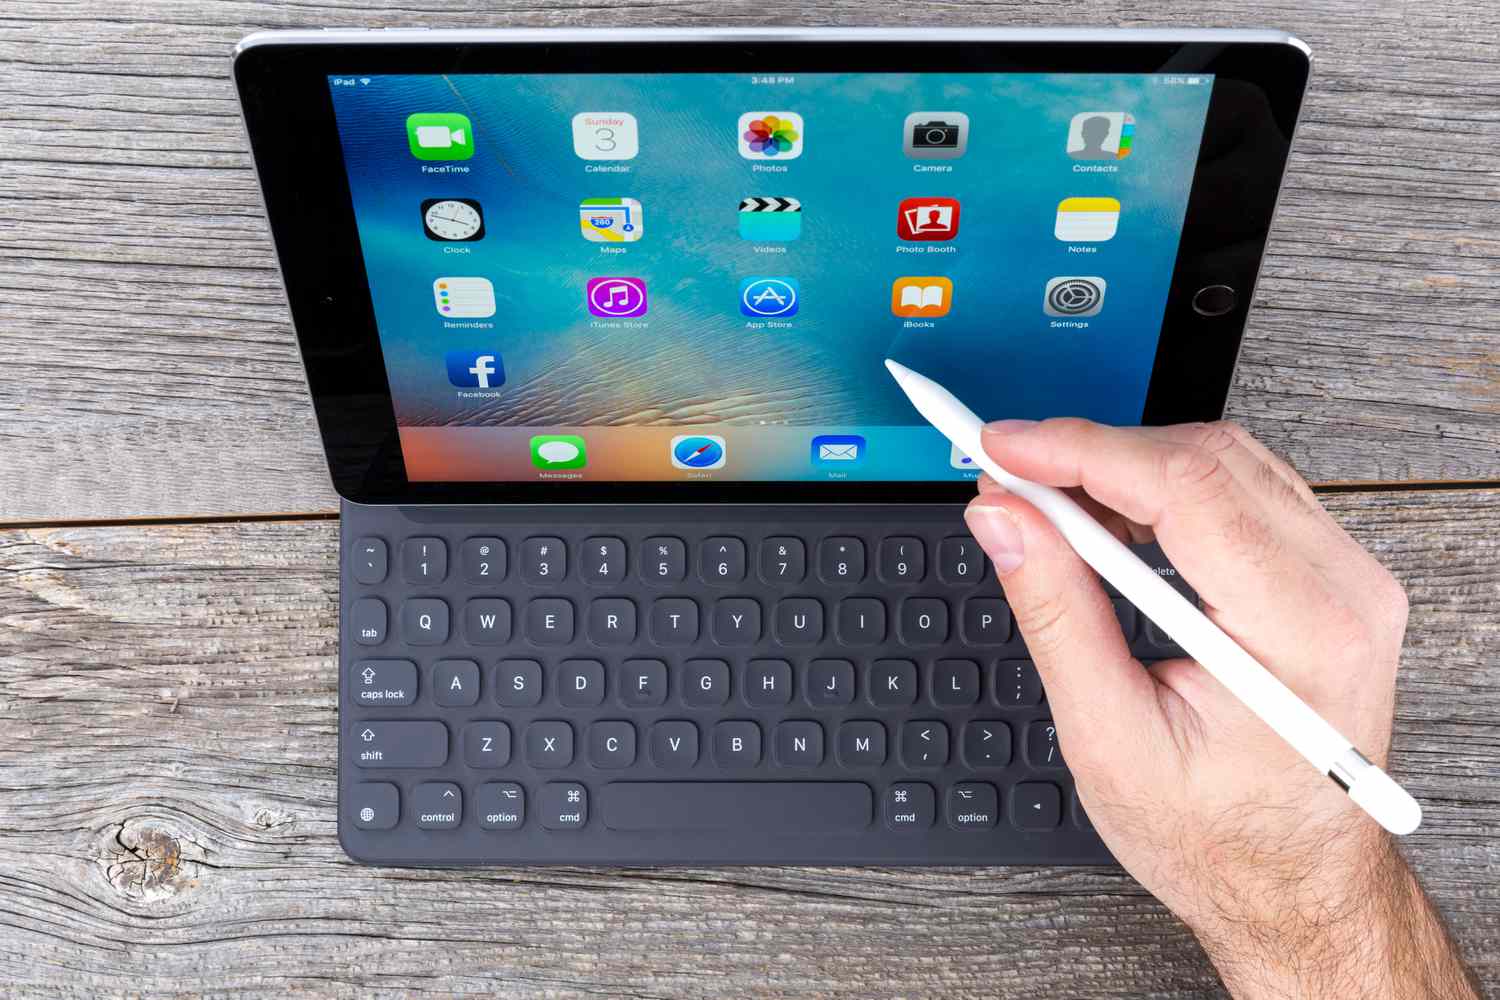
Welcome to this guide on how to connect a wireless keyboard to your tablet. A wireless keyboard can greatly enhance your productivity and convenience, allowing you to type with ease without having to deal with the limitations of a touchscreen keyboard. Whether you need to write emails, work on documents, or simply enjoy a seamless typing experience on your tablet, connecting a wireless keyboard is a simple and effective solution.
Before we dive into the steps, it’s important to note that not all tablets are compatible with wireless keyboards. Therefore, the first step is to ensure that your tablet supports this feature. Generally, most modern tablets, including those running iOS, Android, or Windows operating systems, have built-in Bluetooth functionality, which is essential for connecting a wireless keyboard.
In this guide, we will go through the step-by-step process of connecting a wireless keyboard to your tablet. From checking compatibility to pairing and testing the connection, we’ve got you covered. So, let’s get started and make your tablet typing experience more enjoyable!
Step 1: Check your tablet’s compatibility
Before you begin the process of connecting a wireless keyboard to your tablet, it’s crucial to ensure that your tablet is compatible with this feature. Most tablets nowadays come equipped with Bluetooth functionality, which is essential for connecting a wireless keyboard. Here’s how you can check the compatibility of your tablet:
- Look for the Bluetooth icon: Start by checking if your tablet has a Bluetooth icon in the settings or notification panel. This icon indicates the presence of Bluetooth functionality on your device. If you see the Bluetooth icon, you can proceed with the next steps.
- Check the device specifications: If you’re not sure whether your tablet has Bluetooth, you can consult the device’s user manual or visit the manufacturer’s website to check the specifications. Look for terms like “Bluetooth-enabled,” “Bluetooth 4.0,” or “Bluetooth connectivity.” These specifications confirm that your tablet is compatible with wireless peripherals, including keyboards.
- Update your operating system: If your tablet is a bit older, there’s a possibility that it may not have Bluetooth functionality or an outdated version. In such cases, check for system updates and install the latest version of the operating system. This step ensures that your tablet has the necessary software and drivers for Bluetooth connectivity.
- Consult the manufacturer: If you’re still unsure about your tablet’s compatibility, it’s always a good idea to reach out to the manufacturer’s customer support. They will provide you with accurate information regarding your tablet’s Bluetooth capabilities and compatibility with wireless keyboards.
Once you’ve confirmed that your tablet is Bluetooth-enabled, you’re ready to move on to the next step of the process. Remember, checking compatibility is an essential initial step to ensure a smooth and successful connection between your wireless keyboard and tablet.
Step 2: Power on your wireless keyboard
Now that you’ve confirmed your tablet’s compatibility, it’s time to power on your wireless keyboard. Follow these steps to ensure that your keyboard is ready for pairing:
- Check the power source: Most wireless keyboards are powered by batteries. Start by making sure that your keyboard has fresh batteries installed. If not, replace the old batteries with new ones, following the manufacturer’s instructions.
- Locate the power button: Look for the power button on your wireless keyboard. It is usually located on the top, bottom, or side of the keyboard. Once you’ve found it, press and hold the power button for a few seconds until you see a power indicator light turn on. The light may blink or remain steady, depending on the keyboard model.
- Confirm the keyboard is in pairing mode: In some cases, you might need to put your wireless keyboard into pairing mode. Refer to the keyboard’s user manual to determine if it requires pairing mode. If so, follow the instructions provided to activate pairing mode. Typically, this involves holding down a specific key or combination of keys until the pairing indicator light starts flashing.
Powering on your wireless keyboard is an important step in the connection process. It ensures that your keyboard is ready to establish a connection with your tablet. Once you’ve completed this step, move on to the next step to enable Bluetooth on your tablet.
Step 3: Enable Bluetooth on your tablet
With your wireless keyboard powered on, it’s time to enable Bluetooth on your tablet. Follow these instructions to enable Bluetooth:
- Go to the settings: Start by accessing the settings menu on your tablet. This is usually represented by a gear or cog icon and can be found either on the home screen or in the app drawer.
- Select ‘Bluetooth’: Once you’re in the settings menu, look for the ‘Bluetooth’ option. It is typically located in the ‘Connections,’ ‘Wireless & Networks,’ or ‘Device’ section. Tap on ‘Bluetooth’ to access the Bluetooth settings.
- Toggle Bluetooth on: On the Bluetooth settings screen, you will see a toggle switch or button to turn Bluetooth on and off. Tap on it to enable Bluetooth functionality on your tablet.
- Wait for the scanning process: After you’ve enabled Bluetooth, your tablet will start scanning for nearby Bluetooth devices. This process may take a few seconds or longer, depending on your tablet model and the number of nearby devices.
Enabling Bluetooth on your tablet is essential for it to discover and connect with your wireless keyboard. Once you’ve completed this step, your tablet is ready to establish a connection with the keyboard in the next step.
Step 4: Pair your wireless keyboard with your tablet
Now that you have enabled Bluetooth on your tablet, it’s time to pair your wireless keyboard. Follow these steps to establish a connection:
- Open the Bluetooth settings: Go to the Bluetooth settings on your tablet. This is the same section where you enabled Bluetooth in the previous step.
- Search for available devices: In the Bluetooth settings, your tablet will start searching for nearby Bluetooth devices. Wait for the search to complete, and you should see your wireless keyboard listed among the available devices.
- Select your wireless keyboard: From the list of available devices, find and select your wireless keyboard. The name of your keyboard should be displayed, making it easy to identify.
- Enter the pairing code (if required): Some wireless keyboards require a pairing code to establish the connection. If prompted, enter the pairing code using your tablet’s on-screen keyboard. Refer to your keyboard’s user manual or packaging for the correct pairing code.
- Complete the pairing process: Once you’ve selected your wireless keyboard and entered the pairing code (if applicable), confirm the connection. Your tablet will establish a connection with the keyboard.
Pairing your wireless keyboard with your tablet allows the two devices to communicate and ensures a seamless typing experience. Once the pairing process is complete, your tablet is ready to use with your wireless keyboard.
Step 5: Test the connection
After successfully pairing your wireless keyboard with your tablet, it’s important to test the connection to ensure that everything is working as expected. Here’s how you can test the connection:
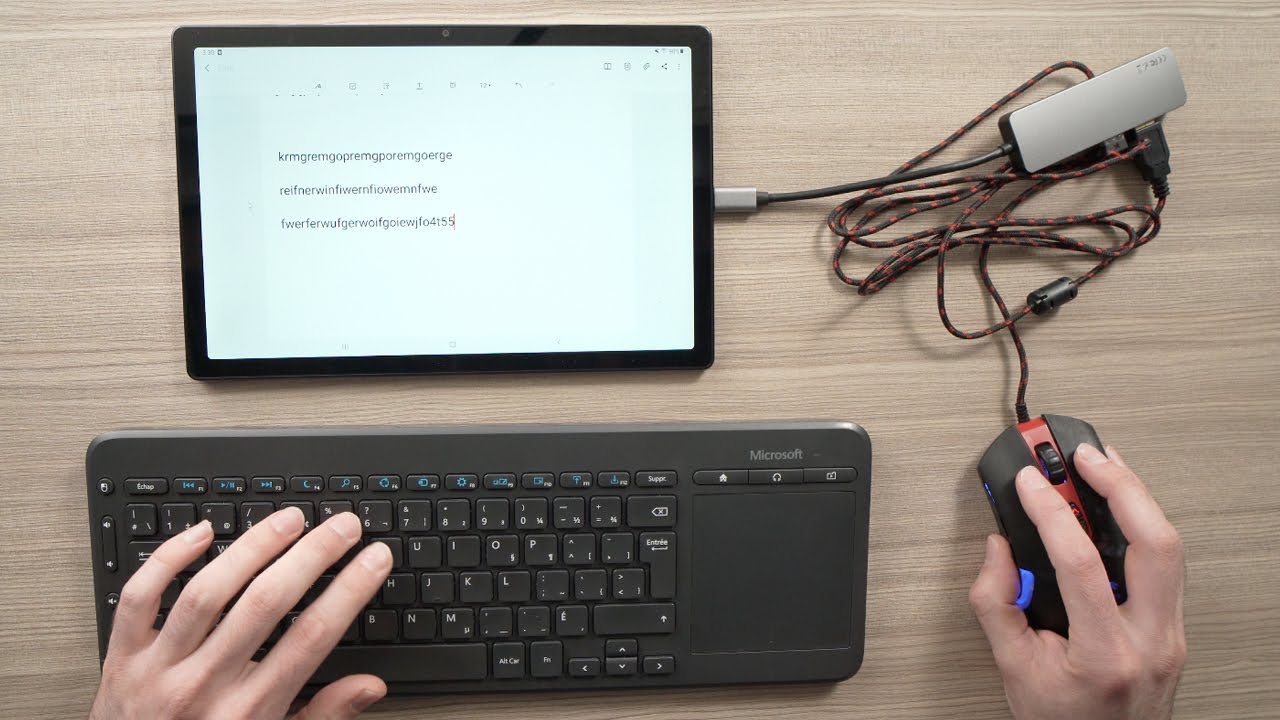
- Open a text field or application: To test the connection between your wireless keyboard and tablet, open a text field or any application that requires text input, such as a word processor or email app.
- Start typing: Once you have a text field ready, start typing on your wireless keyboard. You should see the text appearing on the screen in real-time, indicating that the connection is working correctly.
- Try different keys and functions: Test out various keys on your wireless keyboard, including modifiers like Shift, Ctrl, and Alt, as well as special function keys. Ensure that all the keys and functions are functioning properly.
- Check for lag or delay: As you type, pay attention to any lag or delay between pressing a key and the text appearing on the screen. A responsive connection should have minimal to no delay.
If the connection and keyboard response are satisfactory, congratulations! You have successfully connected and tested your wireless keyboard with your tablet. Enjoy the enhanced typing experience on your tablet.
However, if you encounter any issues during the testing process, such as keys not registering or significant lag, try the following troubleshooting steps:
- Double-check the pairing: Ensure that your wireless keyboard is still paired with your tablet. If it has become disconnected, re-establish the connection by following the pairing process again.
- Restart your devices: Sometimes a simple restart of both your tablet and wireless keyboard can resolve connectivity issues. Turn off both devices, wait a few seconds, and then turn them back on.
- Update firmware or drivers: Check the manufacturer’s website for any available firmware or driver updates for your wireless keyboard. Updating the software can often resolve compatibility or performance issues.
- Replace batteries: If your wireless keyboard is powered by replaceable batteries, try replacing them with fresh ones to ensure optimal performance.
- Contact customer support: If the connection issues persist, reach out to the manufacturer’s customer support for further assistance. They will be able to provide specific troubleshooting steps or guide you through the process.
By following these troubleshooting steps, you should be able to resolve most connection issues. Once the connection between your wireless keyboard and tablet is stable, you can enjoy the convenience and productivity of using a physical keyboard for your tablet tasks.
Conclusion
Connecting a wireless keyboard to your tablet can greatly enhance your typing experience and productivity. With just a few simple steps, you can establish a seamless connection between your wireless keyboard and tablet, allowing you to type with ease and precision.
In this guide, we covered the essential steps to connect a wireless keyboard to your tablet. We started by checking your tablet’s compatibility and ensuring that it has Bluetooth functionality. Then, we powered on the wireless keyboard and enabled Bluetooth on the tablet. We proceeded to pair the keyboard with the tablet and tested the connection to ensure everything was working properly.
Remember, if you encounter any issues during the connection process, such as keys not registering or delays, try troubleshooting steps like double-checking the pairing, restarting the devices, updating firmware or drivers, and replacing batteries if necessary. If problems persist, don’t hesitate to reach out to customer support for further assistance.
Now that you have successfully connected your wireless keyboard to your tablet, you can enjoy a more comfortable and efficient typing experience. Whether you’re typing emails, working on documents, or simply browsing the web, the convenience of a physical keyboard can make a significant difference.
So go ahead, unleash the full potential of your tablet by connecting a wireless keyboard and take your productivity to new heights!