Introduction
Are you tired of using a gamepad or controller for your PlayStation 4 (PS4) gaming sessions? Perhaps you prefer the precision and control offered by a mouse and keyboard. Luckily, you can connect a mouse and keyboard to your PS4 and take your gaming experience to a whole new level.
Playing games with a mouse and keyboard can offer advantages such as improved accuracy and faster reaction times. Additionally, some games even have specific features and controls designed for mouse and keyboard input.
In this article, we will guide you through the process of connecting a mouse and keyboard to your PS4. We will cover the necessary requirements, step-by-step instructions, and configuration settings to ensure a seamless integration and optimal performance.
Before we proceed, it’s essential to note that not all mice and keyboards are compatible with the PS4. Therefore, it’s crucial to check the compatibility of your peripherals with PS4 before attempting to connect them. Let’s dive into the requirements and get started on connecting your mouse and keyboard to PS4!
Requirements for Connecting a Mouse and Keyboard to PS4
Before you embark on the process of connecting a mouse and keyboard to your PS4, there are a few essential requirements to keep in mind. Ensuring that you have the necessary items will help guarantee a smooth and successful connection:
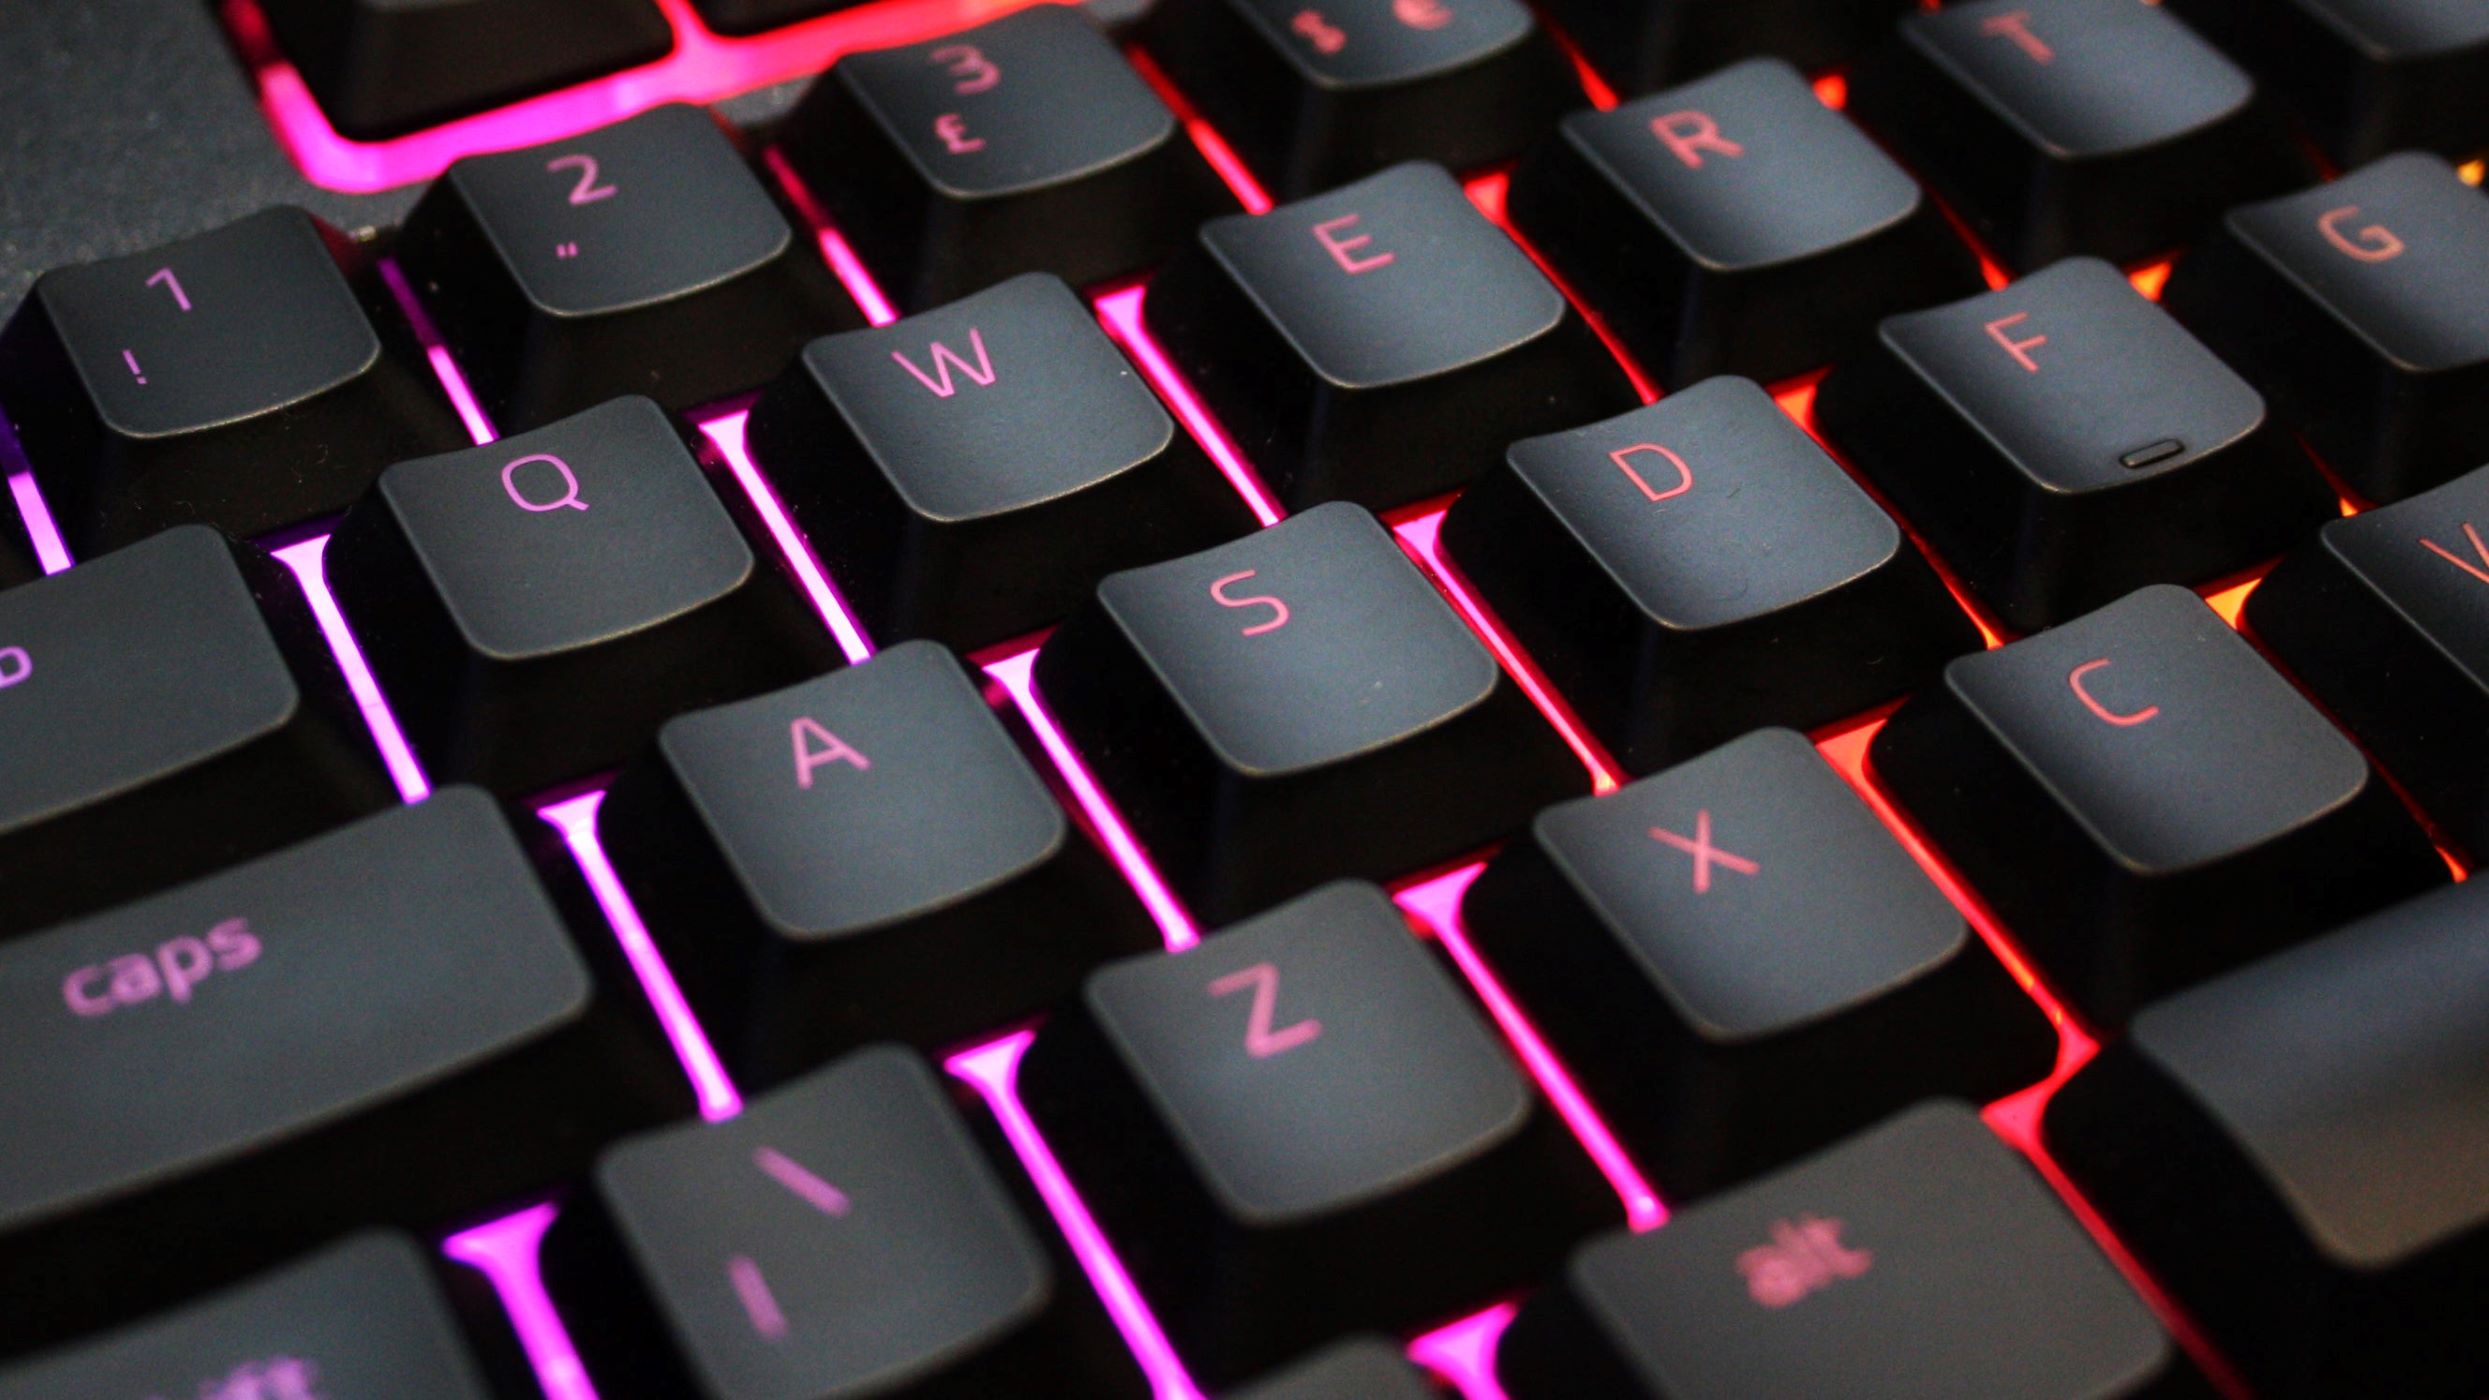
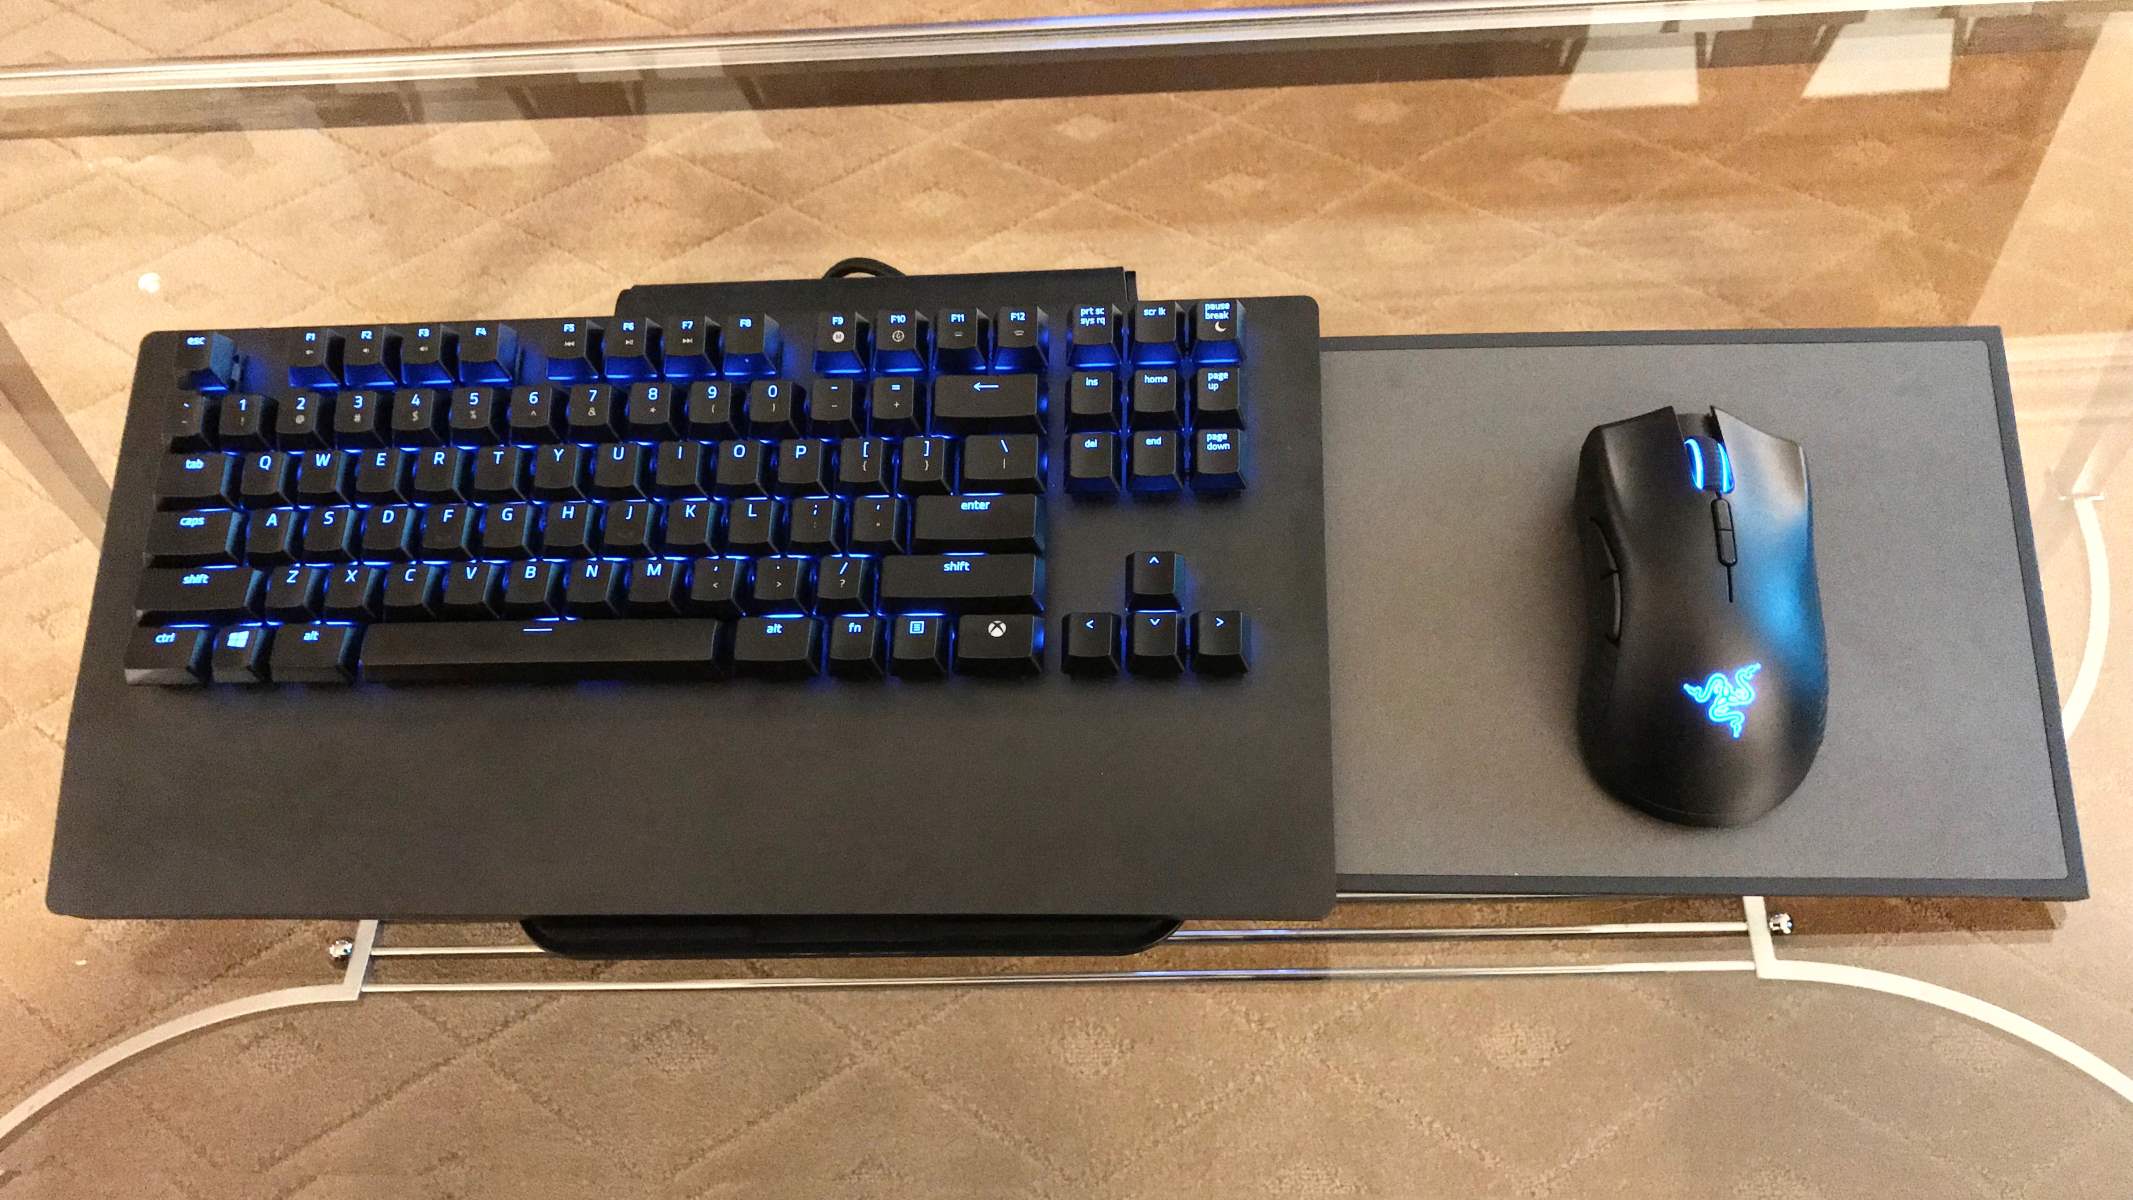
1. Compatible Mouse and Keyboard: Not all mice and keyboards are compatible with the PS4. To check compatibility, refer to the manufacturer’s documentation or visit their official website. Ideally, look for peripherals explicitly labeled as compatible with PS4 or Xbox One, as they are more likely to work without additional troubleshooting.
2. Wired or Wireless: You can connect your mouse and keyboard to your PS4 via either a wired or wireless connection. If you choose to go wireless, make sure your peripherals have the necessary wireless receiver to connect to the console.
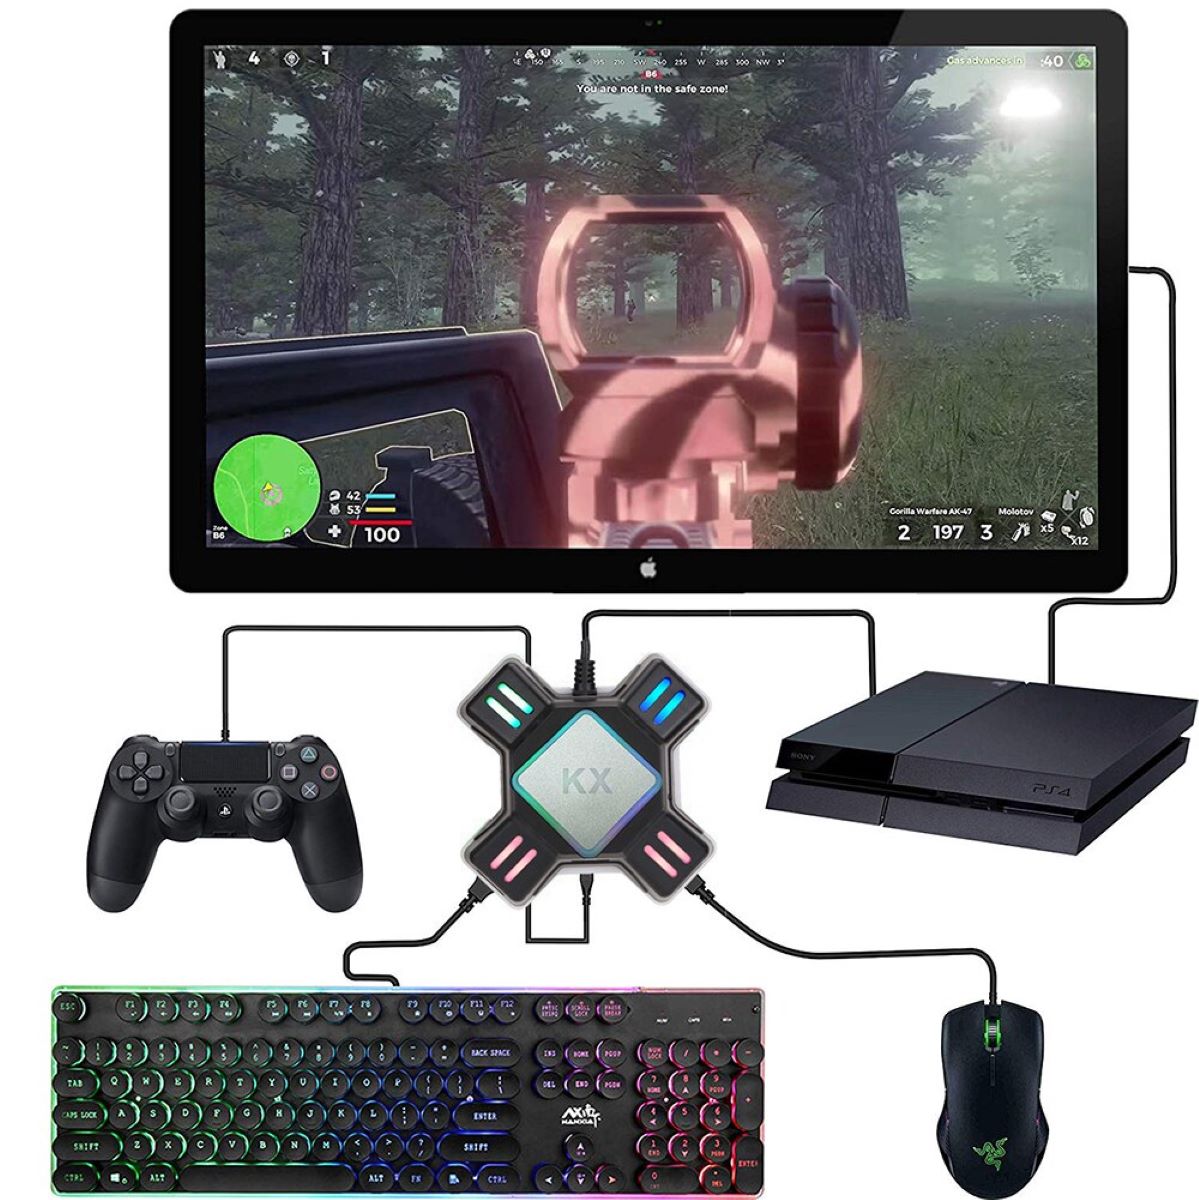
3. USB Ports: The PS4 has multiple USB ports, which you will need to connect your mouse and keyboard. Check the number of available USB ports on your PS4 and ensure you have enough for both the mouse and keyboard.
4. Internet Connection: To fully utilize the mouse and keyboard functionality, make sure your PS4 is connected to the internet. Some games might require online access for certain features or updates.
5. Optional USB Hub: If you find yourself lacking USB ports, you can invest in a USB hub to expand the number of available ports. Make sure the USB hub is compatible with the PS4 and capable of transmitting data at an appropriate speed.
Once you have gathered all the necessary requirements, you are ready to proceed with connecting your mouse and keyboard to your PS4. Follow the step-by-step instructions in the next section to ensure a seamless connection process.
Step 1: Check if Your Mouse and Keyboard are Compatible with PS4
Before connecting your mouse and keyboard to your PS4, it is essential to ensure compatibility between the peripherals and the console. Here’s how you can check:
1. Refer to the Manufacturer’s Documentation: Start by checking the instruction manual or packaging of your mouse and keyboard. Look for any mentions of compatibility with gaming consoles or specifically with the PS4. If it explicitly states compatibility with PS4 or Xbox One, you can proceed confidently.
2. Visit the Manufacturer’s Website: If the documentation does not provide clear compatibility information, visit the manufacturer’s official website. Look for a support section or frequently asked questions (FAQ) where they might address compatibility with gaming consoles. Some manufacturers even provide dedicated support for connecting their peripherals to PS4 or Xbox One.
3. Online Forums and Communities: If the above methods do not yield the required information, turn to online forums and communities for assistance. There are vast communities of gamers and tech enthusiasts who can provide valuable insights and experiences concerning different mouse and keyboard models. Post your queries in relevant forums or search for existing discussions on connecting specific models to PS4.
Keep in mind that every mouse and keyboard combination may not be compatible with PS4. Even if the peripherals are compatible, certain features or functionalities might not translate perfectly to the console. It’s always a good idea to research and gather as much information as possible before proceeding.
Once you have verified the compatibility of your mouse and keyboard with the PS4, you can confidently move on to the next step of preparing your peripherals for connection.
Step 2: Prepare Your Mouse and Keyboard for Connection
After ensuring the compatibility of your mouse and keyboard with the PS4, it’s time to prepare your peripherals for connection. Follow these steps to get them ready:
1. Check for Firmware Updates: Visit the manufacturer’s website or use any provided software to check for firmware updates for your mouse and keyboard. Keeping the firmware up to date ensures optimal performance and compatibility with the PS4.
2. Plug in Wired Peripherals: If you have opted for a wired mouse and keyboard, connect them to your PS4 using the available USB ports. Make sure to use USB 2.0 or higher ports for better data transfer speeds.
3. Wireless Connection: If your mouse and keyboard are wireless, you will need to follow additional steps to establish a connection. Insert any required batteries into your peripherals, and activate the wireless function according to the manufacturer’s instructions. If there is a wireless receiver, connect it to your PS4 using a USB port.
4. Pairing: Some wireless peripherals require pairing to establish a connection. Refer to the manufacturer’s documentation or follow the provided instructions to pair your mouse and keyboard with the PS4. This may involve pressing specific buttons or entering pairing codes.
5. Adjust Settings: Depending on your mouse and keyboard, you may be able to customize settings such as DPI (dots per inch) for the mouse or assign macros for the keyboard. Explore the manufacturer’s software or settings to fine-tune your peripherals according to your preferences.
By following these steps and ensuring that your mouse and keyboard are properly prepared, you are now ready to connect them to your PS4. In the next section, we will guide you through the process of connecting your peripherals to the PS4 console itself.
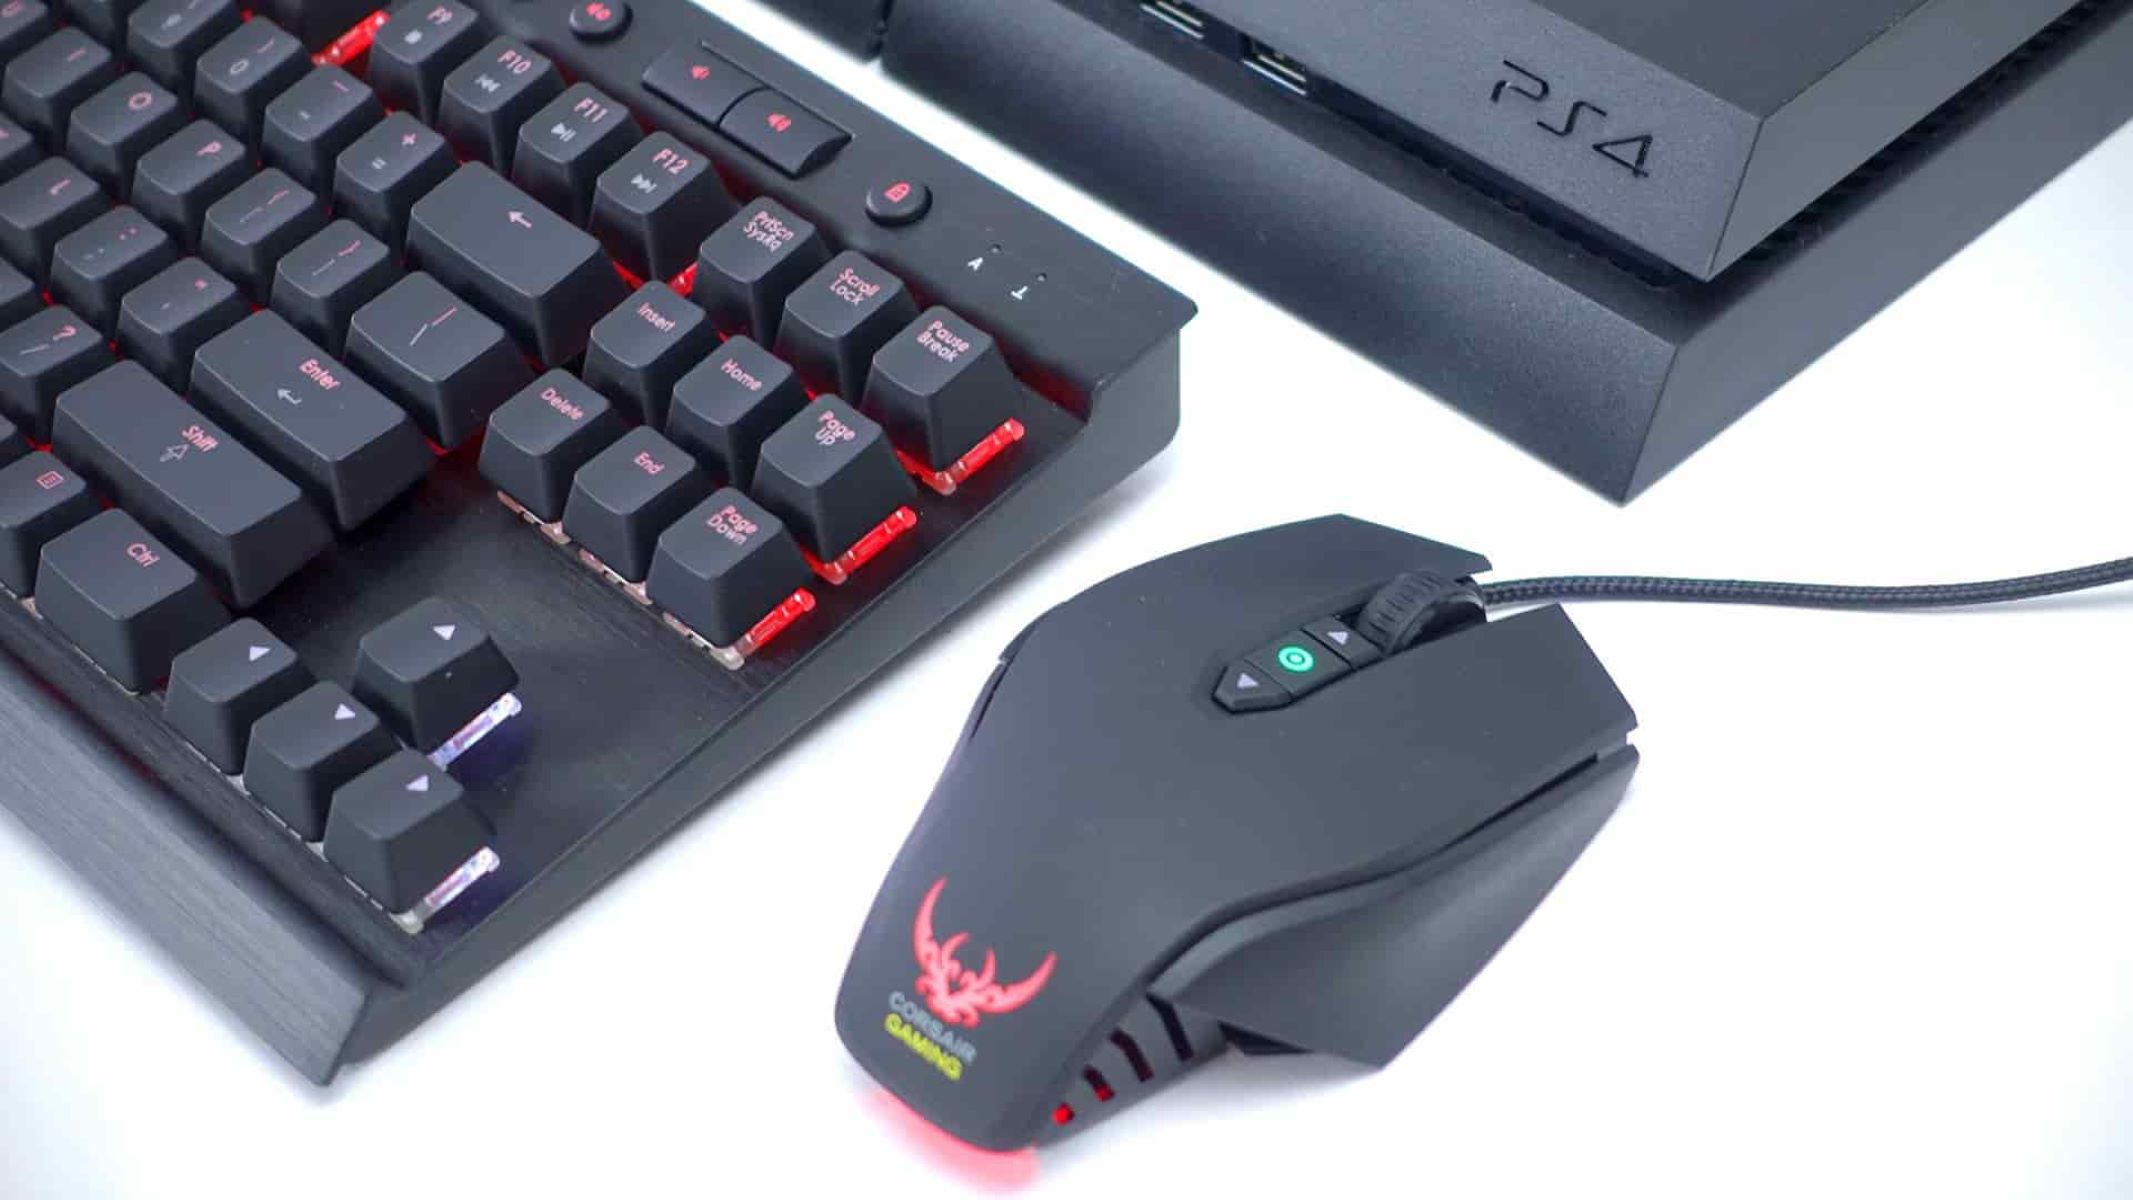
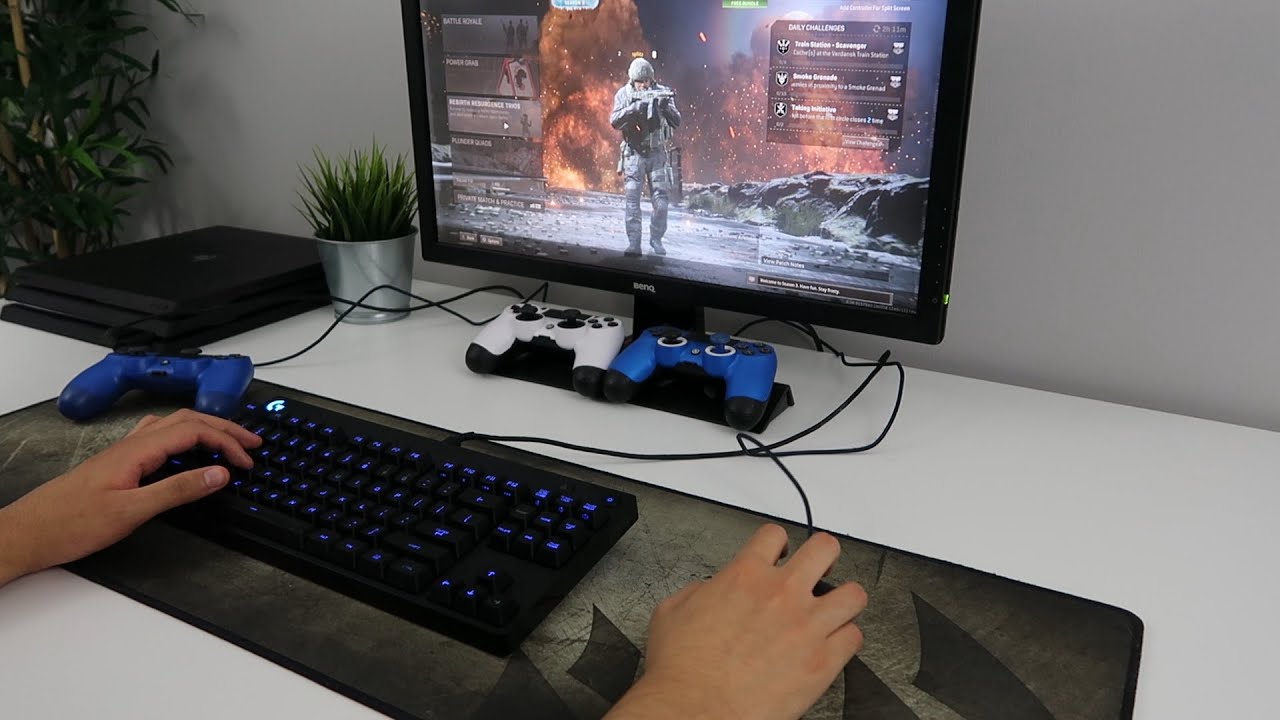
Step 3: Connect the Mouse and Keyboard to the PS4
Now that your mouse and keyboard are ready, it’s time to connect them to your PS4 console. Follow these steps to establish the connection:
1. Locate the USB Ports: On your PS4 console, locate the USB ports. They are usually found on the front or back of the console.
2. Connect the Mouse: Take the USB cable of your mouse and plug it into one of the available USB ports on the PS4. Ensure a secure connection to avoid any interruptions during gameplay.
3. Connect the Keyboard: Similarly, take the USB cable of your keyboard and plug it into another available USB port on the PS4. Make sure the connection is secure.
4. Wireless Connection: If you are using a wireless mouse and keyboard with a USB receiver, insert the receiver into one of the USB ports on the PS4. This will establish the wireless connection between the peripherals and the console.
5. USB Hub: In case you are using a USB hub to connect multiple peripherals, connect the hub to one of the available USB ports on the PS4 first. Then, connect the mouse and keyboard to the USB ports on the hub.
Once the mouse and keyboard are connected to the PS4, the console should detect them automatically. However, depending on the peripherals and their compatibility, you may need to perform additional configurations for optimal usage.
In the next section, we will guide you through the essential configuration settings on the PS4 to ensure that your mouse and keyboard function properly during gameplay.
Step 4: Configure Mouse and Keyboard Settings on the PS4
After connecting your mouse and keyboard to the PS4, it’s important to configure the settings to ensure optimal functionality and customization. Here are the essential steps to configure the mouse and keyboard settings:
1. Access the Settings Menu: On your PS4 dashboard, navigate to the “Settings” menu. You can find it in the top row of icons.
2. Select “Devices” from the Settings Menu: Inside the Settings menu, scroll down and select “Devices” to access a variety of device-related settings.
3. Select “Mouse” or “Keyboard” Settings: Within the “Devices” settings, you will find options to customize both the mouse and keyboard settings separately. Select the respective option to proceed.
4. Adjust Mouse Sensitivity: In the mouse settings, you can adjust the sensitivity and DPI (dots per inch) to suit your preference. Experiment with different settings to find the ideal sensitivity for accurate and comfortable gameplay.
5. Customize Keyboard Controls: In the keyboard settings, you can remap keys or assign specific actions to different keys to optimize your gaming experience. Take advantage of this customization to create a layout that best suits your playstyle.
6. Explore Additional Settings: Depending on your mouse and keyboard models, you might find additional settings such as macros or lighting effects. Take the time to explore these options and customize them according to your preferences.
7. Save and Apply Changes: Once you have made the desired configurations, make sure to save and apply the changes in the settings menu. This will ensure that your custom settings are retained for future gaming sessions.
By following these steps to configure your mouse and keyboard settings on the PS4, you can tailor your gaming experience to your liking and optimize your performance. Now, it’s time to move on to the final step: testing your mouse and keyboard on the PS4.
Step 5: Test the Mouse and Keyboard on the PS4
Once you have connected and configured your mouse and keyboard on the PS4, it’s crucial to test them out to ensure that they are functioning correctly. Follow these steps to test your peripherals:
1. Navigate the PS4 Menus: Use the mouse to navigate the PS4 menu and test its responsiveness. Move the cursor around, click on various options, and observe if it behaves as expected.
2. Launch a Game: Select a game that supports mouse and keyboard input or has specific settings for them. Launch the game and proceed to the gameplay section.
3. Game Controls: Use the keyboard to test game controls. Check if all the keys are working correctly and if any specific key mappings or customization options are functioning as intended.
4. Mouse Accuracy: Once in the game, test the accuracy and responsiveness of the mouse. Move the mouse around to aim or control the camera and observe if the movements are smooth and precise.
5. Make Adjustments if Necessary: If you encounter any issues or if the mouse or keyboard settings don’t feel right during gameplay, return to the settings menu and make the necessary adjustments. Fine-tune the sensitivity, key mappings, or any other configurations to enhance your gaming experience.
By thoroughly testing your mouse and keyboard on the PS4, you can ensure that they are working correctly and meet your expectations. Take your time to adjust settings and make any necessary changes until you are satisfied with the performance.
Congratulations! You have successfully connected, configured, and tested your mouse and keyboard on the PS4. Now you can enjoy a more precise and comfortable gaming experience with the input method of your choice.
Conclusion
Connecting a mouse and keyboard to your PS4 opens up a whole new world of gaming possibilities. It allows for improved precision, faster response times, and a customizable experience tailored to your preferences. By following the steps outlined in this guide, you can seamlessly connect, configure, and test your peripherals on the PS4.
Remember to ensure compatibility between your mouse and keyboard and the PS4 before attempting to connect them. Check the manufacturer’s documentation, visit their website, or consult online forums to verify compatibility and gather any necessary updates or information.
Once you have confirmed compatibility, prepare your mouse and keyboard for connection by checking for firmware updates and plugging them in securely. If using wireless peripherals, follow the manufacturer’s instructions for establishing a wireless connection and pairing if required.
Connect your mouse and keyboard to the available USB ports on the PS4, either directly or using a USB hub if necessary. Ensure a secure connection to avoid interruptions during gameplay.
After connecting the peripherals, configure the settings on the PS4 to customize your experience. Adjust the sensitivity and DPI of the mouse, remap keyboard keys, and explore additional settings provided by your peripherals.
Finally, test your mouse and keyboard in the PS4 menu and within games to ensure they are functioning correctly. Assess the responsiveness, accuracy, and comfort of the peripherals, and make any necessary adjustments in the settings.
With your mouse and keyboard successfully connected and tested, you can now enjoy a new level of control and precision in your PS4 gaming experience. Explore the vast library of games available and take advantage of the features and benefits that a mouse and keyboard can provide.
Embrace the enhanced accuracy, faster reaction times, and customizable controls that a mouse and keyboard bring to your PS4 gaming sessions. Get ready to dominate the virtual battleground and leave your opponents in awe with your newfound gaming prowess.