Introduction
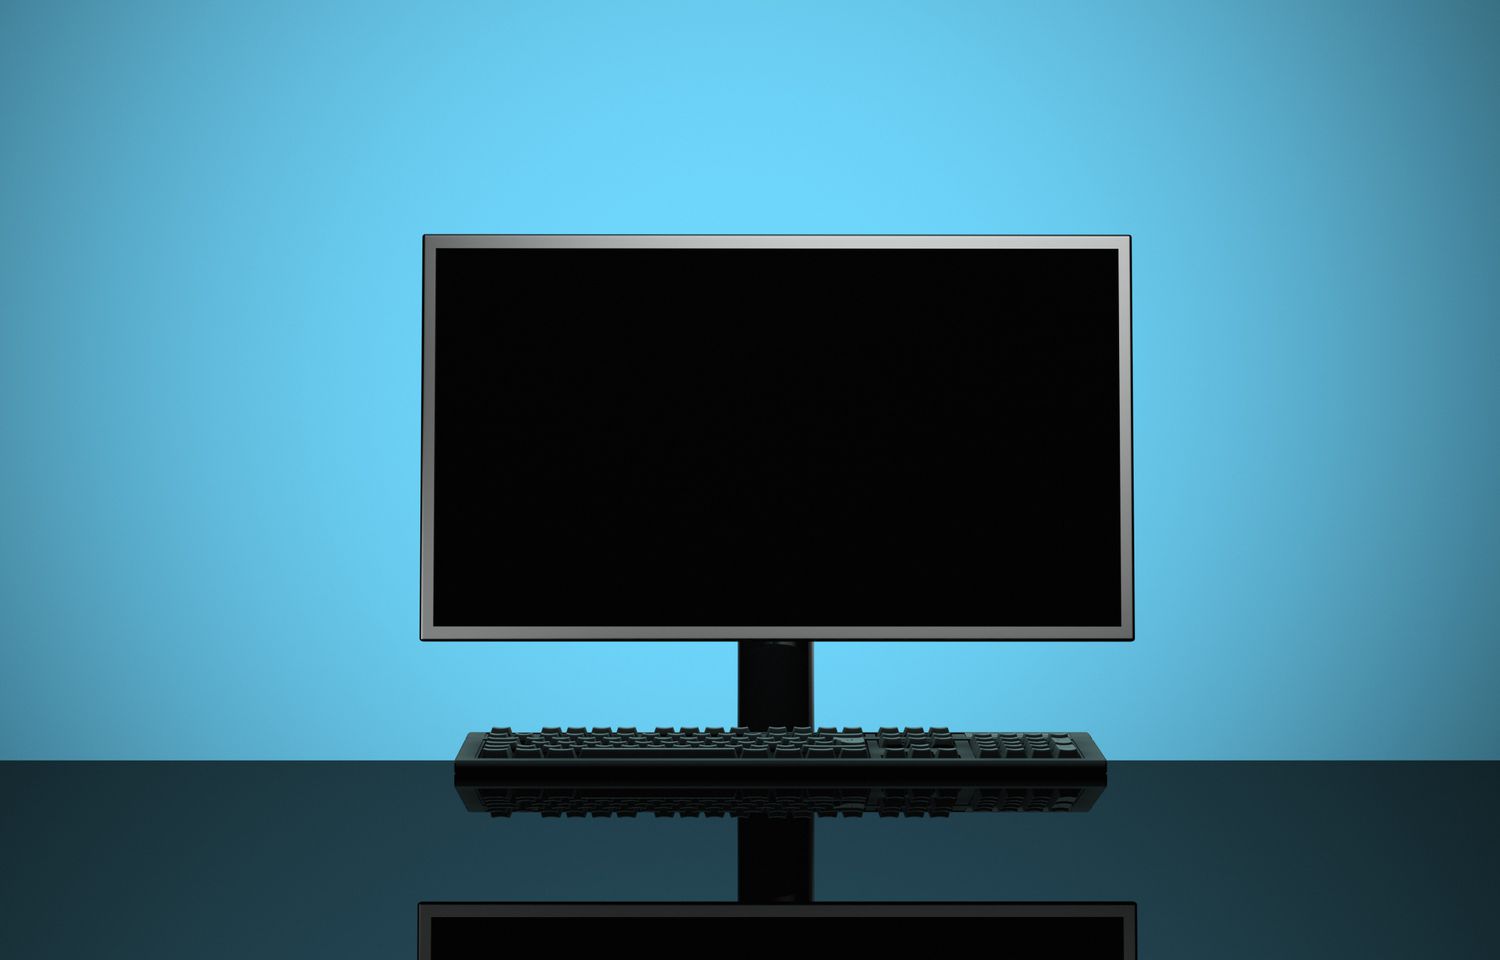
Welcome to this troubleshooting article on why your monitor won’t turn on. A non-responsive monitor can be incredibly frustrating, especially when you need it for work, gaming, or general computer usage. There could be a variety of reasons behind this issue, ranging from simple power problems to more complex hardware malfunctions.
When your monitor fails to turn on, it’s crucial to identify the root cause so that you can implement the appropriate solution. In this article, we will explore the potential causes of a non-functioning monitor and provide troubleshooting steps to help you get your display up and running again.
Before we begin troubleshooting, one important thing to note is that a monitor not turning on is different from a display that’s not receiving a signal. If your monitor appears to be in sleep mode or displaying a “no signal” message, it indicates a different issue related to the connection between your computer and the monitor. This article specifically addresses the scenario where the monitor remains completely unresponsive when attempting to power it on.
By following the troubleshooting steps outlined in this article, you can eliminate common causes and potentially save yourself the time and expense of seeking professional assistance. Let’s dive in and explore the possible reasons behind your monitor’s failure to turn on, and learn how to resolve the issue.
Possible Causes
There are several potential causes for a monitor that won’t turn on. It’s important to consider these possibilities before diving into troubleshooting. Here are three common causes to keep in mind:
- Power Issues: The most basic and common cause is a power-related problem. This could include a faulty power outlet, a power surge, or a malfunctioning power cable.
- Loose Connections: Another possible cause is loose connections between the monitor, power cable, and video cable. If any of these connections are loose or disconnected, the monitor won’t receive the necessary power and video signal.
- Faulty Cable: A faulty or damaged video cable can also prevent the monitor from turning on. If the cable is frayed, bent, or otherwise compromised, it may need to be replaced.
It’s worth noting that these are just a few common causes, and there could be other underlying issues contributing to the problem. However, by understanding these possibilities, you can start troubleshooting with a clearer sense of what might be causing your monitor to remain unresponsive.
Now that we have explored the potential causes let’s move on to the troubleshooting steps you can take to resolve the issue.
Power Issues
One of the most common reasons for a monitor not turning on is power-related issues. Here are a few potential power-related causes to consider:
- Faulty Power Outlet: Ensure that the power outlet you’re using is functioning properly. Try plugging in another device to check if the outlet is delivering power. If the outlet is faulty, try using a different outlet or consult a professional electrician to fix the issue.
- Power Surge: Power surges can occur due to electrical disturbances, such as lightning strikes or faulty electrical equipment. If you suspect a power surge, consider using a surge protector to safeguard your monitor and other devices from voltage spikes.
- Malfunctioning Power Cable: Examine the power cable connected to your monitor. Ensure that it is securely plugged into both the monitor and the power outlet. If the cable appears damaged or worn out, try using a different power cable to see if that resolves the issue.
- Monitor Power Button: Check if the power button on the monitor is illuminated or responding when pressed. If not, it may indicate a hardware problem with the monitor itself. In such cases, refer to the manufacturer’s documentation or consider contacting technical support for further assistance.
By addressing the power-related issues mentioned above, you can potentially resolve the problem and get your monitor to turn on. If the power-related causes are ruled out or if the issue persists, it’s time to explore other potential reasons for your monitor’s non-responsiveness.
Loose Connections
Another common cause for a monitor not turning on is loose connections. It’s essential to ensure that all necessary cables are securely connected. Here’s what you can do:
- Check the Power Cable: Ensure that the power cable is firmly connected to both the monitor and the power outlet. If it feels loose or unplugged, reseat it and try turning on the monitor again.
- Verify Video Cable Connections: Check the video cable that connects your monitor to your computer. Make sure it is securely plugged into both the monitor’s video input port and the corresponding port on your computer’s graphics card. Additionally, if you are using an HDMI cable, ensure that both ends are properly plugged in and snug.
- Inspect for Damaged Cables: Examine the video cable for any signs of damage, such as fraying, bending, or pinched sections. If you notice any damage, replace the cable with a new one.
- Try a Different Port or Cable: If possible, try connecting your monitor to a different video port on your computer or using a different video cable altogether. This helps determine if a faulty port or cable is causing the issue.
It is not uncommon for cables to become loose over time due to movement or accidental tugs. By ensuring all connections are secure, you can eliminate the possibility of loose connections as the cause for your non-responsive monitor. If the problem persists, proceed to the next section for further troubleshooting steps.
Faulty Cable
A faulty or damaged video cable can also be a reason why your monitor won’t turn on. Here’s how you can troubleshoot this possibility:
- Inspect the Video Cable: Carefully examine the video cable connecting your monitor to your computer. Look for any visible signs of damage, such as frayed wires or bent connectors. If you notice any issues, replace the cable with a new one.
- Try a Different Cable: If you have another video cable available, swap it with the current one to see if the issue is resolved. Sometimes, the cable itself can develop faults over time, and replacing it can fix the problem.
- Check for Compatibility: Ensure that the video cable you are using is compatible with both your monitor and your computer’s graphics card. Different monitors and graphics cards may require specific types of cables, such as HDMI, DisplayPort, or DVI. Verify that you are using the correct cable for your setup.
- Secure Connections: Double-check that the video cable is securely connected to both the monitor’s video input port and the corresponding port on your computer’s graphics card. A loose or improperly connected cable could prevent the monitor from turning on.
By troubleshooting the video cable, you can identify whether it is the culprit behind your non-responsive monitor. If the issue persists despite using a different cable and securing the connections, it may be necessary to investigate other potential causes.
Troubleshooting Steps
Now that we have explored the possible causes of your monitor not turning on, let’s proceed with some troubleshooting steps to help resolve the issue. Follow these steps in the given order:
- Check Power Source: Ensure that the power source is functioning correctly by plugging in another device or using a different power outlet. If the power source is the problem, address it accordingly before moving on.
- Check Power Cable: Examine the power cable connected to your monitor and ensure it is securely plugged in both at the monitor and the power outlet. If the cable appears damaged or worn out, replace it with a new one.
- Check Video Cable: Verify that the video cable connecting your monitor to your computer is properly connected. Ensure it is securely plugged into both the monitor’s video input port and the corresponding port on your computer’s graphics card.
- Restart Computer: Sometimes, a simple restart can resolve electronic glitches or software issues that may be causing the monitor not to turn on. Restart your computer and check if the monitor responds.
- Check Display Settings: Access your computer’s display settings and ensure they are configured correctly. Make sure the monitor is recognized and set as the primary display if necessary.
- Test with Another Monitor: If possible, connect your computer to a different monitor or use your current monitor with another computer to determine whether the issue lies with the monitor itself or your computer’s configuration.
By following these troubleshooting steps, you can systematically eliminate potential causes and find a solution to get your monitor working as expected. If the issue persists after trying these steps, it may be necessary to seek professional assistance or consult the manufacturer’s support for further guidance.
Check Power Source
When troubleshooting a monitor that won’t turn on, it’s essential to begin by checking the power source. Here’s what you can do:
- Verify Power Outlet: Ensure that the power outlet you are using is functional. Plug in another device, such as a lamp or phone charger, to test if there is power coming from the outlet.
- Power Surge Protector: If you experience frequent power surges or electrical disturbances in your area, consider using a surge protector. This device helps protect your electronics from voltage spikes and potential damage.
- Try Different Outlet: If the power outlet is working but your monitor still won’t turn on, try plugging it into a different outlet. This step can rule out any issues with the specific outlet you were using.
- Check Power Cable: Examine the power cable connected to your monitor, ensuring it is securely plugged into both the monitor and the power outlet. If the cable appears damaged or frayed, it may be necessary to replace it with a new one.
- Inspect the Power Indicator: Check if the power indicator light on the monitor is illuminated. If it is not lit, it could indicate a lack of power or a hardware problem. Refer to the manufacturer’s documentation or contact technical support for further assistance.
By performing these checks, you can confirm if the power source is causing the issue. If the monitor still fails to turn on, proceed to the next troubleshooting step for further investigation.
Check Power Cable
A faulty power cable can be the reason why your monitor won’t turn on. To ensure the power cable is not the issue, follow these steps:
- Inspect the Power Cable: Carefully examine the power cable connected to your monitor. Check for any visible signs of damage, such as frayed wires or bent connectors. If you notice any issues, it’s crucial to replace the cable with a new one.
- Verify Firm Connection: Ensure that the power cable is securely plugged into both the monitor’s power input port and the power outlet. Sometimes, the cable can become loose due to movement or accidental tugs, preventing the monitor from receiving power.
- Test with Another Power Cable: If you have access to another power cable that is compatible with your monitor, try using it as a replacement. This helps determine if the current power cable is faulty and causing the monitor not to turn on.
- Power Cable Length: Although rarely an issue, it’s worth considering the length of the power cable. If the cable is too short, it may restrict your ability to plug it into a suitable power outlet. In such cases, use a power extension cord to provide the necessary reach.
- Consult Manufacturer: If you have completed these steps and the monitor still does not power on, refer to the manufacturer’s documentation or contact their technical support for further guidance. They can provide specific troubleshooting advice or recommend suitable replacement parts.
By checking the power cable and ensuring it is properly connected, you can eliminate a faulty power cable as the cause for your non-responsive monitor. If the issue persists, proceed to the next troubleshooting step for further investigation.
Check Video Cable
A loose or faulty video cable can also prevent your monitor from turning on. To troubleshoot this issue, follow these steps:
- Inspect the Video Cable: Carefully examine the video cable that connects your monitor to your computer. Look for any visible signs of damage, such as frayed wires or bent connectors. If you notice any issues, it’s essential to replace the cable with a new one.
- Verify Secure Connections: Check that the video cable is securely plugged into both the monitor’s video input port and the corresponding port on your computer’s graphics card. Ensure both ends of the cable are firmly connected to prevent any signal loss.
- Try a Different Cable: If possible, try using a different video cable to connect your monitor to your computer. Sometimes, the current cable may be faulty and replacing it can resolve the issue.
- Check for Compatibility: Ensure that the video cable you are using is compatible with both your monitor and your computer’s graphics card. Different monitors and graphics cards may require specific types of cables, such as HDMI, DisplayPort, or DVI. Verify that you are using the correct cable for your setup.
- Test with Another Monitor: If you have access to another monitor, try connecting it to your computer using the same video cable. This can help determine if the issue lies with the monitor or the video cable itself.
By checking the video cable and ensuring secure connections, you can rule out any issues related to a loose or faulty video cable. If the problem persists, proceed to the next troubleshooting step for further investigation.
Restart Computer
When troubleshooting a non-responsive monitor, restarting your computer can often resolve software-related issues or electronic glitches. Follow these steps to restart your computer:
- Save Your Work: Before restarting your computer, save any unsaved work and close all open applications. This ensures that you don’t lose any important data.
- Shut Down: Click on the “Start” menu and select “Shut Down” or “Restart”. Allow your computer to completely shut down before proceeding to the next step.
- Power On: After your computer has completely turned off, press the power button to turn it back on. Wait for your operating system to boot up.
- Check Monitor: Once your computer has restarted, check if your monitor turns on and displays the expected content. If your monitor still doesn’t respond, proceed to the next troubleshooting step.
Restarting your computer helps reset the software and can resolve certain issues that may be causing the monitor not to turn on. It is a simple yet effective step in the troubleshooting process. If the problem persists, continue to the next troubleshooting step for further investigation.
Check Display Settings
Incorrect display settings on your computer can sometimes prevent your monitor from turning on. Here are the steps to check and adjust your display settings:
- Access Display Settings: Right-click on an empty area of your desktop and select “Display settings” from the context menu. This will open the display settings window.
- Verify Monitor Recognition: Ensure that your monitor is recognized by your computer. It should be listed in the display settings window under the “Display” section. If it is not listed, there may be an issue with the connection or driver.
- Select Correct Display: If your monitor is recognized, but not set as the primary display, click on it in the display settings window and select the option to make it the primary display. This ensures that your computer knows which monitor to activate.
- Adjust Resolution: Check the resolution settings for your monitor and ensure they are set to the recommended or optimal resolution. If the resolution is set too high, it can result in a blank or out-of-range display.
- Apply Changes: After making any adjustments to the display settings, click the “Apply” button to apply the changes. Your monitor should respond accordingly.
- Restart Computer: In some cases, you may need to restart your computer for the changes to take effect completely. Save any work and perform a restart if necessary.
By checking and adjusting the display settings, you can ensure that your monitor is properly recognized and configured by your computer. If the monitor still does not turn on or display correctly, proceed to the next troubleshooting step for further investigation.
Test with Another Monitor
If all previous troubleshooting steps have failed to resolve the issue, it’s time to determine whether the problem lies with your monitor or your computer. Testing with another monitor can help identify the source of the problem. Follow these steps:
- Obtain Another Monitor: If possible, borrow a monitor from a friend or family member, or use a spare monitor if available. Ensure that it is compatible with your computer.
- Disconnect Current Monitor: Disconnect the video cable and power cable from your non-responsive monitor.
- Connect the Test Monitor: Connect the video cable and power cable to the test monitor. Make sure the connections are secure.
- Power On: Turn on the test monitor and then your computer. Allow time for the computer to boot up.
- Monitor Response: Check if the test monitor turns on and displays the expected content. If it does, it suggests that the issue lies with your original monitor.
- Contact Manufacturer or Technical Support: If the test monitor does not work or exhibits similar issues, it indicates a problem with your computer’s configuration or hardware. Consider contacting your computer manufacturer or technical support for further assistance.
Testing with another monitor helps eliminate any doubts about whether the issue lies with your computer or your original monitor. If the test monitor works correctly, it may be necessary to have your original monitor serviced or replaced. However, if the problem persists with the test monitor, it indicates a deeper issue with your computer that may require professional help.
Conclusion
Dealing with a monitor that won’t turn on can be frustrating, but by following the troubleshooting steps outlined in this article, you can identify and resolve the issue. From checking power sources and cables to examining display settings and testing with another monitor, these steps help narrow down the possible causes and offer potential solutions.
Remember, it’s important to approach the troubleshooting process systematically, ruling out each potential cause before moving on to the next step. While power-related issues, loose connections, and faulty cables are common culprits, it’s also essential to consider other factors such as software configuration or hardware problems.
If you have exhausted all troubleshooting steps and your monitor still refuses to turn on, it may be necessary to seek professional assistance. Contacting your monitor’s manufacturer or technical support team can provide you with expert guidance tailored to your specific situation.
In summary, by being proactive and following the troubleshooting steps outlined in this article, you can successfully diagnose and resolve the issue with your non-responsive monitor. Whether it’s a simple power issue, loose connections, or a faulty cable, troubleshooting is key to getting your monitor up and running again.