Introduction
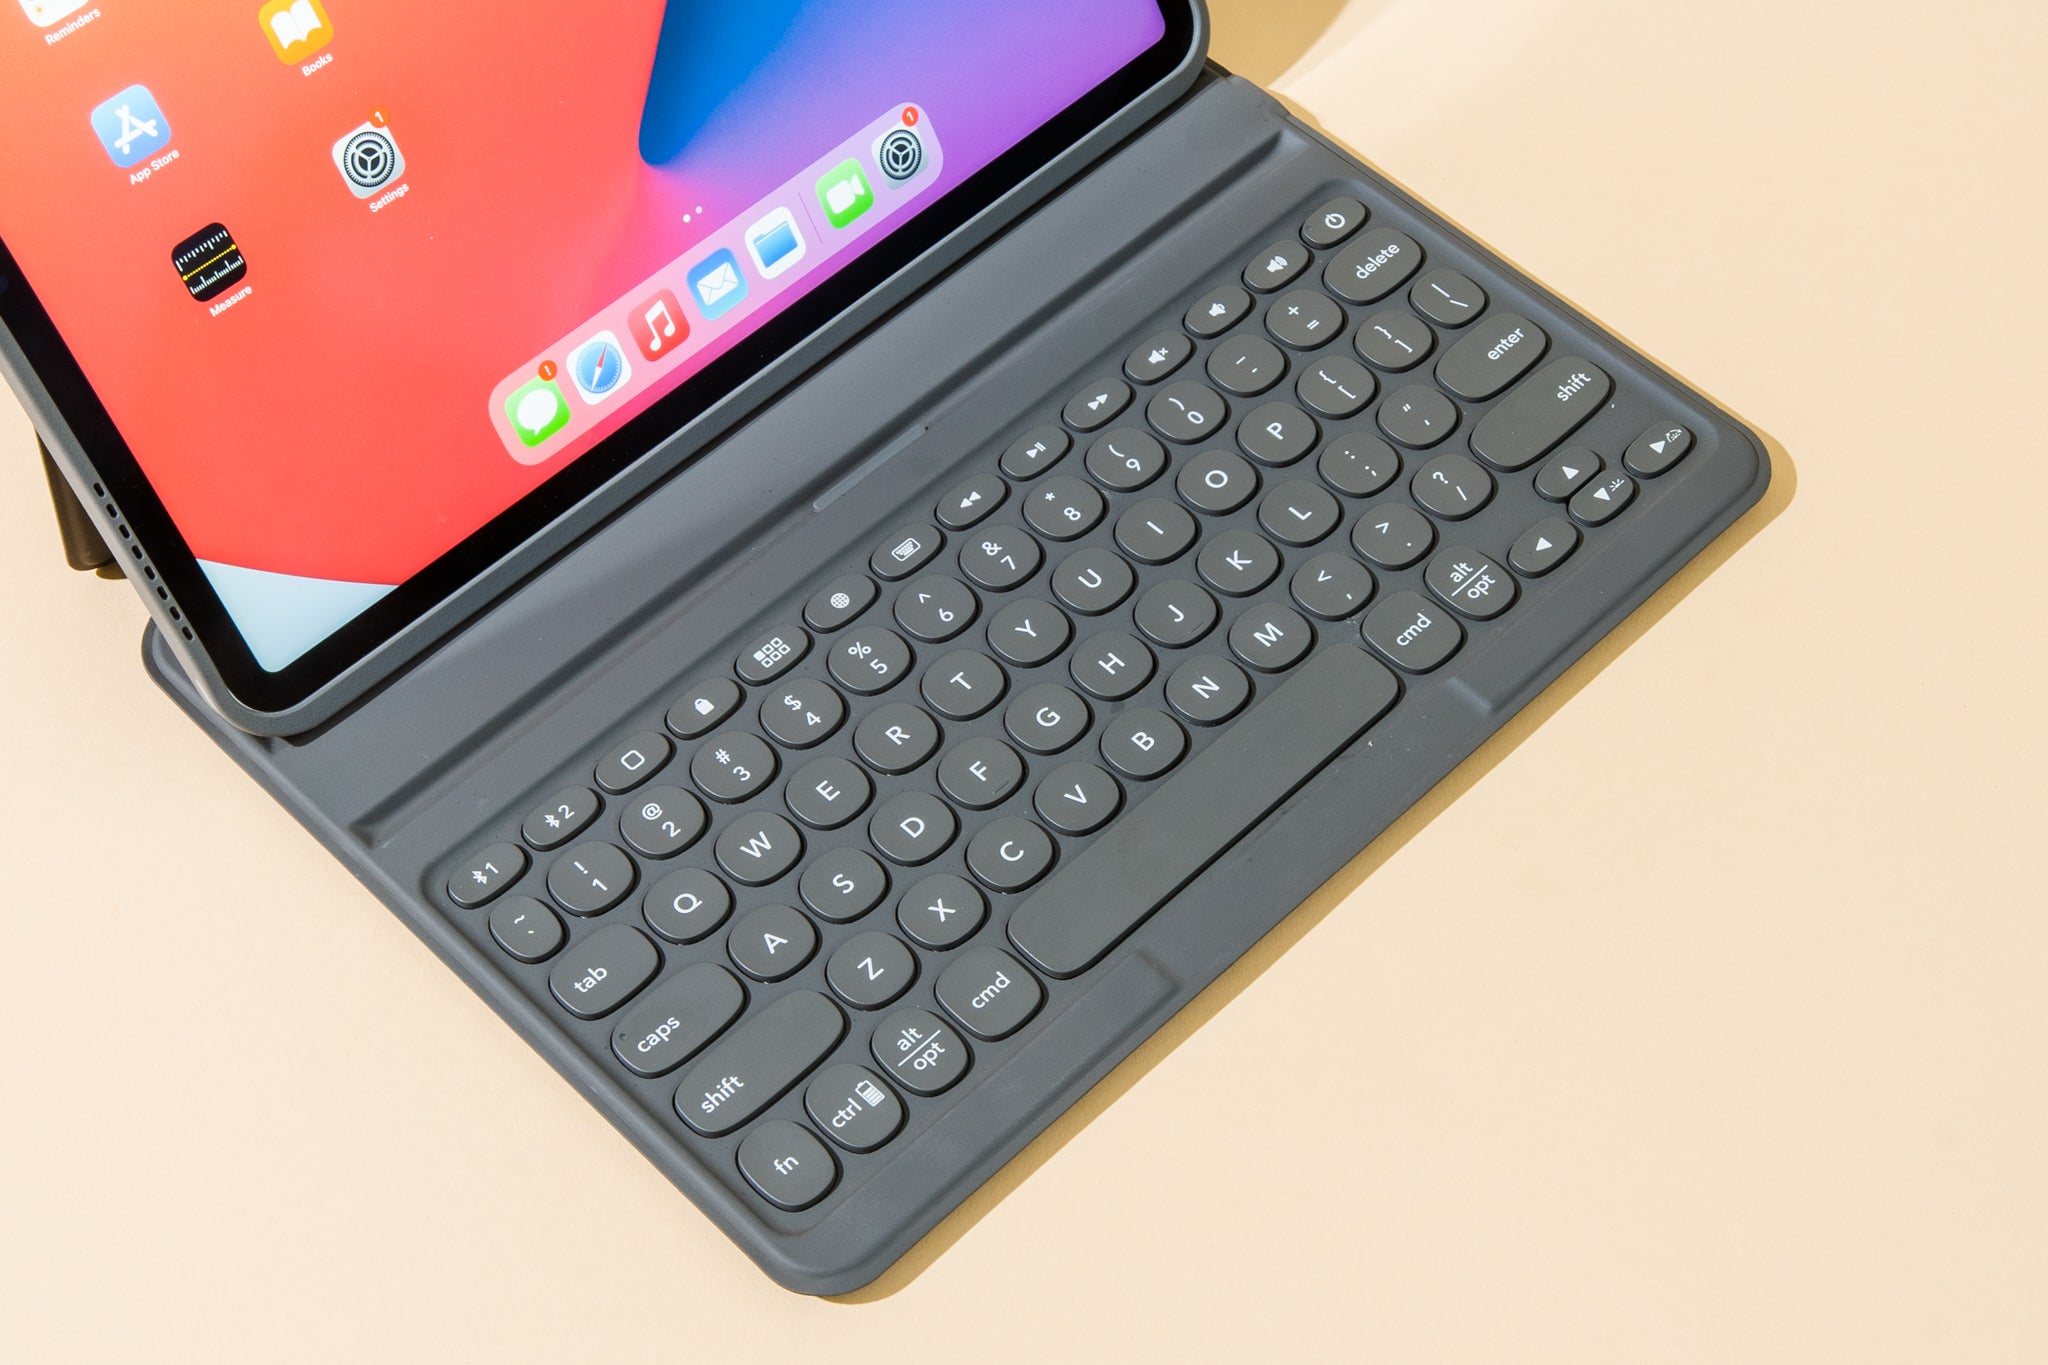
Are you tired of typing on a small touchscreen keyboard when using your iPad? Luckily, you can easily connect a separate keyboard to your iPad to enhance your typing experience. This provides a more comfortable and efficient way to write emails, documents, and messages. In this guide, we will walk you through the step-by-step process of connecting a keyboard to your iPad.
Using a keyboard with your iPad not only allows for faster and more accurate typing, but it also gives you the freedom to work on your iPad like a laptop. Whether you are a student, professional, or simply someone who enjoys using their iPad for productivity, connecting a keyboard is a game-changer.
Before we dive into the steps, it’s important to note that not all keyboards are compatible with iPads. Therefore, one of the first things you need to check is the compatibility of your keyboard with your specific iPad model. Once you’ve confirmed compatibility, you can proceed with the following steps to connect your keyboard seamlessly.
So, if you’re ready to elevate your iPad typing experience to the next level, let’s get started with the steps to connect a keyboard to your iPad!
Step 1: Check Compatibility
The first step in connecting a keyboard to your iPad is to ensure compatibility between your keyboard and iPad model. Not all keyboards are designed to work with iPads, so it’s essential to confirm compatibility before proceeding.
To check compatibility, start by identifying the model of your iPad. You can do this by going to the Settings app on your iPad, tapping on “General,” and then selecting “About.” Here, you will find information about your iPad model, including the model name and number.
Once you have the model information, you can search for the keyboard’s compatibility specifications. Most keyboard manufacturers provide detailed information about the supported devices on their websites or product packaging. Look for compatibility with your specific iPad model, ensuring that the keyboard supports the iPad’s operating system version as well.
If you’re unsure about the compatibility, reach out to the manufacturer’s customer support for assistance. They can help you determine if the keyboard is compatible with your iPad model. It’s important to note that using an incompatible keyboard may result in connection issues or limited functionality.
By checking compatibility upfront, you can avoid any frustration or setbacks during the connection process. Once you’ve confirmed compatibility, you can proceed with confidence to the next step of connecting your keyboard to your iPad.
Step 2: Turn On Bluetooth
To connect your keyboard to your iPad, you’ll need to make sure that Bluetooth is turned on. Bluetooth is a wireless technology that allows devices to communicate and connect with each other without the need for cables or wires.
To turn on Bluetooth on your iPad, start by opening the Settings app. From there, tap on “Bluetooth” in the left-hand menu. On the right, you’ll see a switch labeled “Bluetooth.” Make sure the switch is in the “On” position, indicated by the green color.
Enabling Bluetooth on your iPad allows it to discover and connect with compatible devices, such as your keyboard. Keep in mind that some keyboards have a dedicated Bluetooth button or switch that you may need to activate as well. Refer to your keyboard’s user manual or documentation for specific instructions on how to enable Bluetooth.
Once Bluetooth is turned on, your iPad will start scanning for nearby Bluetooth devices. Depending on the keyboard model, it may appear in the list of available devices on your iPad’s Bluetooth settings page. Keep an eye out for the name of your keyboard in the list.
By ensuring that Bluetooth is turned on, you’re setting the stage for a successful connection between your iPad and the keyboard. With both devices ready to communicate wirelessly, it’s time to move on to the next step and put your keyboard in pairing mode.
Step 3: Put Keyboard in Pairing Mode
Before you can connect your keyboard to your iPad, you need to put the keyboard in pairing mode. Pairing mode is a special setting that allows the keyboard to be discovered and connected by your iPad via Bluetooth.
The process of entering pairing mode may vary depending on your specific keyboard model. However, most keyboards have a dedicated button or a combination of key presses to activate pairing mode. Typically, you’ll need to press and hold the Bluetooth button or a specific key for a few seconds until the keyboard’s indicator lights start flashing.
Refer to your keyboard’s user manual or documentation for precise instructions on how to put it in pairing mode. The manual will provide you with the specific steps or button combinations required to activate pairing mode.
Once the keyboard is in pairing mode, its name should appear in the list of available devices on your iPad’s Bluetooth settings page. Sometimes, you may need to wait for a moment or refresh the list for the keyboard to appear.
Putting your keyboard in pairing mode allows your iPad to find and establish a Bluetooth connection with it. With the keyboard ready to be discovered, it’s time to move on to the next step and connect it to your iPad.
Step 4: Connect the Keyboard to the iPad
Now that your keyboard is in pairing mode and visible to your iPad, it’s time to establish the connection between the two devices. Follow these steps to connect the keyboard to your iPad:
- On your iPad, go to the Bluetooth settings page by opening the Settings app and tapping on “Bluetooth.”
- In the list of available devices, locate the name of your keyboard. Tap on it to initiate the pairing process.
- Your iPad will display a code on the screen, and the keyboard might also prompt you to enter this code.
- Enter the code provided using the keyboard itself. This step helps ensure that you are connecting to the correct device.
- Once the code is entered correctly, your iPad will establish a connection with the keyboard.
Depending on the keyboard model, you may see a confirmation message indicating that the keyboard is connected, or you may notice the keyboard’s indicator lights stop flashing and remain steady. These signs indicate that the connection is now successfully established.
It’s important to note that some keyboards might not require a code to be entered. In such cases, the connection will be established automatically once you select the keyboard in the Bluetooth settings.
With the keyboard successfully connected to your iPad, you’re ready to test the connection in the next step.
Step 5: Test the Connection
After connecting the keyboard to your iPad, it’s essential to test the connection to ensure that it is functioning properly. By performing a quick test, you can verify that the keyboard inputs are being registered correctly on your iPad.
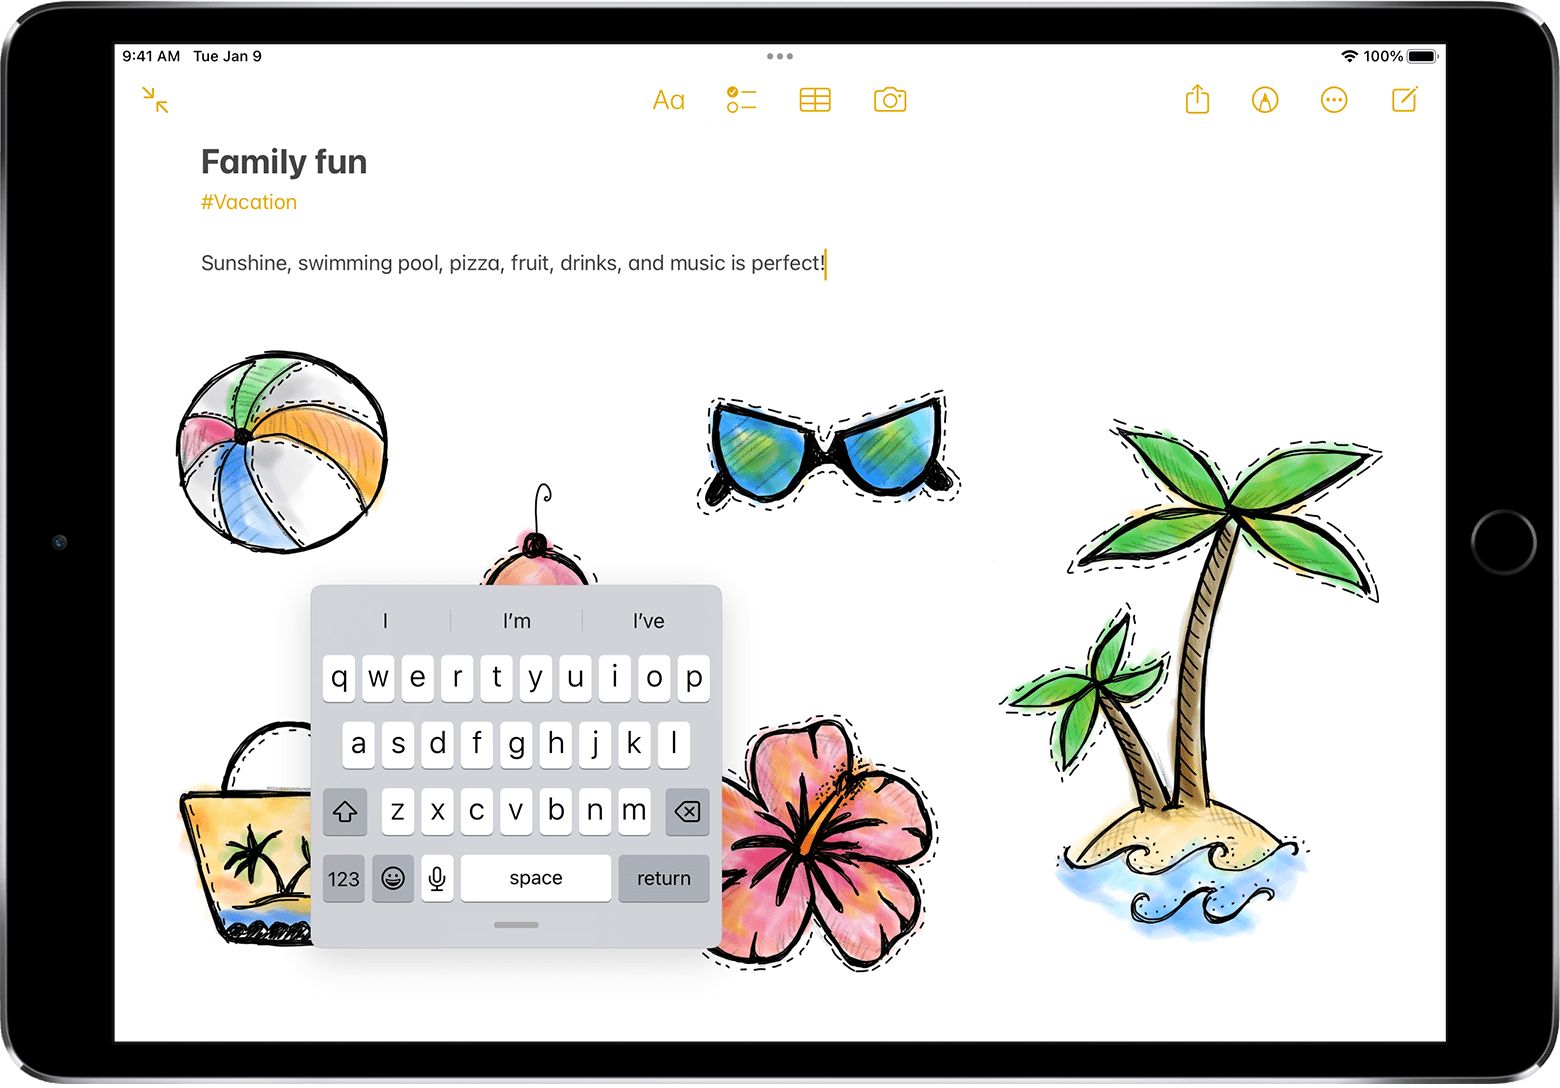
To test the connection, open any app or program on your iPad that allows you to type, such as the Notes app or a messaging application. Start typing on the keyboard, and make sure that the characters or text appear on the screen as expected. Test various keys, including letter keys, numeric keys, function keys, and any special keys specific to your keyboard.
If you notice any issues, such as delayed or missing keystrokes, check the battery level of your keyboard. Low battery power can sometimes interfere with the functionality of wireless devices. Consider replacing or recharging the batteries of your keyboard if necessary.
If the connection and typing are working smoothly, then congratulations! You have successfully connected your keyboard to your iPad, and you can now enjoy the enhanced typing experience.
It’s worth noting that some keyboards may have additional features, such as multimedia keys or shortcut keys, that require specific configuration or customization. Refer to the user manual or documentation of your keyboard to explore and maximize these additional features.
Now that you have tested and confirmed the connection between your keyboard and iPad, you can begin utilizing your keyboard to its full potential for writing, productivity, and other tasks.
Conclusion
Connecting a keyboard to your iPad is a simple process that can greatly enhance your typing experience and productivity. By following the steps outlined in this guide, you can easily connect a compatible keyboard to your iPad via Bluetooth.
Before you begin, ensure that your keyboard is compatible with your specific iPad model. Check the keyboard’s compatibility specifications either on the manufacturer’s website or product packaging. Additionally, make sure Bluetooth is turned on both on your iPad and the keyboard.
Put your keyboard in pairing mode so that it can be discovered by your iPad. Refer to the keyboard’s user manual or documentation for detailed instructions on how to activate pairing mode. Once the keyboard is in pairing mode, you can proceed to connect it to your iPad through the Bluetooth settings.
After the connection is established, test the keyboard by typing in an app or program on your iPad. Ensure that the keystrokes are registering correctly and that there are no delays or missing characters. If any issues arise, check the battery level of the keyboard and consider replacing or recharging the batteries if necessary.
By successfully connecting a keyboard to your iPad, you can enjoy a more comfortable and efficient typing experience. Whether you’re a student, professional, or simply someone who loves using their iPad for productivity, connecting a keyboard opens up new possibilities and allows you to work with speed and precision.
Now that you know how to connect a keyboard to your iPad, it’s time to start enjoying the benefits of a physical keyboard for your iPad tasks. Say goodbye to the frustration of typing on a small touchscreen and hello to the convenience and ease of a keyboard.