Introduction
The iPad is a versatile device that offers a range of features, including a built-in on-screen keyboard. Whether you’re writing emails, browsing the web, or using productivity apps, having access to the keyboard is essential for seamless typing. In this article, we will explore various methods to make the keyboard appear on your iPad.
The on-screen keyboard is an essential tool for iPad users, especially when a physical keyboard is not available or convenient. It allows for easy text input and navigation, making it a versatile tool for both personal and professional use.
Enabling the on-screen keyboard on your iPad is simple and can be done in a few easy steps. Once enabled, you can access the keyboard in multiple ways, including the dock, the floating keyboard, and even the split keyboard feature.
In this article, we will guide you through each method, providing step-by-step instructions that will help you make the most of your iPad’s on-screen keyboard. Whether you’re a seasoned iPad user or new to the device, these tips will help you enhance your typing experience and make navigating your iPad a breeze.
So, whether you’re writing a document, sending an email, or simply chatting with friends, let’s dive into the various methods to make the keyboard appear on your iPad and discover how to use it efficiently.
How to Enable the On-Screen Keyboard on iPad
The on-screen keyboard comes pre-installed on every iPad device, so you don’t have to worry about downloading or installing anything. However, it may not appear automatically if you have a physical keyboard connected to your iPad. Here’s how to enable the on-screen keyboard:
- Start by disconnecting any connected physical keyboard from your iPad. This will ensure that the on-screen keyboard appears when needed.
- Next, go to the Settings app on your iPad’s home screen and tap on “General”.
- In the General settings, scroll down and tap on “Keyboard”.
- Now, look for the “Hardware Keyboard” option and toggle it off. This will enable the on-screen keyboard to appear when there is no physical keyboard connected.
- You can now exit the Settings app and open any app that requires text input. Tap on a text field, and the on-screen keyboard will appear on your iPad’s screen.
If you ever want to use a physical keyboard again, simply reconnect it to your iPad, and the on-screen keyboard will automatically disappear.
Enabling the on-screen keyboard is a simple process that ensures you have access to the keyboard whenever you need it, regardless of whether or not a physical keyboard is connected to your iPad.
Now that you know how to enable the on-screen keyboard, let’s explore different ways to access and use it effectively on your iPad.
How to Access the Keyboard from the Dock
The dock on your iPad is a convenient feature where you can easily access your favorite apps and frequently used functions. You can also access the keyboard directly from the dock, making it readily available at all times. Here’s how:
- Start by unlocking your iPad and navigate to the screen where the dock is located.
- Locate the app icon that you want to use for text input. Tap and hold on the app icon until it starts to jiggle.
- Now, drag the app icon upwards from the dock to the desired location on the screen. After releasing your finger, the app icon will remain on the screen and the keyboard will appear.
- You can now tap on the text field within the app, and the on-screen keyboard will be ready for input.
Accessing the keyboard from the dock provides a quick and convenient way to start typing without having to search for the keyboard icon or open the app first. With just a few taps, you can have the keyboard at your fingertips.
Remember, you can customize the apps in your dock to include those that you frequently use for text input. This allows you to access the keyboard even faster, making your typing experience more efficient.
Now that you know how to access the keyboard from the dock, let’s move on to exploring the floating keyboard feature on your iPad.
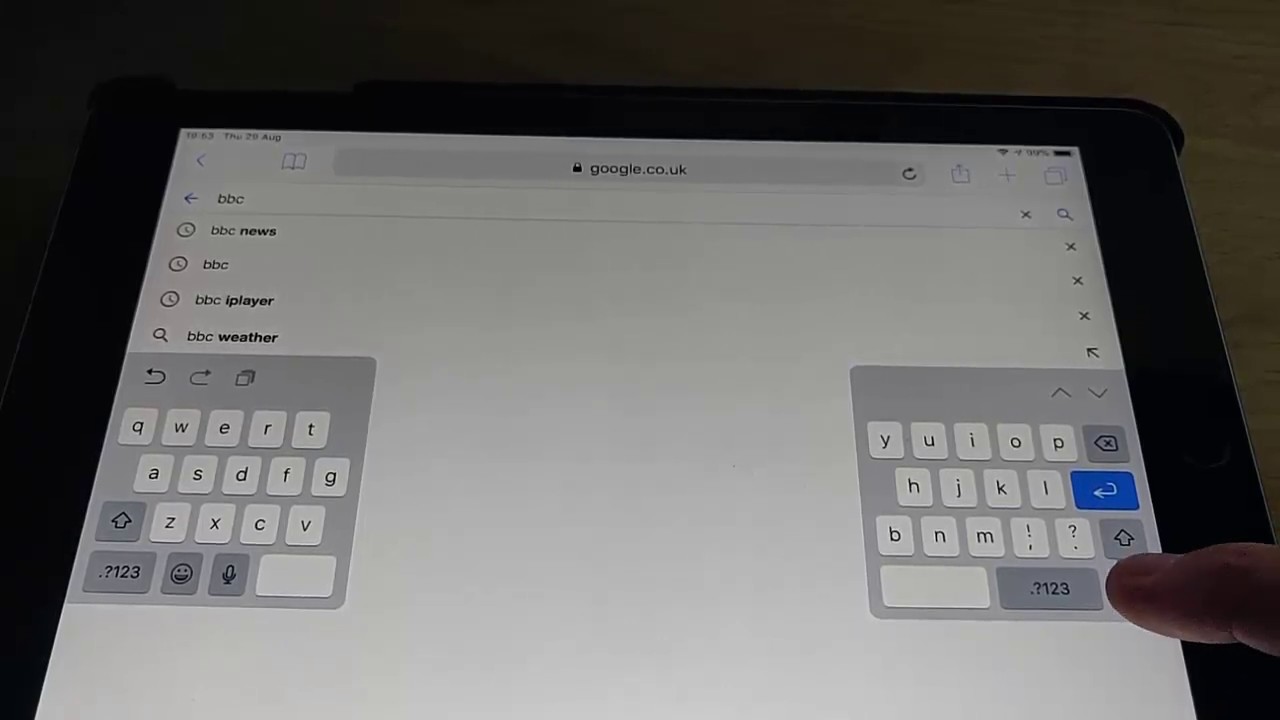
How to Use the Floating Keyboard
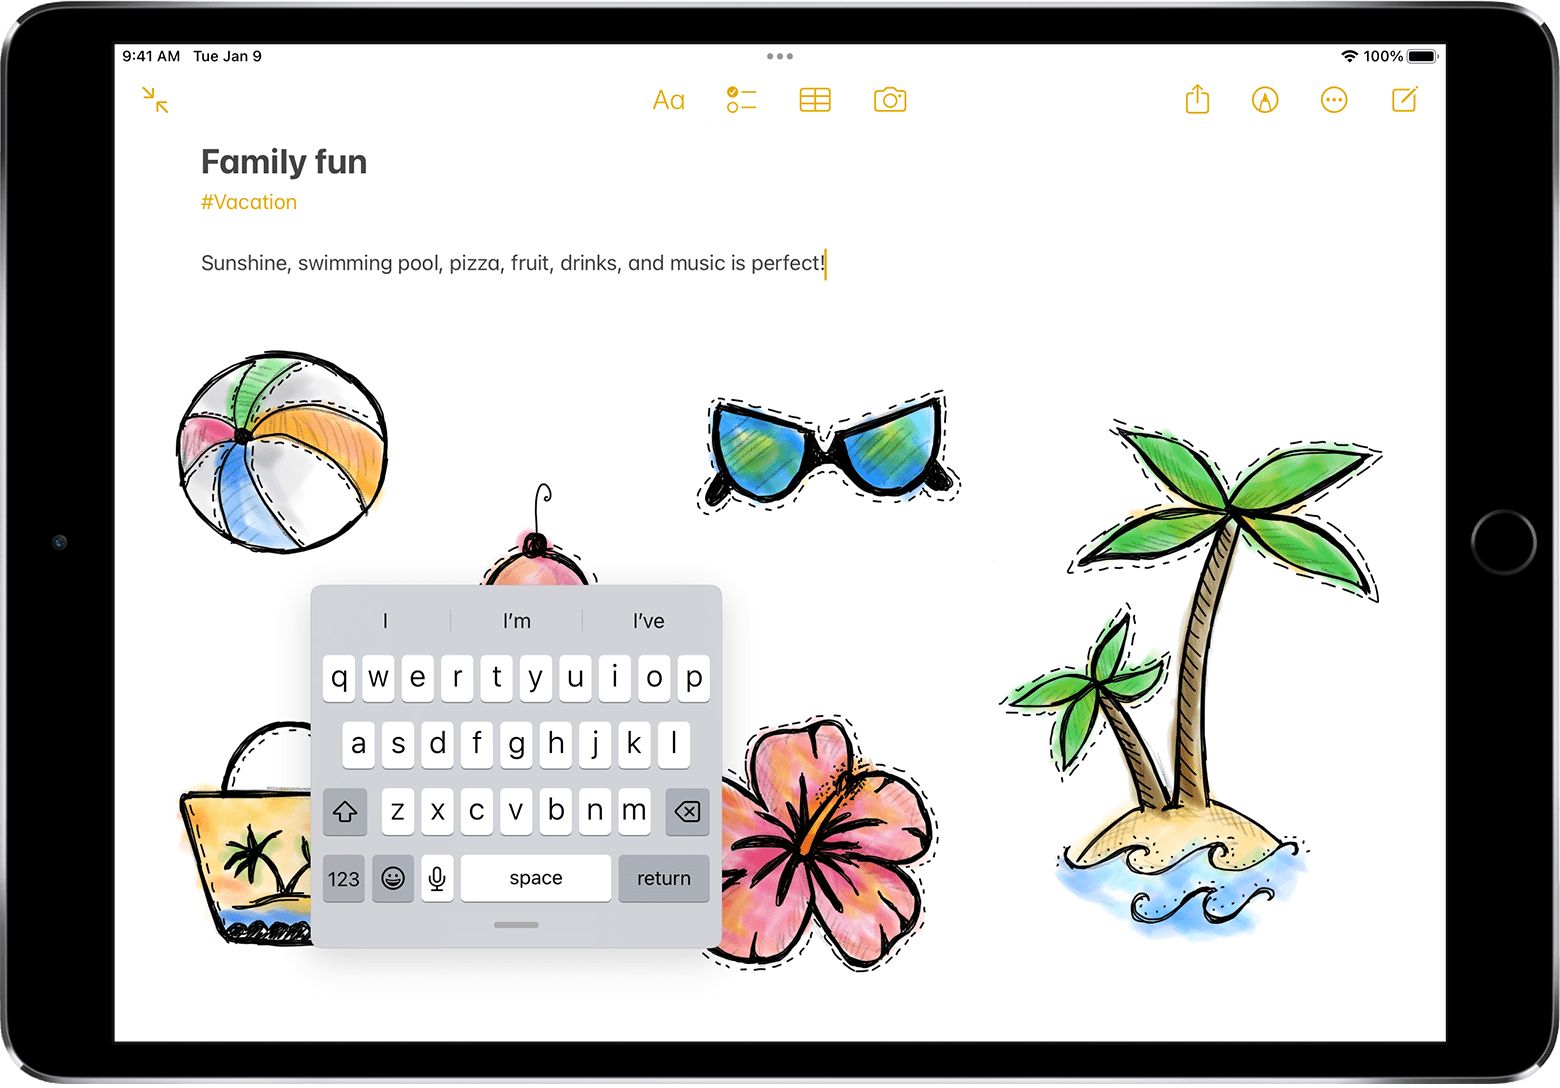
The floating keyboard is a feature on the iPad that allows you to resize and move the keyboard anywhere on the screen for added flexibility and convenience. Here’s how you can use the floating keyboard:
- To activate the floating keyboard, tap and hold the minimize keyboard icon at the bottom-right corner of the on-screen keyboard.
- Once the keyboard minimizes, drag it to the desired location on the screen. You can place it anywhere for better accessibility or to free up space on the screen.
- To resize the floating keyboard, place two fingers on the keyboard and pinch inwards or outwards to make it smaller or larger, respectively.
- If you want to return the keyboard to its original position at the bottom of the screen, tap and hold the minimize keyboard icon again and select “Dock”. This will dock the keyboard back to its default position.
- To dismiss the floating keyboard and return to the full-sized on-screen keyboard, tap the minimize keyboard icon on the top-right corner of the floating keyboard.
The floating keyboard feature gives you the flexibility to adjust the size and position of the keyboard to suit your preferences and needs. This can be especially helpful when using the iPad with one hand or when needing more screen space for other tasks.
Now that you know how to use the floating keyboard, let’s explore how to split the keyboard for more comfortable typing.
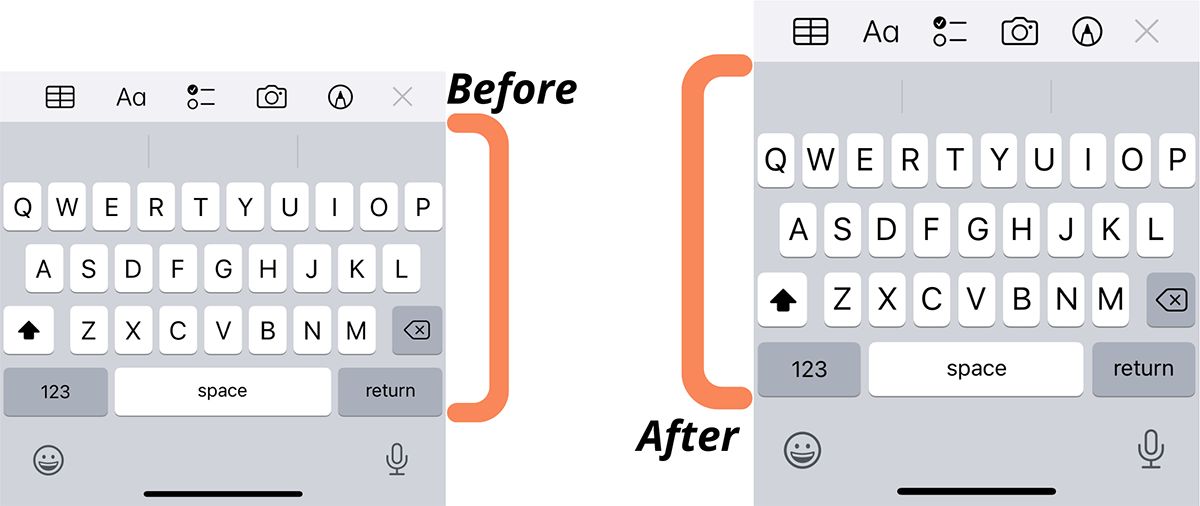
How to Split the Keyboard
If you prefer a more ergonomic typing experience on your iPad, you can split the keyboard, allowing you to type more comfortably with your thumbs. Here’s how to split the keyboard:
- Activate the on-screen keyboard by tapping on a text field in any app or by tapping on the minimize keyboard icon at the bottom-right corner of the keyboard.
- Place two fingers on the keyboard and quickly pinch them apart. This action will split the keyboard into two sections, with each half positioned towards the edges of the iPad’s display.
- You can now use your thumbs to type on the split keyboard. This allows for more ergonomic typing, especially when holding the iPad with both hands.
- If you want to merge the split keyboard back into one, simply place two fingers on the keyboard and pinch them together. The keyboard will return to its original, undivided position.
The split keyboard feature is particularly useful when typing with your thumbs, as it creates a more natural and comfortable typing position. It makes typing on the iPad easier, especially when you’re using the device in handheld mode.
Now that you’re familiar with splitting the keyboard, let’s move on to some useful tips for using the iPad keyboard efficiently.
Tips for Using the iPad Keyboard Efficiently
The iPad keyboard offers several features and shortcuts that can help improve your typing speed and efficiency. Here are some tips to make the most out of the iPad keyboard:
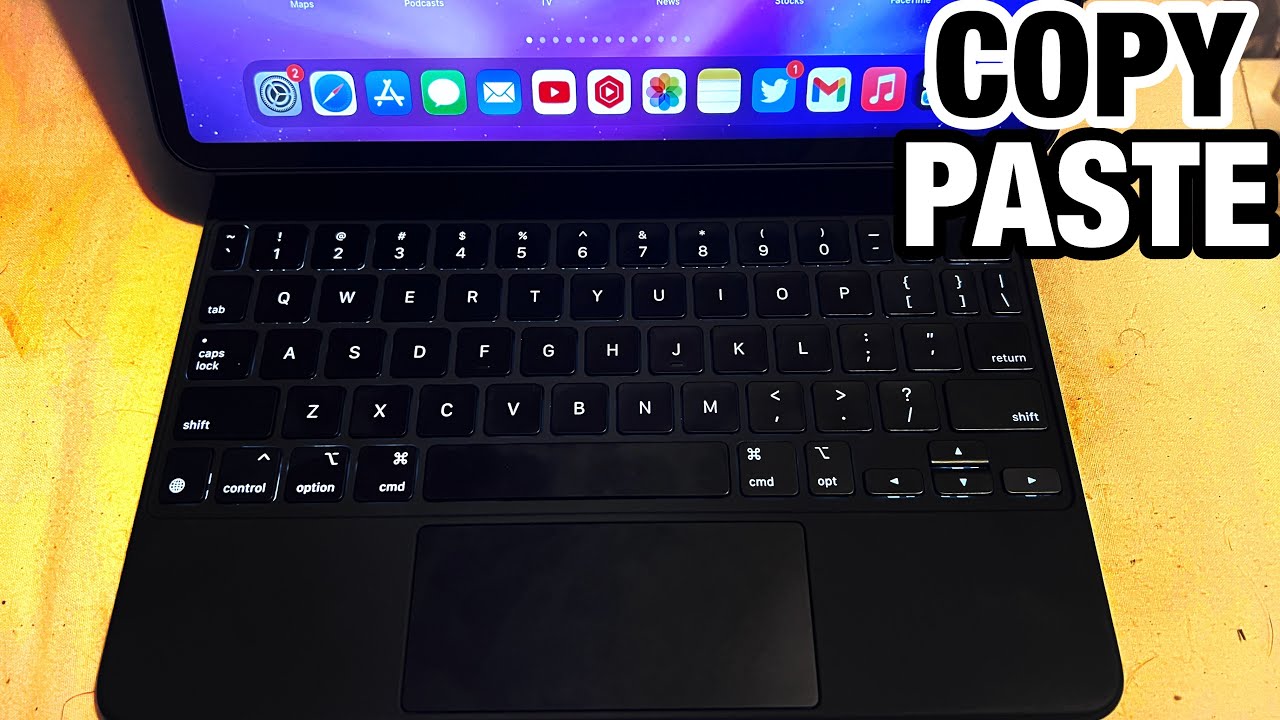
- Use Keyboard Shortcuts: The iPad provides a range of keyboard shortcuts that can save you time and effort. For example, pressing Command + Spacebar will open the spotlight search, Command + Tab will switch between open apps, and Command + H will take you to the Home screen. Familiarize yourself with these shortcuts to navigate your iPad more efficiently.
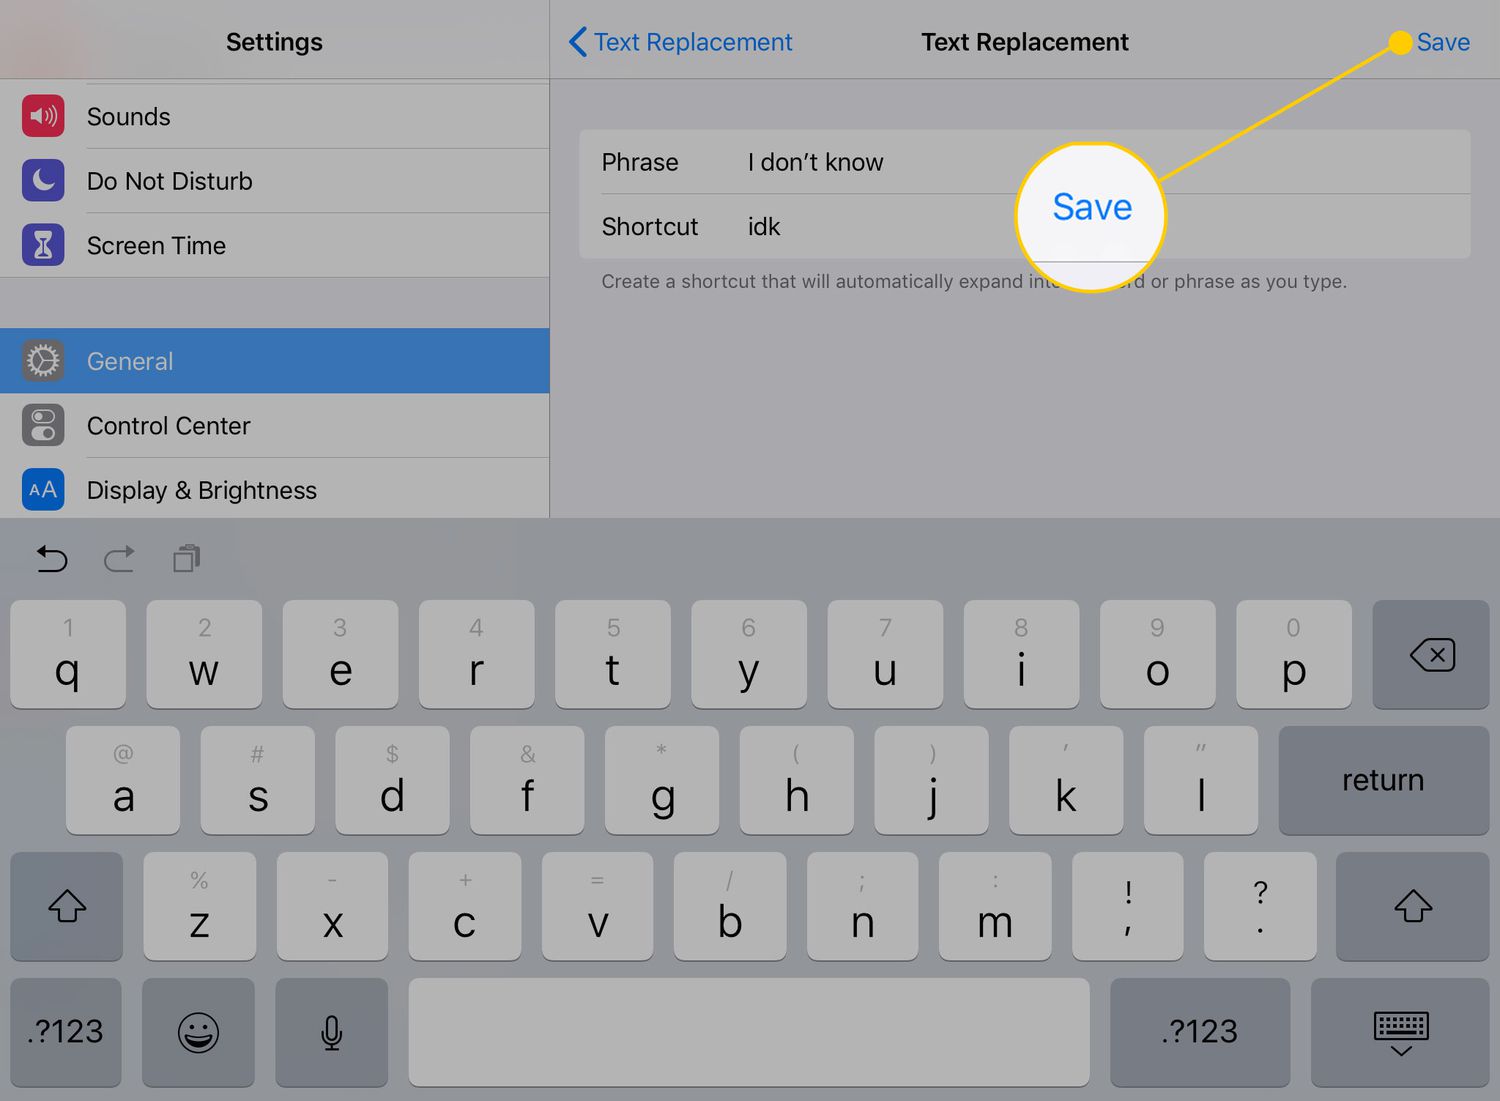
- Text Replacement: Take advantage of the Text Replacement feature in the iPad’s keyboard settings. This allows you to create shortcuts for frequently used phrases, words, or email addresses, saving you time and effort when typing.
- Swipe Typing: Enable the swipe typing feature on your iPad to type faster. With this feature, you can simply swipe your finger across the letters of a word without lifting it, and the keyboard will automatically recognize the word you’re trying to type.
- Enable Auto-Correction: The iPad’s keyboard comes with an auto-correction feature that can help fix misspelled words as you type. Make sure this feature is enabled in your keyboard settings to avoid common typing mistakes.
- Enable Key Flicks: Key flicks are a useful feature that allows you to quickly access numbers, symbols, and punctuation marks on the keyboard. Simply press and hold the corresponding key, and a pop-up menu will appear with additional options.
- Use Dictation: If typing long paragraphs or documents seems tedious, consider using the iPad’s built-in dictation feature. Simply tap on the microphone button on the keyboard and speak your text, and the iPad will transcribe it for you.
By implementing these tips and utilizing the features available on the iPad’s keyboard, you can significantly improve your typing speed and efficiency. Explore and experiment with these features to find the ones that work best for you.
Now that you have learned some useful tips, let’s wrap up the article and summarize the key points we’ve covered.
Conclusion
The on-screen keyboard is a crucial component of the iPad, allowing you to effortlessly input text and navigate various apps and functions. In this article, we have explored different methods to make the keyboard appear on your iPad, including enabling the on-screen keyboard, accessing it from the dock, utilizing the floating keyboard, and splitting the keyboard for more comfortable typing.
We have also provided tips for using the iPad keyboard efficiently, such as utilizing keyboard shortcuts, enabling auto-correction, and taking advantage of features like swipe typing and key flicks. Incorporating these tips into your typing routine can greatly enhance your productivity and speed.
Remember to personalize your keyboard settings to suit your preferences, whether it’s enabling dictation, creating text replacements, or customizing the keyboard layout. This way, you can optimize your typing experience and make the most out of your iPad’s capabilities.
Whether you’re a seasoned iPad user or new to the device, the on-screen keyboard is a tool that will greatly enhance your productivity and convenience. Take the time to explore its features and experiment with different methods to find what works best for you.
We hope this article has provided you with the necessary knowledge and skills to make the keyboard appear on your iPad and use it effectively. With practice, you will become a proficient typist, enabling you to accomplish tasks quickly and efficiently on your iPad.
So, grab your iPad, make the keyboard appear, and experience the joy of seamless typing and effortless navigation!