Introduction
Have you ever encountered the frustrating issue of your iPad keyboard not functioning properly? It can be incredibly bothersome when your keys are unresponsive, lagging, or typing the wrong characters. Fortunately, there are several troubleshooting steps you can take to get your iPad keyboard back to normal and regain your typing speed and accuracy.
Whether you’re using an iPad for work, school, or leisure, a functional keyboard is essential for a seamless user experience. In this article, we will guide you through some practical steps to troubleshoot and fix keyboard issues on your iPad. From restarting your device to adjusting keyboard settings and even resetting the keyboard dictionary, we will cover a range of solutions to help you resolve the problem.
Before we dive into the troubleshooting methods, it’s worth noting that these steps are applicable to most iPad models, including the iPad Pro, iPad Air, and iPad mini. So, without further ado, let’s get started with the first step: restarting your iPad.
Step 1: Restart the iPad
The first step in resolving keyboard issues on your iPad is to restart the device. This simple solution can often fix minor software glitches that may be causing the keyboard malfunction.
To restart your iPad, follow these steps:
- Press and hold the power button located on the top or side of your iPad (depending on the model) until the power off slider appears.
- Drag the slider to the right to power off your iPad.
- Wait for a few seconds, then press and hold the power button again until the Apple logo appears.
Once your iPad restarts, test the keyboard to see if the issue has been resolved. If not, proceed to the next troubleshooting step.
Restarting your iPad can help clear any temporary software glitches or conflicts that may be interfering with the keyboard’s functionality. It essentially gives your device a fresh start, similar to turning off and on a computer to fix minor issues.
In some cases, a simple restart may be all that’s needed to restore the normal functioning of your iPad keyboard. However, if the problem persists, don’t worry; there are additional steps you can take to troubleshoot further.
Step 2: Check the Keyboard Settings
If restarting your iPad did not resolve the keyboard issue, the next step is to check the keyboard settings on your device. It’s possible that certain settings may have been inadvertently changed, causing the keyboard to behave unexpectedly.
To access the keyboard settings on your iPad, follow these steps:
- Open the Settings app on your iPad.
- Scroll down and tap on “General”.
- Tap on “Keyboard”.
Once you’re in the Keyboard settings, make sure the following options are correctly configured:
- Auto-Capitalization: This option should be enabled if you want the first letter of each sentence to be automatically capitalized.
- Auto-Correction: Ensure that auto-correction is turned on so that the iPad can suggest and correct misspelled words as you type.
- Check Spelling: Confirm that the “Check Spelling” option is enabled, which allows the iPad to check for spelling errors in your text.
- Predictive: Make sure the predictive feature is enabled if you want the iPad to display word suggestions as you type.
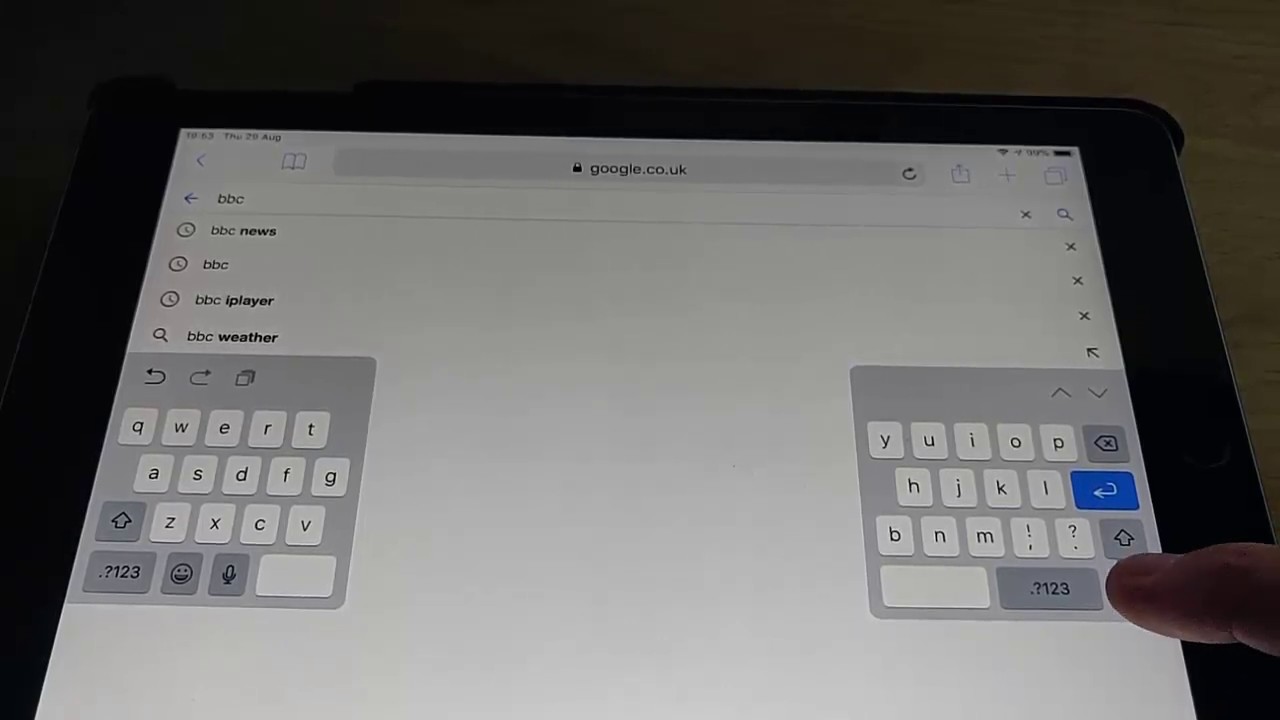
Additionally, you can try toggling the “Enable Key Flicks” option. This feature allows you to quickly access certain symbols by flicking the keys on the keyboard. Disable it temporarily to see if it makes a difference in the keyboard’s behavior.
After adjusting the keyboard settings, exit the settings app and test the keyboard to see if it’s functioning correctly. If the issue persists, move on to the next step.
By checking and adjusting the keyboard settings on your iPad, you can ensure that any misconfigurations or unintentional changes are corrected. Sometimes, a simple toggling of a setting can resolve keyboard issues and restore the normal typing experience on your iPad.
Step 3: Update iOS on your iPad
If checking the keyboard settings didn’t solve the issue, it’s possible that outdated software could be the cause. Outdated iOS versions can sometimes lead to compatibility issues and unexpected behavior, including problems with the keyboard functionality.
To update your iPad to the latest version of iOS, follow these steps:
- Open the Settings app on your iPad.
- Tap on “General”.
- Tap on “Software Update”.
- If an update is available, you will see the option to download and install it. Tap on “Download and Install” to begin the update process.
- Follow the on-screen instructions to complete the update. Make sure your iPad is connected to a stable Wi-Fi network and has sufficient battery charge.
Updating your iPad to the latest iOS version can provide bug fixes and performance enhancements, which may address any underlying issues causing keyboard problems. It’s always a good practice to keep your device’s software up to date for optimal performance and compatibility with various apps and features.
After installing the update, test the keyboard to see if it’s functioning properly. If the issue persists, proceed to the next troubleshooting step.
Updating iOS on your iPad not only improves the overall performance and stability of your device but can also resolve specific issues like keyboard malfunctions. It’s recommended to routinely check for and install iOS updates to ensure you have the latest bug fixes and features available for your iPad.
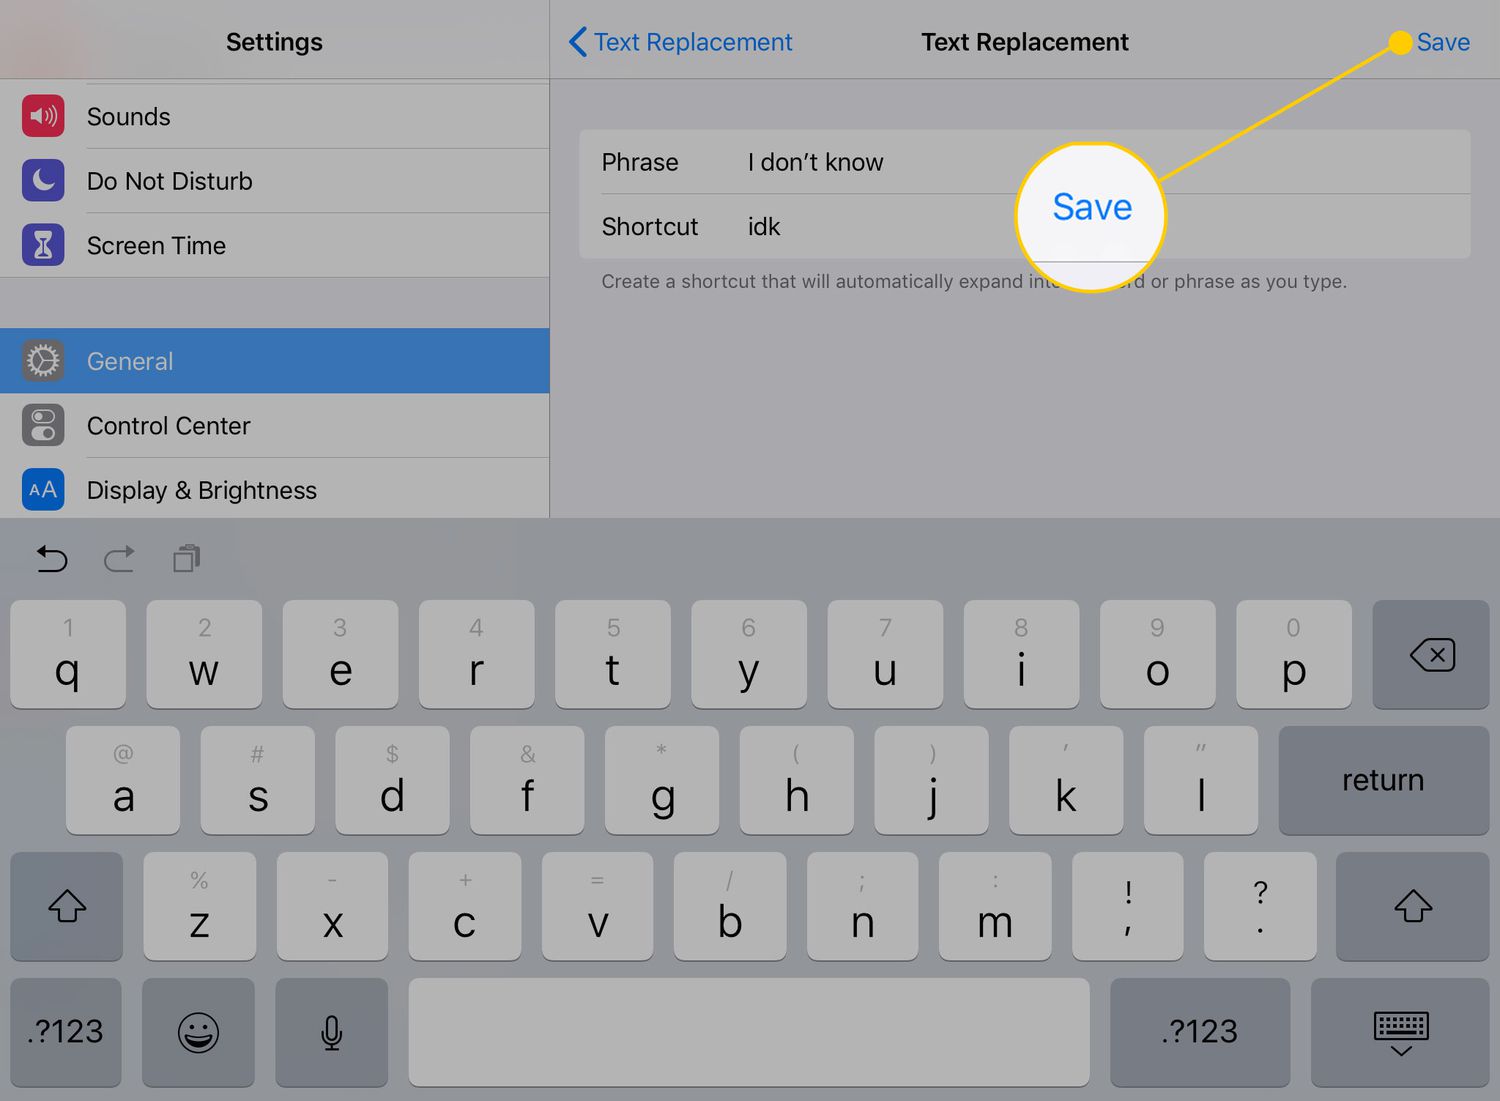
Step 4: Reset the Keyboard Dictionary
If the previous steps didn’t resolve the keyboard issue, the next troubleshooting method is to reset the keyboard dictionary on your iPad. Over time, the keyboard dictionary can accumulate outdated or incorrect word suggestions, which may cause issues with typing and auto-corrections.
To reset the keyboard dictionary on your iPad, follow these steps:
- Open the Settings app on your iPad.
- Tap on “General”.
- Scroll down and tap on “Reset”.
- Select “Reset Keyboard Dictionary”.
- Enter your passcode if prompted, and confirm the reset when prompted again.
After resetting the keyboard dictionary, your iPad will erase all custom words you’ve added and reset the dictionary to its default settings. This can help eliminate any inconsistencies or inaccuracies that may be causing the keyboard issues.
Once the reset is complete, test the keyboard to see if it’s working properly. If the problem persists, move on to the next troubleshooting step.
Resetting the keyboard dictionary can be an effective solution to resolve keyboard-related problems on your iPad. It provides a fresh start for the dictionary, allowing it to relearn your typing habits and provide accurate suggestions and corrections.
Step 5: Remove and Reinstall Third-Party Keyboards
If you have installed third-party keyboards on your iPad, it’s possible that one of them is causing conflicts and disrupting the functionality of the native keyboard. In such cases, removing and reinstalling these third-party keyboards can help resolve the keyboard issue.
To remove and reinstall third-party keyboards on your iPad, follow these steps:
- Open the Settings app on your iPad.
- Tap on “General”.
- Scroll down and tap on “Keyboard”.
- Tap on “Keyboards”.
- You will see a list of installed keyboards. Swipe left on the third-party keyboard you want to remove.
- Tap on the “Delete” button to remove the keyboard.
After removing the third-party keyboard, restart your iPad and then follow the same steps to re-add the keyboard.
Adding the keyboard back ensures that you have the most up-to-date version of the app and that any potential bugs causing the keyboard issue are resolved.
After re-installing the keyboard, test it to see if the issue has been resolved. If the problem persists, it’s recommended to contact the developer of the third-party keyboard for further assistance.
Removing and reinstalling third-party keyboards can help in cases where these keyboards are causing conflicts or compatibility issues with the native keyboard on your iPad. By eliminating any potential problems caused by these keyboards, you can restore the normal functioning of your iPad keyboard.
Conclusion
Dealing with a malfunctioning keyboard on your iPad can be frustrating, but with the troubleshooting steps mentioned above, you can likely resolve the issue and get your keyboard back to normal. By following these simple yet effective methods, you can troubleshoot different aspects of your iPad, from restarting the device and checking keyboard settings to updating the iOS, resetting the keyboard dictionary, and removing/reinstalling third-party keyboards if necessary.
Remember to approach each step in a systematic manner, testing the keyboard after each troubleshooting action to see if the issue has been resolved. While one solution may do the trick, it’s possible that you may need to go through multiple steps to find the solution that works for your specific situation.
In some cases, if none of these steps resolve the keyboard problem, it may indicate a hardware issue. In such situations, it’s advised to contact Apple support or take your iPad to an authorized service center for further assistance.
With a fully functional keyboard, you can efficiently type emails, messages, documents, and more on your iPad without any hindrance. Always remember to keep your software updated, steer clear of any conflicting keyboard settings, and consider removing any problematic third-party keyboards to maintain a smooth typing experience.
Hopefully, with the help of the troubleshooting steps provided in this article, you will be able to resolve any keyboard issues and enjoy hassle-free typing on your iPad once again.