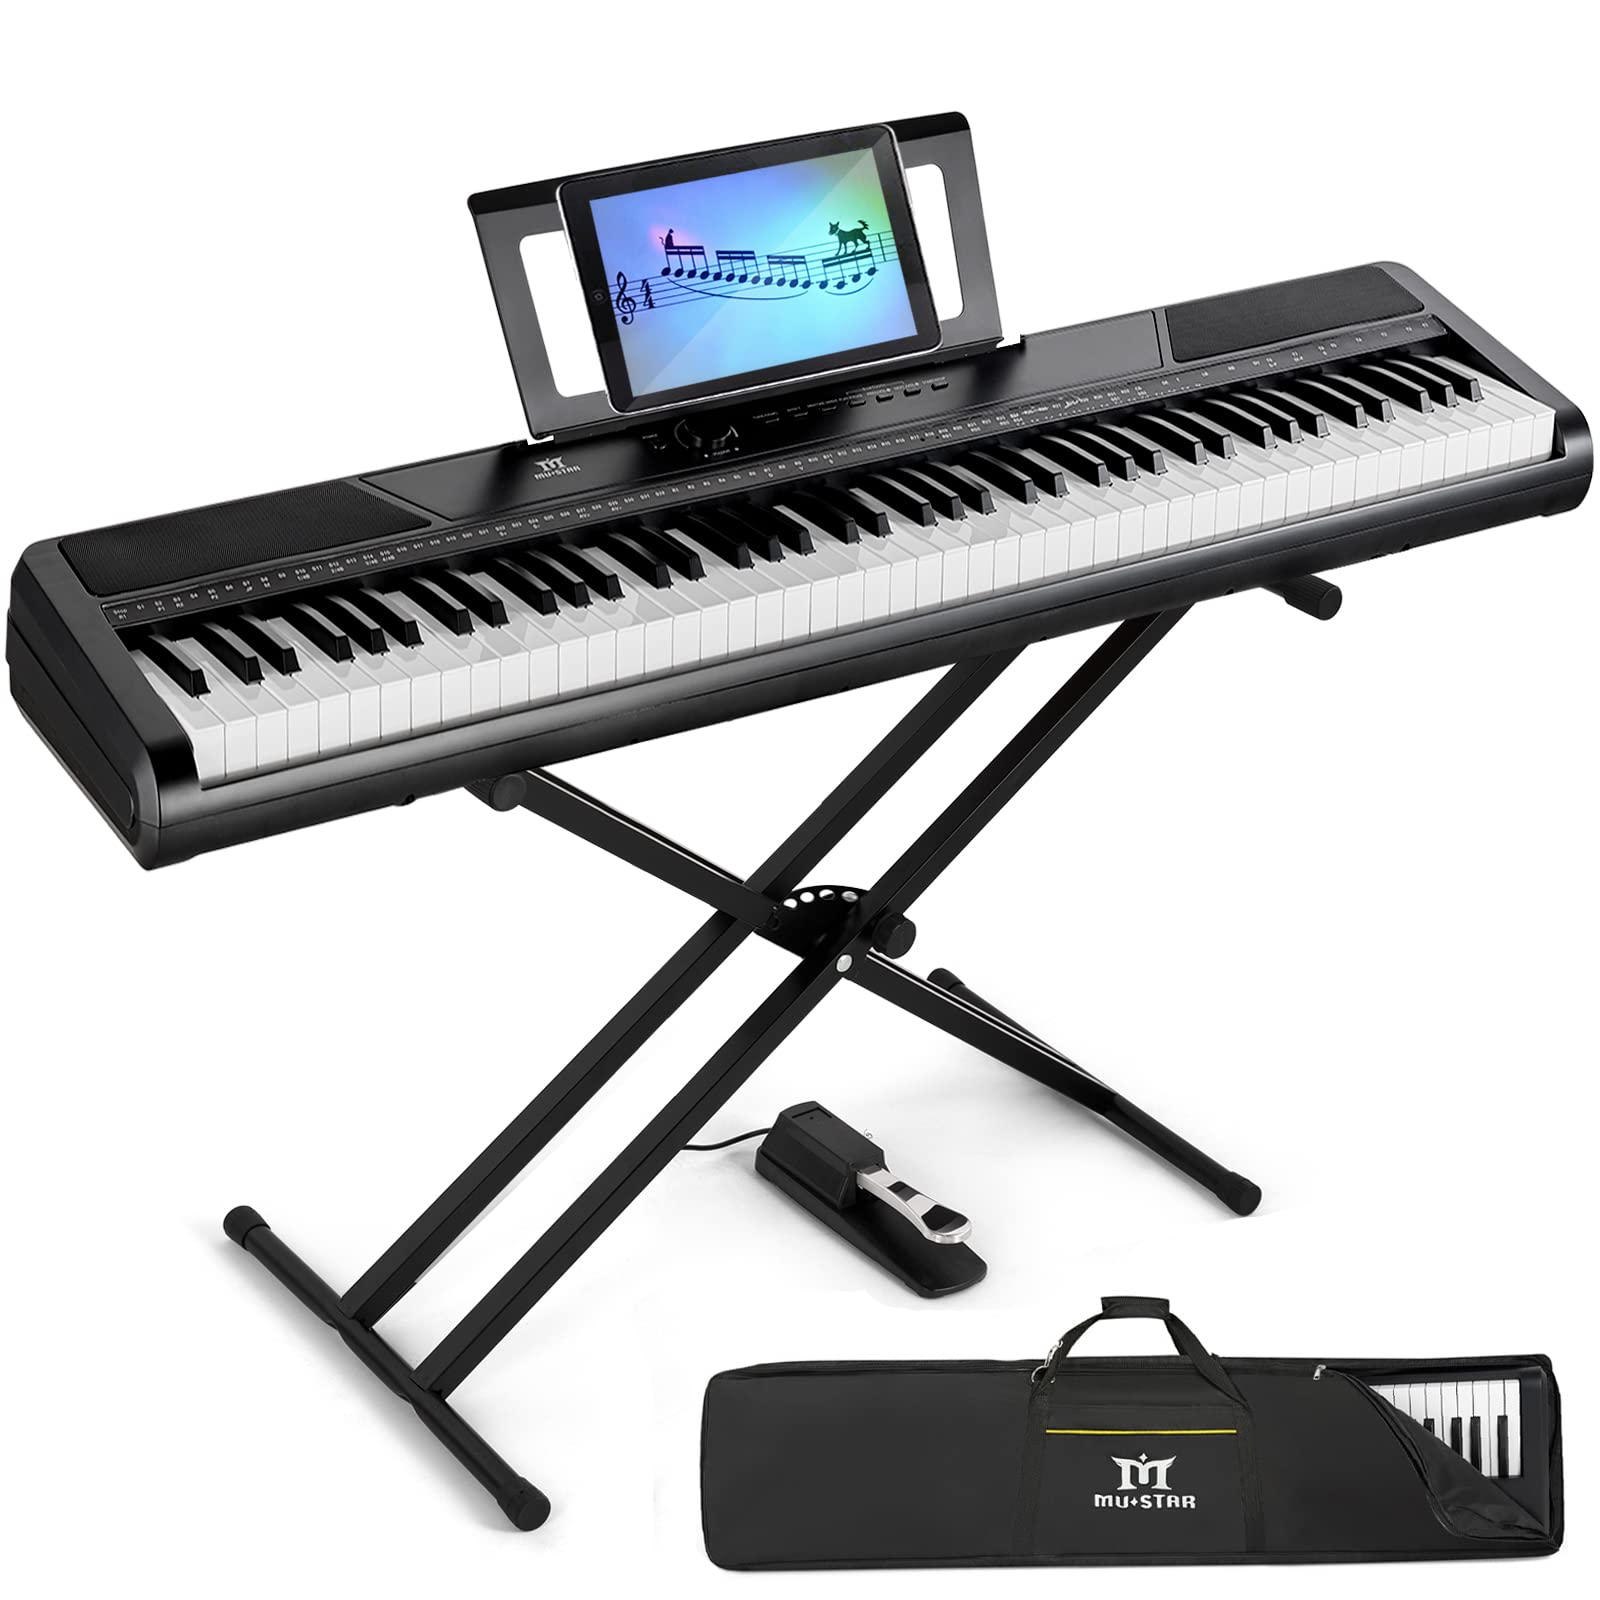
Introduction
Are you an aspiring musician or a seasoned player looking to expand your musical horizons using your iPad and a MIDI keyboard? Connecting your iPad to a MIDI keyboard opens up a world of possibilities, allowing you to create, record, and perform music with ease. Whether you want to use your favorite music production apps, play virtual instruments, or control your digital audio workstation (DAW), establishing a solid connection between your iPad and MIDI keyboard is the first step toward unleashing your creative potential.
In this guide, we'll walk you through the process of connecting your iPad to a MIDI keyboard, providing you with step-by-step instructions and valuable tips to ensure a seamless setup. By the end of this tutorial, you'll be ready to harness the power of your MIDI keyboard and iPad, unlocking a wealth of musical opportunities at your fingertips.
So, let's dive into the world of music technology and learn how to seamlessly connect your iPad to a MIDI keyboard. Whether you're a music production enthusiast, a live performer, or simply a music lover seeking new ways to express your creativity, this guide will equip you with the knowledge and skills to integrate these powerful tools effectively. Let's embark on this exciting journey together as we explore the fusion of traditional musical instruments with cutting-edge digital technology.
Step 1: Check for Compatibility
Before diving into the connection process, it’s essential to ensure that your MIDI keyboard and iPad are compatible with each other. Since MIDI technology has evolved over the years, it’s crucial to verify that your specific models can communicate effectively. Here’s how to check for compatibility:
- Review MIDI Support: Start by examining the MIDI capabilities of your iPad. Most modern iPads support MIDI connections through either the Lightning or USB-C port. Ensure that your iPad model is equipped with the necessary port to establish a direct connection with your MIDI keyboard.
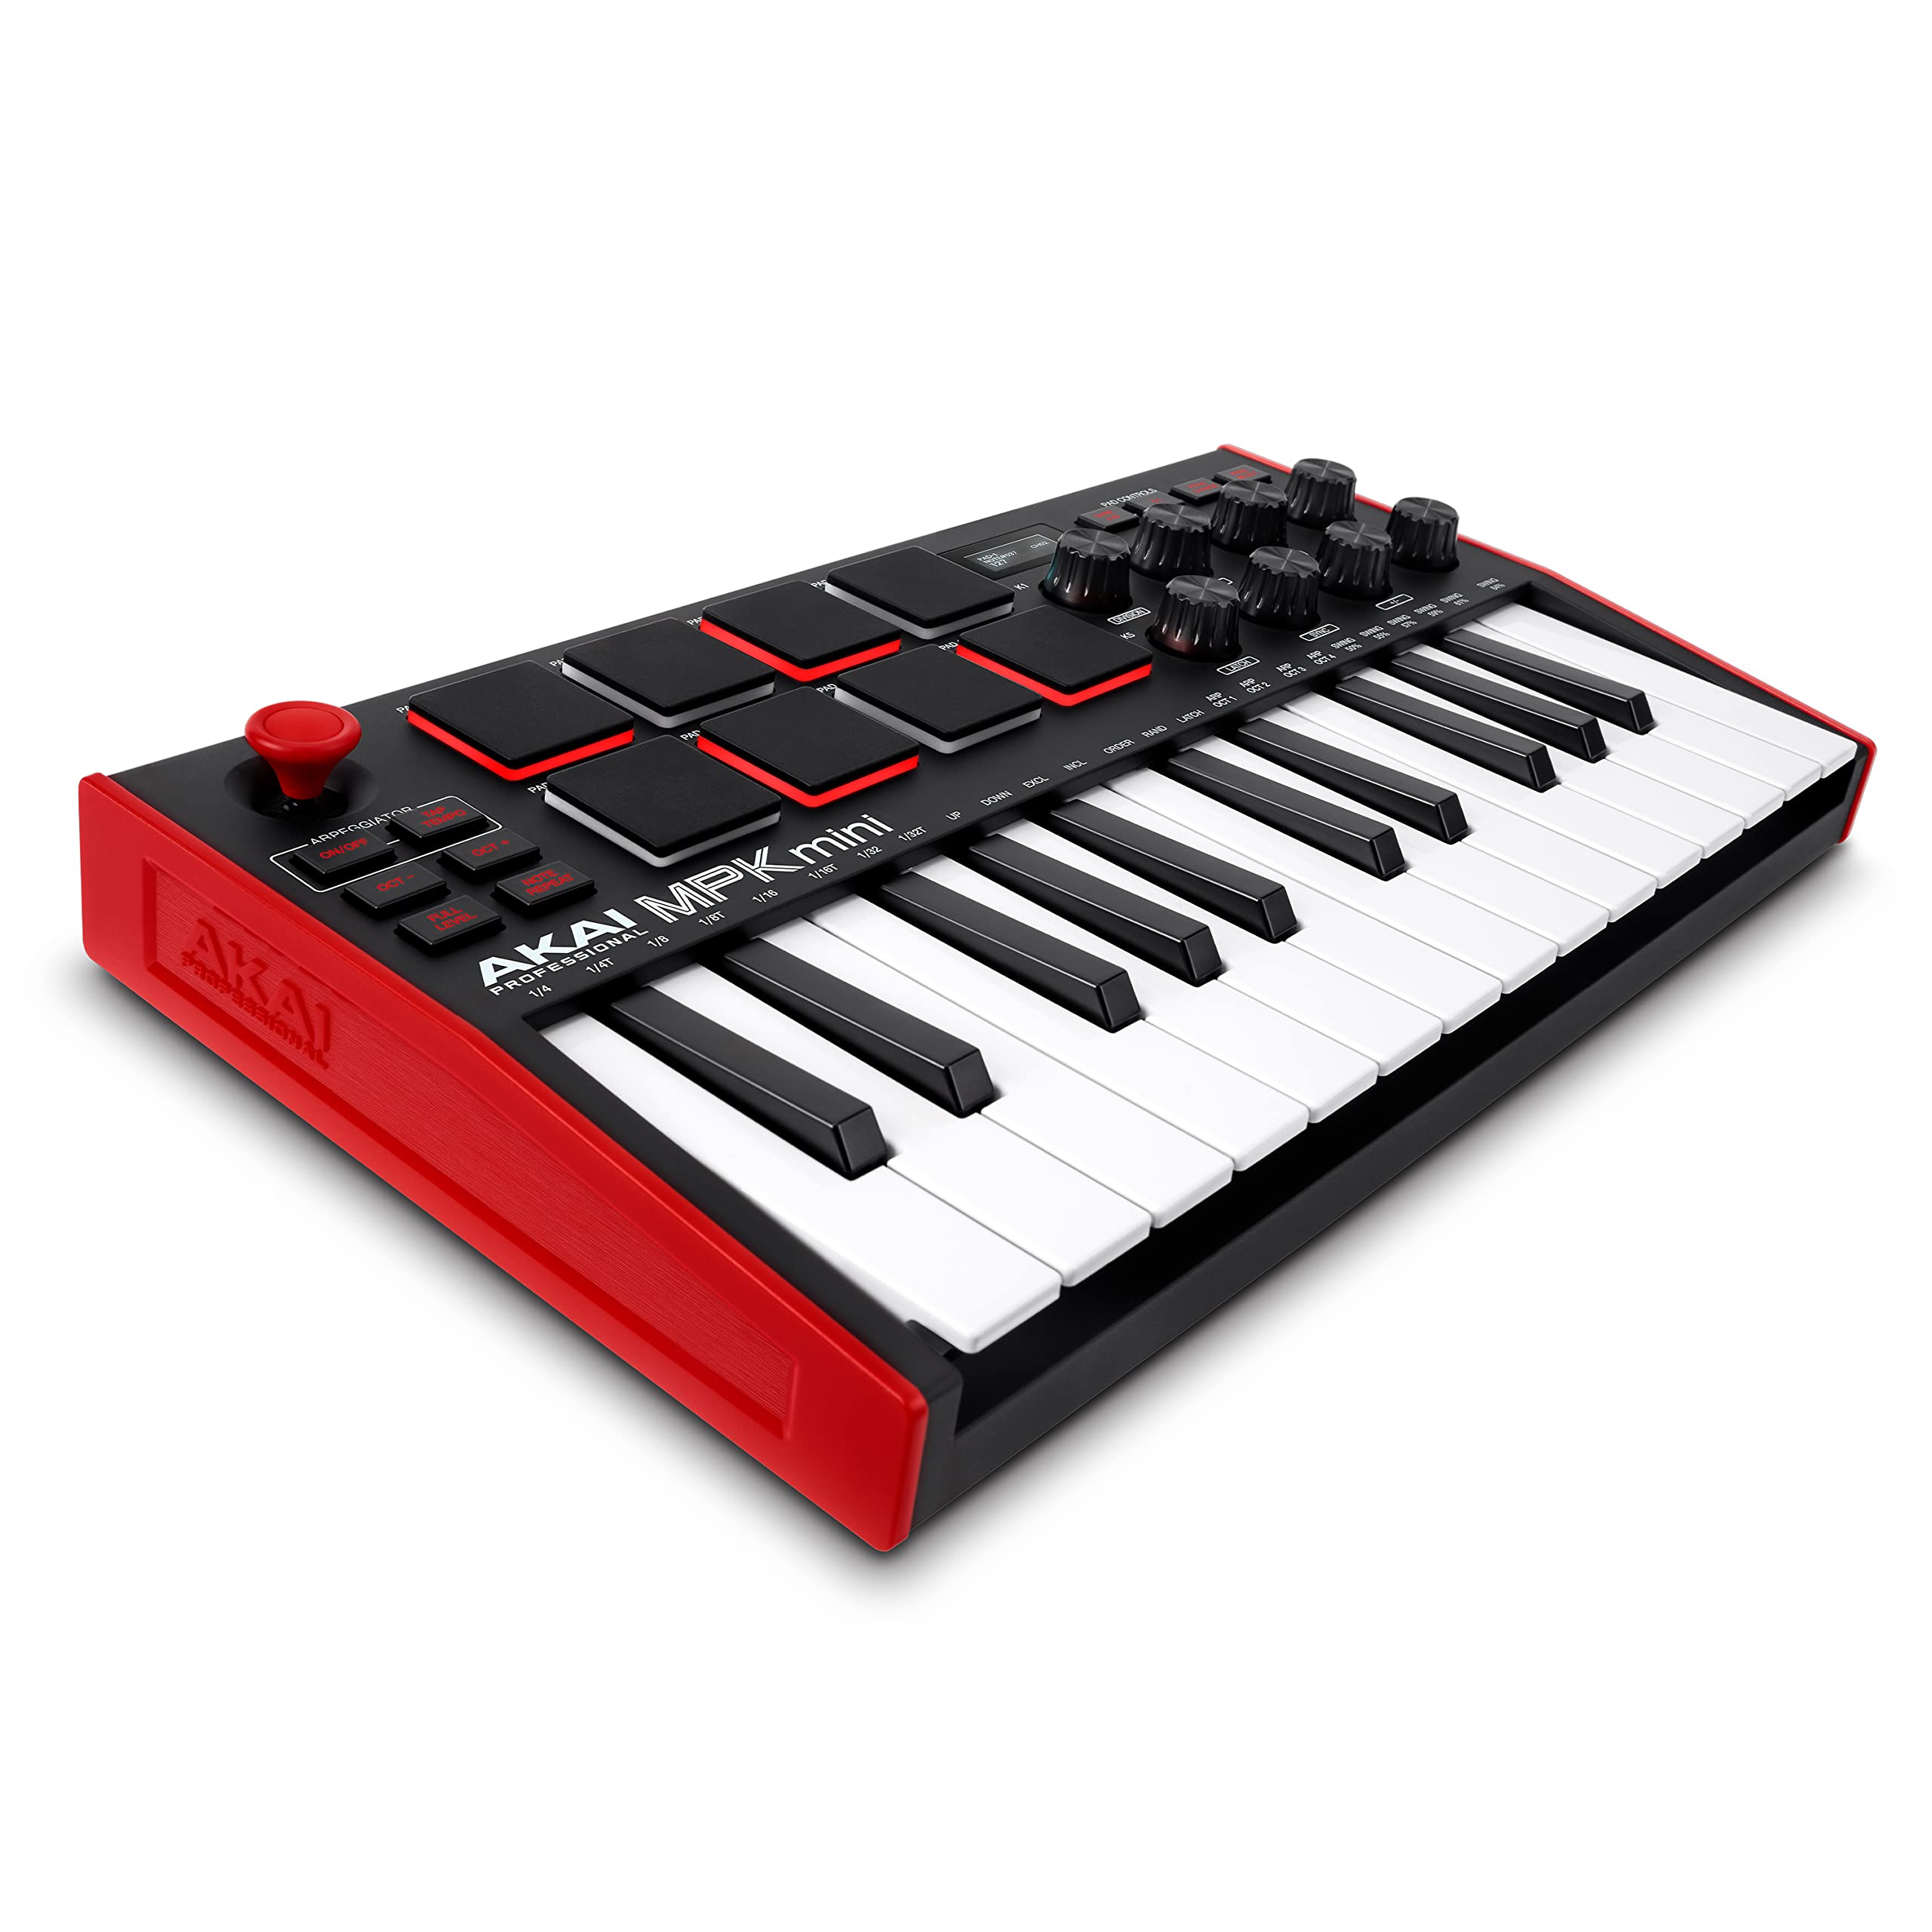
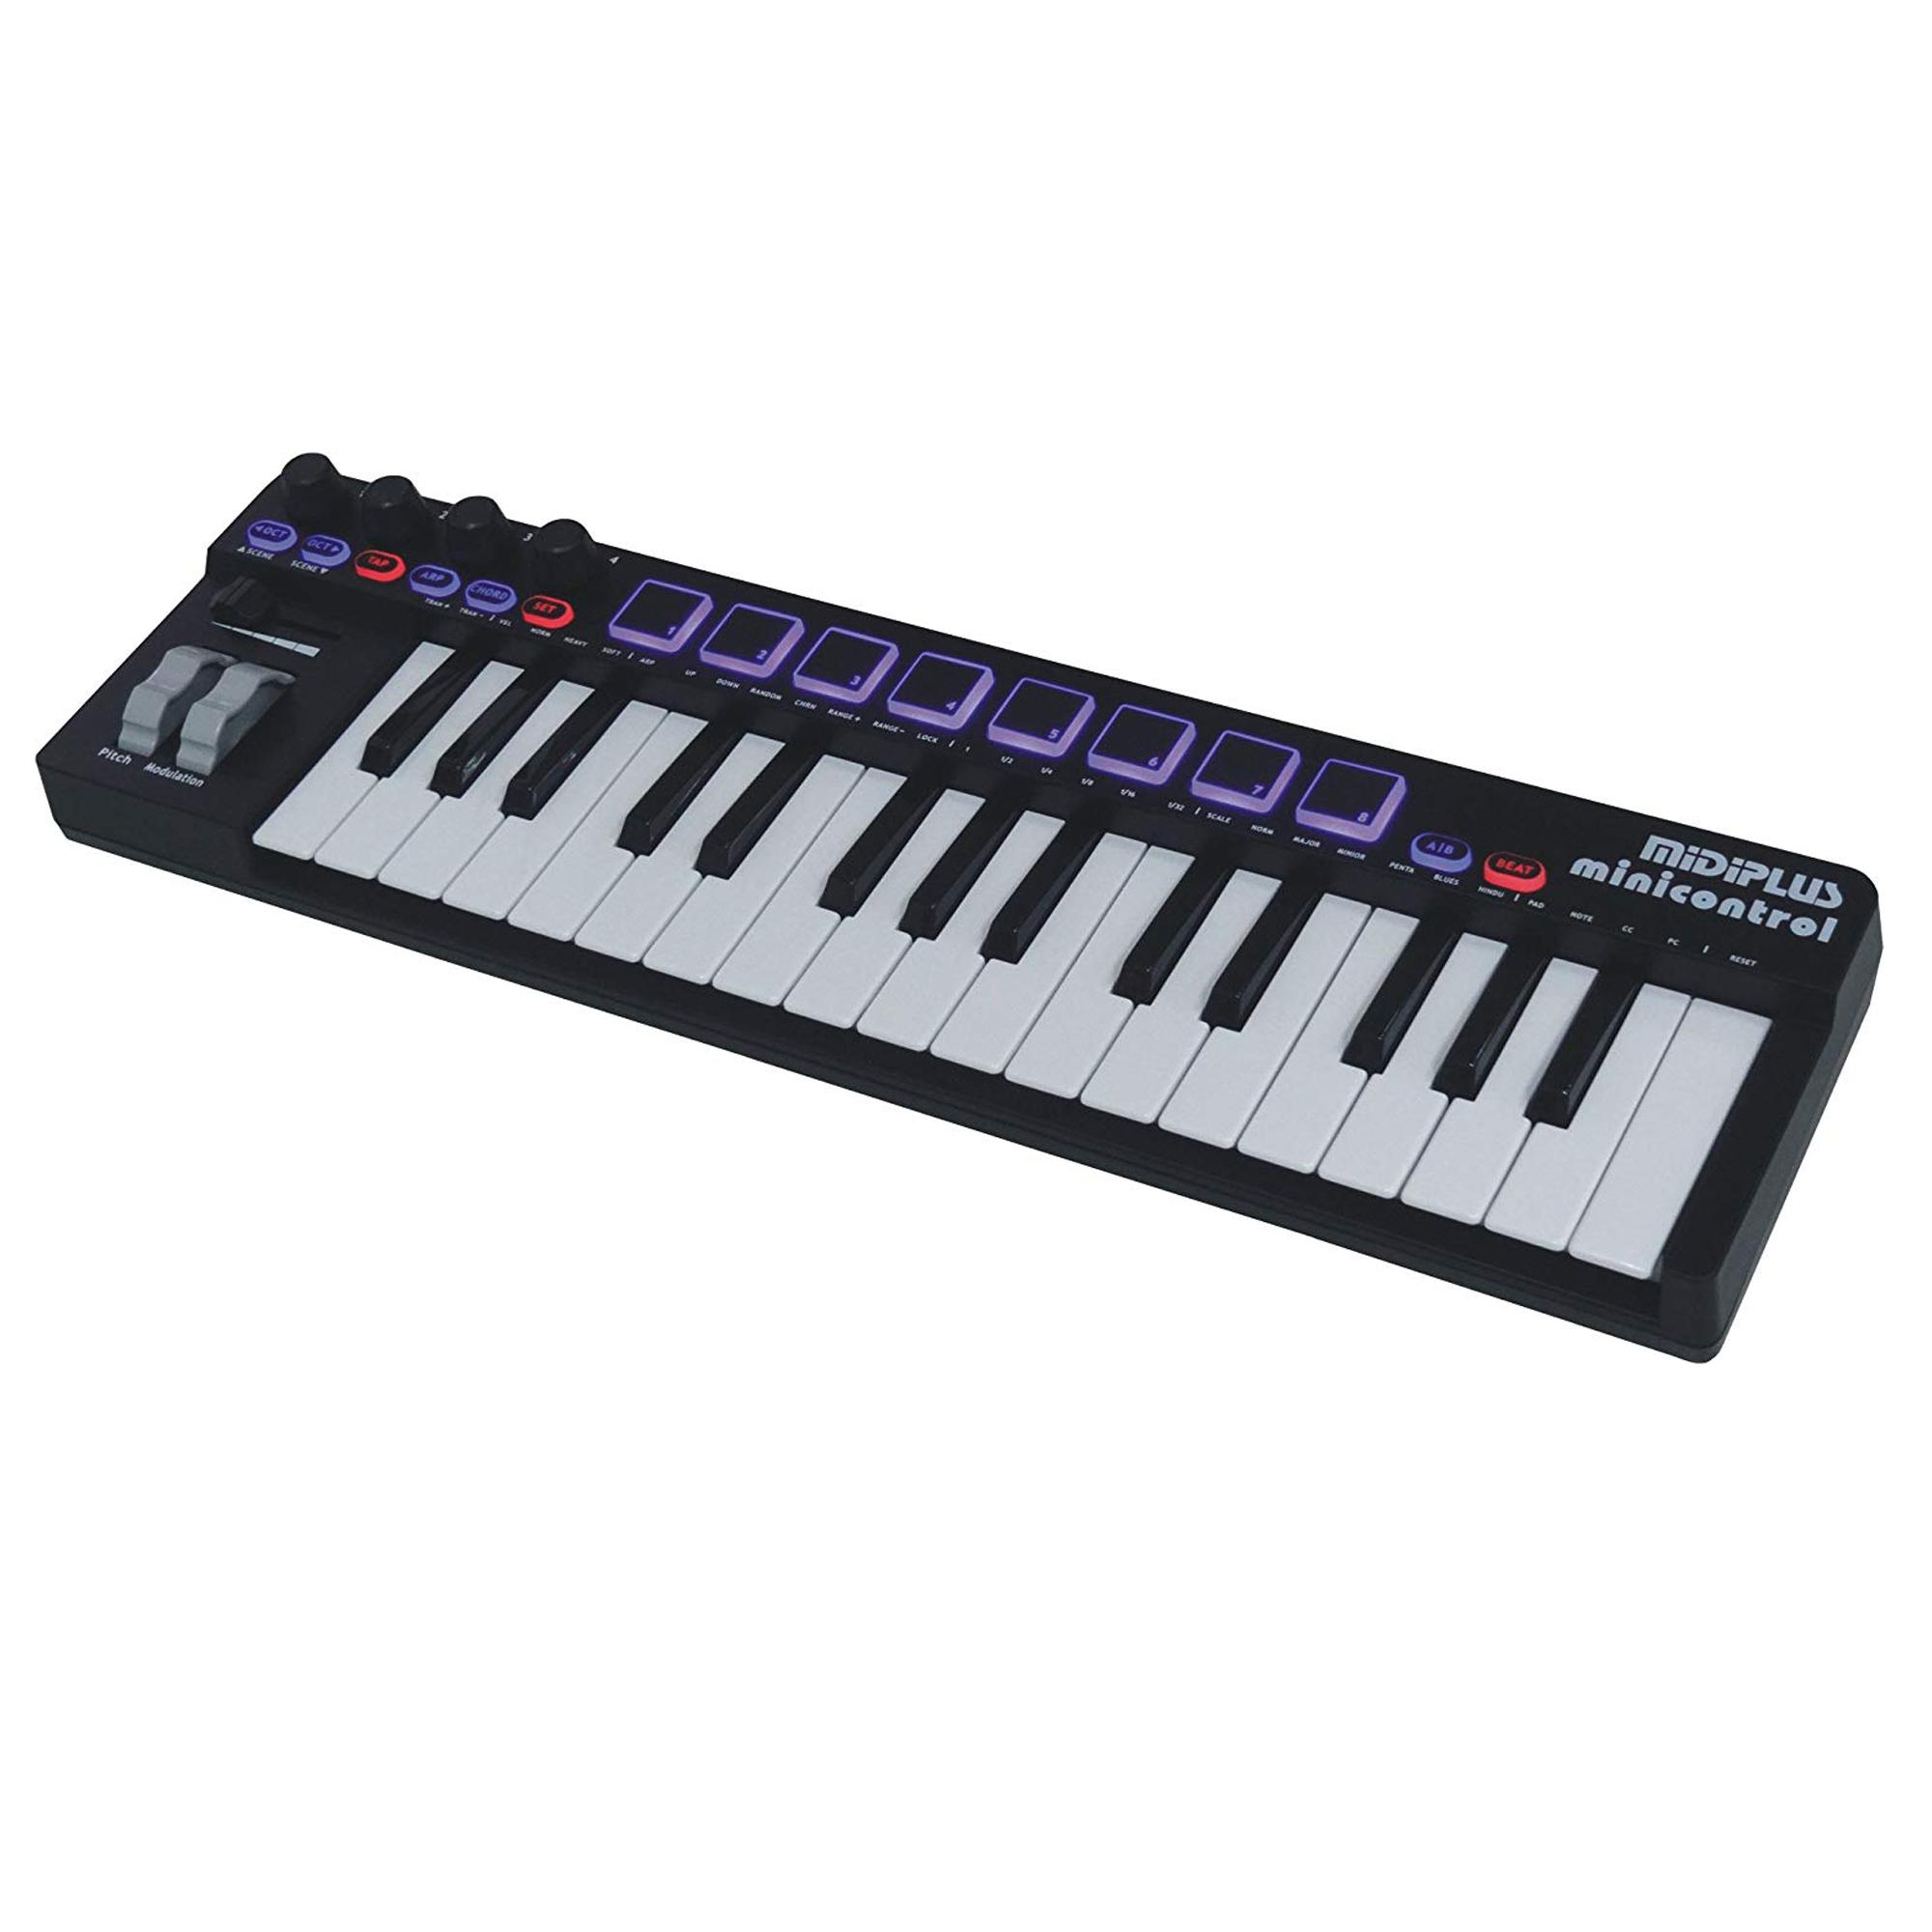
- Check MIDI Keyboard Connectivity: Verify the connectivity options available on your MIDI keyboard. Some keyboards feature standard MIDI ports, while others may offer USB MIDI connectivity. Additionally, certain models support wireless MIDI communication via Bluetooth. Determine the type of connectivity supported by your MIDI keyboard to identify the most suitable connection method for your iPad.
- Research Compatibility: Consult the user manuals or official websites of your MIDI keyboard and iPad to gather detailed information about their compatibility. Manufacturers often provide compatibility charts or FAQs to help users determine if their devices can work together seamlessly. Pay attention to any specific requirements or recommendations outlined by the manufacturers.
By carefully assessing the compatibility between your MIDI keyboard and iPad, you can avoid potential connectivity issues and ensure a smooth integration of these devices. Once you’ve confirmed their compatibility, you’ll be ready to proceed with the next steps, confident in the knowledge that your equipment is well-suited for a successful connection.
Step 2: Get the Right Cables
With compatibility confirmed, the next crucial step in connecting your iPad to a MIDI keyboard is acquiring the appropriate cables for establishing a reliable connection. The type of cable you’ll need depends on the connectivity options supported by your MIDI keyboard and iPad. Here’s how to ensure you have the right cables for the job:
- Identify the Connection Type: Determine the specific connection type required for your setup. If your MIDI keyboard utilizes standard MIDI ports, you’ll need MIDI cables with the appropriate connectors. On the other hand, if your keyboard supports USB MIDI, you’ll require a USB cable that corresponds to the port on your iPad.
- Assess iPad Connectivity: Depending on your iPad model, you may need a Lightning to MIDI adapter or a USB-C to MIDI adapter to facilitate the connection. These adapters enable you to link your iPad’s port to the MIDI input on your keyboard, ensuring seamless communication between the devices.
- Consider Wireless Options: If your MIDI keyboard supports Bluetooth MIDI connectivity and your iPad is Bluetooth-enabled, you may opt for a wireless setup. In this case, no physical cables are necessary, and you can establish a wireless MIDI connection between the devices for added convenience.
- Quality and Length: When selecting cables, prioritize quality and durability to ensure reliable data transmission between your iPad and MIDI keyboard. Additionally, consider the cable length to accommodate your setup’s spatial requirements while allowing flexibility for movement during performances or recording sessions.
By obtaining the right cables tailored to your specific connectivity needs, you’ll be well-prepared to establish a solid link between your iPad and MIDI keyboard. Whether you opt for traditional wired connections or embrace the convenience of wireless technology, having the appropriate cables at your disposal is essential for a seamless and efficient setup.
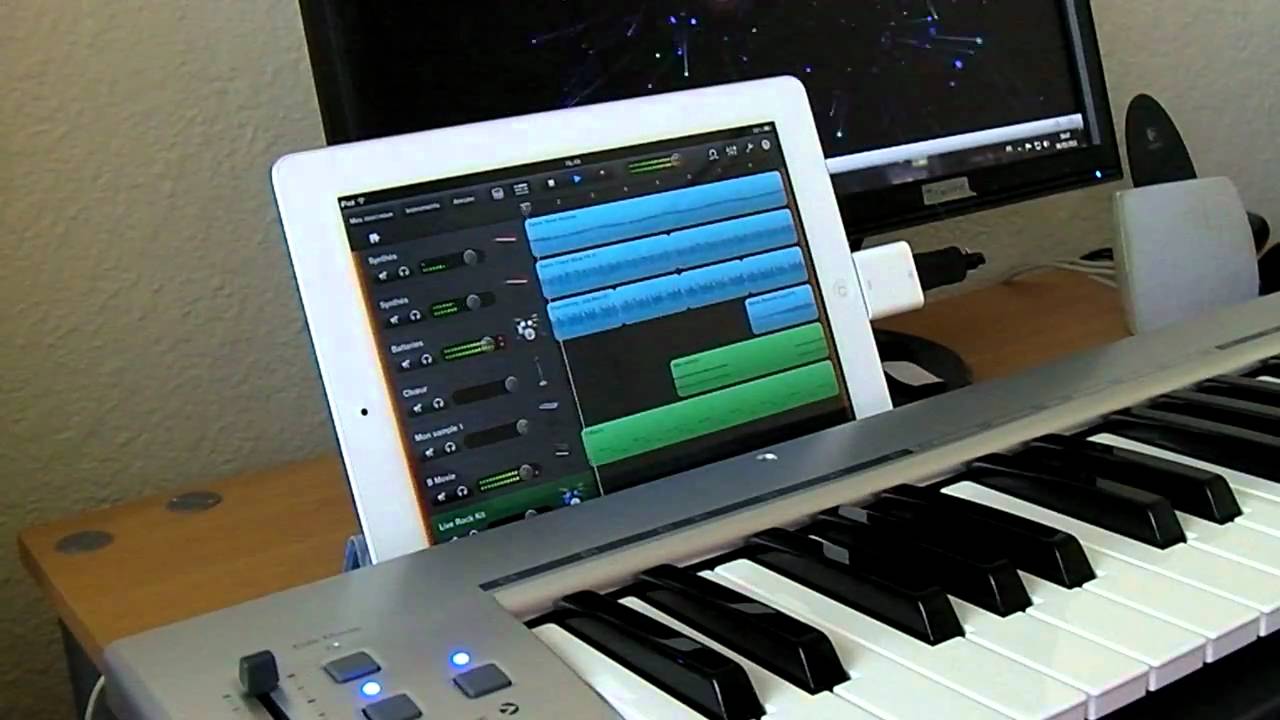
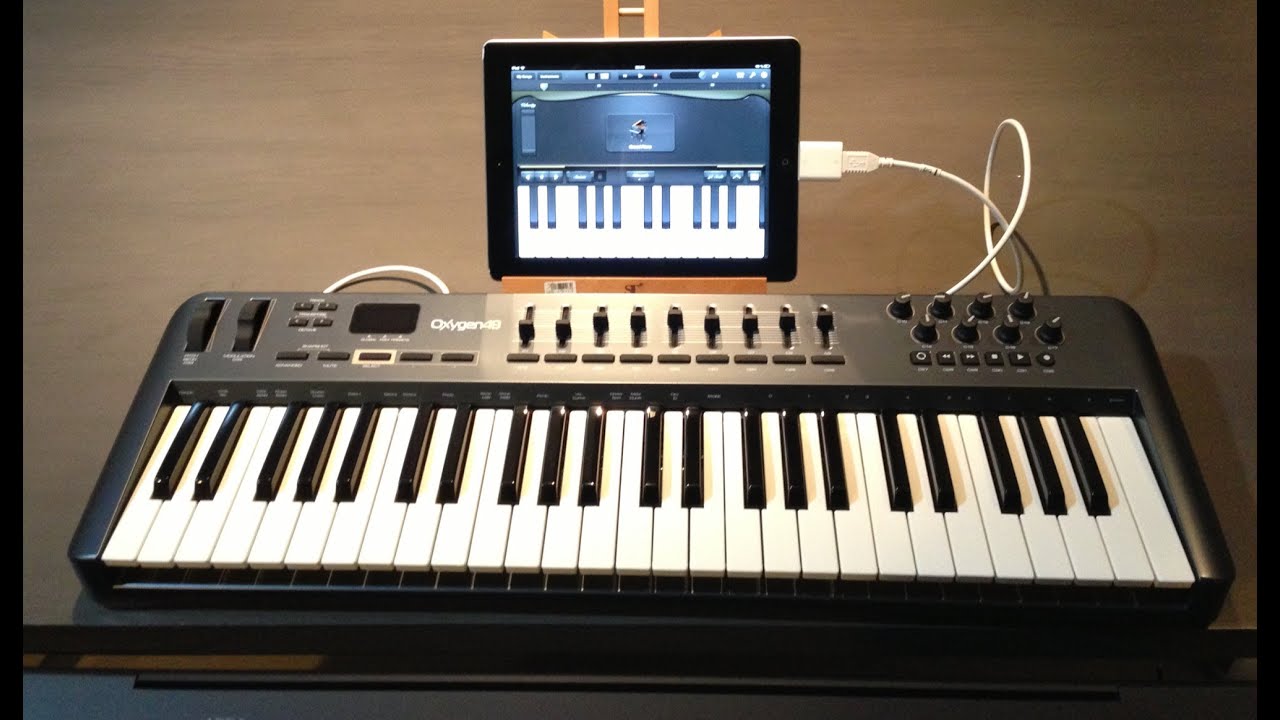
Step 3: Connect the MIDI Keyboard to the iPad
Now that you have confirmed compatibility and obtained the necessary cables, it’s time to physically connect your MIDI keyboard to your iPad. Follow these steps to establish a direct and reliable connection between the two devices:
- Prepare the Cables: If you’re using wired connections, ensure that the MIDI cables or USB cables are readily accessible. If you’re utilizing adapters, have them connected to the respective ports on your iPad in advance.
- Power Off Devices: Before making any connections, power off both your MIDI keyboard and iPad to prevent any potential electrical issues or data transfer interruptions.
- Establish the Physical Connection: If your MIDI keyboard features standard MIDI ports, connect the MIDI Out port on the keyboard to the MIDI In port on the MIDI interface or adapter. Then, connect the other end of the MIDI interface or adapter to the appropriate port on your iPad. For USB MIDI connections, directly link the USB cable from the keyboard to the Lightning or USB-C port on your iPad.
- Power On and Check Connections: Once the physical connections are secure, power on your MIDI keyboard and iPad. Ensure that the devices recognize each other, and check for any indicator lights or on-screen prompts that confirm a successful connection.
- Configure MIDI Settings: Access the MIDI settings on your iPad to verify that the MIDI keyboard is detected and properly configured. Depending on the apps or software you intend to use, you may need to select the MIDI keyboard as the input device within the settings of your music production app or DAW.
By following these steps, you can establish a robust physical connection between your MIDI keyboard and iPad, laying the foundation for seamless communication and interaction between the two devices. With the physical link established, you’re now ready to delve into the software settings and app integration to further optimize your setup for music creation and performance.
Step 4: Set Up the MIDI Keyboard in Apps
After successfully connecting your MIDI keyboard to your iPad, the next step involves configuring the keyboard within your preferred music production apps and software. This crucial setup process ensures that your MIDI keyboard functions seamlessly with the apps, allowing you to harness its full potential for music creation and performance. Follow these steps to set up your MIDI keyboard in apps on your iPad:
- Launch Your Music Apps: Open the music production apps or digital audio workstations (DAWs) on your iPad that you intend to use with your MIDI keyboard. Whether you’re exploring virtual instruments, recording tracks, or controlling various parameters, it’s essential to have the relevant apps ready for configuration.
- Access MIDI Settings: Navigate to the MIDI settings within your music apps. Look for options related to MIDI input devices or external controllers, as these settings allow you to specify the MIDI keyboard as the primary input for your musical endeavors.
- Assign MIDI Channels: If your MIDI keyboard supports multiple MIDI channels, configure the channel assignments within the app settings. This step is particularly important if you intend to control different instruments or functions within the app using distinct MIDI channels on your keyboard.
- Map MIDI Controls: Some music apps enable you to map MIDI controls to specific functions or parameters within the software. This feature allows you to customize the behavior of your MIDI keyboard, assigning knobs, sliders, or buttons to control various aspects of the app, such as volume, effects, or virtual instrument parameters.
- Test MIDI Input: Verify that your MIDI keyboard is successfully transmitting MIDI data to the apps by playing notes, triggering virtual instrument sounds, or manipulating app parameters using the keyboard’s controls. This testing phase ensures that the MIDI setup is functioning as intended and that your keyboard communicates effectively with the apps.
By meticulously configuring your MIDI keyboard within your music apps, you can optimize its integration with the software, empowering you to express your musical ideas with precision and creativity. This setup process paves the way for a seamless and immersive music-making experience, allowing you to leverage the full capabilities of your MIDI keyboard within the digital realm of music production on your iPad.
Step 5: Test the Connection
Once you’ve completed the setup process for connecting your MIDI keyboard to your iPad and configuring it within your music apps, it’s essential to thoroughly test the connection to ensure that everything functions as intended. Testing the connection allows you to verify the responsiveness, accuracy, and overall performance of your MIDI keyboard within the digital environment of your iPad. Follow these steps to effectively test the connection:
- Play Virtual Instruments: Open a virtual instrument or synthesizer within your music app and play various notes, chords, and melodies on your MIDI keyboard. Verify that the sounds are accurately produced, and assess the responsiveness of the keyboard’s keys to ensure a natural and fluid playing experience.
- Record MIDI Data: If your music app supports MIDI recording, capture a performance using your MIDI keyboard. Record a sequence of notes, musical phrases, or expressive performances to assess the recording functionality and the accuracy of MIDI data capture from your keyboard.
- Manipulate App Parameters: Use the controls on your MIDI keyboard to adjust app parameters, such as filter cutoff, resonance, modulation, or effects settings. Test the responsiveness and precision of these controls to gauge the effectiveness of your MIDI keyboard in shaping and manipulating sound within the app.
- Explore DAW Integration: If you’re using a digital audio workstation (DAW), test the integration of your MIDI keyboard with the DAW’s recording, editing, and mixing features. Experiment with recording MIDI tracks, editing note data, and controlling various aspects of your DAW using the keyboard’s interface.
- Assess Latency and Performance: Pay attention to any noticeable latency or delay between playing notes on your MIDI keyboard and hearing the corresponding sounds from the app. Assess the overall performance of the connection, including the speed and reliability of MIDI data transmission between your keyboard and iPad.
By thoroughly testing the connection between your MIDI keyboard and iPad, you can identify and address any potential issues or performance concerns, ensuring that your setup operates seamlessly and optimally. This testing phase serves as a critical evaluation of the connection’s functionality, enabling you to fine-tune your MIDI setup for an enhanced music-making experience on your iPad.
Conclusion
Embarking on the journey to connect your iPad to a MIDI keyboard opens up a world of creative possibilities, allowing you to explore new avenues of musical expression and production. By following the comprehensive steps outlined in this guide, you’ve gained the knowledge and practical insights needed to seamlessly integrate your MIDI keyboard with your iPad, bridging the gap between traditional musical instruments and cutting-edge digital technology.
From verifying compatibility and acquiring the right cables to establishing a physical connection, configuring MIDI settings in apps, and rigorously testing the connection, you’ve navigated each phase of the setup process with confidence and precision. As a result, you’ve unlocked the potential of your MIDI keyboard as a versatile and powerful tool for music creation, performance, and production within the digital realm of your iPad.
With your MIDI keyboard now intricately linked to your iPad, you’re poised to harness the full capabilities of your setup, whether you’re delving into the world of virtual instruments, recording captivating performances, or controlling various parameters within your music apps and digital audio workstations. The seamless integration of your MIDI keyboard with your iPad empowers you to unleash your creativity, refine your musical ideas, and embark on captivating musical journeys with unparalleled flexibility and control.
As you continue to explore the boundless opportunities afforded by this fusion of musical instruments and technology, remember that the connection between your iPad and MIDI keyboard serves as a gateway to a dynamic and immersive music-making experience. Whether you’re a seasoned musician, an aspiring producer, or a dedicated music enthusiast, the harmonious integration of your MIDI keyboard and iPad sets the stage for endless musical innovation and expression.
So, with your MIDI keyboard and iPad seamlessly united, the stage is set for you to embark on a captivating musical odyssey, where your creative visions can flourish and your musical aspirations can soar to new heights.