Introduction
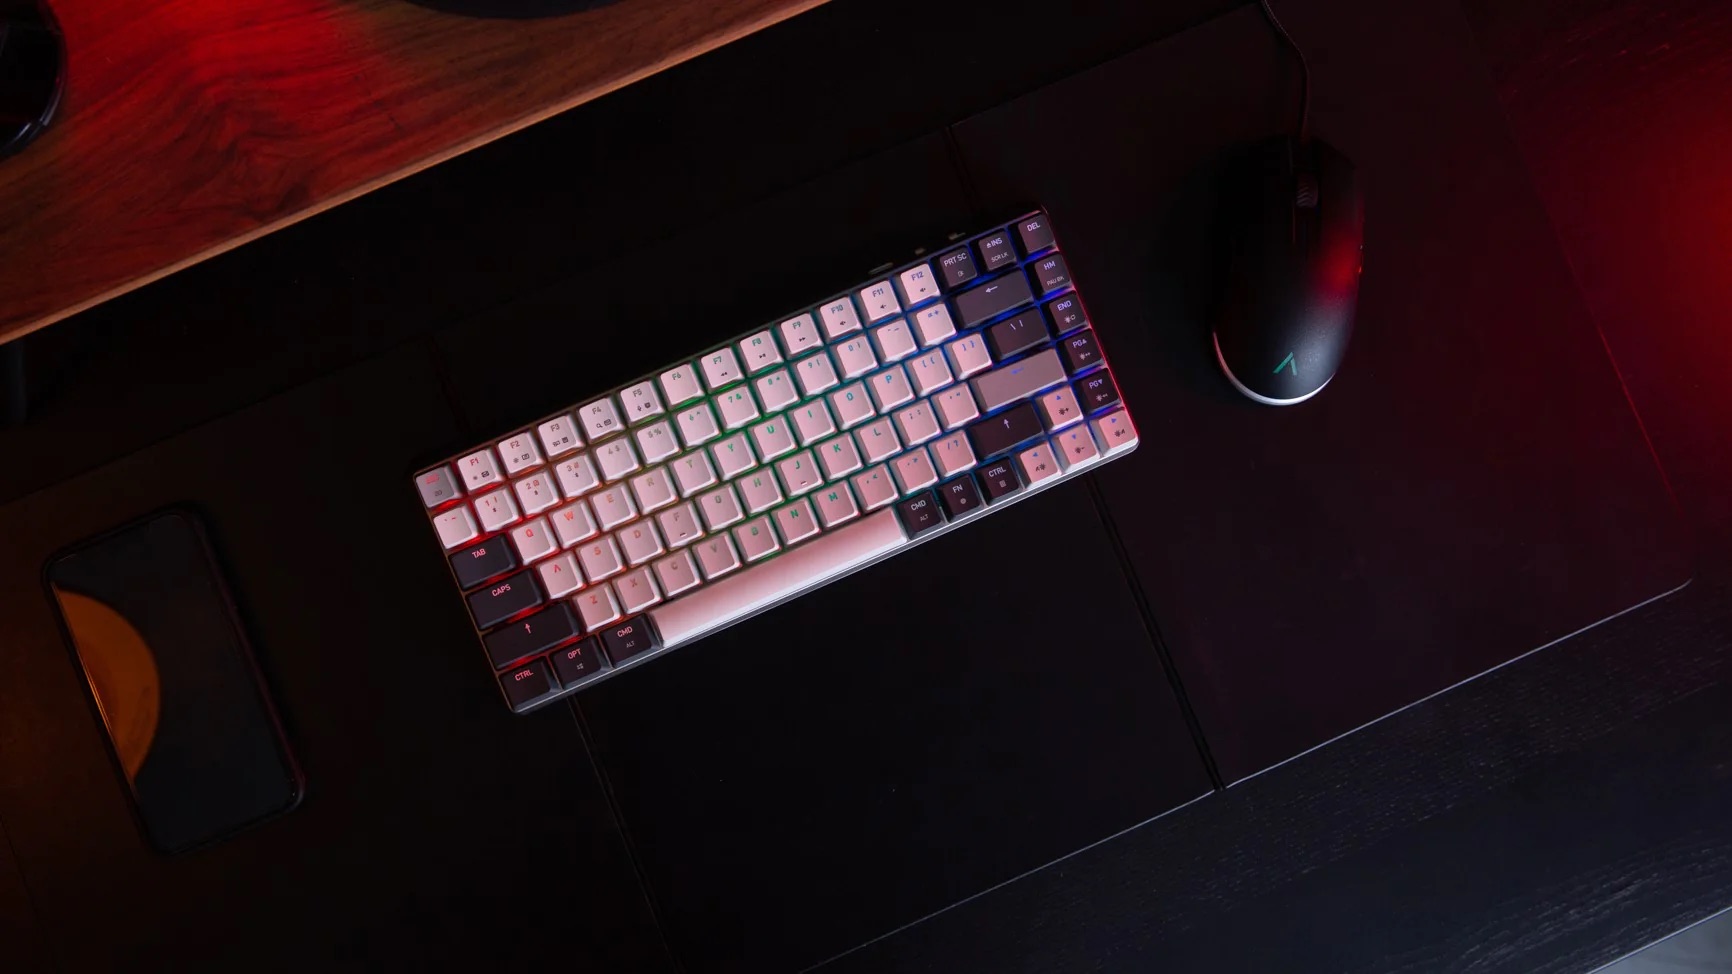
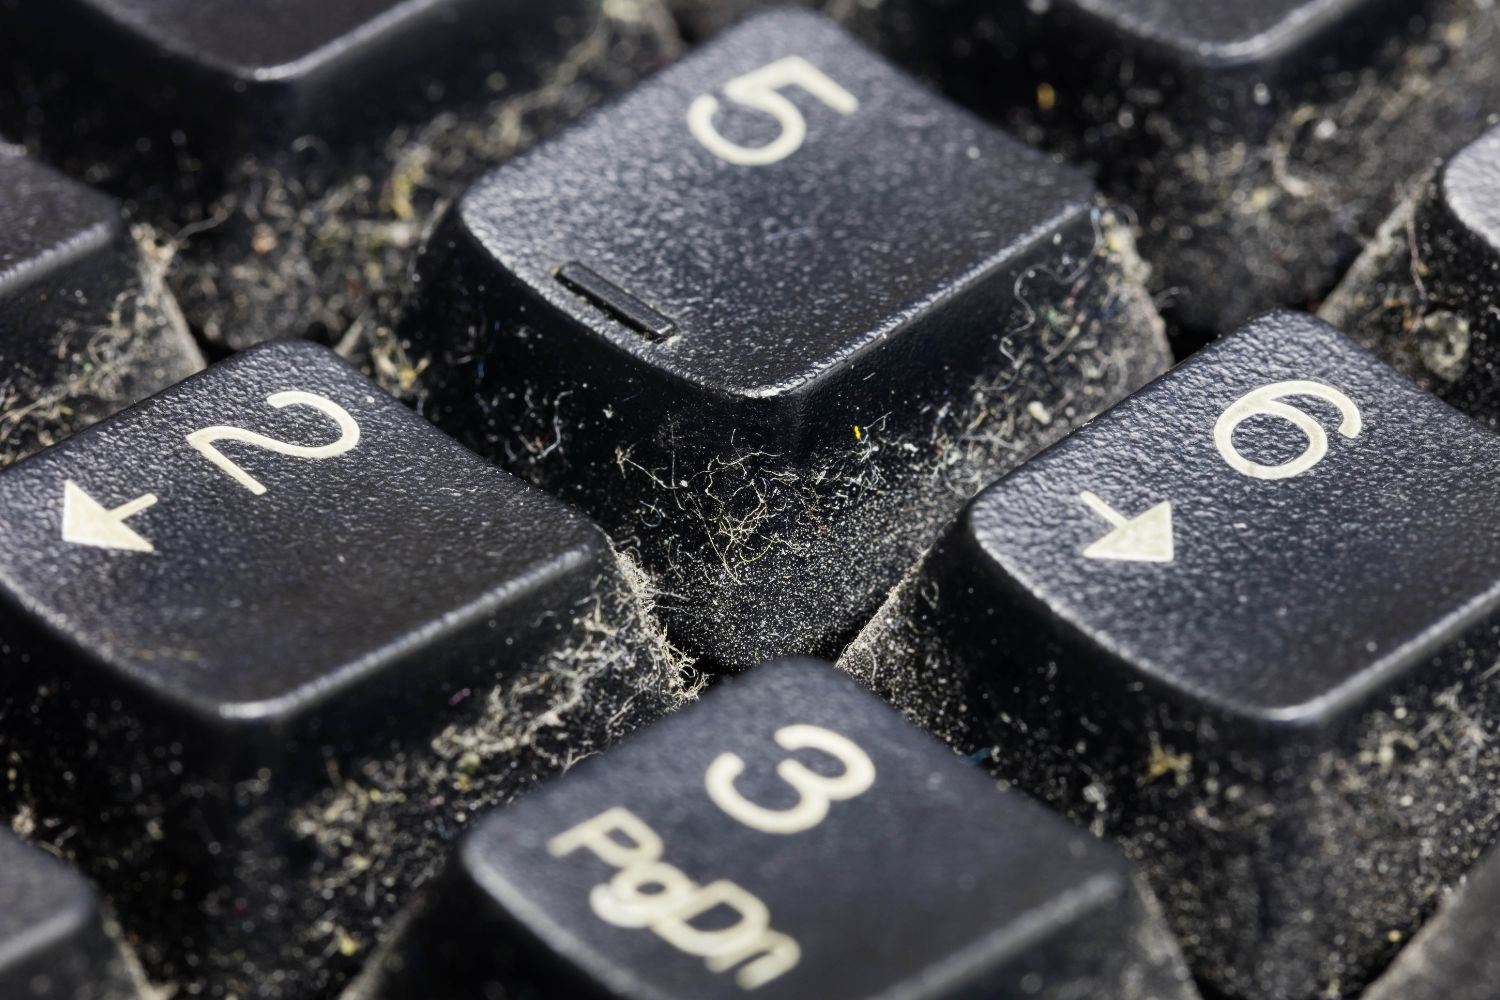
Gaming keyboards are essential tools for gamers, providing a tactile and responsive platform for immersive gameplay. However, frequent use can lead to the accumulation of oil marks and debris, compromising the keyboard's performance and aesthetic appeal. Cleaning a gaming keyboard with oil marks requires a delicate approach to ensure that the intricate mechanisms and sensitive components remain unharmed.
In this comprehensive guide, we will walk through the step-by-step process of cleaning a gaming keyboard with oil marks, restoring its functionality and appearance. By following these instructions and using the recommended materials, you can effectively eliminate oil marks and maintain your gaming keyboard in optimal condition.
Cleaning a gaming keyboard is a rewarding endeavor that not only enhances its longevity but also contributes to a more enjoyable gaming experience. With the right tools and techniques, you can effectively remove oil marks and restore your gaming keyboard to its pristine state, ready for countless hours of gaming excitement.
Throughout this guide, we will explore the materials needed, the process of removing keycaps, cleaning the keyboard, and reassembling the keyboard. By the end of this tutorial, you will have the knowledge and confidence to effectively clean your gaming keyboard, ensuring its longevity and peak performance.
Let's delve into the materials required to embark on this cleaning journey and restore your gaming keyboard to its former glory.
Materials Needed
Before embarking on the cleaning process, it’s essential to gather the necessary materials to ensure a thorough and effective cleaning of your gaming keyboard. Here are the items you will need:
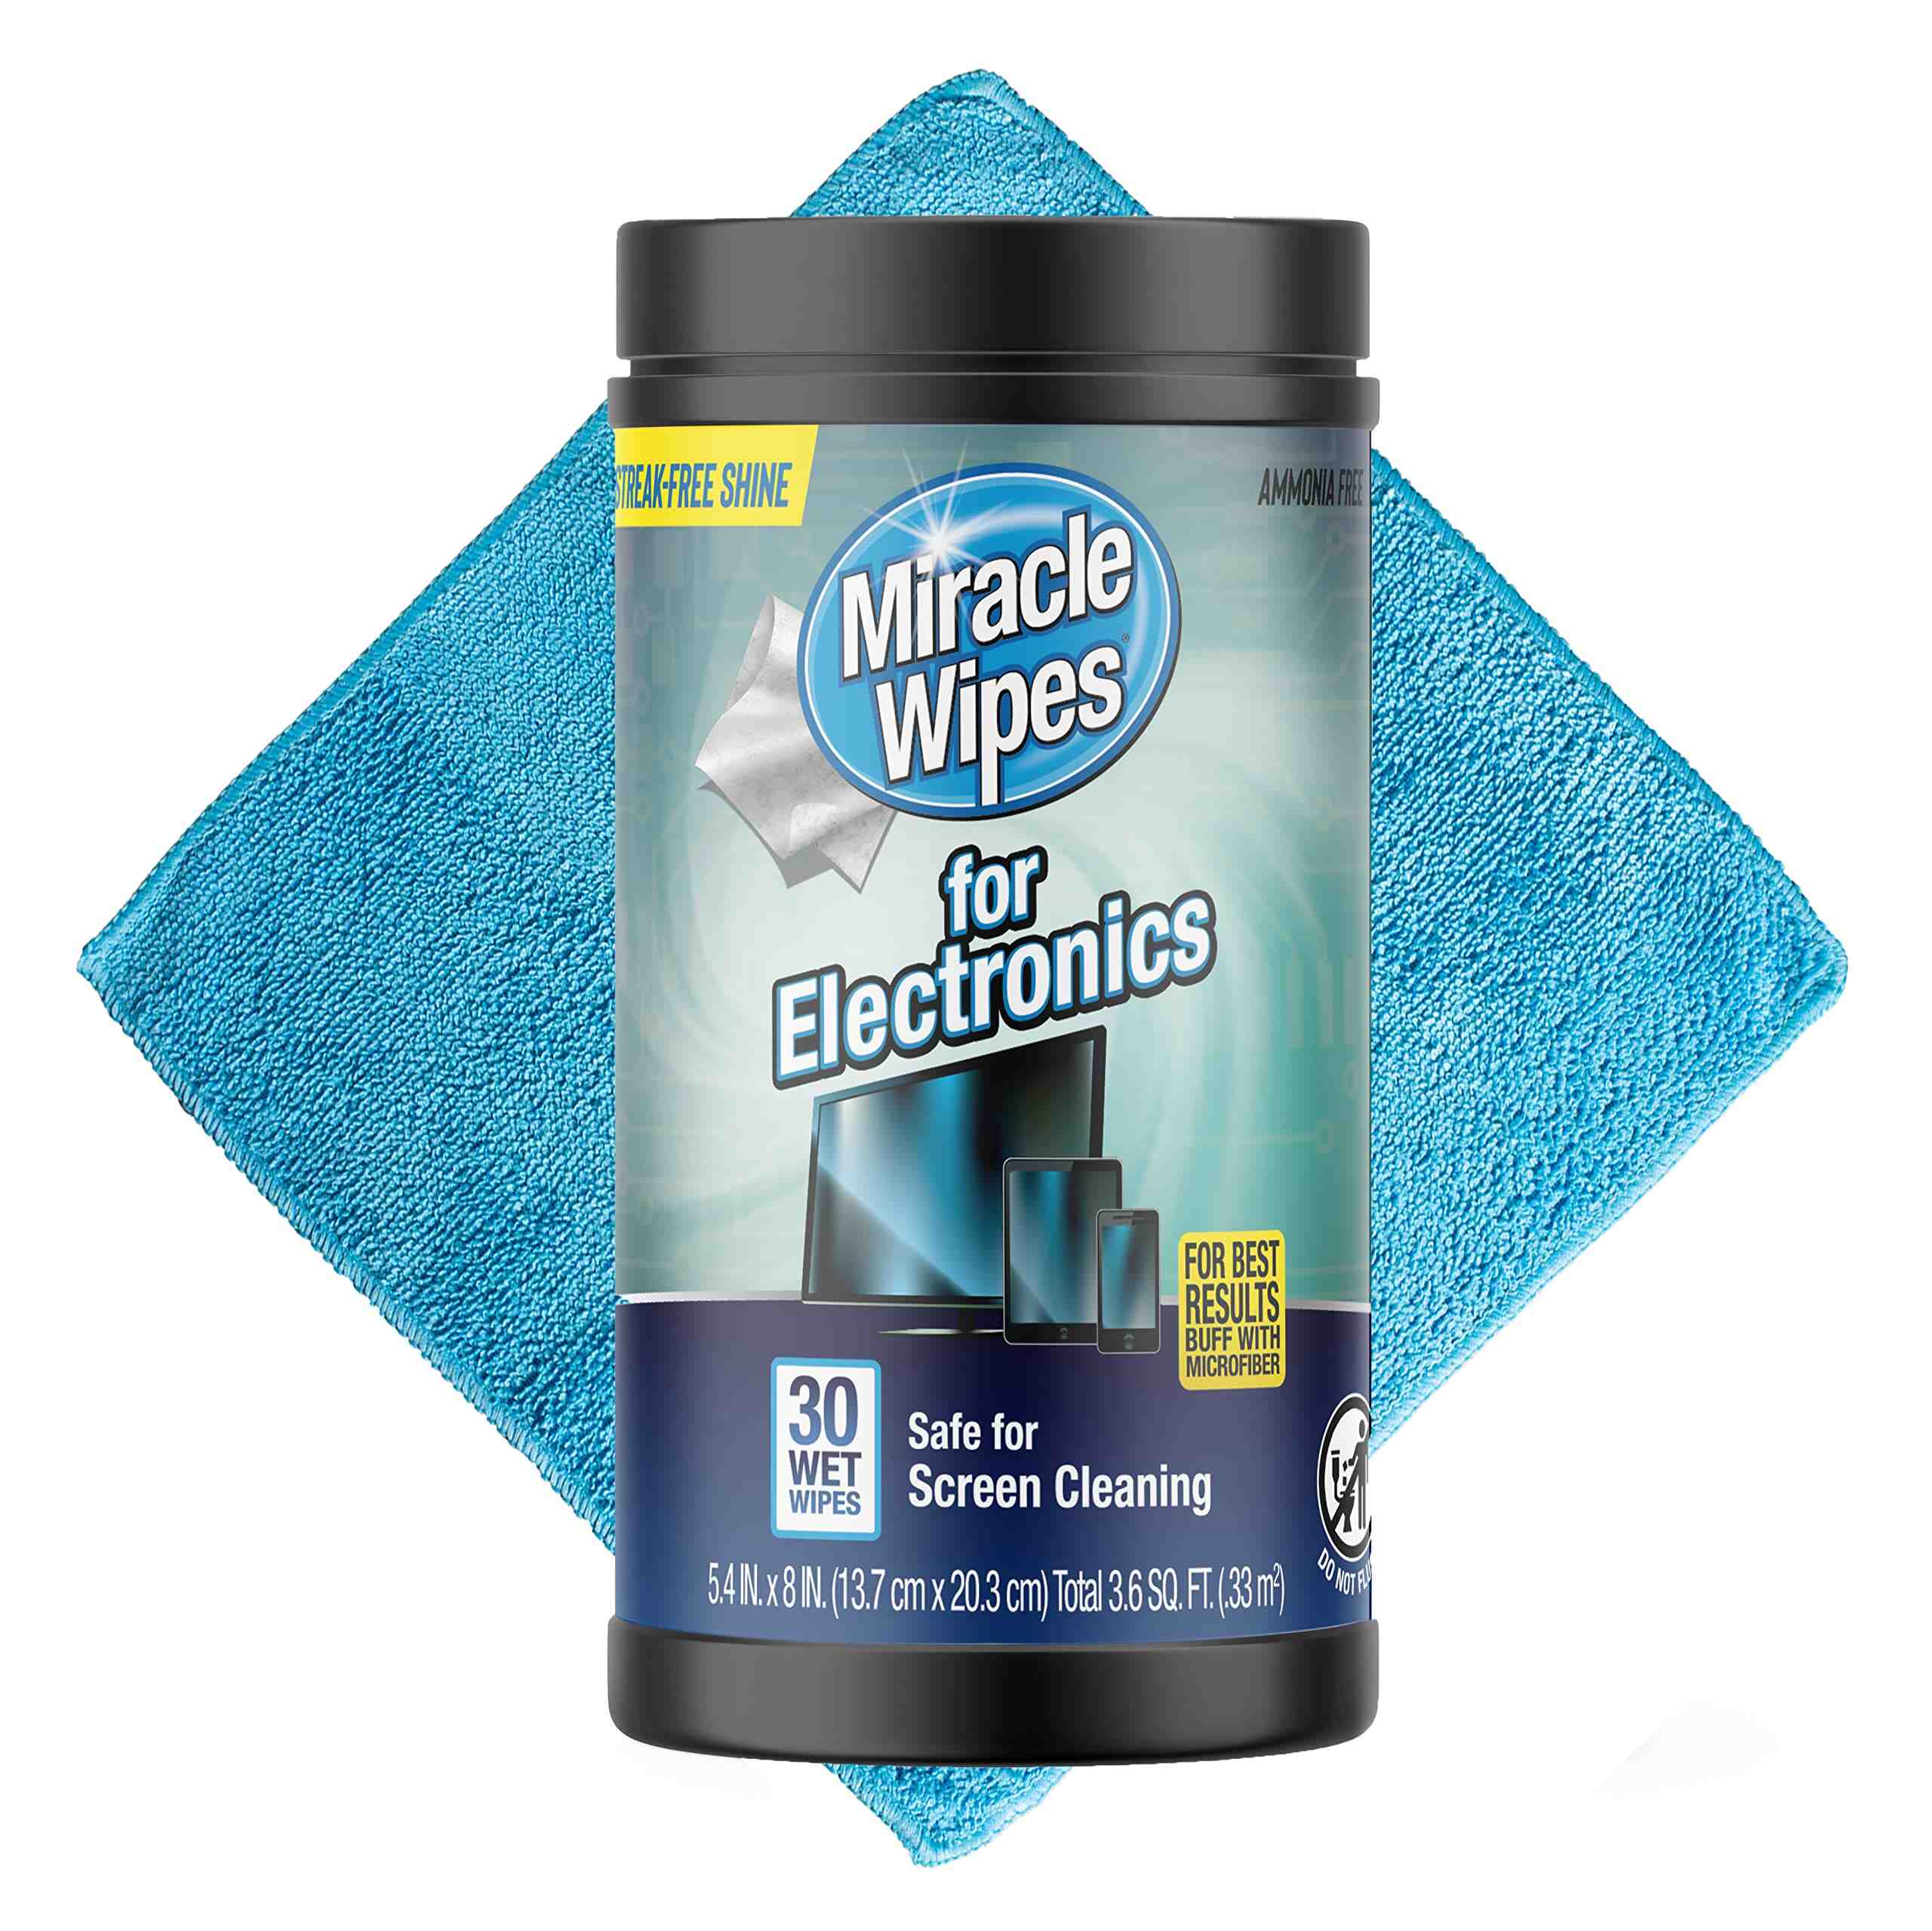
- Isopropyl Alcohol: This is a key ingredient for cleaning the keyboard, as it effectively dissolves oil marks and removes accumulated grime without causing damage to the keyboard’s components.
- Cotton Swabs: These are ideal for reaching small crevices and corners, allowing for precise cleaning around the keys and other intricate areas of the keyboard.
- Microfiber Cloth: A soft, lint-free microfiber cloth is essential for gently wiping down the keyboard and ensuring a streak-free finish after cleaning.
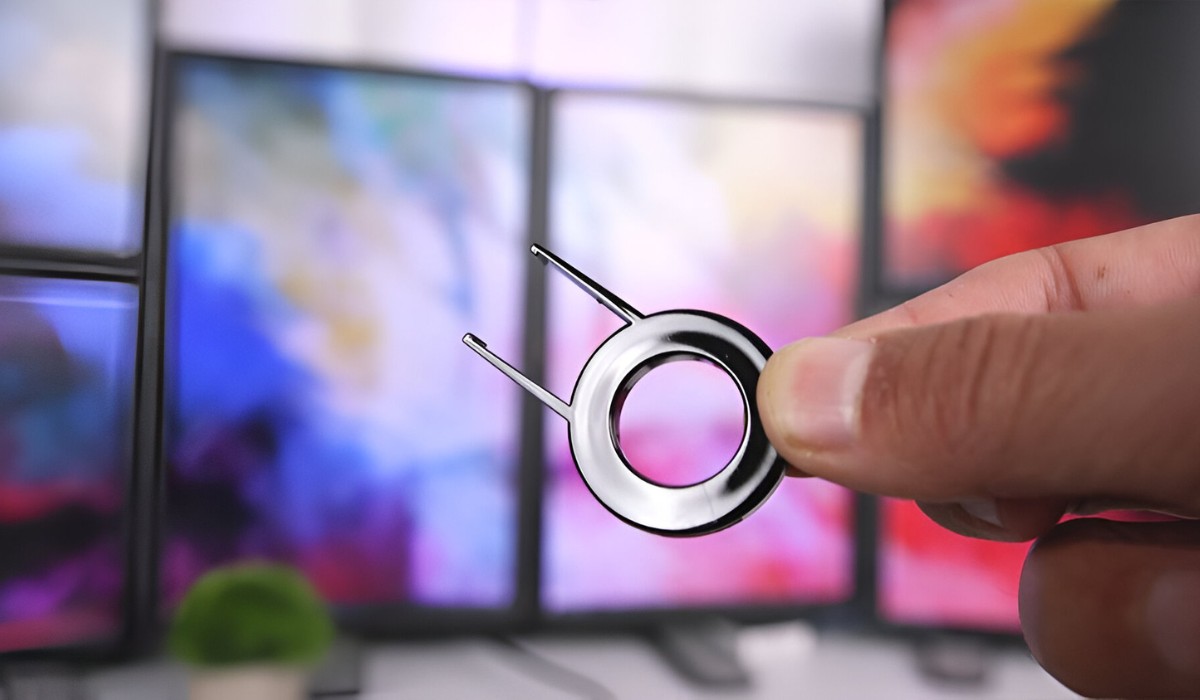
- Keycap Puller: This tool is necessary for safely removing the keycaps without causing damage to the keyboard’s switches or keycap stems.
- Warm Water: Utilized in combination with isopropyl alcohol, warm water helps to dilute the cleaning solution and aids in the removal of stubborn oil marks and residue.
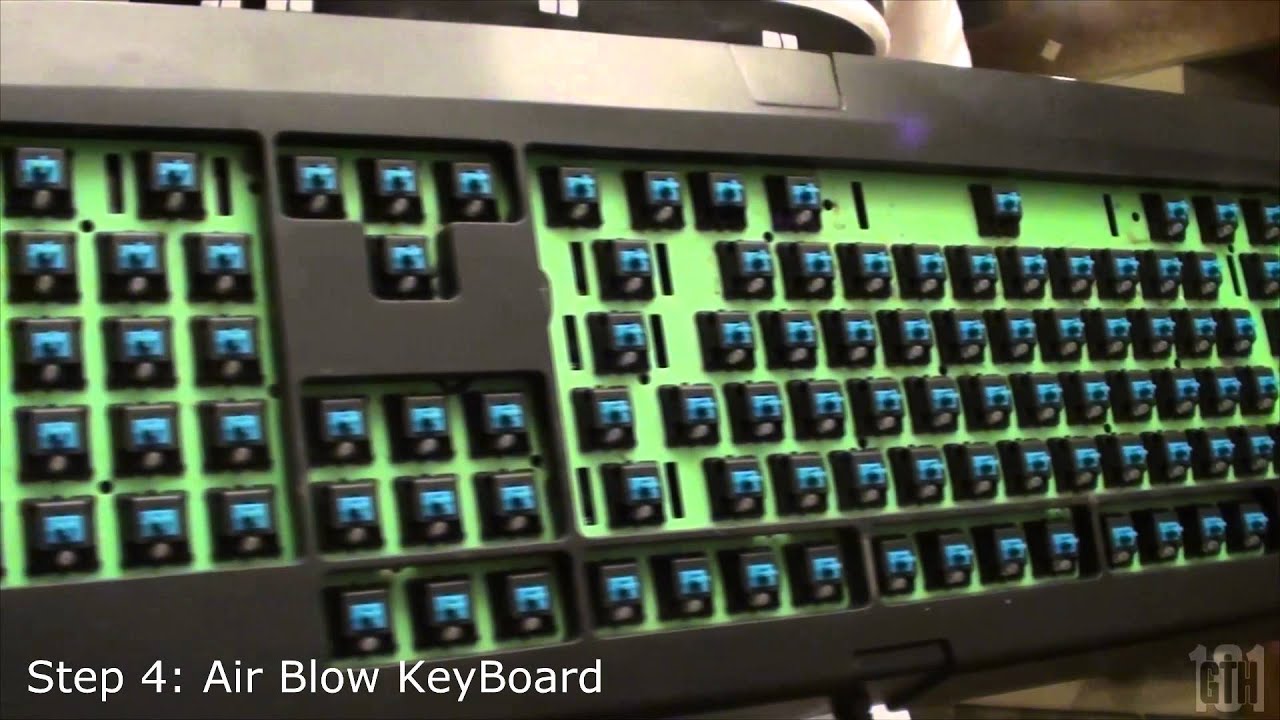
- Blow Dryer or Compressed Air: These tools are useful for drying the keyboard thoroughly after cleaning and before reassembling, ensuring that no moisture remains trapped inside the keyboard.
- Flat Surface: Having a clean, flat surface to work on is essential for disassembling and reassembling the keyboard without misplacing any components.
- Container or Bowl: Using a container or bowl to mix the cleaning solution can help facilitate the cleaning process and prevent spillage.
By ensuring that you have these materials on hand, you can proceed with confidence, knowing that you have everything necessary to effectively clean your gaming keyboard and eliminate oil marks and debris that may compromise its performance and appearance.
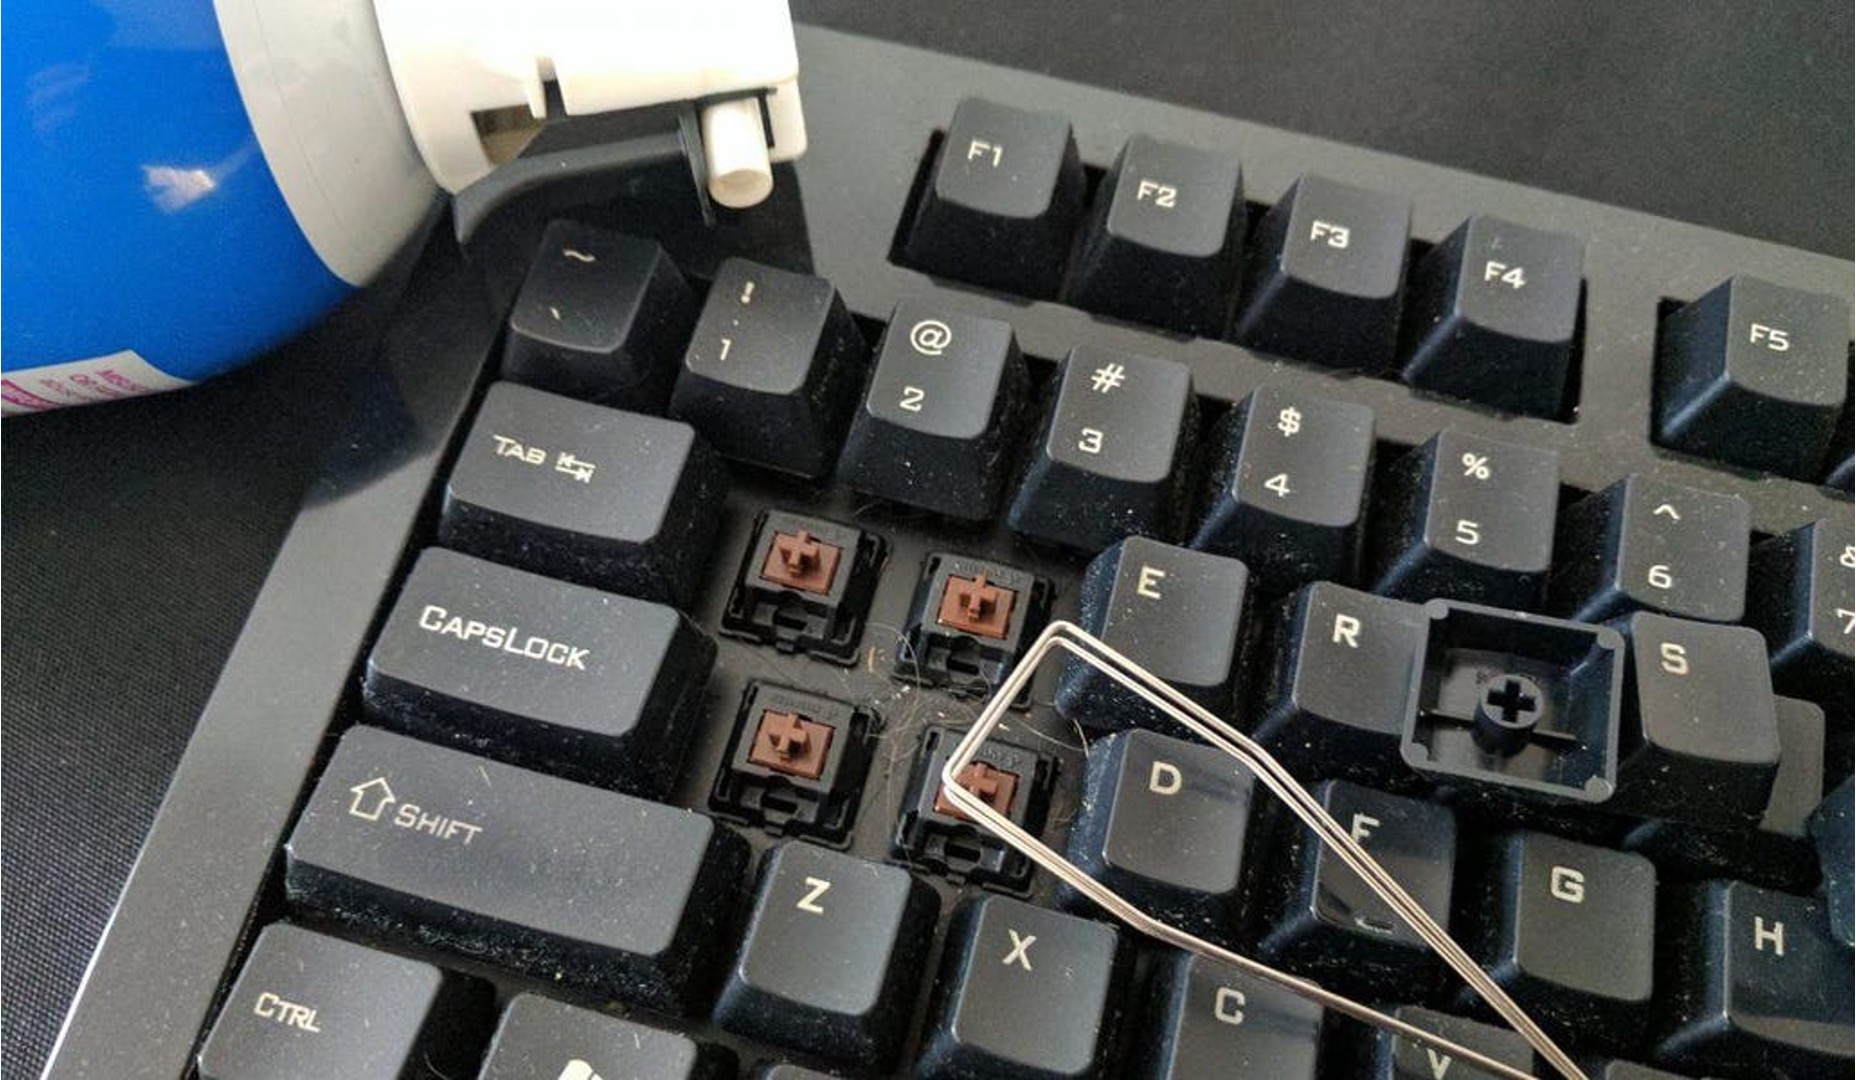
Removing Keycaps
Before delving into the cleaning process, it’s essential to remove the keycaps from your gaming keyboard to access the underlying components and thoroughly clean the surface beneath them. Here’s a step-by-step guide to safely remove the keycaps:
- Prepare Your Workspace: Find a well-lit and spacious area to work on, ensuring that you have a clean, flat surface to prevent any keycaps or components from rolling away or getting lost.
- Use the Keycap Puller: Utilize the keycap puller to gently and evenly remove the keycaps from the keyboard. Position the keycap puller over the keycap and gently pull upward to detach the keycap from the switch. Repeat this process for each keycap, taking care not to apply excessive force that could damage the switches or keycap stems.
- Organize the Keycaps: As you remove the keycaps, consider organizing them in a segmented container or laying them out in a pattern that corresponds to their original placement on the keyboard. This organization will simplify the reassembly process and ensure that each keycap is returned to its correct position.
- Inspect for Debris: Once the keycaps are removed, take a moment to inspect the exposed switches and keyboard surface for any visible debris or oil marks. This visual assessment will guide your cleaning process and ensure that no contaminants are overlooked.
By following these steps, you can safely and methodically remove the keycaps from your gaming keyboard, setting the stage for a thorough cleaning of the underlying components and the keyboard’s surface. With the keycaps removed and organized, you’re ready to proceed to the next phase of the cleaning process: cleaning the keyboard to eliminate oil marks and residue.
Cleaning the Keyboard
With the keycaps successfully removed, it’s time to focus on cleaning the keyboard to eliminate oil marks and debris that may have accumulated over time. Follow these steps to thoroughly clean your gaming keyboard:
- Prepare the Cleaning Solution: In a container or bowl, mix isopropyl alcohol with a small amount of warm water to create a gentle yet effective cleaning solution. This diluted solution will help dissolve oil marks and grime without causing damage to the keyboard’s components.
- Dip the Cotton Swabs: Dip a cotton swab into the cleaning solution, ensuring that it is damp but not dripping. The damp cotton swab will allow for precise cleaning of the switches, edges, and crevices of the keyboard, targeting areas where oil marks and debris are most likely to accumulate.
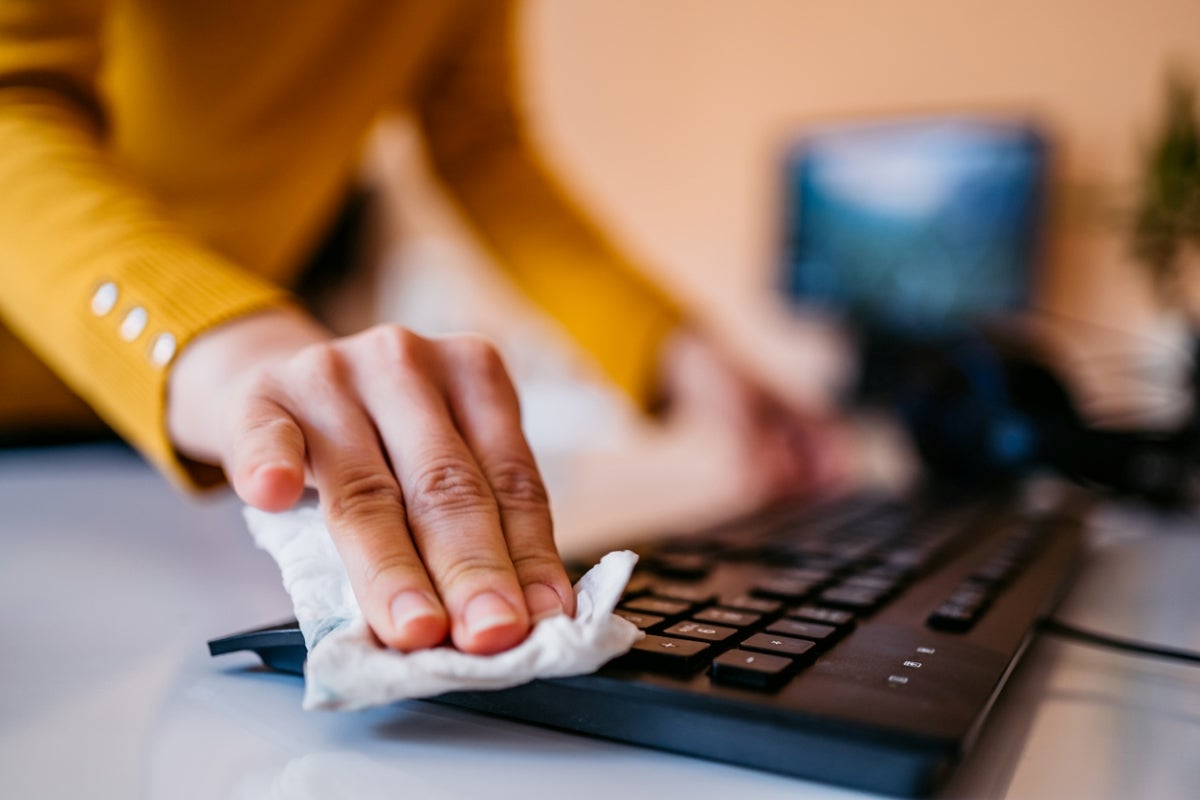
- Clean the Switches and Surface: Gently and methodically clean each switch and the surrounding surface using the damp cotton swabs. Pay particular attention to areas with visible oil marks or debris, ensuring thorough coverage and meticulous cleaning to restore the keyboard’s appearance.
- Wipe Down the Keyboard: After cleaning the switches and surface, use a microfiber cloth lightly dampened with the cleaning solution to wipe down the entire keyboard. This step will ensure that any remaining oil marks and residue are effectively removed, leaving the keyboard with a clean and refreshed appearance.
- Dry the Keyboard: Once the cleaning process is complete, use a blow dryer set to a cool or low-heat setting or compressed air to thoroughly dry the keyboard. It’s crucial to ensure that no moisture remains trapped inside the keyboard before reassembling it to prevent potential damage.
By following these steps, you can effectively clean your gaming keyboard, removing oil marks and debris to restore its functionality and visual appeal. With the keyboard now thoroughly cleaned and dried, you are ready to proceed to the final phase of the cleaning process: reassembling the keyboard for continued gaming enjoyment.
Reassembling the Keyboard
After successfully cleaning the keyboard and ensuring that it is thoroughly dry, the next crucial step is to reassemble the keycaps and restore the gaming keyboard to its fully functional state. Follow these steps to methodically reassemble the keyboard:
- Retrieve the Keycaps: Gather the organized keycaps and ensure that they are free of any residual moisture or cleaning solution. This step is essential to prevent any potential damage to the switches or keycap stems during reassembly.
- Position the Keycaps: Starting with a corner or specific section of the keyboard, begin positioning the keycaps back onto the switches. Refer to your organization method or the keyboard’s layout to ensure that each keycap is returned to its correct position.
- Apply Even Pressure: When pressing the keycaps onto the switches, apply even pressure to ensure a secure fit without causing damage to the switches or keycap stems. Take care to align each keycap properly before applying pressure to seat it in place.
- Test the Keys: Once all the keycaps are reassembled, perform a quick test of the keys to ensure that they are functioning correctly. Press each key to verify that it registers input and returns to its original position smoothly.
- Final Inspection: Take a moment to visually inspect the keyboard, ensuring that all keycaps are securely in place and that the surface is free of any residual cleaning solution or debris. This final inspection will confirm that the reassembly process is complete and that the keyboard is ready for use.
With the keycaps successfully reassembled and the keyboard visually inspected, you have effectively completed the reassembly process, restoring your gaming keyboard to its fully operational state. Your diligence in cleaning and reassembling the keyboard ensures that it remains free of oil marks and debris, ready to deliver an optimal gaming experience.
Conclusion
Cleaning a gaming keyboard with oil marks is a task that requires careful attention to detail and a methodical approach. By following the step-by-step process outlined in this guide and utilizing the recommended materials, you can effectively restore your gaming keyboard to its pristine condition, free of oil marks and debris that may compromise its performance and appearance.
Through the meticulous removal of keycaps, thorough cleaning of the keyboard, and methodical reassembly, you have not only eliminated oil marks and grime but also contributed to the longevity and optimal functionality of your gaming keyboard. The commitment to maintaining a clean and well-maintained keyboard ensures that it continues to provide a tactile and responsive platform for immersive gaming experiences.
As you embark on the journey of cleaning your gaming keyboard, remember the importance of a clean and organized workspace, the gentle yet effective cleaning solution, and the careful reassembly of keycaps to ensure a successful outcome. Your dedication to this process reflects your commitment to preserving and enhancing your gaming equipment for long-term enjoyment.
With your newly cleaned gaming keyboard, you are now poised to immerse yourself in countless hours of gaming excitement, free from the distraction of oil marks and debris. By incorporating regular cleaning into your gaming routine, you can maintain your keyboard in optimal condition, ensuring that it continues to be a reliable and enjoyable tool for your gaming endeavors.
Armed with the knowledge and skills gained from this guide, you have the confidence to tackle future cleaning sessions and maintain your gaming keyboard with ease. Embrace the rewarding process of cleaning and caring for your gaming equipment, knowing that your efforts contribute to a seamless and enjoyable gaming experience.