Introduction
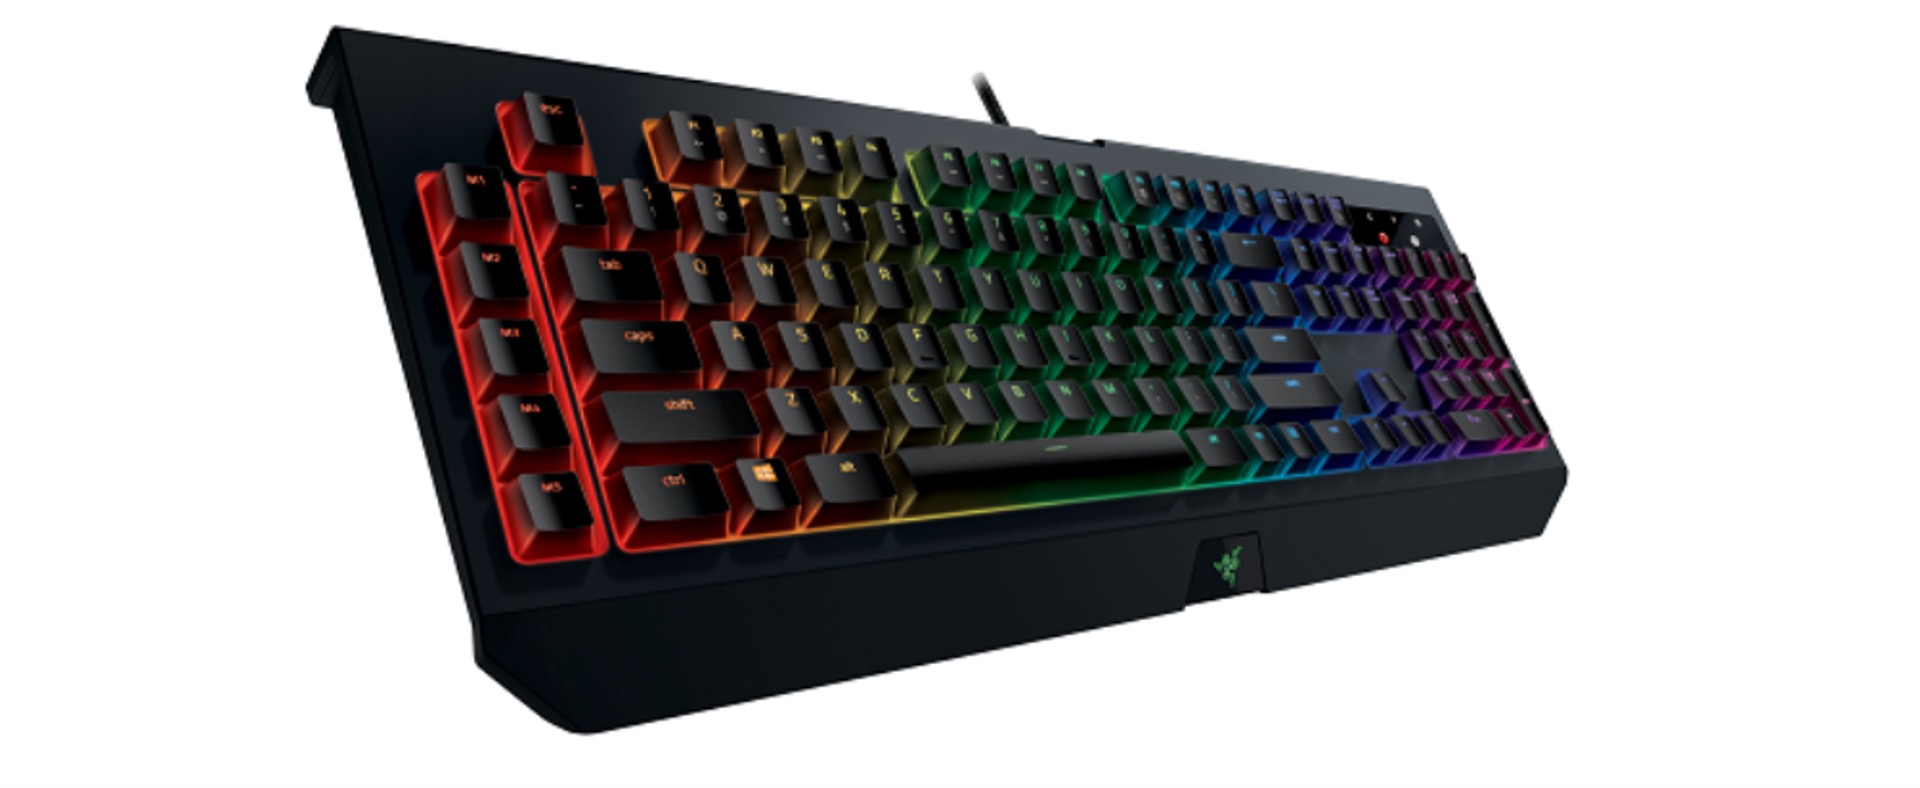
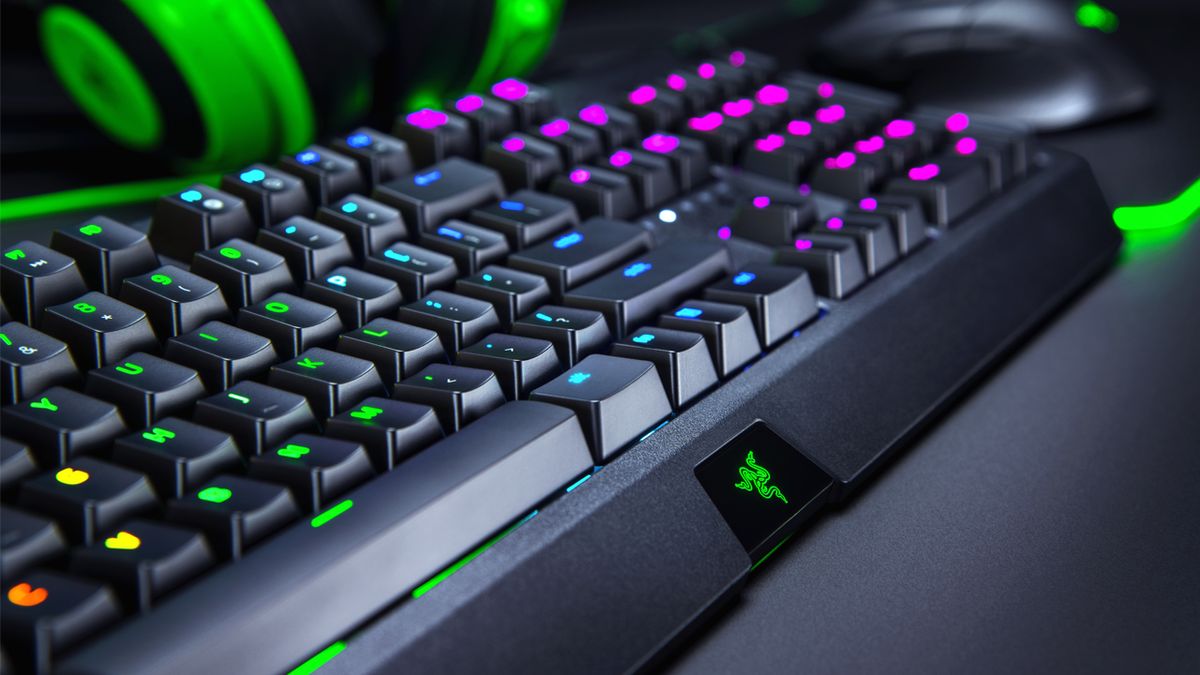
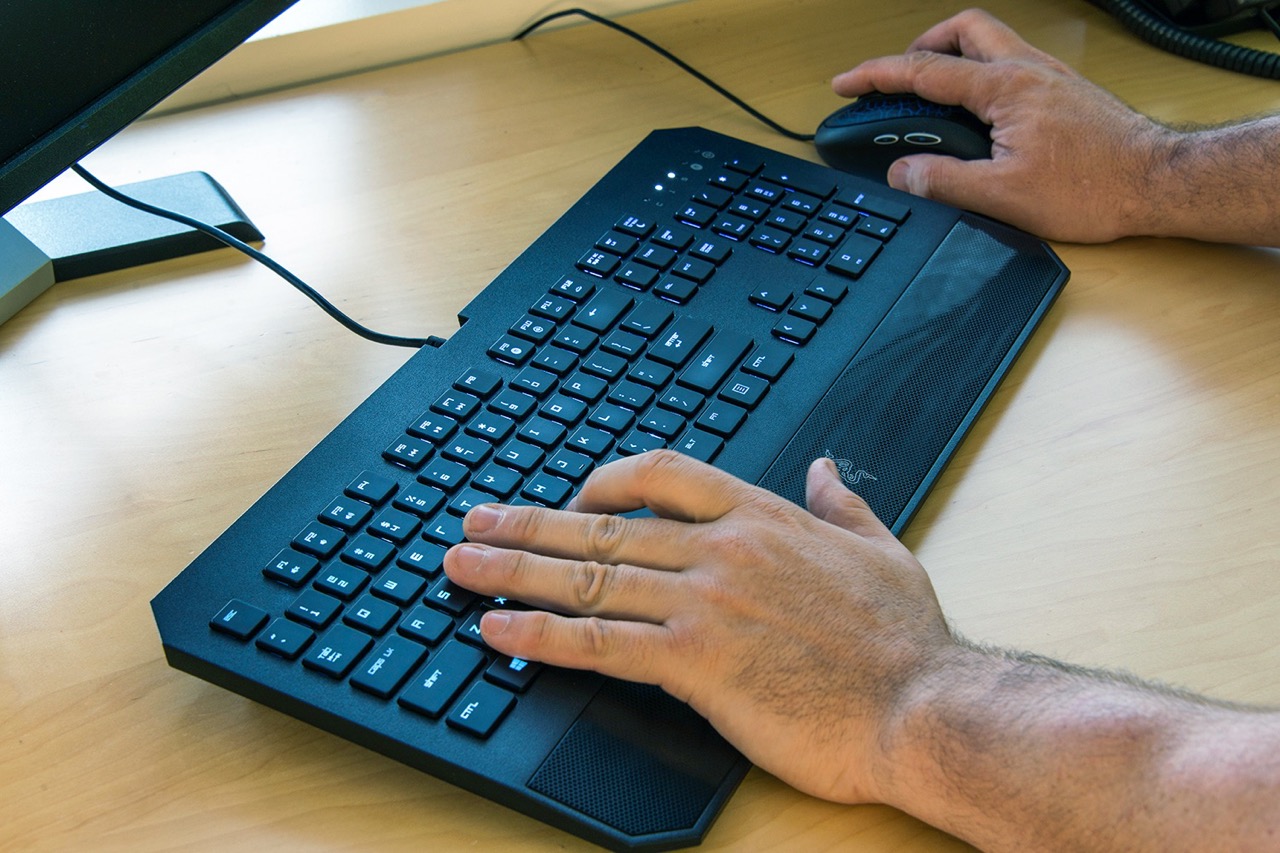
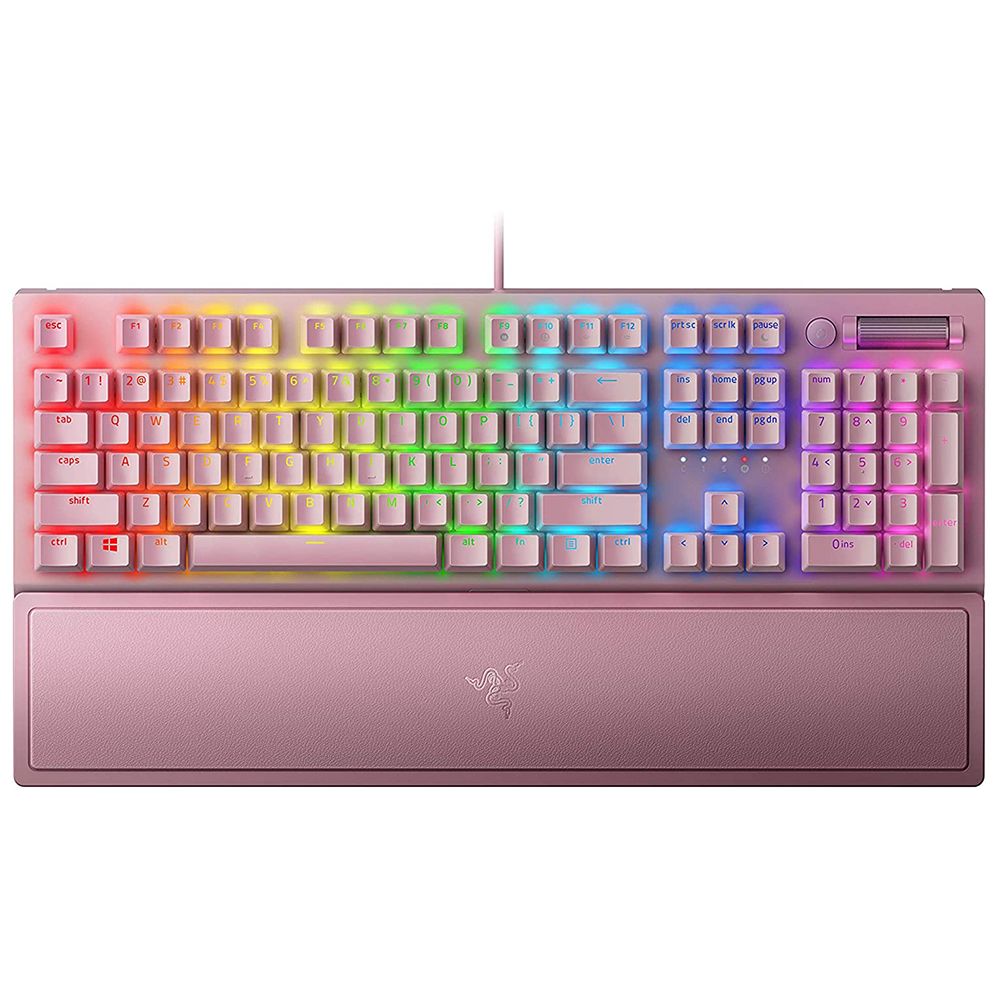
Welcome to the world of Razer keyboards! These sleek and cutting-edge devices are highly coveted by gamers and professionals alike for their superior performance and customizable features. However, with regular use, your Razer keyboard can get dirty and accumulate dust, crumbs, and fingerprints.
Keeping your keyboard clean is not only important for hygiene, but it can also help to maintain its functionality and extend its lifespan. In this article, we will guide you through the step-by-step process of cleaning your Razer keyboard, ensuring that it stays in pristine condition.
Proper keyboard maintenance is essential to prevent key malfunction and optimize your typing or gaming experience. By following these cleaning steps, you can remove debris and grime that may affect your keyboard’s performance and restore it to its full glory.
Before diving into the cleaning process, it’s important to make sure you have the necessary tools on hand. We’ll cover that in our first step, so let’s get started!
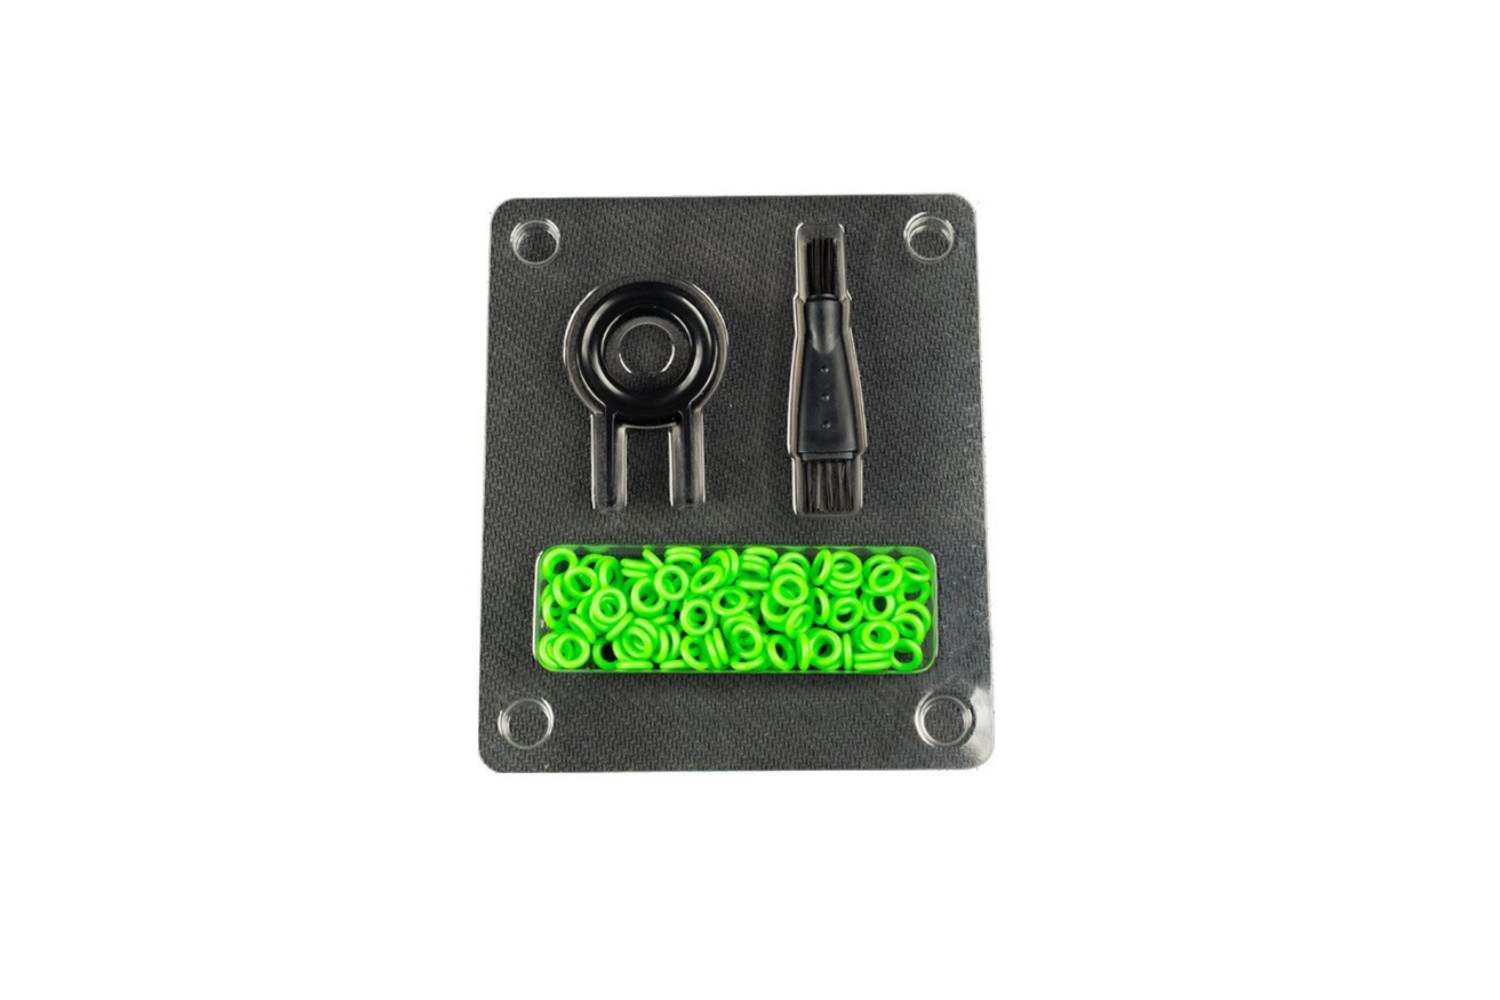
Step 1: Gather the Necessary Tools
Before you begin cleaning your Razer keyboard, it’s essential to gather the right tools. Having the necessary equipment at hand will ensure a smooth and efficient cleaning process. Here’s a list of items you’ll need:
- Microfiber cloth: This soft and lint-free cloth is perfect for wiping down the keyboard and removing smudges and fingerprints.
- Cotton swabs: These small, narrow-tipped tools are excellent for cleaning hard-to-reach areas between the keys.
- Isopropyl alcohol or electronic cleaning solution: Use a mild cleaning solution to gently disinfect and remove stubborn stains or sticky residue from the keyboard.
- Compressed air canister: This is handy for blowing away dust and debris from the keyboard and keycaps.
- Keycap puller: If your Razer keyboard has removable keycaps, a keycap puller will make it easier to remove them without damaging the keys.
- Small bowl or container: You’ll need a container to hold the keycaps while you clean them.
Make sure to gather all these tools before proceeding to the next steps. This way, you won’t have to interrupt the cleaning process to search for missing items.
Once you have everything you need, you’re ready to move on to the next step: disconnecting and powering down the keyboard.
Step 2: Disconnect and Power Down the Keyboard
Before you start cleaning your Razer keyboard, it’s crucial to disconnect it from your computer and power it down. This ensures your safety and prevents any accidental key presses or damage to your system.
Here’s how you can safely disconnect and power down your Razer keyboard:
- Save any ongoing work or close any open applications you have.
- Locate the USB cable that connects your keyboard to your computer.
- Gently unplug the USB cable from your computer’s USB port. Be careful not to yank or pull on the cable forcefully to avoid damaging the port or cable itself.
- Next, locate the power switch on your keyboard. It is usually located at the top or side of the keyboard.
- Flip the power switch to the “Off” position or simply unplug the power cable if your keyboard has one.
By disconnecting and powering down your keyboard, you eliminate any potential electrical hazards and ensure a safe cleaning process. Once you’ve completed this step, you’re ready to move on to the next step: removing the keycaps.
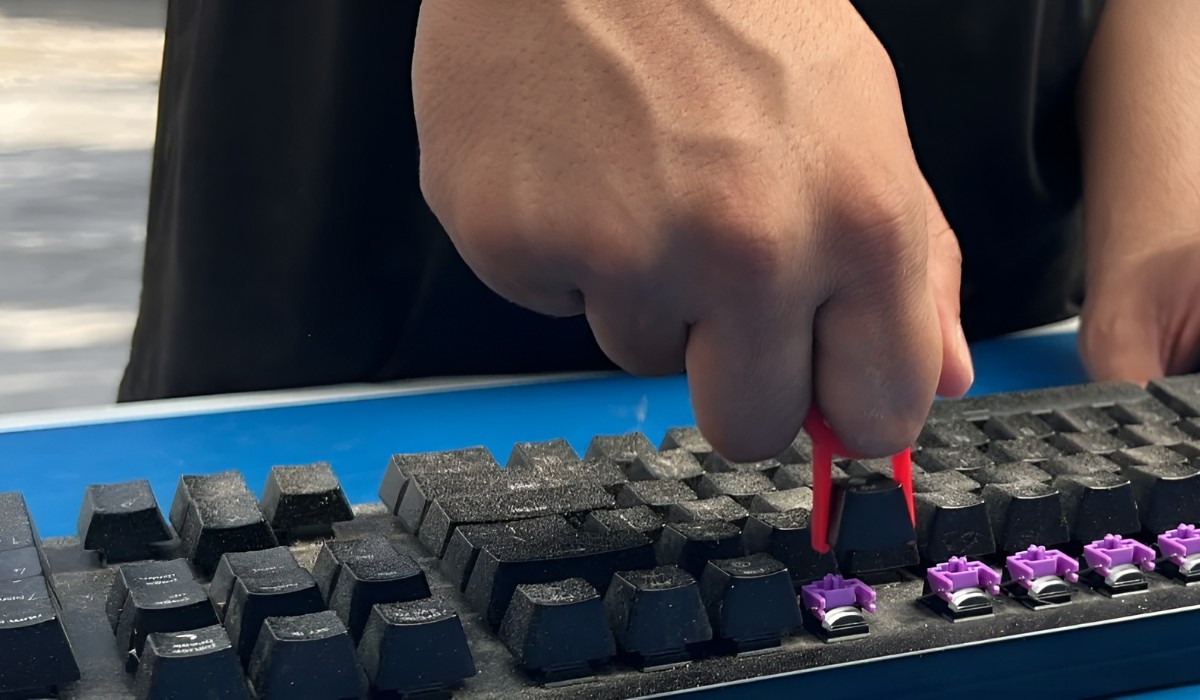
Step 3: Remove Keycaps
Now that your Razer keyboard is disconnected and powered down, it’s time to remove the keycaps. Removing the keycaps allows you to clean the keyboard surface and the keycaps themselves more effectively. However, not all Razer keyboards have removable keycaps, so if your keyboard doesn’t have them, you can skip this step and proceed to the next one.
Here’s how you can remove the keycaps from your Razer keyboard:
- Take a keycap puller or a small flat object like a plastic card or a butter knife.
- Position the keycap puller or the flat object under the corner of a keycap.
- Gently lift the keycap upwards using a gentle rocking motion. Be careful not to use excessive force to avoid damaging the keycap or the switch beneath it.
- Repeat this process for all the keycaps you wish to remove.
If you’re struggling to remove a specific keycap, double-check if there are any locking mechanisms or additional clips securing it in place. Some keycaps may require a slightly different technique for removal, so refer to your keyboard’s user manual for specific instructions.
Once you’ve successfully removed the keycaps, place them in a small bowl or container filled with warm soapy water. This will allow you to clean them thoroughly in the next step.
With the keycaps removed, you’re now ready to move on to step 4: cleaning the keycaps.
Step 4: Cleaning the Keycaps
After removing the keycaps from your Razer keyboard, it’s time to give them a thorough cleaning. Keycaps can accumulate dirt, oil, and debris over time, affecting their appearance and tactile feel. By cleaning them regularly, you can restore their original shine and ensure a pleasant typing or gaming experience.
Follow these steps to clean your Razer keycaps:
- Fill a bowl or container with warm water and add a few drops of dish soap. Mix the water and soap solution well.
- Place the keycaps into the soapy water solution and let them soak for a few minutes. This will help loosen any dirt or grime.
- Using a soft brush or a clean cloth, gently scrub each keycap to remove any stains or residue. Pay attention to the crevices and edges of the keycaps.
- Rinse the keycaps under running water to remove any soap residue.
- Place the keycaps on a clean towel or paper towel to air dry completely. Alternatively, you can use a hairdryer on a low or cool setting to speed up the drying process. Make sure the keycaps are fully dry before reassembling them.
If your keycaps are made of materials like PBT (polybutylene terephthalate), they are more resistant to wear and can withstand harsher cleaning methods. In this case, you can also use isopropyl alcohol or a specialized keycap cleaning solution to remove stubborn stains.
Remember, never submerge the keyboard itself in water or any cleaning solution, as it can damage the electronics. Cleaning the keycaps separately ensures a safe and effective cleaning process.
Once the keycaps are completely dry, you’re ready to proceed to step 5: cleaning the keyboard surface.
Step 5: Cleaning the Keyboard Surface
With the keycaps removed and cleaned, it’s time to focus on cleaning the surface of your Razer keyboard. This step involves removing dust, crumbs, and fingerprints that may have accumulated on the keyboard surface.
Follow these steps to clean the surface of your Razer keyboard:
- Take a microfiber cloth and dampen it slightly with water or a mild cleaning solution. It’s important to avoid excess moisture, as it can damage the keyboard.
- Gently wipe the entire keyboard surface, paying attention to the areas between the keys and along the edges. Use a soft, circular motion to remove any visible dirt or smudges. If there are stubborn stains, you can apply a small amount of the cleaning solution to the cloth and gently rub the affected area.
- If there are any hard-to-reach areas or gaps between the keys, you can use a cotton swab dipped in the cleaning solution to remove any debris.
- Once you’ve wiped the surface, use a dry microfiber cloth to gently dry the keyboard and remove any excess moisture.
- Inspect the keyboard for any remaining dirt or stains. If needed, repeat the cleaning process until the keyboard surface is clean and free of any visible marks.
Keep in mind that different Razer keyboards may have different materials or finishes, so it’s essential to refer to your keyboard’s user manual for any specific cleaning instructions or recommendations.
Now that you’ve cleaned the surface of your Razer keyboard, it’s time to focus on step 6: cleaning the keyboard frame.
Step 6: Cleaning the Keyboard Frame
While cleaning the surface and keycaps of your Razer keyboard is important, it’s equally crucial to pay attention to the keyboard frame. Dust, crumbs, and dirt can accumulate in the nooks and crevices of the frame, potentially affecting the overall cleanliness and functionality of your keyboard.
Here’s how you can clean the keyboard frame:
- Take a clean, dry microfiber cloth and gently wipe the entire keyboard frame. Pay close attention to the areas around the keys and the edges, where dirt and debris tend to accumulate.
- If there are stubborn stains or grime on the keyboard frame, you can dampen the microfiber cloth with a mild cleaning solution or isopropyl alcohol. Ensure the cloth is not dripping wet, as excess moisture can damage the keyboard.
- Gently scrub the affected areas with the damp cloth using small circular motions. Be gentle to avoid scratching the surface of the keyboard frame.
- If there are any hard-to-reach areas or gaps where debris might be trapped, you can use a cotton swab or a soft brush to dislodge and remove the dirt.
- After cleaning, use a dry microfiber cloth to thoroughly wipe the keyboard frame and remove any remaining moisture.
By cleaning the keyboard frame, you ensure that your Razer keyboard looks clean and well-maintained, both inside and out.
Now that the keyboard frame is clean, it’s time to move on to the final step: drying and reassembling your Razer keyboard.
Step 7: Drying and Reassembling the Keyboard
After thoroughly cleaning the keycaps, keyboard surface, and frame of your Razer keyboard, it’s essential to ensure that everything is dried properly before reassembling the keyboard. This step is crucial to prevent any damage to the keyboard and to maintain its functionality.
Here’s how you can dry and reassemble your Razer keyboard:
- Pat the keycaps dry with a clean towel or paper towel to remove any excess moisture. Ensure that the keycaps are completely dry before reattaching them to the keyboard.
- Allow the keycaps to air dry on a towel or paper towel for a sufficient amount of time. Alternatively, you can use a hairdryer on a low or cool setting to speed up the drying process. Make sure the keycaps are fully dry, as residual moisture can affect their performance and cause issues.
- Once the keycaps are dry, place them back onto the corresponding switches on the keyboard. Ensure that each keycap is aligned properly and securely seated.
- If you encounter any difficulty while reassembling the keycaps, refer to your Razer keyboard’s user manual for specific instructions or guidance.
- After reassembling the keycaps, inspect the keyboard surface and frame to ensure they are completely dry and free of any residual moisture. Use a dry microfiber cloth to wipe away any remaining moisture or fingerprints.
- Reconnect the USB cable or power cable to your computer and ensure that the keyboard is properly detected.
- Power on your Razer keyboard and test each key to ensure it is functioning correctly.
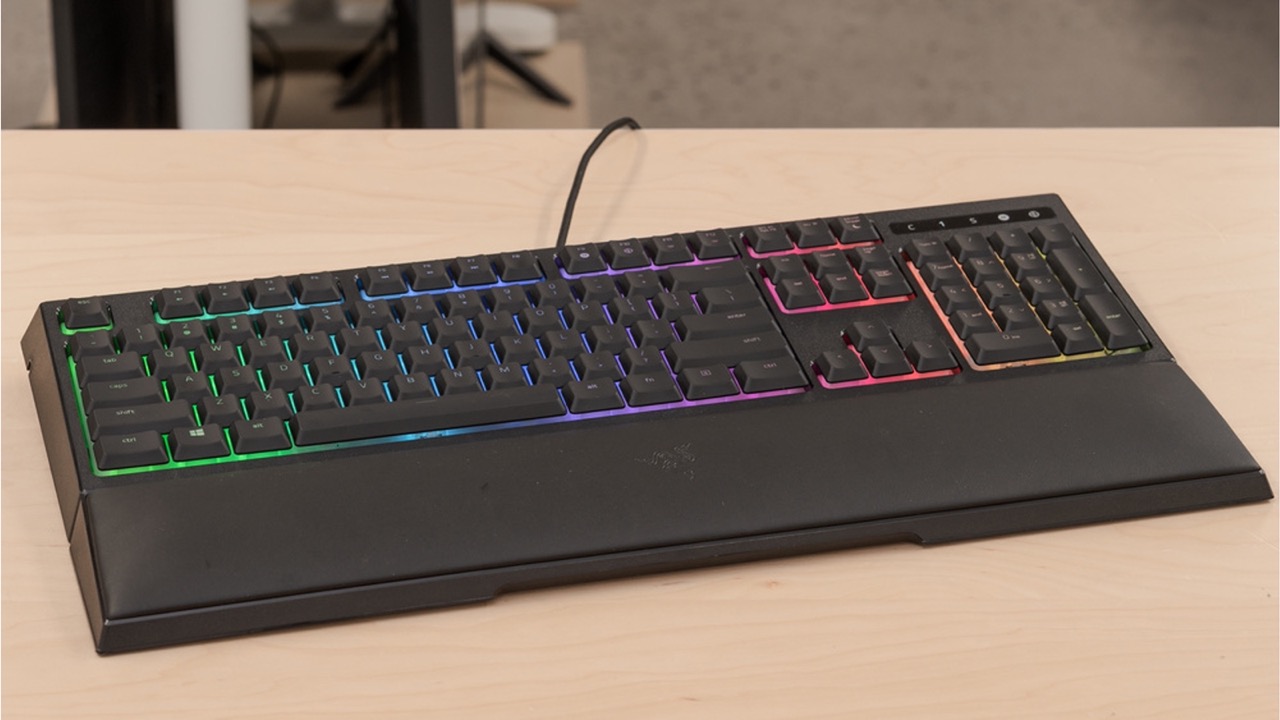
With the keycaps dried and reassembled, as well as the keyboard surface and frame cleaned and dry, your Razer keyboard is now ready to be used again. Enjoy typing or gaming on your revitalized and clean keyboard!
Conclusion
Congratulations! You have successfully cleaned your Razer keyboard and restored it to its pristine condition. Regular maintenance and cleaning are essential to ensure the longevity and optimal performance of your keyboard.
By following the seven-step process we have outlined, you were able to gather the necessary tools, disconnect and power down the keyboard, remove the keycaps, clean both the keycaps and the keyboard surface, address the keyboard frame, and finally, dry and reassemble the keyboard.
Remember, when cleaning your Razer keyboard, it’s important to exercise caution and use the appropriate tools and cleaning solutions specific to your keyboard model. Refer to the user manual for any specific instructions or recommendations provided by Razer to ensure the best cleaning results without causing any damage to your keyboard.
By keeping your Razer keyboard clean, not only do you maintain its aesthetics, but you also ensure a smooth, comfortable, and hygienic typing or gaming experience. A clean keyboard is less prone to sticky keys, malfunctions, and a buildup of bacteria or allergens.
Make it a habit to clean your keyboard regularly, especially if you use it extensively or in environments that are more prone to dust and debris. With just a little bit of effort and time, you can preserve the quality and performance of your Razer keyboard for years to come.
Thank you for taking the time to learn how to clean your Razer keyboard. Happy typing and gaming!