Introduction
Welcome to our guide on how to remove yourself from a Splitwise expense. Splitwise is a popular expense-sharing platform that simplifies the process of splitting bills and managing shared expenses among friends, roommates, or colleagues. Whether you’re part of a group trip, a shared living arrangement, or simply splitting the cost of dinner with friends, Splitwise makes it easy to keep track of who owes what.
However, there may be situations where you find yourself needing to remove yourself from an expense in Splitwise. Perhaps you’ve accidentally been added to an expense that doesn’t concern you, or maybe you’ve already settled your portion of the bill and no longer wish to be associated with the expense. Whatever the reason may be, we’re here to help you through the process.
In this article, we’ll provide you with a step-by-step guide on how to remove yourself from a Splitwise expense. We’ll explore different options and methods, depending on the specific situation you’re facing. Whether you need to request removal from the expense, delete the expense altogether, or settle it and leave the group, we’ve got you covered.
Before we dive into the details, it’s essential to note that Splitwise is constantly evolving, and the specific interface and features may vary slightly depending on the platform you’re using, be it the website or mobile app. However, the general principles and steps outlined in this guide should apply to most versions of Splitwise.
So, if you’re ready to gain the knowledge and expertise to remove yourself from a Splitwise expense, let’s get started!
What is Splitwise?
Splitwise is a free expense-sharing platform that aims to simplify the process of splitting bills and managing shared expenses among groups. It provides a user-friendly interface and features that make it easy to track who owes what and settle debts in a fair and efficient manner.
With Splitwise, you can create groups and invite friends, roommates, or colleagues to join. Each group can have multiple expenses, ranging from simple ones like splitting a dinner bill to more complex ones like sharing the cost of rent and utilities in a shared living arrangement. Splitwise keeps track of how much each person owes or is owed within the group.
One of the primary advantages of Splitwise is its flexibility in accommodating various types of expenses and repayment methods. You can split expenses equally among group members, assign specific amounts to each person, or even handle expenses based on percentages. This makes it suitable for a wide range of scenarios, from casual outings among friends to long-term financial arrangements.
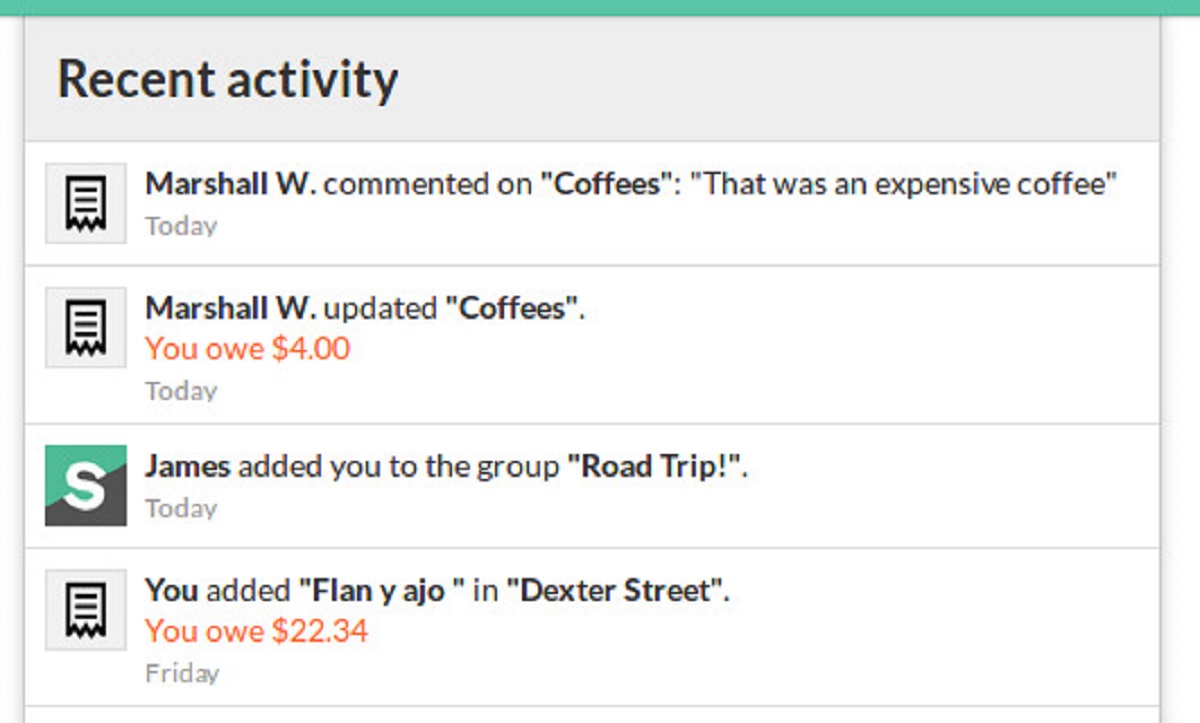
Splitwise also includes features like expense comments, which allow group members to communicate and discuss the details of a particular expense. This can be particularly helpful when there are discrepancies or questions about the bill that need to be addressed.
Moreover, Splitwise offers multiple currency support, which is beneficial for international groups or those dealing with expenses in different currencies. The platform automatically converts amounts based on the current exchange rates, providing accurate calculations and avoiding confusion.
In addition to its features, Splitwise places a strong emphasis on fairness and simplicity. The platform strives to ensure that everyone within a group is treated equally and that debts are settled in a way that is convenient for all parties involved. Splitwise takes the hassle out of tracking expenses manually or relying on memory, making it a popular choice for individuals and groups looking for a convenient and transparent way to split bills.
Now that you have a better understanding of what Splitwise is and its core features, let’s explore how it works and why you may want to remove yourself from an expense.
How Splitwise Works
Splitwise operates on a simple and intuitive principle: it helps you keep track of shared expenses and ensures everyone pays their fair share. Here’s a breakdown of how Splitwise works:
- Create a Group: The first step is to create a group within Splitwise. You can name the group based on the purpose or the people involved, such as “Roommates” or “Trip to London.”
- Add Group Members: Once the group is created, you can invite friends, roommates, or colleagues to join. Each member will have access to the group’s expenses and can actively participate in tracking and settling debts.
- Create Expenses: With the group set up, you can start adding expenses. When adding an expense, you provide details such as the total amount, a description, and who paid for it.
- Splitting the Expense: Splitwise offers various options for splitting the expense. You can choose to split it equally among group members, assign specific amounts to each person, or define custom percentages.
- Tracking Debts: As expenses are added and split, Splitwise keeps track of who owes what within the group. Each member can see their own balance and the overall balance they have with each person in the group.
- Settle Debts: When it comes time to settle debts, Splitwise provides multiple repayment methods. You can make individual payments to other members directly or use the “Settle Up” feature, which allows you to settle all outstanding debts at once.
Splitwise’s interface is designed to be user-friendly and accessible, both on the web and through the mobile app. It provides a clear overview of expenses, balances, and debt history, making it easy to stay organized and up to date. Notifications and reminders help keep everyone informed about new expenses and outstanding debts.
Splitwise also offers additional features like expense comments, which allow group members to communicate and discuss particular expenses. This can be useful for clarifying details, sharing receipts, or addressing any questions or concerns that arise.
Overall, Splitwise simplifies the process of managing shared expenses by automating calculations, providing transparency, and facilitating fair payments among group members. Now that you have an understanding of how Splitwise works, let’s explore why you might need to remove yourself from an expense.
Why You May Want to Remove Yourself from an Expense
There can be various reasons why you might want to remove yourself from an expense in Splitwise. It’s important to remember that Splitwise is designed to simplify shared expenses, and being able to remove yourself from an expense ensures that the platform remains efficient and accurate. Here are a few common scenarios where you may want to remove yourself from an expense:
- Wrongly Added to the Expense: It’s not uncommon for mistakes to happen when adding expenses, especially in larger groups or when multiple expenses are being added simultaneously. If you’ve been accidentally added to an expense that doesn’t concern you, removing yourself ensures that the calculations and balances remain accurate.
- Already Paid or Settled Your Portion: Perhaps you’ve settled your portion of an expense outside Splitwise, such as by paying cash to the person who initially covered the cost. In this case, removing yourself from the expense acknowledges that you’ve already completed your part and doesn’t affect other group members’ balances.
- No Longer Involved in the Expense: Situations may arise where you were initially part of an expense but are no longer involved due to changing plans, personal circumstances, or other reasons. Removing yourself ensures that you’re not responsible for any ongoing calculations or future updates related to that expense.
- Privacy Concerns: If you’re uncomfortable with certain expenses being visible to others in the group, you may want to remove yourself to maintain your privacy. Splitwise offers the option to keep expenses private, but if you’d rather not have any association with a specific expense, removing yourself is an alternative solution.
Regardless of the reason, Splitwise understands that circumstances change, and they provide options for you to manage your involvement in expenses. Now that you understand why you may want to remove yourself from an expense, let’s dive into the step-by-step guide on how to do it.
Step-by-step Guide to Removing Yourself from a Splitwise Expense
If you find yourself needing to remove yourself from a Splitwise expense, follow these step-by-step instructions based on the specific situation you’re facing:
Option 1: Request Removal from the Expense
- Open the Splitwise app or website and navigate to the expense you want to remove yourself from.
- Locate the “more options” or “settings” icon associated with the expense. This is typically represented by three dots or a gear icon.
- Click or tap on the “Remove myself from this expense” or a similar option.
- Splitwise will then notify the person who added you to the expense, requesting their approval to remove you. This step is necessary to maintain transparency and ensure that all group members are aware of any changes.
- Once your removal is approved, Splitwise will update the expense, removing your name and any associated balances.
Option 2: Deleting the Expense
- Navigate to the expense you wish to remove yourself from on the Splitwise app or website.
- Click or tap on the “more options” or “settings” icon associated with the expense.
- Select the “Delete Expense” option. Depending on the version and platform you’re using, this option may be labeled as “Delete” or “Remove.”
- Confirm the deletion when prompted.
- Deleting the expense will remove it entirely from Splitwise, including all associated balances and any record of your involvement.
Option 3: Settle the Expense and Leave the Group
- If you’ve settled your portion of the expense and no longer wish to be associated with it, open the Splitwise app or website.
- Navigate to the expense and mark it as “Settled.” This action indicates that you have completed your payment and are no longer responsible for any outstanding amounts.
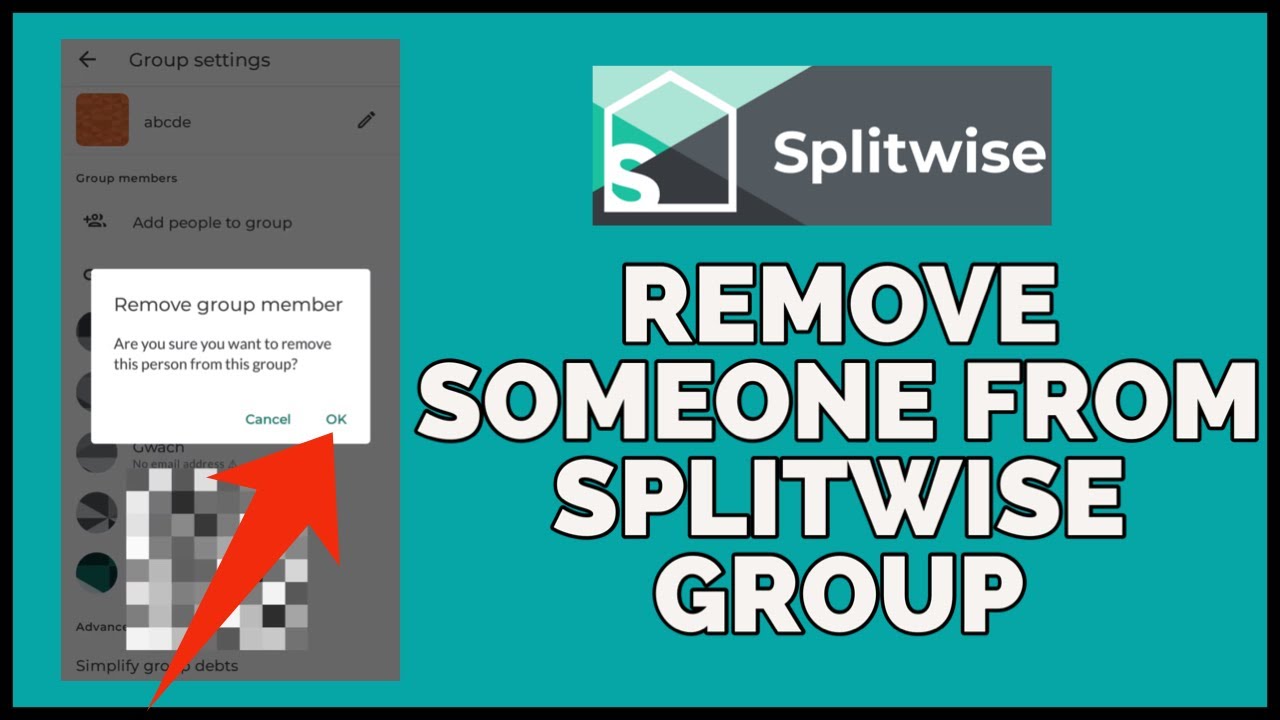
- Next, consider leaving the group if you no longer want to be part of it. To do this, go to the group page and select the “Leave Group” option. Confirm your decision when prompted.
- By settling the expense and leaving the group, you remove yourself from any ongoing calculations and future updates related to the expense.
Remember, the specific steps and options may vary slightly depending on the version of Splitwise you’re using. Ensure that you’re using the most up-to-date version and refer to Splitwise’s official documentation or support resources for any additional guidance.
Now that you have a clear understanding of how to remove yourself from a Splitwise expense, let’s explore some important considerations and tips to keep in mind for a seamless experience.
Option 1: Request Removal from the Expense
If you want to remove yourself from a Splitwise expense, one option is to request removal from the expense. This option allows you to notify the person who added you to the expense and seek their approval to remove your association with it. Follow these steps to request removal:
- Open the Splitwise app or navigate to the Splitwise website and log in to your account.
- Locate the specific expense from which you wish to remove yourself.
- Look for the “more options” or “settings” icon associated with the expense. This icon is typically represented by three dots or a gear symbol.
- Click or tap on the icon to reveal a dropdown menu or additional options for the expense.
- From the options provided, select the “Remove myself from this expense” or a similar option.
- After selecting the removal option, Splitwise will notify the person who added you to the expense with a request for their approval.
- Once the person approves your removal, Splitwise will update the expense, removing your name and any associated balances.
It’s important to note that when you request removal from an expense, it initiates a process where the person who added you must confirm your removal. This additional step helps ensure transparency and keeps all group members informed of any changes made to the expense.
After your removal is approved, you will no longer be associated with the expense. Your name and any balances related to the expense will be updated accordingly, providing an accurate reflection of the shared expense among the remaining group members.
Please keep in mind that the specific placement and labeling of options within the Splitwise interface may vary depending on the version and platform you are using. Refer to Splitwise’s official documentation or support resources for additional guidance based on the version you have installed.
Now that you understand how to request removal from an expense, let’s explore another option: deleting the expense altogether.
Option 2: Deleting the Expense
If you want to completely remove an expense from Splitwise, you have the option to delete it. This option erases the expense and all associated balances, effectively eliminating any record of your involvement. Follow these steps to delete an expense:
- Access the Splitwise app or navigate to the Splitwise website and log in to your account.
- Locate the expense you wish to delete.
- Look for the “more options” or “settings” icon associated with the expense. Often, this icon is represented by three dots or a gear symbol.
- Click or tap on the icon to reveal additional options for the specific expense.
- From the options provided, select the “Delete Expense” or a similar option. Note that the wording may vary depending on the version of Splitwise you are using.
- Confirm the deletion when prompted. This step serves as a precautionary measure to prevent accidental deletion of expenses.
- Once you confirm the deletion, Splitwise will permanently remove the expense from the platform. This action includes deleting all associated balances and any record of your involvement in that expense.
Deleting an expense is a suitable option when you no longer want any trace of your association with that particular expense. By removing the expense, you ensure that it no longer affects any calculations or balances within your Splitwise account.
Keep in mind that deleting an expense is not reversible, so use this option with caution. Be certain of your decision before proceeding to prevent any loss of data or potential confusion among other group members.
Please note that the placement and labeling of options within the Splitwise interface may differ depending on the version and platform you are using. Consult Splitwise’s official documentation or support resources for further assistance based on your specific edition.
Now that you understand how to delete an expense, let’s explore another option: settling the expense and leaving the group.
Option 3: Settle the Expense and Leave the Group
If you have already settled your portion of an expense and no longer wish to be associated with it or the group, you have the option to settle the expense and leave the group in Splitwise. This option allows you to mark the expense as “settled” and remove yourself from any ongoing calculations or future updates related to the expense. Follow these steps to settle the expense and leave the group:
- Access the Splitwise app or navigate to the Splitwise website and log in to your account.
- Find the specific expense you have settled and no longer want to be associated with.
- Mark the expense as “settled” within the Splitwise interface. This action indicates that you have completed your payment and are no longer responsible for any outstanding amounts.
- Next, consider leaving the group if you no longer want to be part of it. To do this, go to the group page within Splitwise and select the “Leave Group” or a similar option.
- Confirm your decision when prompted, acknowledging that you want to leave the group and remove yourself from any further involvement.
- By settling the expense and leaving the group, you remove yourself from any ongoing calculations and future updates related to the specific expense and the group itself.
Settling the expense ensures that Splitwise accurately reflects that you have fulfilled your financial obligations regarding that particular expense. Leaving the group, on the other hand, disengages you from any future expenses or activities associated with that group. This option is suitable when you want to separate yourself completely from the specific expense and the group dynamic within Splitwise.
Please note that the specific placement and labeling of options within the Splitwise interface may vary depending on the version and platform you are using. Consult Splitwise’s official documentation or support resources for further guidance based on your particular edition.
Now that you understand how to settle the expense and leave the group, let’s move on to some important considerations and tips to keep in mind while using Splitwise.
Important Considerations and Tips
When using Splitwise and considering removing yourself from an expense, there are important factors to keep in mind to ensure a smooth experience. Here are some considerations and tips:
- Communication is Key: Before taking any action, it’s essential to communicate with the other group members involved in the expense. Inform them about your intention to remove yourself from the expense and discuss any necessary arrangements or agreements.
- Use the Correct Removal Method: Choose the appropriate method to remove yourself from an expense based on your specific situation. If unsure, refer to Splitwise’s documentation or seek help from their support resources.
- Double-Check Before Removal: Ensure you have settled your portion of the expense or resolved any outstanding issues before removing yourself. Once you are removed, it may be challenging to re-enter the expense or modify any related details.
- Consider Privacy: If privacy is a concern, review the privacy settings within Splitwise. You can choose to keep expenses private or selectively share them with specific group members.
- Keep Track of External Payments: If you settle an expense outside of Splitwise, such as through cash or a different payment method, ensure you record the payment within Splitwise to maintain accurate balances.
- Update Group Members Appropriately: If you remove yourself from an expense or leave a group, inform the relevant group members so they are aware of any changes and can adjust their communication and payment expectations accordingly.
- Regularly Review Your Expenses: Periodically review your expenses in Splitwise to ensure accuracy and address any discrepancies promptly. This helps maintain transparency and prevent misunderstandings.
- Take Advantage of Splitwise Features: Explore and utilize Splitwise’s features, such as expense comments and multiple currency support, to enhance communication and streamline expense management within your groups.
By considering these important factors and following these tips, you can navigate Splitwise effectively and ensure a positive experience when removing yourself from an expense.
Now that you have a complete understanding of the process and considerations involved in removing yourself from a Splitwise expense, you can confidently make the necessary adjustments and maintain accurate records of your shared expenses.
Remember to refer to Splitwise’s official documentation or support resources for any specific questions or concerns about the platform’s features and functionality.
Conclusion
Removing yourself from a Splitwise expense can be a straightforward process when you know the options and steps to take. Whether you need to request removal, delete the expense, or settle it and leave the group, Splitwise provides flexibility to accommodate various scenarios.
In this guide, we discussed what Splitwise is and how it works, highlighting its features that simplify expense-sharing and tracking. We explored the reasons why you may want to remove yourself from an expense, such as being wrongly added or having already settled your portion.
We provided a step-by-step guide for each option, including requesting removal from the expense, deleting the expense altogether, and settling the expense and leaving the group. By following these instructions, you can ensure accurate calculations and maintain transparency within your Splitwise account.
Throughout the process, we emphasized the importance of communication, selecting the appropriate removal method, and considering privacy when removing yourself from an expense. We also provided tips for managing external payments, updating group members, and taking advantage of Splitwise’s features.
Remember to consult Splitwise’s official documentation or support resources for any specific questions or concerns regarding the platform’s functionality and features. The specific options and interface may vary depending on the version and platform you are using.
By leveraging the power of Splitwise and understanding how to remove yourself from an expense, you can streamline your expense management and ensure a fair and efficient process for tracking shared expenses.
Now that you have the knowledge and expertise to remove yourself from a Splitwise expense, go ahead and take control of your financial obligations, while enjoying the benefits of simplified expense-sharing with Splitwise.