Introduction
Welcome to Splitwise, a popular app and website that helps you manage shared expenses with friends, family, and colleagues. Whether you’re splitting the bill at a restaurant, sharing rent and utilities with roommates, or planning a group trip, Splitwise simplifies the process of keeping track of who owes what. However, there may come a time when you need to remove a friend from your Splitwise account for various reasons. This could be because your financial obligations with that person have come to an end, or simply because you no longer wish to share expenses with them.
In this guide, we will walk you through the step-by-step process of deleting a friend from your Splitwise account. By the end, you’ll be able to efficiently manage your list of friends and ensure that only relevant connections remain in your expense-sharing network.
Please note that deleting a friend from Splitwise does not delete any expenses or payment history associated with them. It only removes them from your friends list and updates the balances accordingly. If there are any pending debts or unsettled balances, we’ll also guide you on how to review and update them as part of the friend deletion process.
Step 1: Open the Splitwise app or website
To begin, you’ll need to open the Splitwise app on your mobile device or access the Splitwise website on your computer. If you haven’t already downloaded the app, you can find it in the App Store for iOS devices or the Google Play Store for Android devices. Alternatively, you can visit the Splitwise website at www.splitwise.com.
Once you’ve launched the app or accessed the website, you’ll be greeted with the Splitwise home screen. If you’re using the website, you’ll need to sign in to your Splitwise account using your registered email address and password. If you’re using the mobile app, you can either sign in or create a new account if you haven’t done so already.
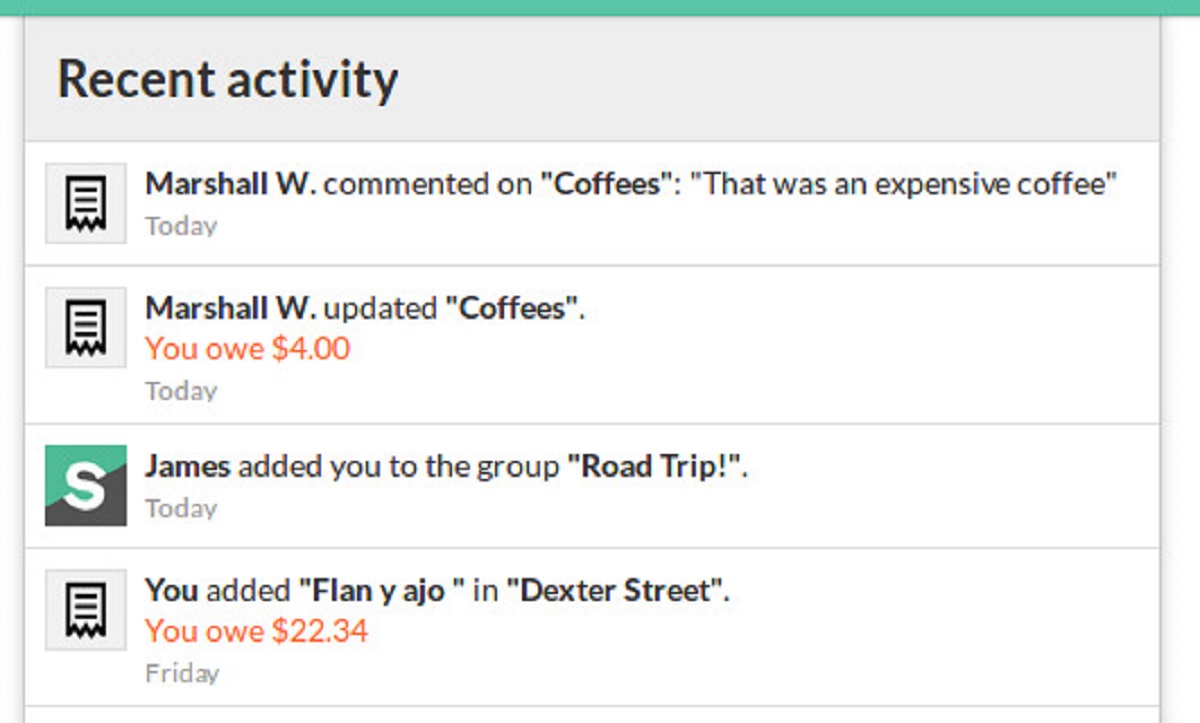
Splitwise offers a user-friendly interface that is designed to make managing shared expenses effortless. You’ll find various tabs and options to navigate through your account and perform different actions, including adding and deleting friends, creating and settling expenses, and reviewing your overall balance.
Now that you have successfully accessed your Splitwise account, let’s proceed to the next step to learn how to delete a friend from your account.
Step 2: Sign in to your Splitwise account
In order to delete a friend from your Splitwise account, you need to sign in and access your account. If you have already opened the Splitwise app or website, you should see a login screen where you can enter your credentials.
If you are using the mobile app, simply enter your registered email address and password into the designated fields. Alternatively, you can also sign in using your Google or Facebook account if you have linked them with your Splitwise profile.
If you are using the website, enter the same information – your registered email address and password – into the login form on the homepage. Once you have filled in your details, click the “Sign In” button to proceed.
If you have forgotten your password, don’t worry! Splitwise provides an option to reset it. Simply click on the “Forgot password?” link below the login form, and follow the instructions provided to reset your password and regain access to your account.
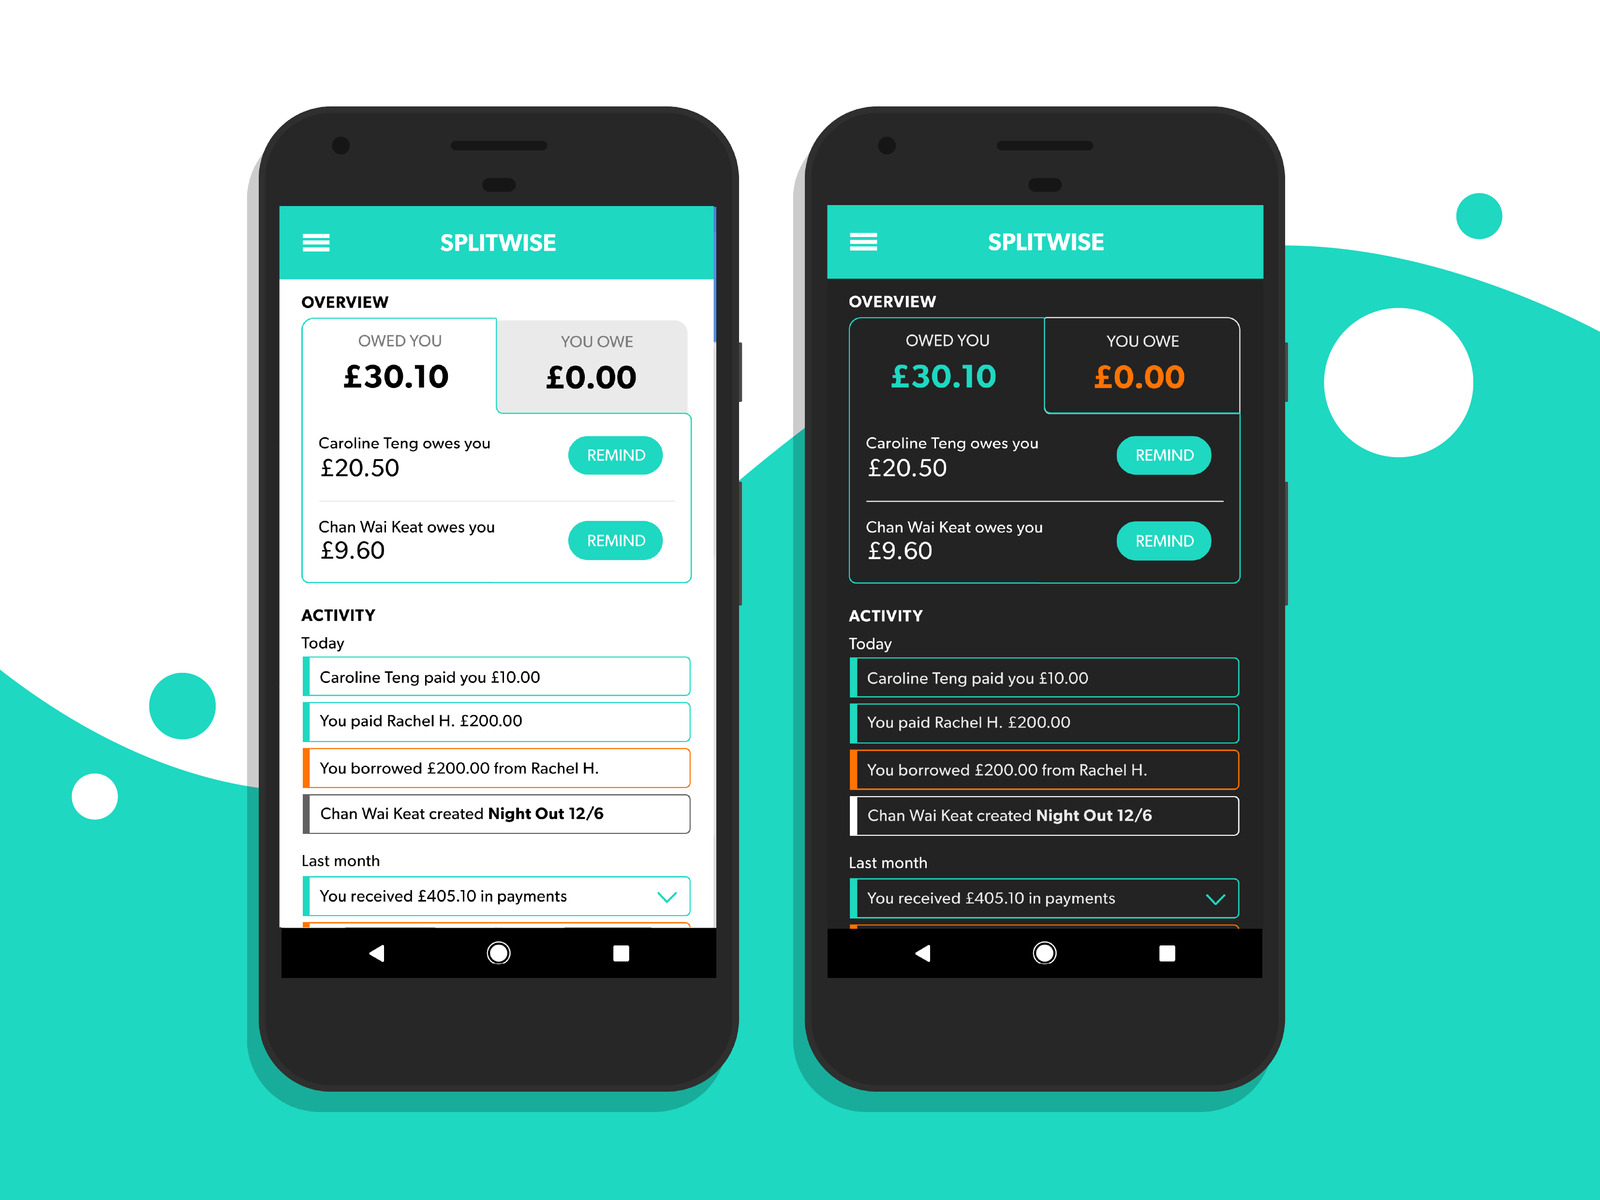
Once you have successfully signed in to your Splitwise account, you will be taken to your dashboard or homepage, where you can access various features and settings. From here, you can navigate to the Friends tab, which is where you’ll find the list of all your connected friends.
Now that you’re signed in and ready to go, let’s move on to the next step on how to delete a friend from your Splitwise account.
Step 3: Navigate to the Friends tab
After signing in to your Splitwise account, you need to navigate to the Friends tab, where you can view and manage your list of friends. This tab is where you’ll find all the individuals you have added to your Splitwise network for expense-sharing.
In the Splitwise app, you can typically find the Friends tab at the bottom of the screen, represented by an icon that looks like two people standing side by side. Tap on this icon to access the Friends section.
If you’re using the Splitwise website, you can usually find the Friends tab in the top navigation bar or in the sidebar menu, depending on the layout of the website. Click on the Friends tab to open the list of your connected friends.
Once you have successfully navigated to the Friends tab, you will be able to see the complete list of your friends, along with their names and profile pictures. This list provides an overview of all your current connections within Splitwise.
Take a moment to review your friends list and identify the individual you want to delete from Splitwise. You can scroll through the list or use the search bar, if available, to quickly search for a specific friend by name.
Now that you have successfully accessed the Friends tab, let’s move on to the next step on how to delete a friend from your Splitwise account.
Step 4: Search for the friend you want to delete
Now that you have accessed the Friends tab in your Splitwise account, it’s time to locate and select the friend you want to delete from your list. If you have a long list of friends, the search feature can be particularly useful in finding the specific person you’re looking for.
On both the Splitwise app and website, you should see a search bar at the top of the Friends tab. Simply click or tap on the search bar and start typing the name of the friend you want to delete. As you type, the list of friends will dynamically update to display the matching results.
If you can’t remember the exact spelling or full name of the friend you want to delete, don’t worry. Splitwise search is flexible and can provide suggestions based on partial names or related keywords. This makes it easier to find the person you’re looking for, even if you only remember a few letters or specific details about them.
As you type in the search bar, the list of friends will update in real-time to display the relevant results. Take your time to browse through the updated list and locate the friend you want to remove from your Splitwise account.
Once you have found the friend you wish to delete, move on to the next step to access their profile and proceed with the deletion process.
Step 5: Click on the friend’s name to access their profile
After locating the friend you want to delete from your Splitwise account, the next step is to click on their name to access their profile. By accessing their profile, you’ll be able to view more information about the person and make changes to your connection status.
In both the Splitwise app and website, you can access a friend’s profile simply by clicking or tapping on their name in the friends list. This action will usually direct you to a dedicated page or pop-up window where you can view their details.
Once you have clicked on your friend’s name, you will be taken to their profile page. Here, you can see their profile picture, name, and any additional information they have chosen to share with you. This can include their email address, phone number, or any personalized notes.
In addition to viewing their information, accessing your friend’s profile also allows you to perform various actions related to your connection. This includes deleting the friend, adjusting the way you split expenses with them, or updating any owed balances.
By accessing the friend’s profile, you are one step closer to deleting them from your Splitwise account. In the next step, we will dive into the process of removing the friend from your friends list and ensuring that the associated balances are correctly handled.
Step 6: Scroll down to the bottom of the profile
Once you have accessed your friend’s profile in Splitwise, the next step is to scroll down to the bottom of the profile page. This is where you’ll find the options and buttons to proceed with deleting the friend from your Splitwise account.
Whether you’re using the Splitwise app or website, scrolling down to the bottom of the profile is a common practice to locate additional features or actions related to the selected friend. By scrolling, you ensure that you don’t miss any important options that might be hidden further down the page.
On the profile page, you might find various sections such as recent activity, shared expenses, or personal information. Scroll past these sections to reach the bottom of the profile page, where the deletion option is usually located.
It’s important to take a moment to review the profile and ensure you have chosen the correct friend for deletion. Double-check that the profile information matches the person you want to remove from your Splitwise account. This will help avoid any accidental deletions of the wrong friend.
Once you have reached the bottom of the profile, you’re ready to move on to the next step, where you will find the specific button or option to remove the friend from your Splitwise account.
Step 7: Click on the “Remove Friend” button
After scrolling down to the bottom of your friend’s profile page in Splitwise, the next step is to locate and click on the “Remove Friend” button. This button is specifically designed for removing the selected friend from your Splitwise account.
On both the Splitwise app and website, the “Remove Friend” button is typically easily identifiable and clearly labeled. It may be prominently displayed with a contrasting color or positioned in a prominent location for easy access.
Once you have located the “Remove Friend” button, click or tap on it to initiate the deletion process. Depending on the platform you are using, clicking the button may prompt a confirmation message or ask you to verify your decision before proceeding with the deletion.
It’s important to note that removing a friend from Splitwise will permanently delete their connection from your friends list. Any pending expenses or balances associated with that friend will need to be resolved before proceeding with the deletion.
Before clicking on the “Remove Friend” button, take a moment to ensure that you have selected the correct friend for deletion. Review their name, profile picture, and any other available information to avoid any accidental removals.
Once you have confirmed your decision and clicked on the “Remove Friend” button, you’re ready to move on to the next step, where you will be asked to confirm the friend deletion.
Step 8: Confirm the friend deletion
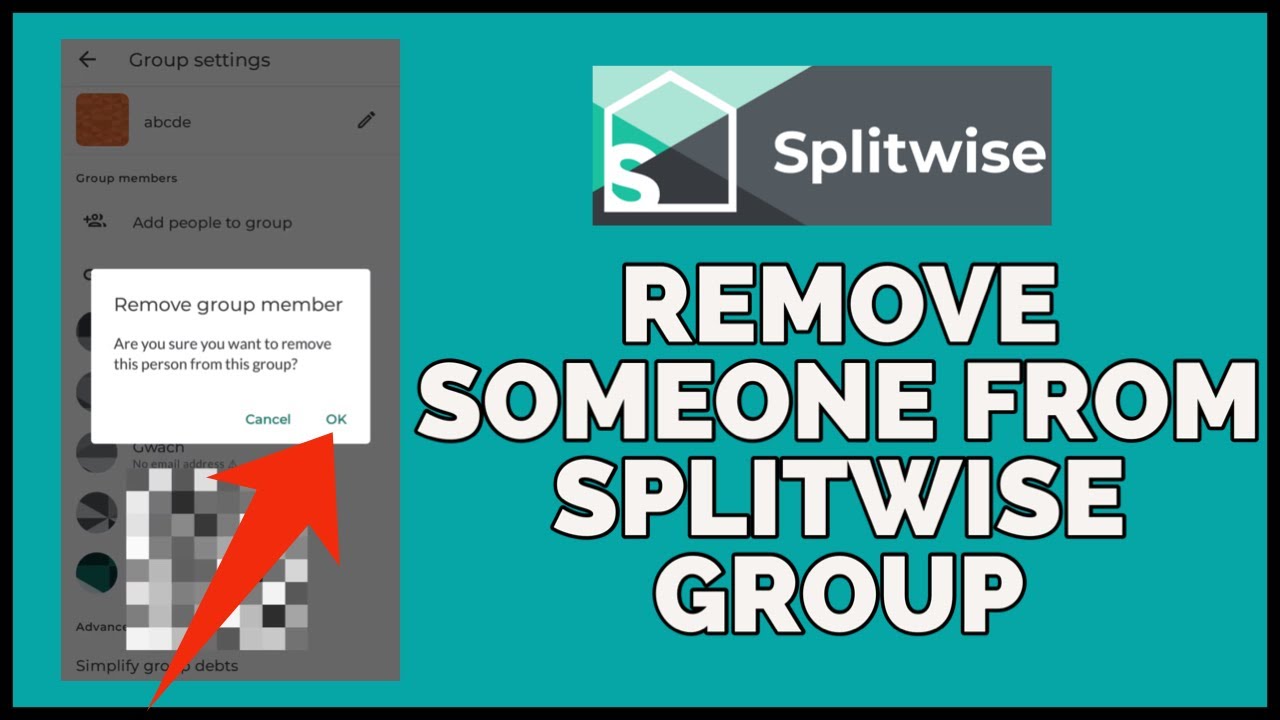
After clicking on the “Remove Friend” button in Splitwise, the next step is to confirm the deletion of your friend from your account. This confirmation step ensures that you are intentionally removing the selected friend and that you understand the consequences of this action.
Depending on the Splitwise platform you are using, a confirmation message or dialogue box will appear after clicking on the “Remove Friend” button. This message will typically ask if you are sure you want to delete the friend and provide additional information on what happens after the deletion.
It’s essential to carefully read the confirmation message and understand the implications of removing the friend from your Splitwise account. Consider reviewing any outstanding balances or pending expenses that require resolution before proceeding with the deletion.
If you are confident in your decision to remove the friend, click or tap on the confirmation button to proceed with the deletion. This action will permanently remove the friend from your friends list and update the corresponding balances in your Splitwise account.
However, if you have changed your mind or accidentally clicked on the “Remove Friend” button, you can usually cancel the deletion by clicking on the cancel or go back option provided in the confirmation dialogue box.
Once you have confirmed the friend deletion, you’re ready to review and update any owed balances to ensure a clean closure of your connection with the friend. This will be discussed in the next step.
Step 9: Review and update any owed balances
After successfully deleting a friend from your Splitwise account, it’s important to review and update any owed balances associated with that friend. This step ensures that all financial obligations are properly settled before moving forward.
When you remove a friend from Splitwise, their name will be removed from your friends list, along with any pending expenses or debts you had with them. However, the balances may need to be adjusted to reflect the removal of the friend.
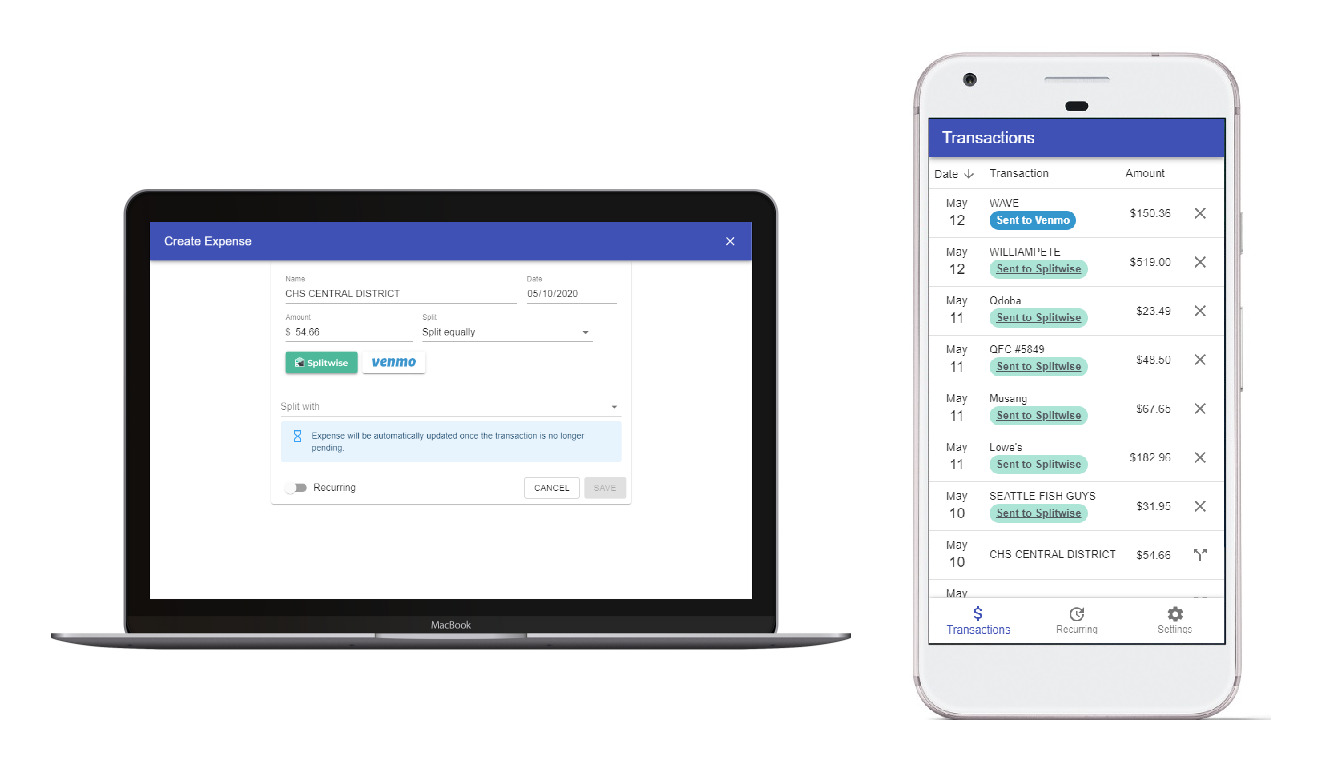
Navigate to your expense history or balance sheet to review any transactions involving the deleted friend. Look for expenses that were not settled or payments that were made on behalf of the friend.
If there are any outstanding balances between you and the deleted friend, you’ll need to resolve them by either marking them as settled or making any necessary adjustments. This ensures that your financial records remain accurate and up to date.
In Splitwise, you can easily make these adjustments by editing individual expenses or using the settle-up feature. This allows you to reconcile any remaining debts or payments associated with the deleted friend and maintain a clear record of your shared expenses.
Take your time to carefully review and update any owed balances to ensure that your financial records are accurate and reflect the removal of the friend from your Splitwise account. This step helps to minimize confusion and promotes transparency in your expense-sharing network.
Once you have reviewed and updated any balances, you’re ready to proceed with managing your Splitwise account, confident in the accuracy of your financial records.
Step 10: Repeat the process for other friends if desired
If you have multiple friends in your Splitwise account whom you want to delete, you can repeat the deletion process for each individual. This step allows you to remove any additional friends from your account and maintain a streamlined list of active connections.
To repeat the deletion process for other friends, simply go back to Step 3 and follow the same steps for each friend you wish to remove. Navigate to the Friends tab, search for the friend, access their profile, click on the “Remove Friend” button, and confirm the deletion.
By repeating the process, you can efficiently manage your list of friends and keep it up to date. This is especially useful if your expense-sharing network changes over time, and you no longer need to split expenses with certain individuals.
Make sure to review and update any owed balances associated with each friend you delete, as discussed in Step 9. This helps ensure that your financial records accurately reflect the removal of each friend and maintain clarity in your expense-sharing transactions.
Remember to exercise caution while deleting friends from your Splitwise account. Double-check that you have selected the correct friend each time to avoid accidentally removing the wrong person from your list.
By repeating the deletion process for other friends, you can keep your Splitwise account organized and ensure that you are only connected with relevant individuals for expense-sharing purposes.
Congratulations! You have successfully completed the process of deleting a friend from your Splitwise account. Take a moment to review your updated friends list and enjoy the streamlined experience of managing your expenses with the remaining connections.
Conclusion
Managing shared expenses can be a breeze with Splitwise, and deleting a friend from your account is a simple process with the right guidance. By following the step-by-step instructions provided in this guide, you can easily remove friends from your Splitwise account and maintain an organized expense-sharing network.
Remember that removing a friend from Splitwise only removes them from your friends list and updates the associated balances. It does not delete any expense or payment history related to that friend. Take time to review and update any owed balances to ensure accurate financial records.
Whether you’re using the Splitwise app or website, the process remains consistent. Open the app or website, sign in to your account, navigate to the Friends tab, search for the friend you want to delete, access their profile, click on the “Remove Friend” button, and confirm the deletion. Repeat this process for any additional friends you wish to remove, if desired.
Splitwise provides a user-friendly platform for managing shared expenses, giving you peace of mind and ease of use. By regularly reviewing and updating your friends list, you can ensure that you are only connected with relevant individuals for expense-sharing purposes.
Now that you have mastered the process of deleting friends from your Splitwise account, you can enjoy a simplified and more organized experience. Whether you’re splitting bills, managing rent, or planning group trips, Splitwise continues to be a reliable tool in keeping your finances in order.
So, go ahead and start managing your shared expenses with confidence, knowing that you have the knowledge to delete friends from your Splitwise account whenever necessary.