Introduction
Welcome to the world of Splitwise, a user-friendly platform designed to simplify and streamline your group expenses. Whether you’re sharing bills with roommates, planning a trip with friends, or managing finances with a business partner, Splitwise is here to help.
Adding a friend to a Splitwise group is a straightforward process that allows you to effortlessly collaborate and keep track of shared expenses. By adding your friends to a group, you can easily split bills, track payments, and ensure everyone is on the same page when it comes to financial obligations.
In this article, we will guide you through the step-by-step process of adding a friend to a Splitwise group. Whether you’re using the Splitwise app or the website, our instructions will assist you in seamlessly incorporating your friends into your expense management system.
So let’s dive in and learn how to add a friend to a Splitwise group!
Step 1: Open the Splitwise app or website
The first step in adding a friend to a Splitwise group is to open the Splitwise app on your mobile device or visit the Splitwise website on your computer. If you don’t have the app installed, you can download it for free from the App Store or Google Play Store.
Once you have the app installed or are on the website, log in to your Splitwise account using your username and password. If you don’t have an account yet, you can sign up for one by following the on-screen prompts.
By opening the Splitwise app or website, you gain access to your personal dashboard, where you can manage your groups, track expenses, and add friends to your groups.
Having trouble logging in? Reset your password or contact Splitwise support for assistance. Ensuring you have access to your account is crucial in successfully adding a friend to a Splitwise group.
Now that you’ve successfully opened the Splitwise app or website and logged in to your account, you’re ready to move on to the next step: accessing your group.
Step 2: Access your group
After logging in to your Splitwise account, you need to access the specific group to which you want to add a friend. On the dashboard, you will see a list of your existing groups, each with its own name and members.
To access a particular group, simply click or tap on its name. This will take you to the group’s page, where you can view and manage all the expenses and members associated with that group.
If you haven’t created a group yet, you can easily do so by clicking on the “Create Group” button and following the prompts. Give your group a descriptive name, select the appropriate currency, and invite your friends to join.
Once you’re on the group’s page, you’ll have access to a variety of features, such as adding expenses, editing details, and, of course, adding friends.
Before moving on to the next step, make sure you are in the correct group where you want to add your friend. Double-check the group name and the list of current members to ensure you’re in the right place.
Now that you know how to access your group, let’s proceed to the next step: clicking on “Add friends”.
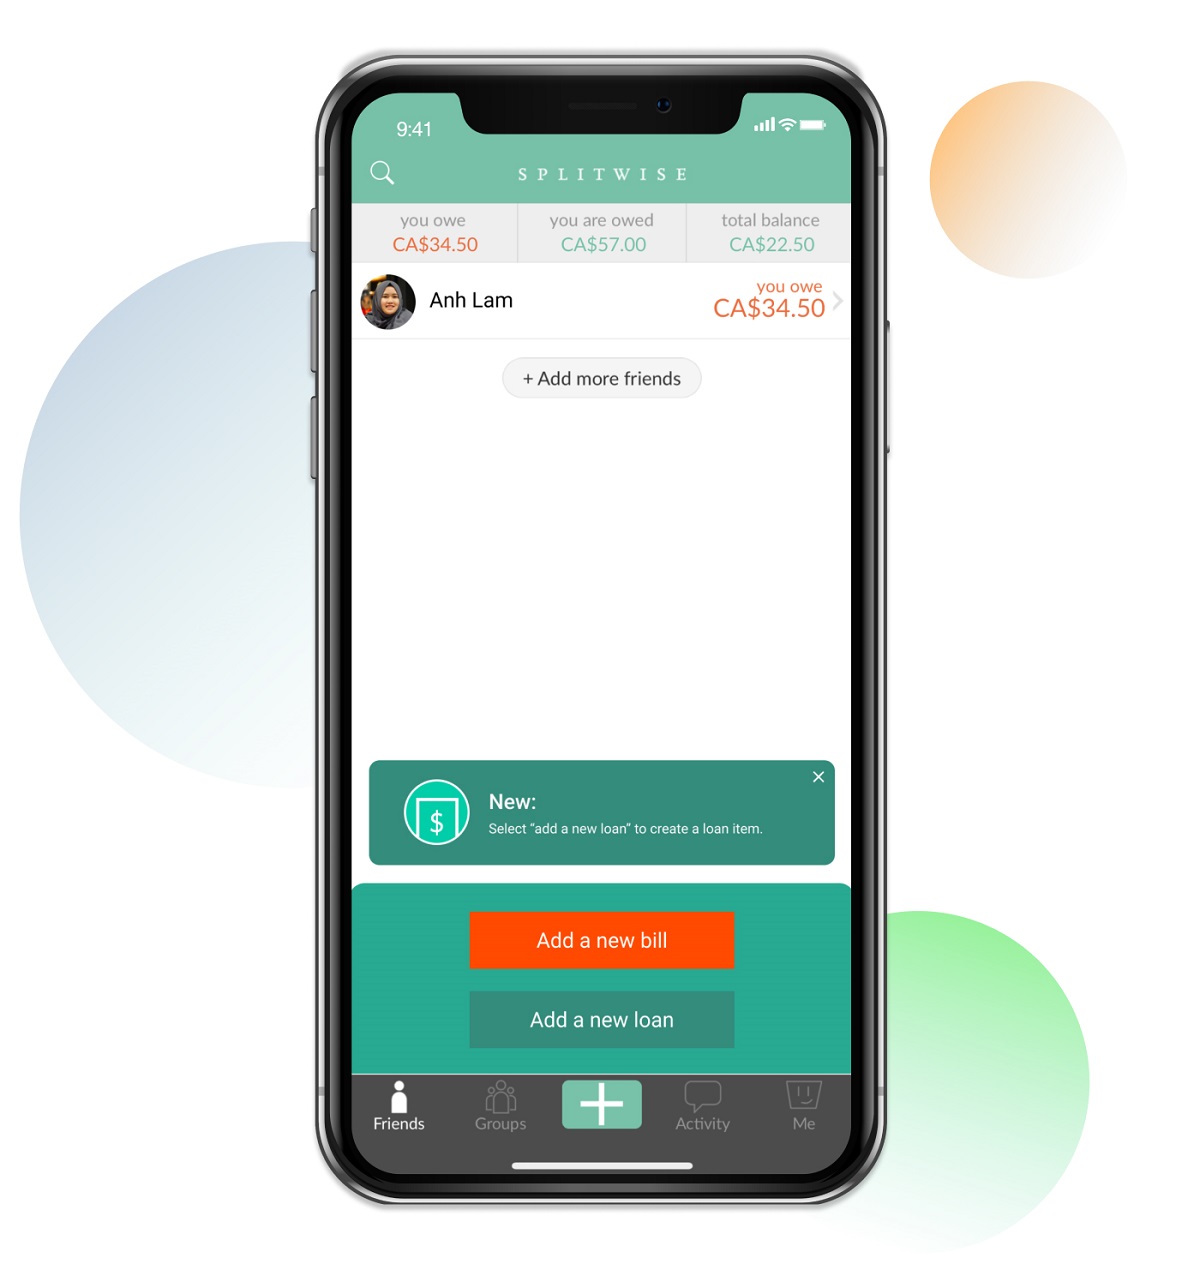
Step 3: Click on “Add friends”
Once you’re on the group’s page, look for the “Add friends” option. This is usually a button or a tab that is easily recognizable on the interface. Click or tap on it to proceed with adding your friend to the group.
When you click on “Add friends,” a pop-up or a new page will appear, displaying a list of potential friends that you can add. You may have multiple options for adding friends, such as importing contacts from your phone, selecting from your Splitwise friends list, or manually entering their email addresses.
If you choose to import contacts, the Splitwise app or website will request permission to access your contacts. Granting this permission will enable Splitwise to sync with your device’s address book and display a list of your contacts who are also Splitwise users.
If you prefer to add your friend manually, you can enter their email address in the designated field. Ensure the email address is accurate to avoid inviting the wrong person.
Take a moment to review the available options and choose the method that is most convenient for you. Once you’ve made your selection, proceed to the next step: choosing a friend from your contacts.
By clicking on “Add friends,” you’re taking an important step towards including your friend in your Splitwise group. Let’s move on to the next step and find out how to choose a friend from your contacts.
Step 4: Choose a friend from your contacts
After clicking on “Add friends,” you will have the option to choose a friend from your contacts. This step allows you to select the person you want to add to your Splitwise group.
If you have imported contacts from your phone or selected the option to choose from your Splitwise friends list, you will see a list of names displayed on the screen. Scroll through the list or use the search bar to find the specific friend you want to add.
When you find your friend’s name, click or tap on it to select them. Their name will then be added to the list of group members, indicating that they have been included in the Splitwise group.
If you have chosen to manually enter your friend’s email address, enter it accurately in the designated field. This will trigger a notification to be sent to your friend, inviting them to join the Splitwise group. Once they accept the invitation, their name will be added to the list of group members.
Before proceeding to the next step, double-check that you have chosen the correct friend from your contacts. Verifying the accuracy of the selection will prevent any misunderstandings or mistakes in adding your friend to the group.
Now that you have successfully chosen your friend from your contacts, it’s time to move on to the next step: adjusting the friend’s default settings (optional).
Step 5: Adjust the friend’s default settings (optional)
Once you have chosen your friend and added them to the Splitwise group, you have the option to adjust their default settings. This step is entirely optional, but it allows you to customize how expenses and notifications are handled for that particular friend.
Typically, Splitwise assigns default settings to each group member, including how expenses are split and whether notifications are sent for each expense or only for balance updates. However, if you want to modify these settings for a specific friend, follow these steps:
- On the group page, locate your friend’s name in the list of group members.
- Click or tap on your friend’s name to view their profile or settings.
- Depending on the Splitwise version or interface, you may find options such as “Edit settings,” “Adjust notifications,” or “Change default split.”
- Select the relevant option to access your friend’s default settings.
- Make the desired adjustments to the default settings for that friend.
- Save the changes or apply the new settings.
By adjusting the friend’s default settings, you can tailor the Splitwise experience to better suit each group member’s preferences. For example, if your friend prefers to split expenses equally, you can update their default split method accordingly.
Remember, adjusting the friend’s default settings is completely optional. If you’re satisfied with the default settings assigned by Splitwise, you can skip this step and move on to the next one.
Now that you have the option to adjust your friend’s default settings, let’s move on to the next step: confirming the friend’s addition to the group.
Step 6: Confirm the friend’s addition to the group
After choosing the friend and adjusting their default settings (if desired), the next step is to confirm their addition to the Splitwise group. This step ensures that your friend is officially a member of the group and can participate in expense tracking and management.
On the group page, you should see your friend’s name listed among the group members. Verify that their name is correctly spelled and that their profile picture (if applicable) is accurate.
Confirming the friend’s addition to the group may involve clicking a “Confirm” or “Add” button next to their name, or the addition may be automatically saved upon selection of their name from the contacts list.
Once you have confirmed the friend’s addition to the group, their name will be permanently added to the list of group members. They will now have access to view and contribute to expenses, as well as receive notifications and updates from the group.
If you accidentally added the wrong friend or need to remove a member from the group, check the Splitwise documentation or support resources for guidance on how to remove members from a group.
Before moving on to the next step, take a moment to ensure that your friend’s addition to the group has been successfully confirmed. This will prevent any confusion or misunderstandings regarding their membership in the Splitwise group.
Now that you have confirmed your friend’s addition to the group, let’s proceed to the final step: repeating the process for any additional friends.
Step 7: Repeat for any additional friends
If you have more friends whom you want to add to the Splitwise group, you can repeat the previous steps for each additional friend. Adding multiple friends to the group follows the same process and ensures that everyone is included in the expense tracking and management system.
To add another friend, go back to the “Add friends” section and choose the next friend from your contacts list or enter their email address manually. Follow the steps outlined earlier to select the friend, adjust their default settings (if necessary), and confirm their addition to the group.
Repeat these steps for each additional friend you want to add, making sure to double-check their details before confirming their addition to the group. This will help maintain accuracy and prevent any confusion in managing shared expenses.
Remember, you can add as many friends as you need to the Splitwise group, ensuring that everyone involved in the expense-sharing arrangement is accounted for.
Once you have added all your friends to the group, you can proceed with tracking and splitting expenses, recording payments, and keeping everyone updated on their financial obligations.
Adding multiple friends to a Splitwise group promotes transparency, eliminates confusion, and simplifies expense management.
Now that you’ve successfully added all your friends to the group, you can start collaborating and managing your shared expenses efficiently.
Congratulations! You have completed the process of adding a friend to a Splitwise group and are now ready to enjoy the benefits of seamless expense management.
Conclusion
Adding a friend to a Splitwise group is a simple and effective way to streamline your expense management and ensure accurate tracking of shared bills. By following the step-by-step process outlined in this article, you can easily include your friends in your Splitwise group and begin collaborating on financial matters.
Starting with opening the Splitwise app or website, you can log in to your account and access your desired group. From there, clicking on “Add friends” allows you to select a friend from your contacts or manually enter their email address.
After choosing your friend, you have the option to adjust their default settings, customizing the expense-splitting preferences and notification settings for that particular friend.
Once you have made the necessary adjustments, you can confirm the friend’s addition to the group, ensuring they are officially recognized as a member.
If you have more friends to add, you can repeat the process for each additional friend, making sure to verify their details and confirm their inclusion in the group.
By successfully adding your friends to the Splitwise group, you can effortlessly collaborate, split bills, track expenses, and maintain financial transparency with ease.
Now that you understand the process, you’re ready to enjoy the benefits of organized and hassle-free expense management with your friends on Splitwise. Happy tracking!