Introduction
Welcome to Splitwise, a convenient and user-friendly platform that simplifies expense management by allowing you to join and collaborate with groups. Whether you’re planning a trip with friends, sharing household expenses with roommates, or organizing a fundraising event, Splitwise makes it easy to keep track of who owes what. In this article, we will guide you on how to join a group in Splitwise, so you can start managing expenses efficiently and effortlessly.
Splitwise is a popular application that eliminates the hassle of manually calculating and splitting expenses. By joining a group, you can collaboratively manage and divide costs among group members, ensuring fair and transparent transactions.
Joining a group in Splitwise is a straightforward process that requires signing up or logging into your existing Splitwise account. Once you’re logged in, you can either create a new group or join an existing one. If you’re joining a pre-existing group, you might need an invitation from the group creator or an existing member.
With Splitwise, you can easily organize and split expenses with friends, family, and colleagues. Whether you’re planning a shared trip or simply want to manage household costs together, Splitwise is the perfect tool to simplify expense management. So, let’s get started and learn how to join a group in Splitwise!
Step 1: Sign up or Log in to Splitwise
The first step to joining a group in Splitwise is signing up for an account or logging into your existing one. If you’re new to Splitwise, you can easily create a new account by visiting the Splitwise website or downloading the mobile app from the App Store or Google Play Store.
Once you have accessed the Splitwise platform, you will be prompted to create a new account by providing your email address and setting up a password. Alternatively, you can choose to sign up using your Google or Facebook account, which simplifies the registration process.
If you already have a Splitwise account, you can simply log in using your existing credentials. This will take you to your Splitwise dashboard, where you can access your personal profile, view your previous transactions, and manage your expenses.
Signing up or logging in to Splitwise is crucial as it allows you to access the various features and functions, including joining and participating in groups. By creating an account or logging in, you ensure that your expenses and group memberships are securely saved and easily accessible.
It’s important to note that Splitwise is a trusted platform that prioritizes user privacy and data protection. Your personal information and financial details are securely encrypted, ensuring that your sensitive information remains confidential.
Now that you have successfully signed up or logged in to your Splitwise account, you’re ready to move on to the next step: creating or joining a group. Let’s continue our journey to learn how to join a group in Splitwise!
Step 2: Create a group or join an existing group
Once you’ve signed up or logged in to your Splitwise account, the next step is to either create a new group or join an existing group. Splitwise makes it easy to collaborate with others by providing these two options.
If you want to create a new group, simply navigate to the “Groups” section in your Splitwise dashboard. From there, click on the “Create a New Group” button and follow the prompts to set up your group. You’ll be asked to provide a name for the group and optionally add a description to provide more context to the members.
On the other hand, if you’ve been invited to join an existing group, you can do so by clicking on the invitation link or accessing the “Groups” section and selecting “Join a Group.” Once there, you can enter the unique group invite code or search for the group by name. Clicking on the group will give you the option to join and become a member.
Creating a group allows you to have complete control over its settings and permissions. You can add or remove members, set group-specific expense sharing preferences, and manage group-related notifications. This is particularly useful if you’re planning an event, organizing a shared living arrangement, or collaborating with a specific set of people.
Joining an existing group, on the other hand, gives you the opportunity to participate in expense sharing with friends, colleagues, or family members. It’s a convenient way to divide costs and settle expenses within a defined group.
It’s worth mentioning that Splitwise also offers the option to join public groups. These are open groups that anyone can join without an invitation. Public groups are great in scenarios where you want to connect with new people, such as organizing trips with like-minded travelers or joining communities with shared interests.
Now that you understand how to create a group or join an existing one in Splitwise, you’re ready to move forward with the next step: searching for the group or inviting others to join your group. Let’s explore these options in the upcoming section!
Step 3: Search for the group or invite others to join your group
After creating or joining a group in Splitwise, the next step is to search for the group or invite others to join your group. These actions allow you to connect with your desired group members and start collaborating on expenses.
If you’re searching for a specific group to join, you can use the search function within the Splitwise platform. Head to the “Groups” section and enter the group name or any relevant keywords in the search bar. Splitwise will display the matching results, making it easy for you to find the desired group. Additionally, you can browse through the public groups list to explore new communities and join groups related to your interests.
On the other hand, if you’ve created a new group and want others to join, you can send them an invitation to join your group. In the “Groups” section, locate your newly created group and click on the group name to access its details. From there, you’ll find an option to invite members. Splitwise provides various invitation methods, including email invites, sharing invite links, or sending invitations through messaging apps.
When inviting others to join your group, it’s important to provide them with clear instructions on how to accept the invitation. This may include providing the group name, the invite code (if applicable), and any necessary login details. By sharing the invitation details effectively, you can ensure a seamless onboarding process for new group members.
Splitwise also offers the option to import your contacts or connect with your existing Splitwise friends. This can simplify the process of inviting others, as you can easily select individuals from your contacts or friends list to send them group invitations.
Remember, open and transparent communication is key when inviting others to join your group. Clearly communicate the purpose and expectations of the group, including any specific rules or guidelines for expense sharing. This will help ensure a harmonious experience for all group members and promote a fair division of expenses.
Now that you know how to search for a group or invite others to join your group, you’re ready for the next step: confirming the group invitation or accepting an invitation to join a group. Let’s dive into these actions in the following section!
Step 4: Confirm the group invitation or accept an invitation to join a group
Once you’ve been invited to join a group in Splitwise or have sent an invitation to others, the next step is to confirm or accept the group invitation. This step is crucial to becoming an active member of the group and gaining access to all the group’s expense-sharing features.
If you’ve received an invitation to join a group, you’ll typically be notified via email or within the Splitwise platform. The invitation will contain details about the group, including the group name, the inviter’s name, and any additional information or expectations they may have provided. To accept the invitation, simply click on the invitation link or navigate to the “Groups” section in your Splitwise dashboard and locate the invitation. Clicking on the invitation will give you the option to join the group.
On the other hand, if you’ve sent an invitation to others to join your group, you’ll need to wait for them to accept the invitation. Once they accept the invitation, they will become official members of the group, and the expense-sharing journey can begin.
It’s essential to promptly confirm or accept group invitations to ensure a smooth and efficient process. Delaying the confirmation may result in a disruption of expense-sharing activities within the group or create confusion among group members.
By accepting a group invitation, you gain access to various features within Splitwise specific to the group. This includes the ability to add and manage expenses, view balance summaries, and communicate with other group members through comments and updates.
It’s important to note that you can be a part of multiple groups in Splitwise. Each group operates independently, with its own set of members, expenses, and transaction history. Having the ability to join multiple groups allows you to manage expenses across different aspects of your life, such as personal finances, household expenses, and social events.
Now that you understand how to confirm a group invitation or accept an invitation to join a group, you’re almost ready to start managing expenses within the group! The final step is to explore how to initiate and manage expenses in Splitwise, which we’ll cover in the next section.
Step 5: Start managing expenses within the group
Now that you’ve joined a group in Splitwise and accepted the group invitation, it’s time to start managing expenses within the group. Splitwise offers a range of features and tools to make the process of expense-sharing easy and convenient.
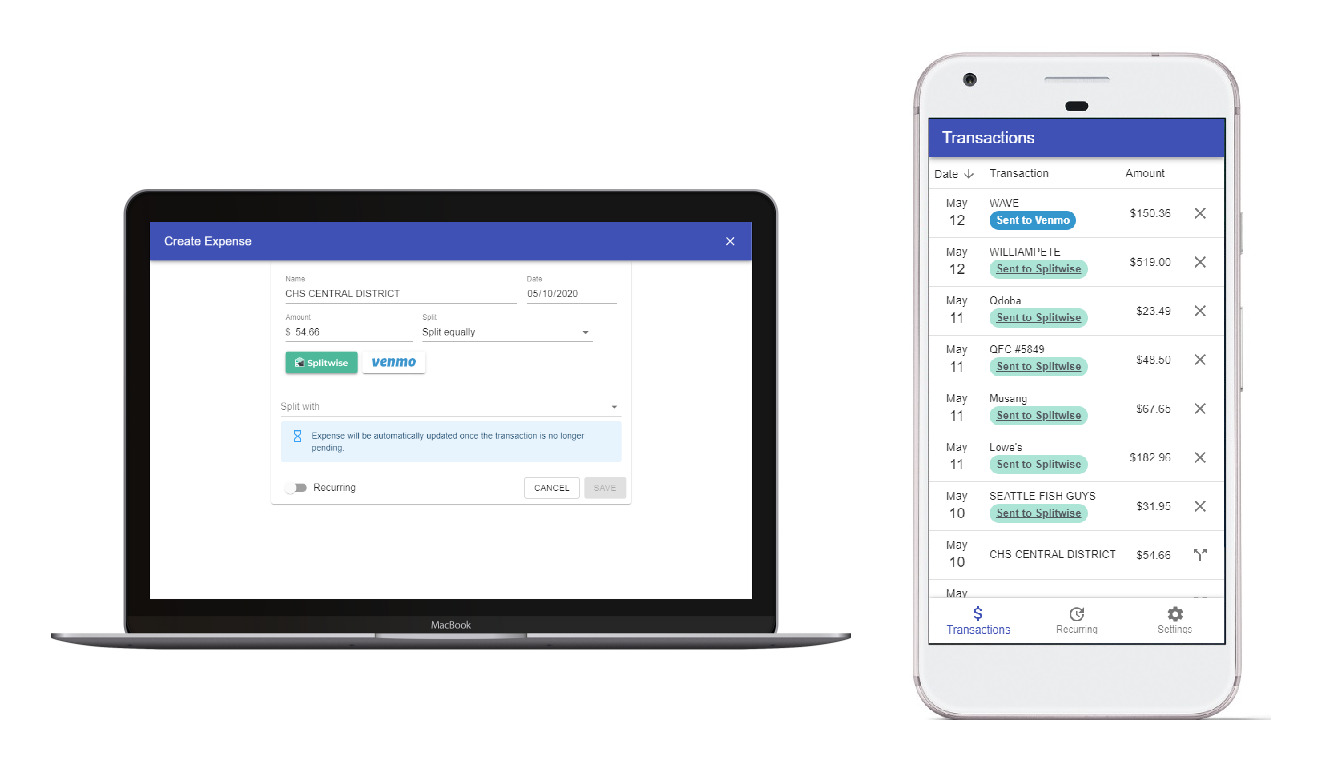
One of the key features of Splitwise is the ability to add expenses. Whether you’ve paid for a dinner with friends, bought groceries for your shared apartment, or covered travel expenses for a group trip, you can easily add these expenses within the Splitwise platform. Specify the amount, select the participants who owe for the expense, and Splitwise will automatically calculate and update the balances for each member.
In addition to adding individual expenses, Splitwise also allows you to create “bills” that encompass multiple expenses. For example, if you’re splitting a monthly utility bill or a collective purchase for the group, you can add it as a bill and allocate the appropriate shares to each group member.
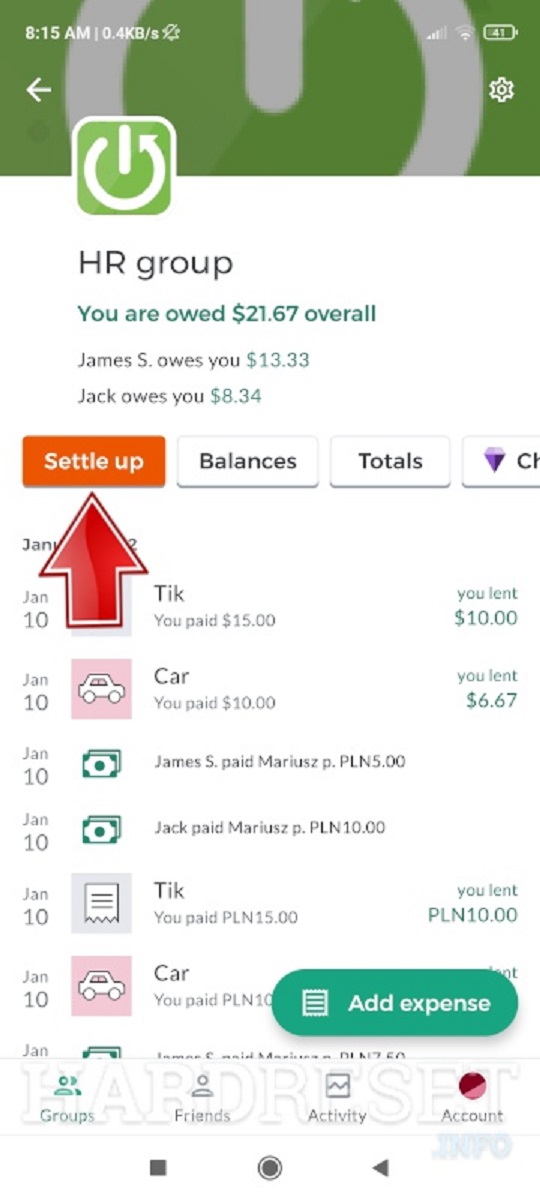
Splitwise keeps track of all expenses and transactions within the group, providing a clear overview of how much each member owes or is owed. This helps maintain transparency and ensures that everyone is aware of their financial obligations.
Furthermore, Splitwise allows you to add comments to expenses and bills, offering a convenient way to communicate with other group members. You can clarify details, discuss reimbursements, or simply leave a note to remind others about the expense.
When it’s time to settle the outstanding balances within the group, Splitwise provides various options to ensure a hassle-free settlement process. Group members can settle expenses individually or collectively, using methods such as cash payments, PayPal, Venmo, or bank transfers.
Splitwise also offers the option to keep track of pending payments, send reminders to group members, and generate detailed expense reports. This makes it easier to stay organized, settle debts, and maintain financial harmony within the group.
Remember, open and transparent communication is key when managing expenses within a group. Regularly review and update the shared expenses, communicate any changes or adjustments, and address any discrepancies or concerns that may arise.
With Splitwise, managing expenses within a group becomes a seamless and efficient process. By leveraging the platform’s features and tools, you can easily navigate and track shared expenses, ensuring fairness and accuracy in expense-sharing.
Congratulations! You have successfully learned how to join a group in Splitwise, create or join a group, search for groups or invite others to join your group, confirm group invitations or accept invitations to join groups, and start managing expenses within the group. Now you’re ready to embark on your expense-sharing journey and experience the convenience and simplicity that Splitwise provides!
Conclusion
Joining a group in Splitwise is the first step towards effective and collaborative expense management. By following the steps outlined in this guide, you can easily join or create a group, invite others, and start sharing expenses with friends, family, or colleagues.
Splitwise offers a user-friendly platform that simplifies the process of managing and dividing expenses within a group. From adding individual expenses to creating bills, the platform provides various features to ensure transparency and accuracy in expense-sharing.
Remember to communicate openly with your group members, discuss expectations, and keep track of shared expenses in Splitwise. Regularly review the balances and settle outstanding balances to maintain financial harmony within the group.
Splitwise also provides additional tools to enhance your expense-sharing experience, such as reminders, payment settlement options, and detailed expense reports. Leveraging these features can further streamline the process and help you stay organized.
Whether you’re planning a trip, managing household finances, or organizing an event, Splitwise is an invaluable tool that makes expense management a breeze. With its user-friendly interface and robust features, Splitwise offers a seamless and convenient solution for sharing and splitting expenses within a group.
So, why wait? Sign up for Splitwise, join or create a group, and start managing your expenses with ease. Experience the benefits of collaborative expense management and enjoy the peace of mind that comes with a fair and transparent system.
Start your expense-sharing journey with Splitwise today and simplify the way you manage expenses!