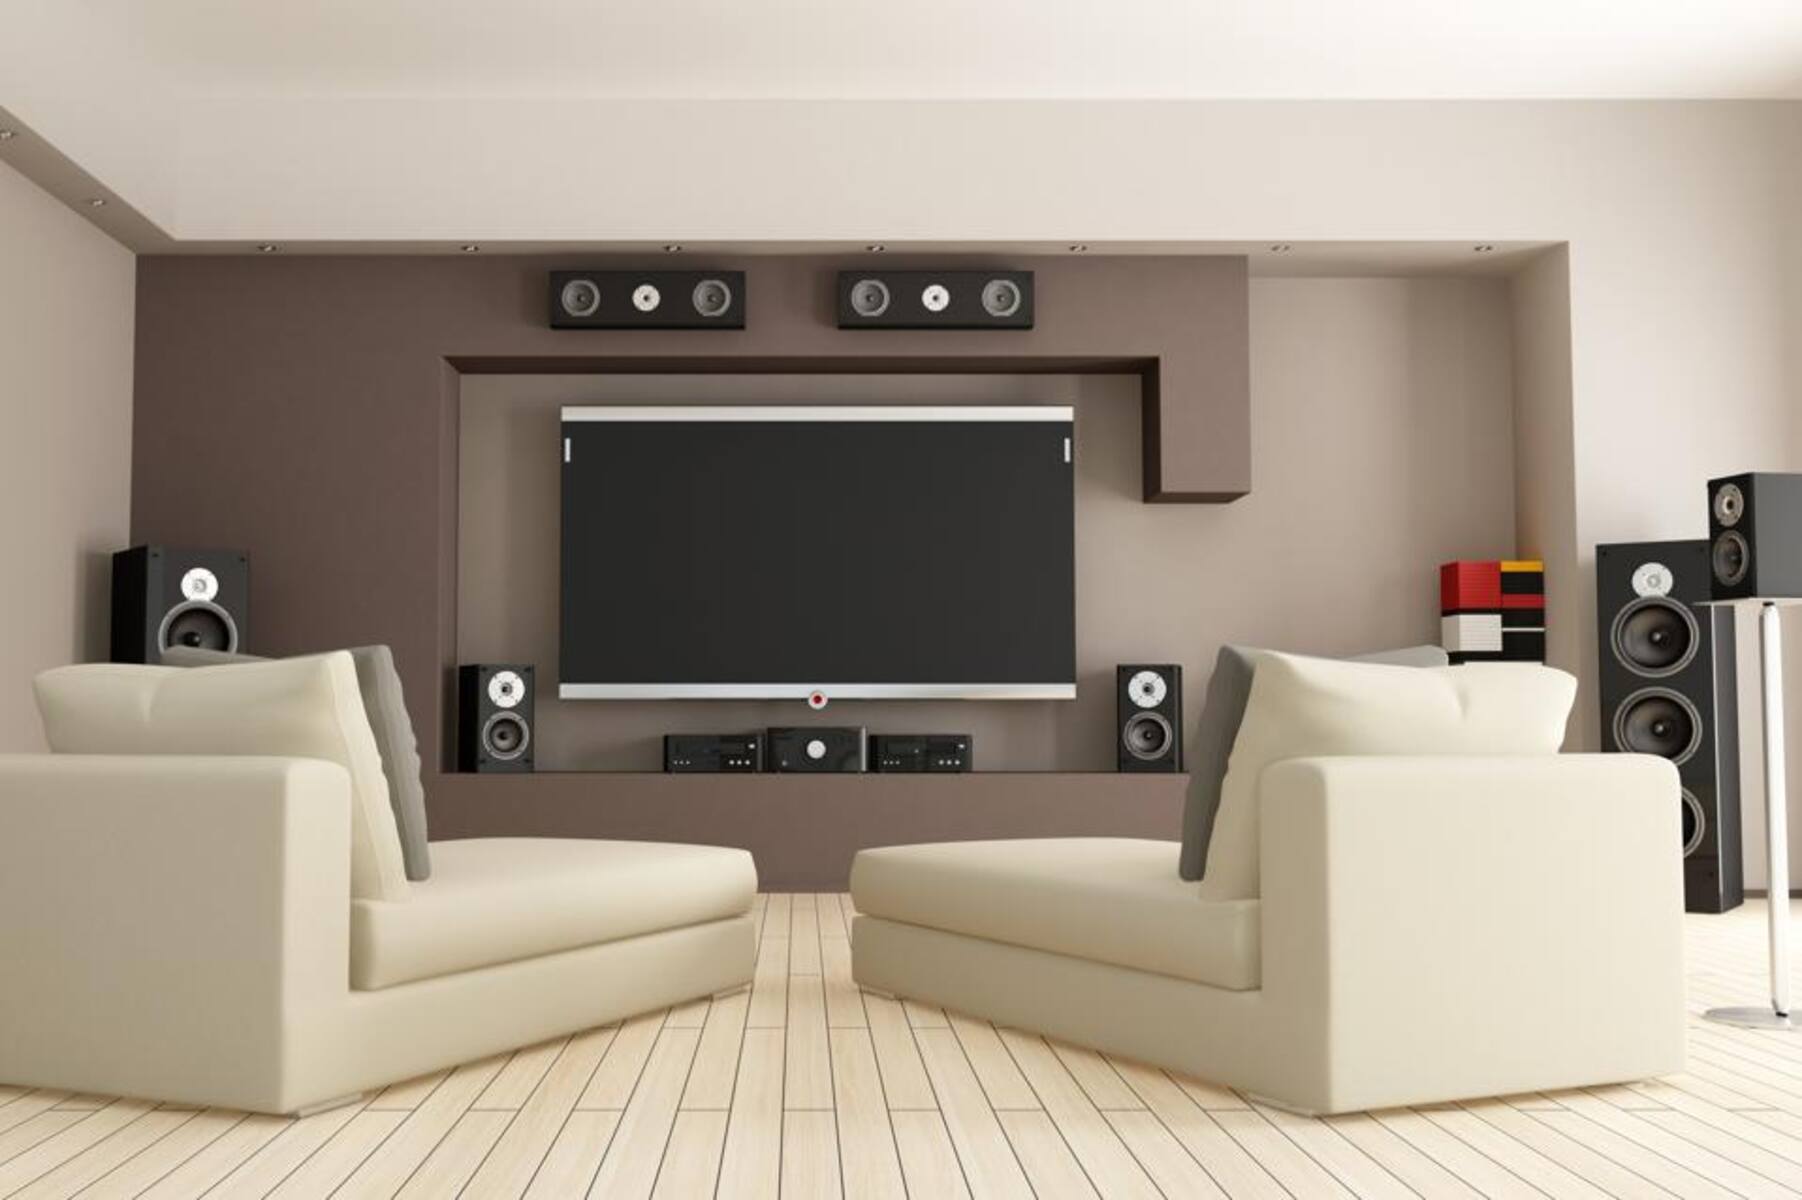
Introduction
Connecting an old surround sound system to a newer TV can be a bit tricky, but with the right knowledge and equipment, it is certainly possible. Whether you have recently upgraded your television or are looking to make use of an older surround sound system, this article will guide you through the process.
Before diving into the connection methods, it is essential to determine the compatibility between your old surround sound system and your newer TV. Different models and brands may have varying audio output options, so it’s crucial to check if they can work together seamlessly.
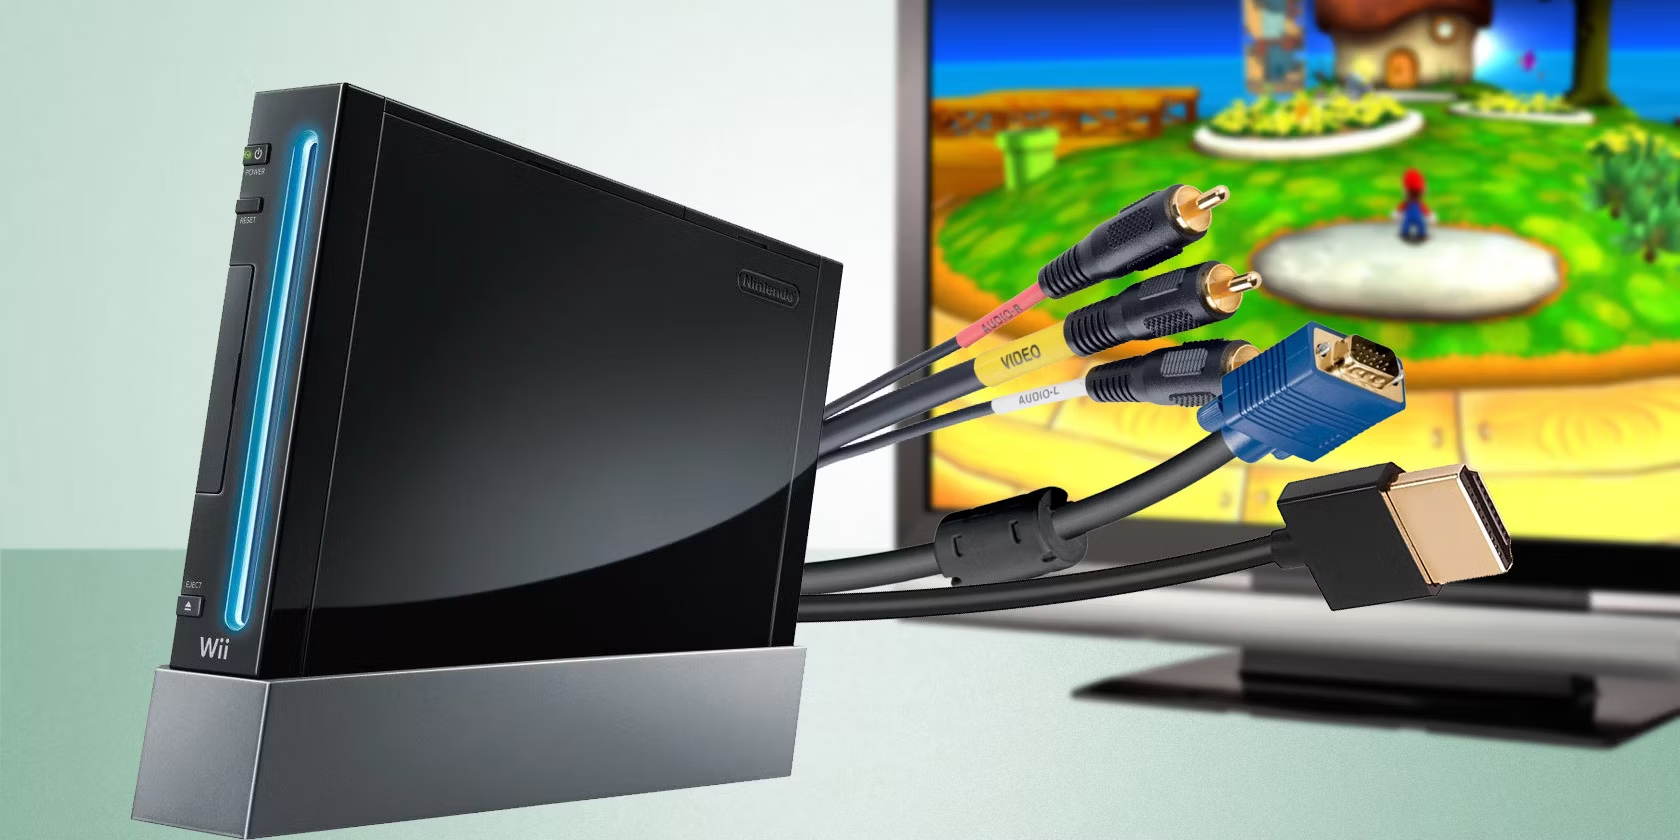
Once compatibility is confirmed, you can explore various connection options based on the available ports on both your TV and the surround sound system. The most common methods include using HDMI ARC (Audio Return Channel), optical audio cables, and RCA cables.
After making the physical connections, it is essential to adjust the audio settings on your TV to ensure optimal sound output from the surround sound system. This step may vary depending on the TV model and brand, so it’s always recommended to refer to the TV’s user manual for specific instructions.
In the following sections, we will discuss each connection method in detail, along with step-by-step instructions on how to set up your old surround sound system with a newer TV. We will also provide troubleshooting tips for common issues that may arise during the process.
By the end of this article, you will have a clear understanding of how to connect your outdated surround sound system to your modern TV, allowing you to enjoy a captivating audio experience while watching your favorite movies, TV shows, or playing games.
Checking Compatibility
Before attempting to connect your old surround sound system to a newer TV, it’s crucial to ensure compatibility between the two devices. Here are the steps to follow:
1. Identify the audio output options: Check the audio output options on your TV. Common options include HDMI ARC, optical audio, and RCA. On the other hand, examine the audio input options on your old surround sound system, such as HDMI, optical audio, or RCA. Ensure that both devices have at least one matching audio output/input option.
2. Read the user manuals: Refer to the user manuals of your TV and surround sound system to identify the supported audio formats and connection options. This information will help determine if the devices are compatible and which connection method to use.
3. Look for HDMI ARC support: If your TV and surround sound system both have HDMI ports, check if the TV supports HDMI ARC (Audio Return Channel) technology. HDMI ARC allows for two-way audio transmission through a single HDMI cable. If your TV supports it, this could be the easiest and most convenient connection option.
4. Consider audio format compatibility: Some older surround sound systems may not support newer audio formats such as Dolby Digital Plus or DTS-HD. Check if your surround sound system can decode these audio formats before attempting to connect it to the TV.
5. Check for other audio output options: If the HDMI ARC option is not available or not compatible, consider other audio output options. Optical audio cables provide a digital audio connection, while RCA cables offer analog connections. Make sure you have the necessary ports and cables for the chosen connection method.
By thoroughly checking the compatibility between your old surround sound system and newer TV, you can avoid any potential connection issues and ensure a successful setup. Once compatibility is confirmed, you can proceed to the next steps of connecting the devices together.
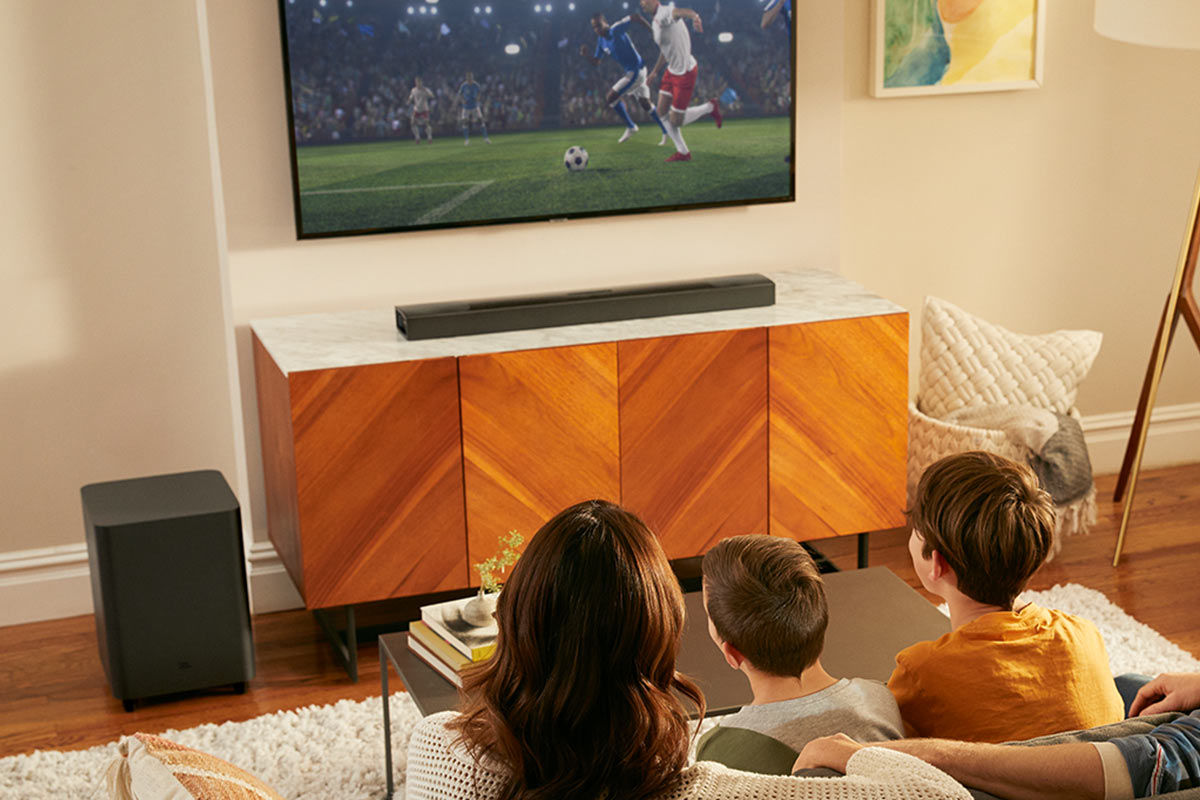
Connecting the TV to the Surround Sound System
Once you have confirmed the compatibility between your TV and old surround sound system, it’s time to connect the two devices. The specific connection method will depend on the available ports on both devices. Here are a few common methods:
1. Using HDMI ARC (Audio Return Channel): If your TV and surround sound system both have HDMI ports with ARC support, this is the simplest and most convenient method. Connect one end of the HDMI cable to the HDMI ARC port on the TV and the other end to the ARC port on the surround sound system. Ensure that HDMI ARC is enabled in the TV settings.
2. Using Optical Audio Cable: If your TV and surround sound system have optical audio ports, you can use an optical audio cable for the connection. Connect one end of the cable to the optical audio output on the TV and the other end to the optical audio input on the surround sound system. Remember to set the audio output format to PCM or Bitstream in the TV settings, depending on your system’s capabilities.
3. Using RCA Cables: If your TV and surround sound system have RCA (red and white) audio ports, you can use RCA cables for the connection. Connect one end of the RCA cables to the corresponding audio output ports on the TV and the other end to the audio input ports on the surround sound system. Make sure to match the colors of the plugs and sockets.
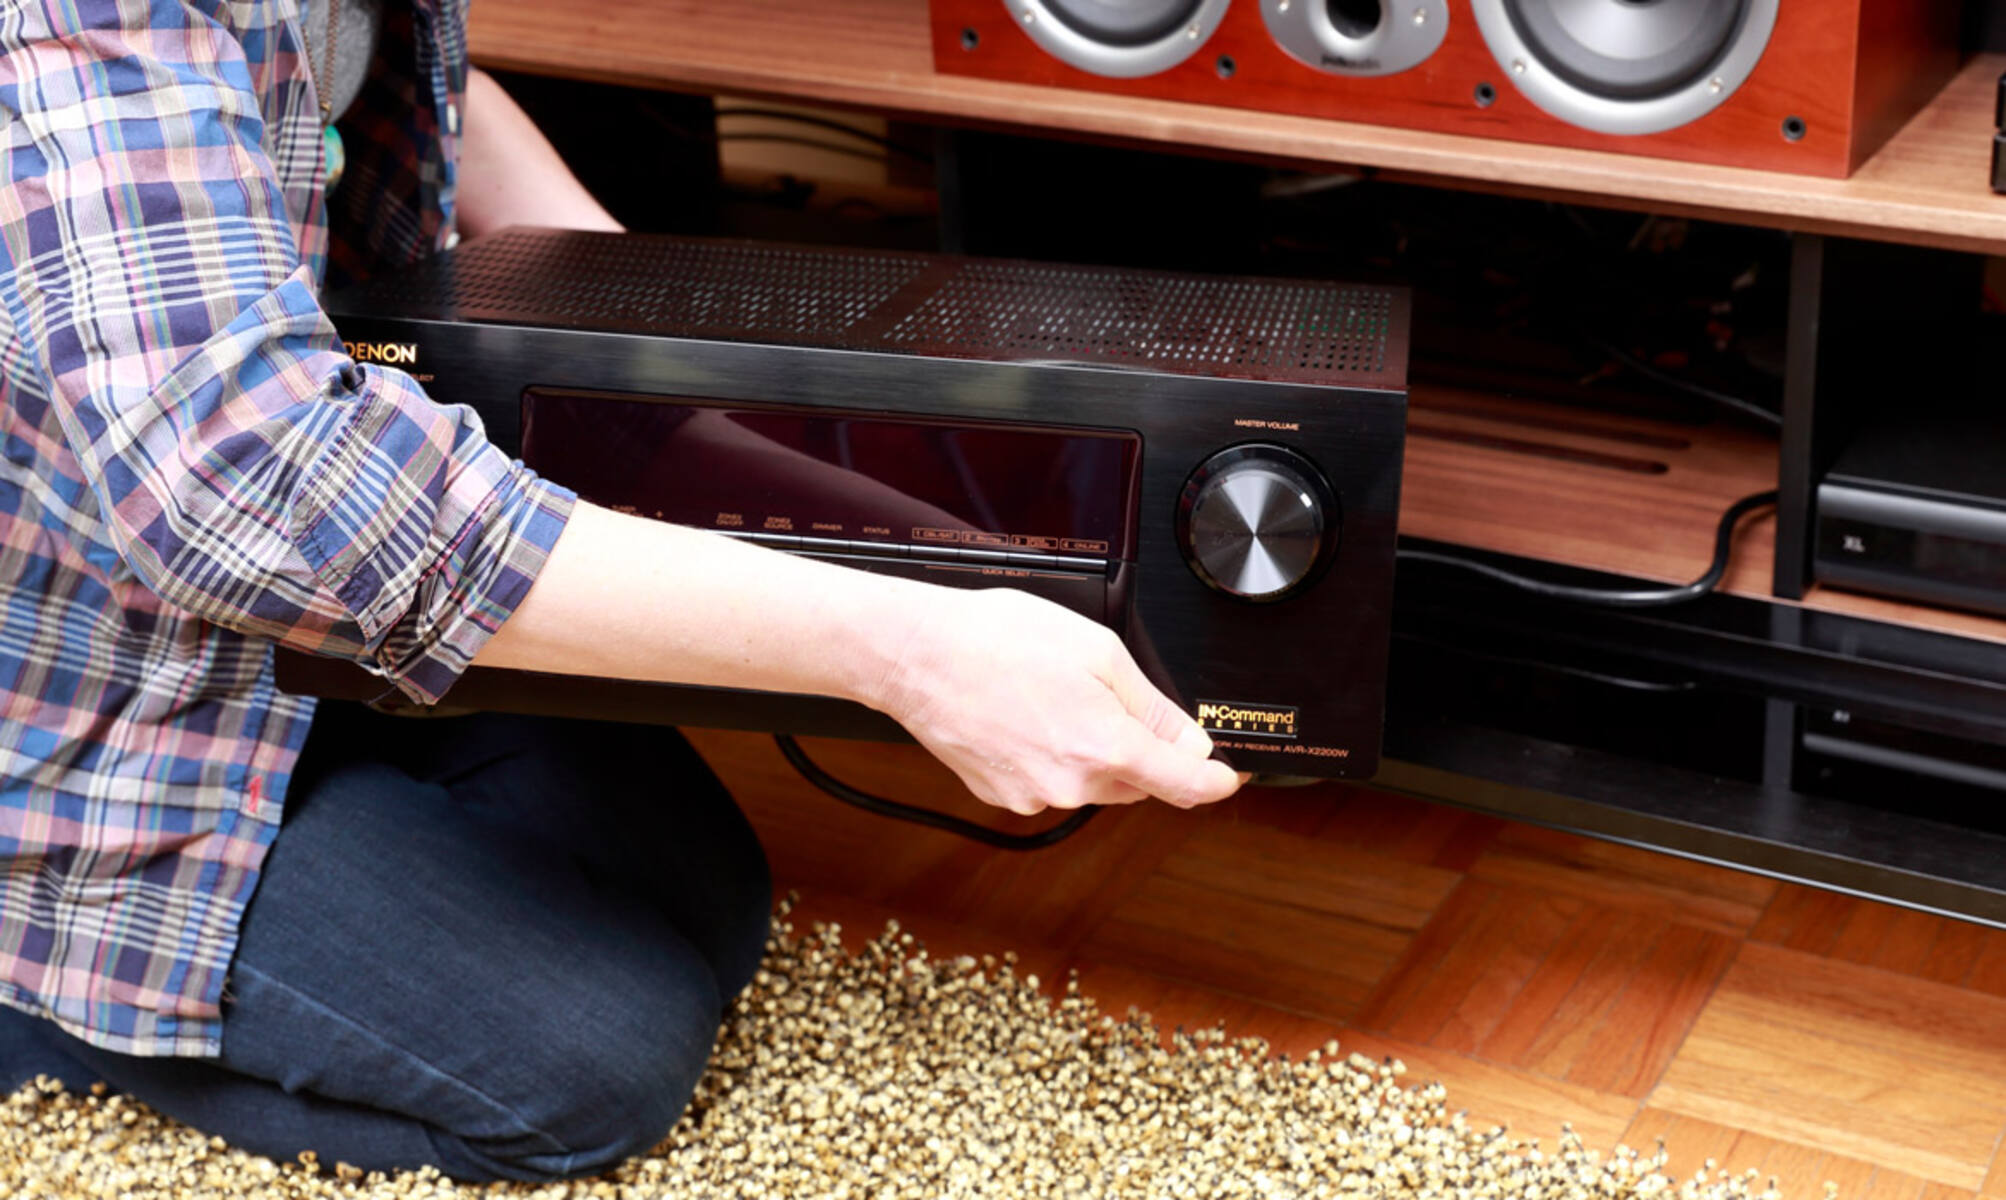
Once the physical connections are in place, power on both the TV and the surround sound system. Ensure that the correct input source is selected on the surround sound system to receive audio signals from the TV.
It’s worth noting that some TVs may require you to enable the external audio output in the settings menu. Refer to the TV’s user manual for instructions on how to do this.
Remember, the available connection options may vary depending on the model and brand of your TV and surround sound system. Make sure to use the appropriate cables and follow the instructions provided in the user manuals.
After successfully connecting the TV to the surround sound system, you can move on to the next step of adjusting the audio settings on your TV to optimize the audio output.
Using HDMI ARC (Audio Return Channel)
If both your TV and surround sound system support HDMI ARC (Audio Return Channel), this is a convenient method for connecting the two devices. HDMI ARC enables two-way audio transmission through a single HDMI cable, eliminating the need for additional audio cables. Here’s how to set it up:
1. Locate the HDMI ARC ports: Identify the HDMI ARC ports on both your TV and the surround sound system. These ports are labeled “ARC” and are usually found on the back or side panels of the devices.
2. Connect the HDMI cable: Connect one end of the HDMI cable to the HDMI ARC port on the TV and the other end to the HDMI ARC port on the surround sound system. Make sure to insert the cable firmly into each port.
3. Enable HDMI ARC: Access the settings menu on your TV and locate the HDMI ARC or CEC (Consumer Electronics Control) settings. Enable HDMI ARC or CEC to enable communication between the TV and the surround sound system.
4. Select the ARC input: On your surround sound system, select the input associated with the HDMI ARC connection. This input allows the system to receive the audio signals from the TV.
5. Adjust audio settings: On your TV, navigate to the audio settings menu and select the output format that is compatible with your surround sound system. Common options include PCM or Bitstream. Refer to the TV’s user manual for guidance on selecting the appropriate audio output format.
6. Test the setup: Play a movie or TV show with surround sound to test the connectivity. If everything is connected correctly, you should hear the audio from the TV through your surround sound system.
Using HDMI ARC simplifies the setup process and allows for seamless audio transmission between your TV and surround sound system. However, not all TVs and audio systems support HDMI ARC, so it’s important to check the specifications of your devices before attempting this connection method.
If HDMI ARC is not available or compatible with your devices, you can explore alternative methods such as optical audio cables or RCA cables, which will be discussed in the following sections.
Using Optical Audio Cable
If your TV and surround sound system have optical audio ports, using an optical audio cable is an excellent option for connecting the two devices. Optical audio cables provide a digital audio connection, ensuring high-quality sound transmission. Here’s how to set it up:
1. Locate the optical audio ports: Identify the optical audio port on both your TV and the surround sound system. The port is typically labeled “optical audio” or “TOSLINK.” They are commonly found on the back or side panels of the devices.
2. Remove the protective caps: If applicable, remove the protective caps from the optical audio ports on both devices.
3. Connect the optical audio cable: Insert one end of the optical audio cable into the optical audio output port on your TV and the other end into the optical audio input port on your surround sound system. Make sure to align the connectors properly and push them firmly into the ports.
4. Secure the cable: Once the cable is connected, you can use the provided cable clips or adhesive strips to secure the cable to the back or side of the devices. This helps to prevent accidental disconnections or cable clutter.
5. Select the optical audio input: On your surround sound system, select the input associated with the optical audio connection. This input will allow the system to receive audio signals from the TV.
6. Adjust audio settings: Access the audio settings menu on your TV and select the output format that is compatible with your surround sound system. The most common options are PCM or Bitstream. Consult the TV’s user manual for specific instructions on selecting the appropriate audio output format.
7. Test the setup: To ensure that the connection is successfully established, play a movie or TV show with surround sound. If the audio comes through the surround sound speakers, the setup is working as intended.
Using an optical audio cable provides a reliable and high-quality digital audio connection between your TV and surround sound system. However, keep in mind that not all TVs and audio systems have optical audio ports. In such cases, you can consider alternative connection methods like HDMI ARC or RCA cables, which will be discussed in the following sections.
Using RCA Cables
If your TV and surround sound system do not have HDMI ARC or optical audio ports, using RCA cables is another option for connecting the two devices. RCA cables provide analog audio connections and are widely compatible with most TVs and surround sound systems. Here’s how to set it up:
1. Identify the RCA audio ports: Locate the RCA audio output ports on your TV and the corresponding RCA audio input ports on your surround sound system. The ports are usually color-coded—red for the right audio channel and white for the left audio channel.
2. Connect the RCA cables: Take one end of the RCA cables and plug the red connector into the red RCA audio output port on your TV. Plug the white connector into the white RCA audio output port. Ensure that the cables are securely connected.
3. Connect the other end of the RCA cables: Plug the red and white connectors at the opposite end of the RCA cables into the corresponding RCA audio input ports on your surround sound system. Again, make sure the connections are secure.
4. Select the RCA input: On your surround sound system, select the input associated with the RCA connection. This input will allow the system to receive the audio signals from the TV.
5. Adjust audio settings: Access the audio settings menu on your TV and select the output format that is compatible with your surround sound system. Typically, you should choose the PCM option for RCA connections. Refer to the TV’s user manual for specific instructions on selecting the appropriate audio output format.
6. Test the setup: To verify that the connection is successful, play audio or video content on your TV and check if you can hear the audio through the surround sound speakers.
Using RCA cables offers a reliable analog connection between your TV and surround sound system. While it may not provide the same level of audio quality as digital connections, it remains a suitable option for older devices or situations where other connection methods are not available.
If you have attempted all available connection options and are still encountering issues, refer to the troubleshooting section later in this article for potential solutions.
Adjusting Audio Settings on the TV
After connecting your old surround sound system to the newer TV, it’s important to adjust the audio settings on the TV for optimal sound output. The specific steps may vary depending on your TV’s make and model, but here are some general guidelines:
1. Access the TV’s settings menu: Use your TV’s remote control to navigate to the settings menu. This can usually be done by pressing the “Menu” or “Settings” button.
2. Locate the audio settings: Within the settings menu, look for the audio or sound settings. This may be labeled as “Audio,” “Sound,” or “Audio Settings.”
3. Select the audio output: In the audio settings menu, choose the audio output option that corresponds to your connected surround sound system. This might be labeled as “External Speakers,” “HDMI Audio,” or “Optical Audio,” depending on the available options on your TV.
4. Adjust the audio format: Depending on your surround sound system’s capabilities, the TV may provide audio format options such as PCM or Bitstream. Select the format that matches your system’s specifications.
5. Enable surround sound: If your TV has a surround sound option, ensure that it is enabled. This will allow your TV to transmit audio signals in a surround sound format to your connected surround sound system.
6. Test the audio: To confirm that the audio settings have been adjusted correctly, play some audio or video content that includes surround sound elements. Ensure that the audio is being emitted from the correct output channels of your surround sound system.
It’s worth noting that different TV brands and models may have unique settings and terminology for their audio adjustments. For specific instructions, refer to the user manual provided with your TV.
If you encounter any issues with the audio settings or the sound output, double-check the physical connections, ensure that the correct audio output option is selected, and consult the troubleshooting section later in this article for further assistance.
By properly adjusting the audio settings on your TV, you can optimize the sound output from your connected old surround sound system and enjoy an immersive audio experience while watching your favorite content.
Troubleshooting Common Issues
While connecting an old surround sound system to a newer TV, you may encounter certain issues that can affect the audio setup. Here are some common problems and their potential solutions:
1. No audio or low sound: If you are not getting any sound or the sound is too low, first check the volume levels on both the TV and the surround sound system. Make sure they are set to an audible level. Additionally, ensure that the correct audio input/output options are selected on both devices.
2. Audio out of sync: If the audio and video are not synchronized, it can be quite frustrating. In such cases, you can try adjusting the audio delay settings on your surround sound system or TV. Look for options like “Audio Sync,” “Audio Delay,” or “Lip Sync” in the settings menu and adjust them accordingly.
3. Incompatible audio formats: Sometimes, your older surround sound system may not support newer audio formats used by your TV. In this case, go to the audio settings on your TV and change the output format to a compatible one, such as PCM. Refer to the user manual of your TV and surround sound system for information on supported audio formats.
4. Unresponsive HDMI ARC: If you are using HDMI ARC and not receiving any audio, ensure that HDMI ARC is enabled in both the TV and surround sound system settings. Try unplugging and reconnecting the HDMI cable or using a different HDMI port on the TV. You may also need to update the firmware on your TV or audio system to resolve compatibility issues.
5. Lack of surround sound: If you’re not experiencing the desired surround sound effect, ensure that your TV content is encoded with surround sound audio. Check the audio settings on your TV or the source device (such as a Blu-ray player or media streaming device) to make sure the audio output is set to surround sound.
6. Poor cable connections: Loose or faulty cable connections can lead to various audio issues. Ensure that all the cables are securely connected to their respective ports on both the TV and the surround sound system. Try using different cables to rule out any potential cable-related problems.
If you have attempted these troubleshooting steps and are still experiencing issues, consult the user manuals of your TV and surround sound system for further guidance. Additionally, you can reach out to customer support for both devices for specialized assistance.
Remember, each audio setup may have unique circumstances, so it’s important to assess the specific problem and apply appropriate troubleshooting steps to resolve it.
Conclusion
Connecting an old surround sound system to a newer TV requires careful consideration of compatibility and the use of appropriate connection methods. By verifying compatibility and selecting the right cables or ports, you can successfully integrate your outdated audio system with a modern TV.
In this article, we discussed the importance of checking compatibility between your TV and surround sound system, as well as the connection methods available, such as HDMI ARC, optical audio cables, and RCA cables. We also explored adjusting the audio settings on the TV to ensure optimal sound output.
If you encounter any issues during the setup process, we provided troubleshooting tips for common problems, including issues with audio output, audio syncing, incompatible audio formats, HDMI ARC, surround sound, and cable connections.
Remember to consult the user manuals for your TV and surround sound system for specific instructions and further assistance.
By following the steps outlined in this article and troubleshooting any issues that may arise, you can successfully connect your old surround sound system to your newer TV. This will allow you to enjoy a captivating audio experience and fully immerse yourself in your favorite movies, TV shows, or games.
With a little patience and attention to detail, you can unlock the full potential of your old surround sound system and elevate your entertainment experience. Happy listening!