Introduction
A surround sound system can completely transform your audio experience, immersing you in a world of powerful and realistic sound. Whether you’re watching a movie, listening to music, or playing video games, a well-configured surround sound system can make it feel like you’re right in the middle of the action.
In this guide, we will walk you through the process of setting up and optimizing your surround sound system to ensure you get the best possible audio quality. We will cover everything from speaker placement to adjusting audio settings and even troubleshooting common issues that may arise. By the end of this guide, you’ll be able to create a sound experience that truly brings your entertainment to life.
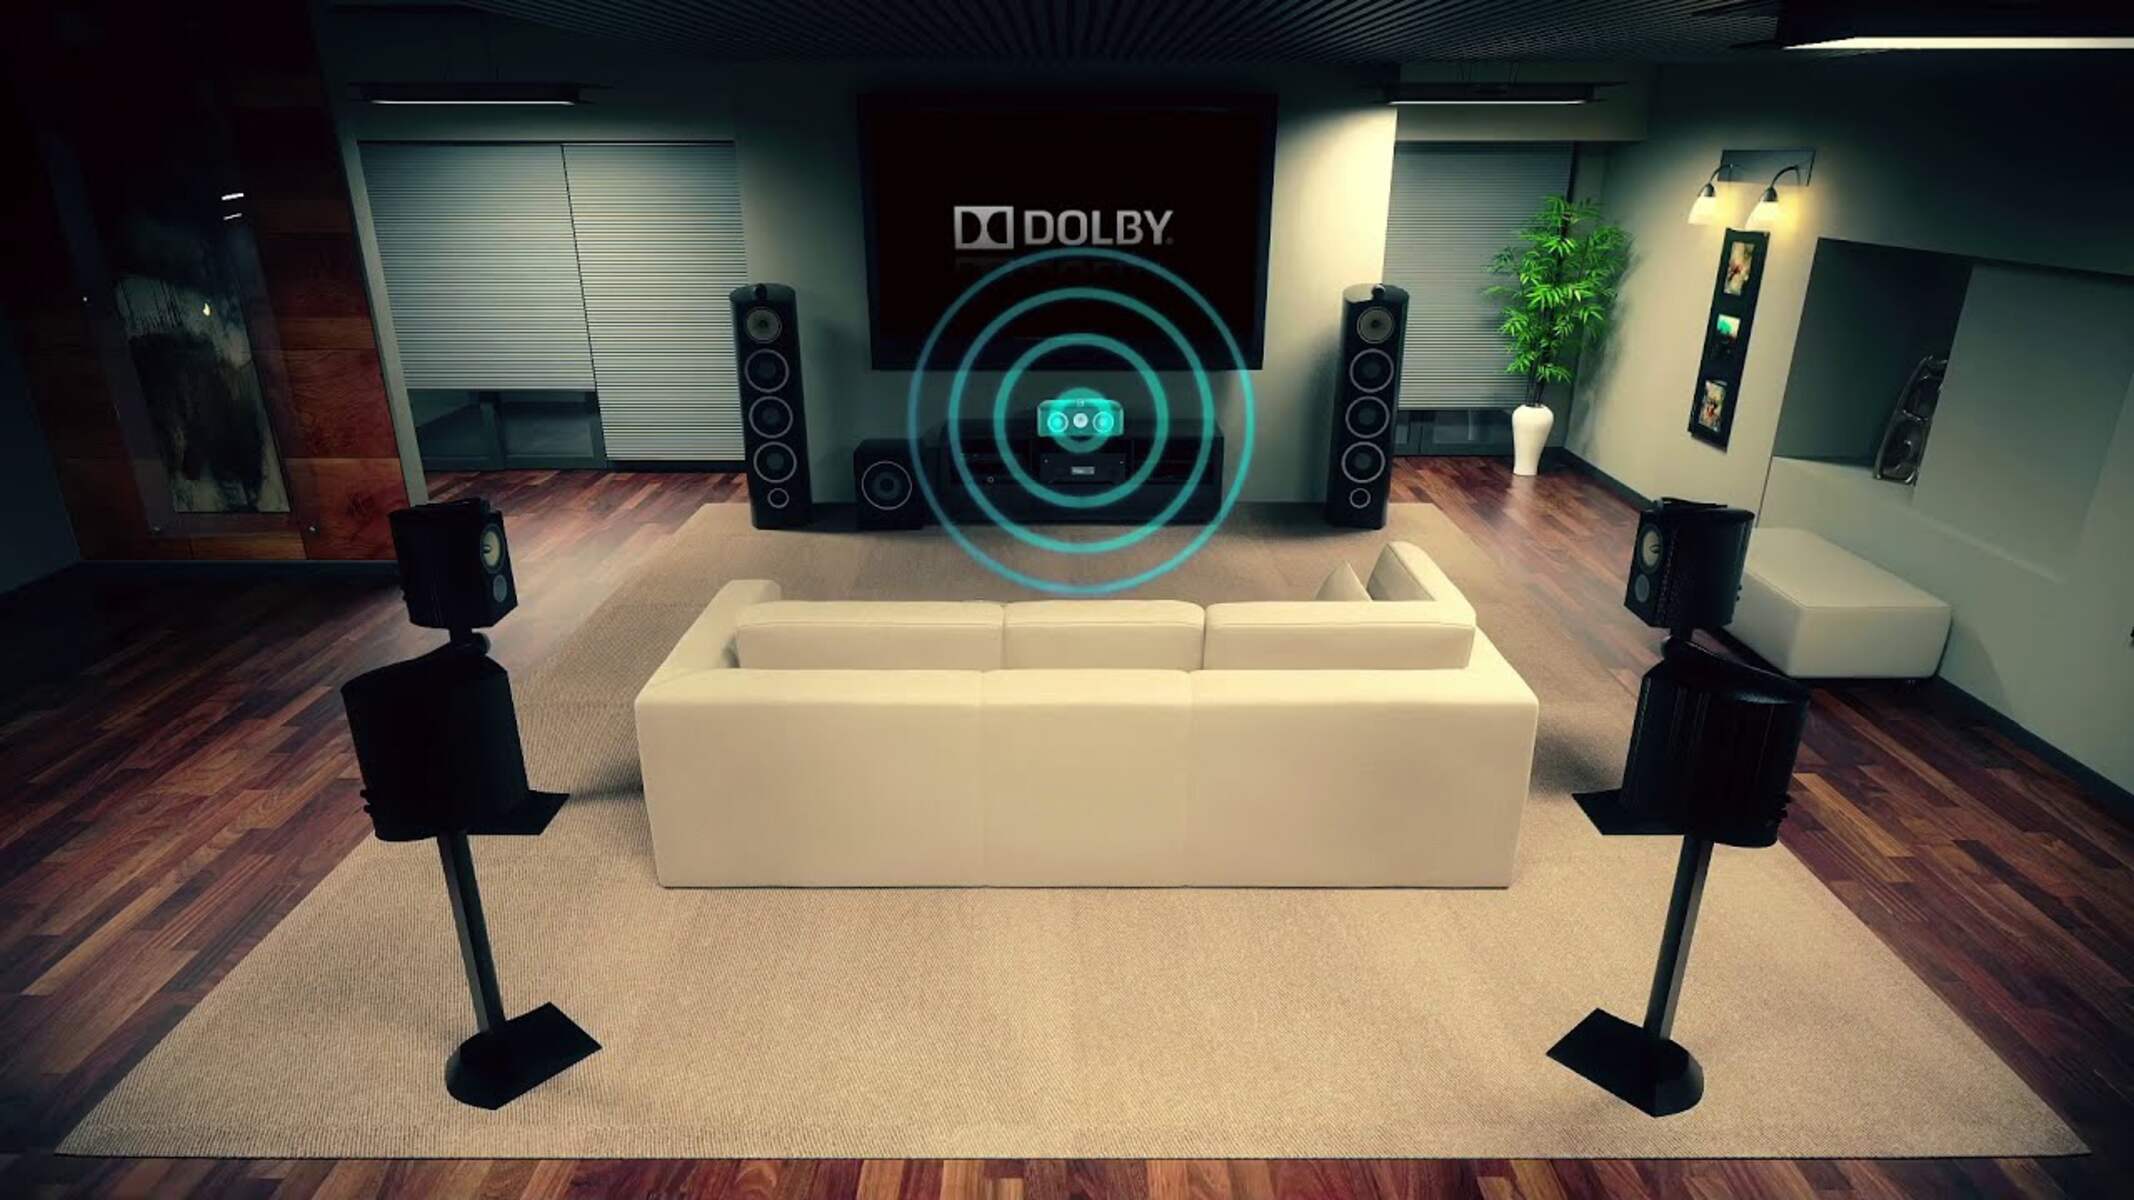
But before we dive into the details, let’s first understand what a surround sound system is and how it works. A surround sound system consists of multiple speakers strategically placed around the room to create a three-dimensional audio experience. The system works by playing different audio channels from each speaker, effectively simulating sounds coming from different directions. This spatial sound reproduction enhances the depth, clarity, and realism of the audio.
There are various types of surround sound systems available, ranging from 5.1 channel setups (five speakers and a subwoofer) to more advanced configurations like 7.1 or even 9.1 channels. The number and placement of the speakers depend on the specific surround sound system you have.
Now that we have a basic understanding of what a surround sound system is, let’s move on to the process of setting it up. We will discuss how to choose the right location for your speakers, how to configure the audio settings, and how to utilize signal processing techniques to enhance the overall sound quality. Throughout this guide, we’ll provide you with step-by-step instructions and valuable tips to ensure you get the most out of your surround sound system.
Understanding Surround Sound Systems
Before diving into the setup and optimization of your surround sound system, it’s important to have a clear understanding of how these systems work. A surround sound system is designed to recreate a lifelike audio experience by using multiple speakers strategically placed around a room.
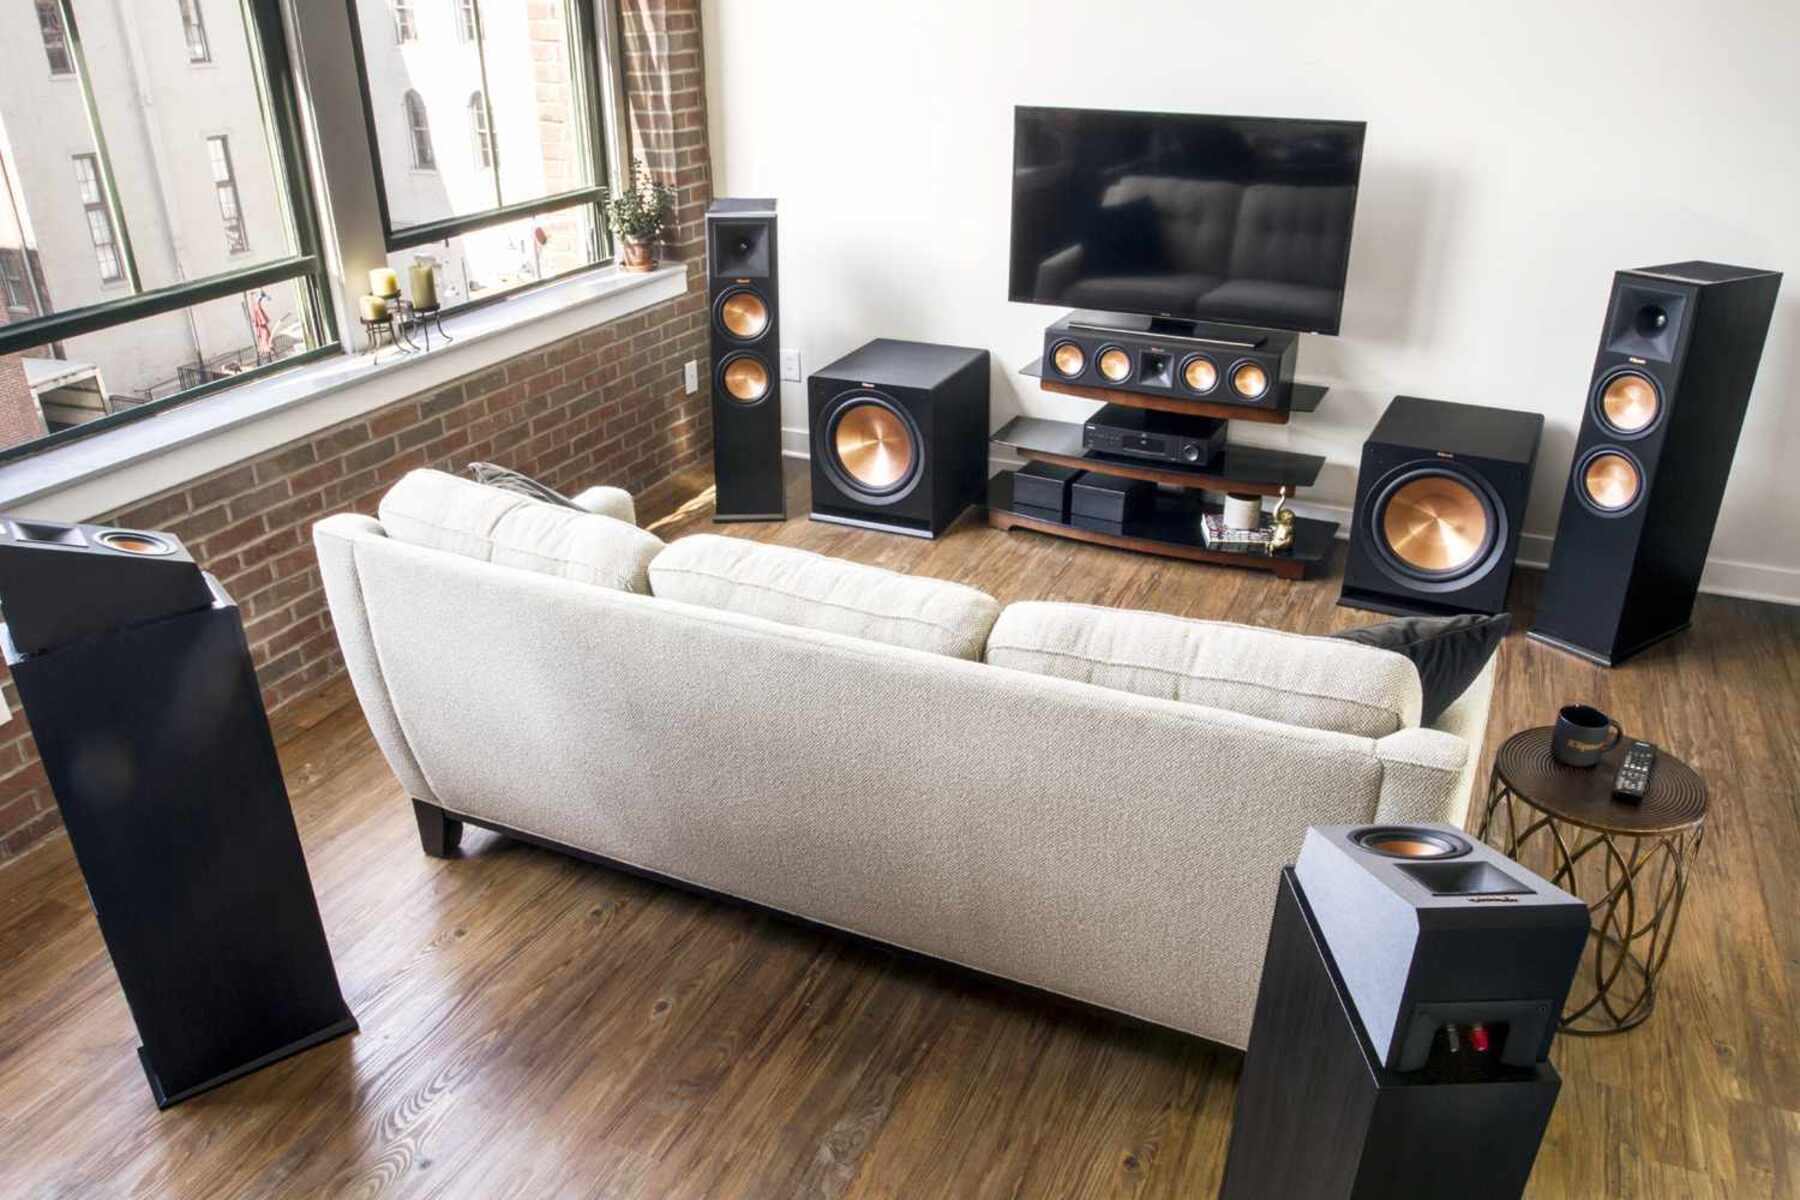
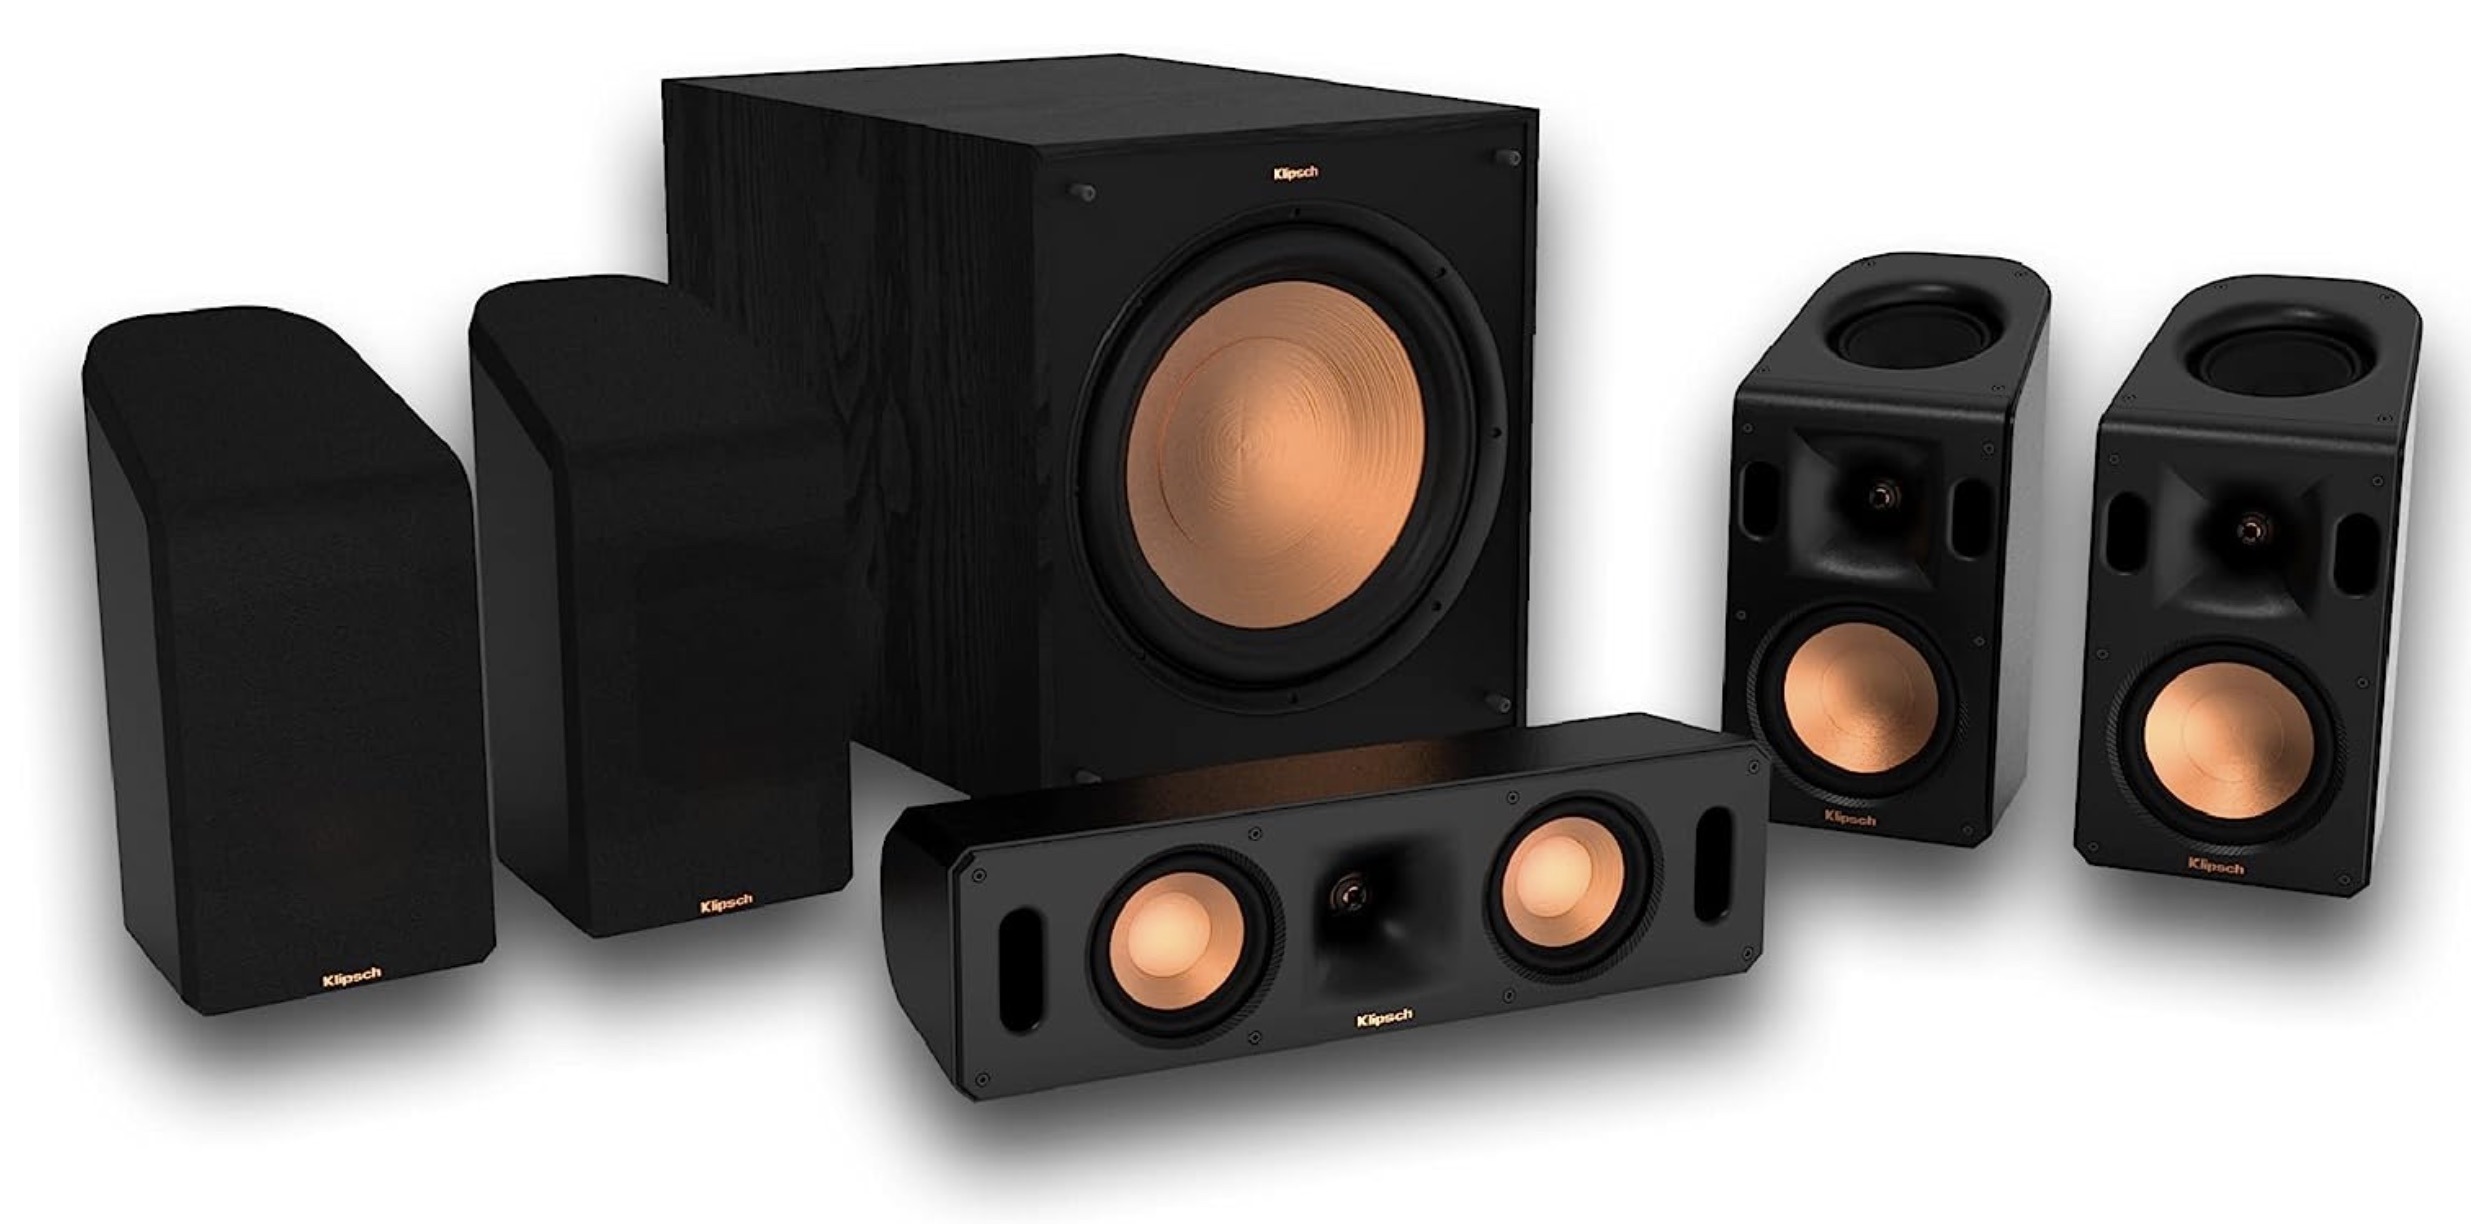
The most common type of surround sound system is the 5.1 channel configuration, which consists of five speakers and one subwoofer. The speakers are labeled as follows:
- Front Left (FL)
- Front Right (FR)
- Center (C)
- Rear Left (RL)
- Rear Right (RR)
The subwoofer is responsible for reproducing low-frequency sounds, adding depth and impact to the overall audio experience.
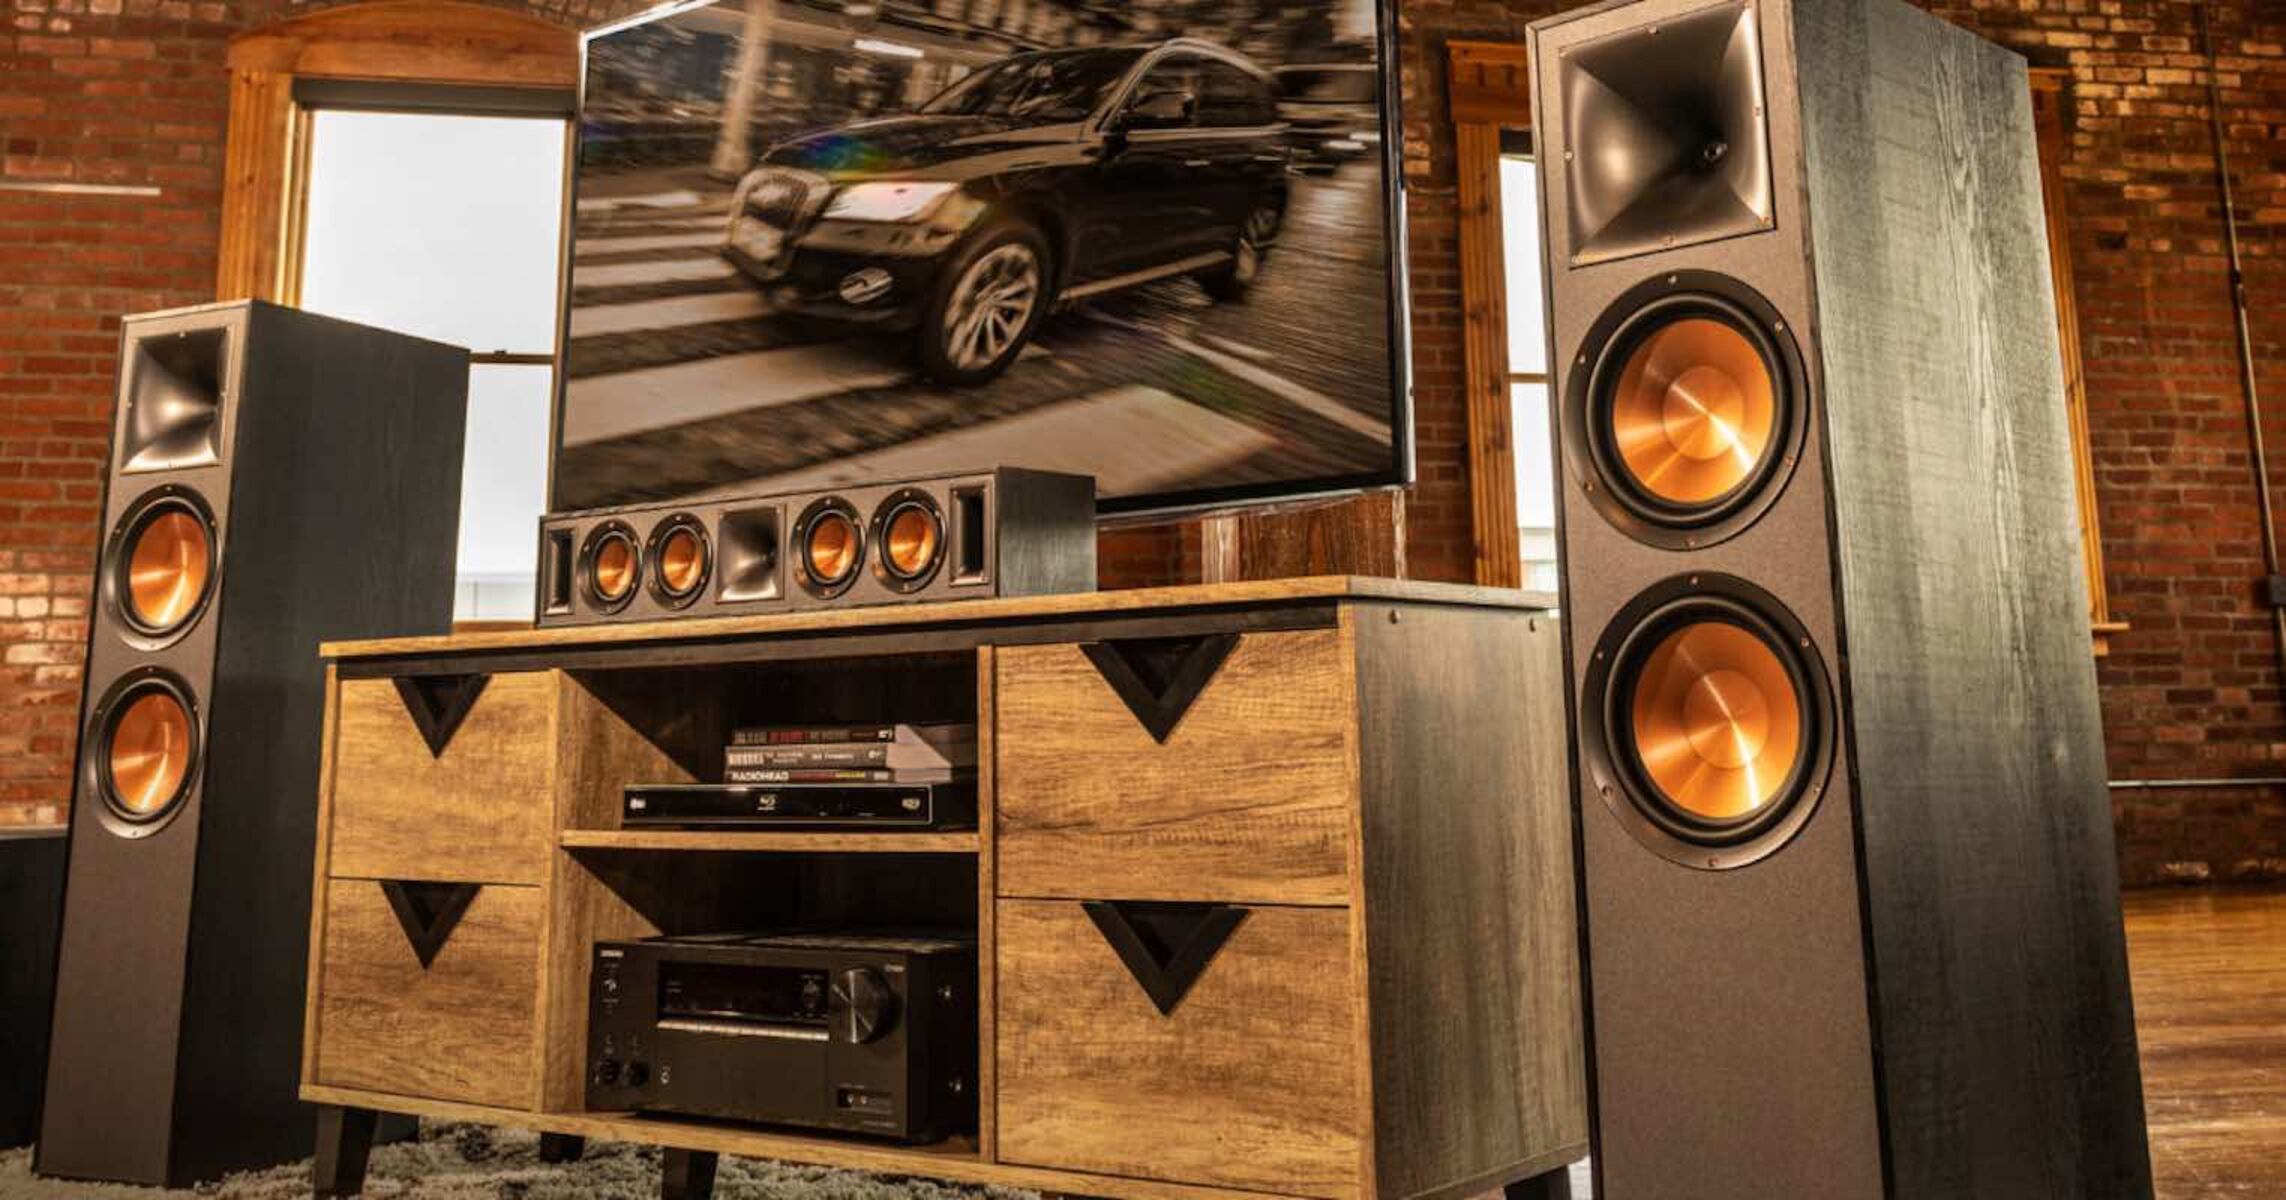
These speakers work together to create a three-dimensional sound stage, giving you the sensation that the audio is coming from different directions. For example, if a car is moving from left to right on the screen, the audio will also move from the front left speaker to the front right speaker, simulating the car’s movement.
In addition to the 5.1 channel configuration, there are advanced setups like 7.1 and 9.1 channel systems. These configurations add extra speakers, typically placed on the sides and above the listener, to further enhance the immersive audio experience.
When setting up your surround sound system, it’s crucial to consider the room’s acoustics. Carpeting, curtains, and furniture can help absorb sound reflections, preventing audio distortion and creating a more balanced soundstage.
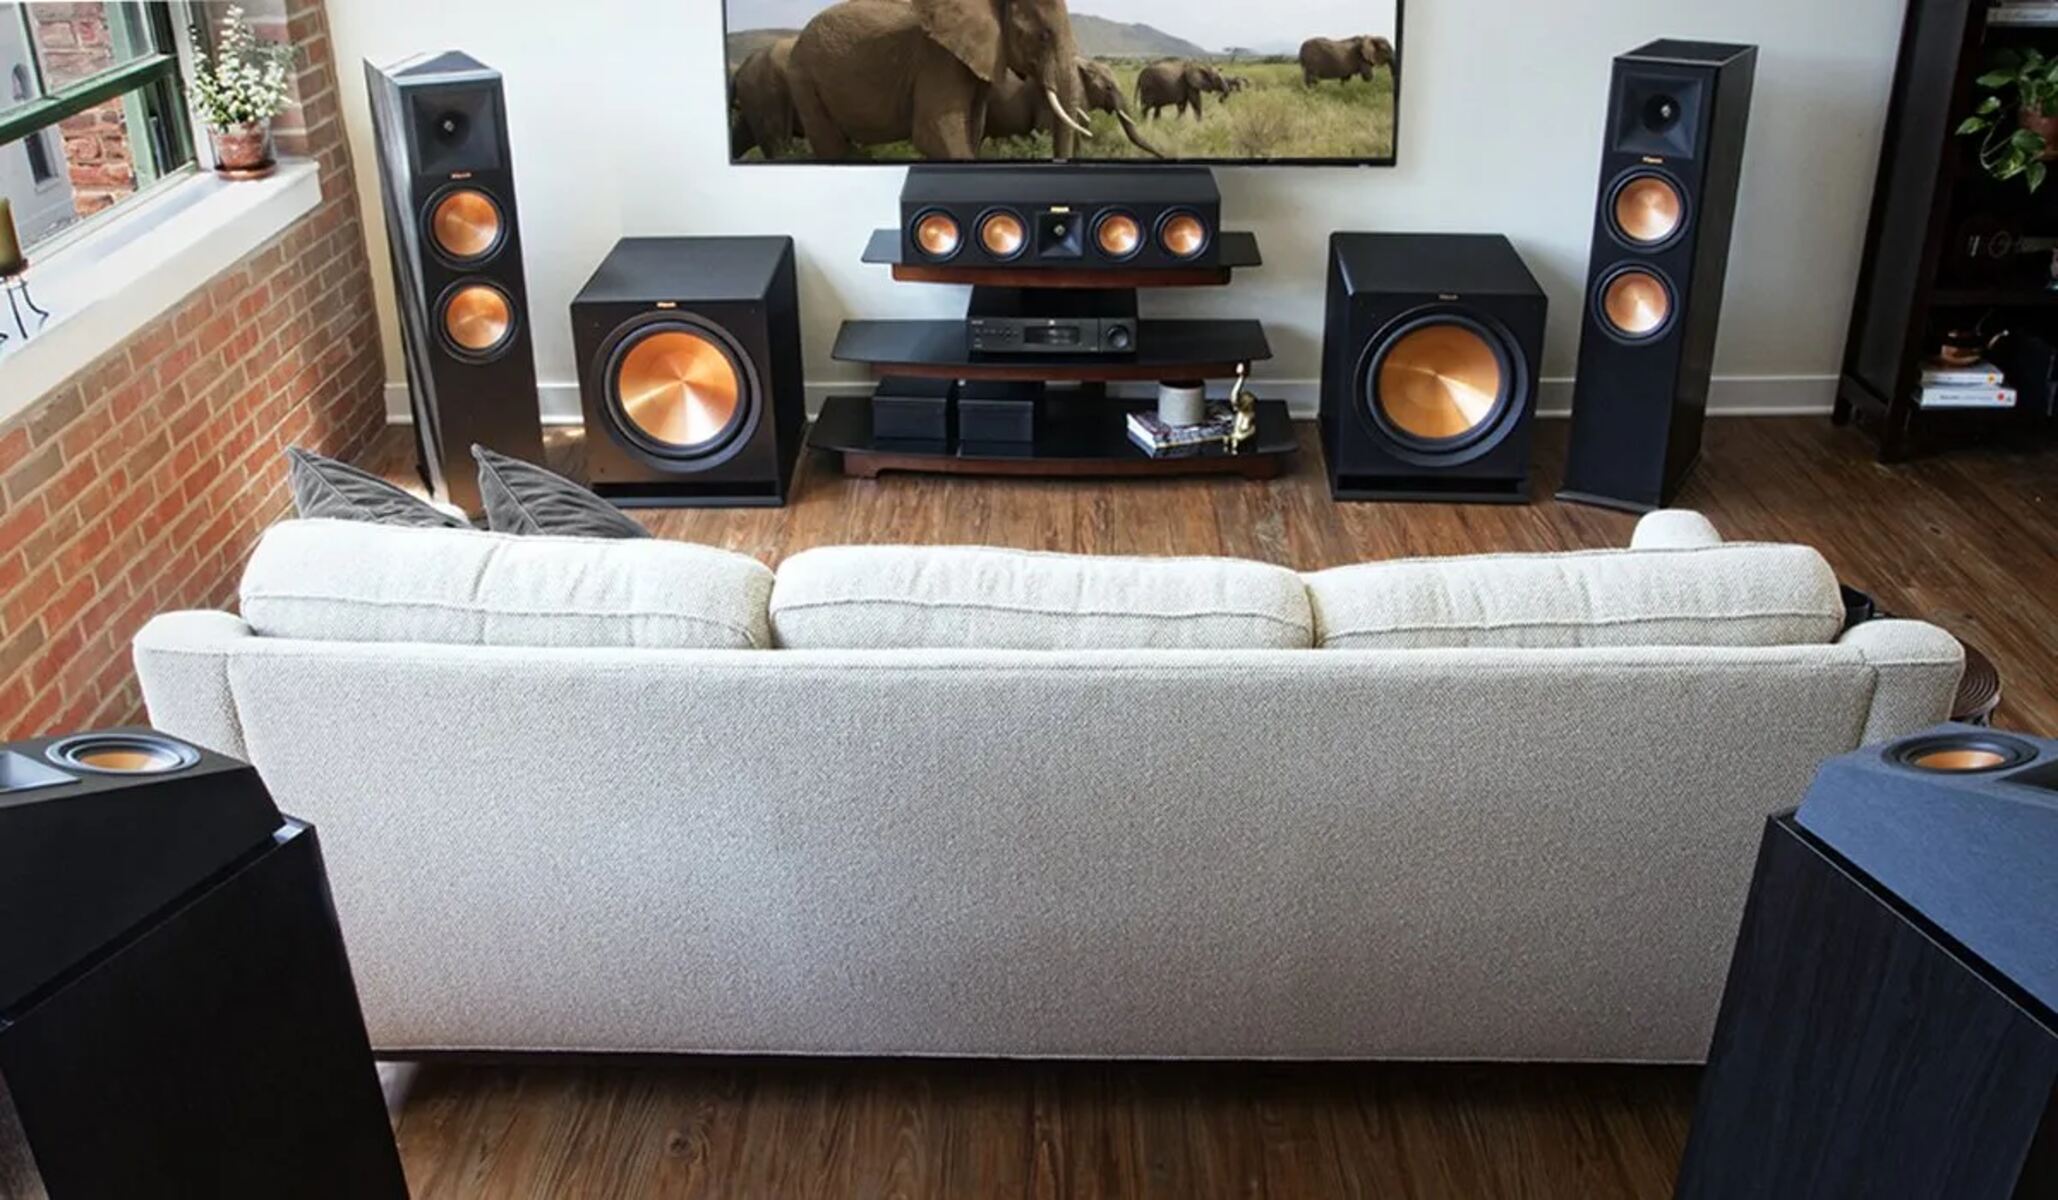
It’s also worth noting that the placement of the speakers plays a significant role in achieving optimal audio performance. The front left, front right, and center speakers should be positioned facing directly towards the listener, ideally at ear level. The rear left and rear right speakers should be placed behind the listening area, creating a surround effect.
Now that you have a better understanding of surround sound systems and the importance of speaker placement, it’s time to move on to the next section, where we will guide you through the process of setting up your system.
Setting Up Your Surround Sound System
Setting up a surround sound system may seem daunting, but with the right guidance, it can be a straightforward process. Follow the steps below to ensure you get the most out of your system:
- Choose the right location: Select a room that can accommodate your surround sound system. Consider the size, shape, and furnishings of the room, as this can affect the overall sound quality. Avoid placing speakers too close to walls or corners, as this can result in distorted audio.
- Speaker placement: Position your speakers correctly to achieve optimal sound reproduction. The front left, front right, and center speakers should ideally form an arc, facing the listener. The rear left and rear right speakers should be placed behind the listening area, slightly elevated if possible.
- Connect the speakers: Use high-quality speaker wires to connect each speaker to the corresponding terminals on the surround sound receiver. Ensure that all connections are secure and that each speaker is correctly labeled.
- Connect your audio sources: Connect your audio sources, such as a Blu-ray player or game console, to the surround sound receiver using HDMI or optical cables. This will allow the receiver to process the audio signals and distribute them to the appropriate speakers.
- Calibrate your system: Most surround sound systems come with an automatic calibration feature that measures the distance and sound levels of each speaker. Follow the on-screen instructions to perform the calibration, which will optimize the audio output for your specific room.
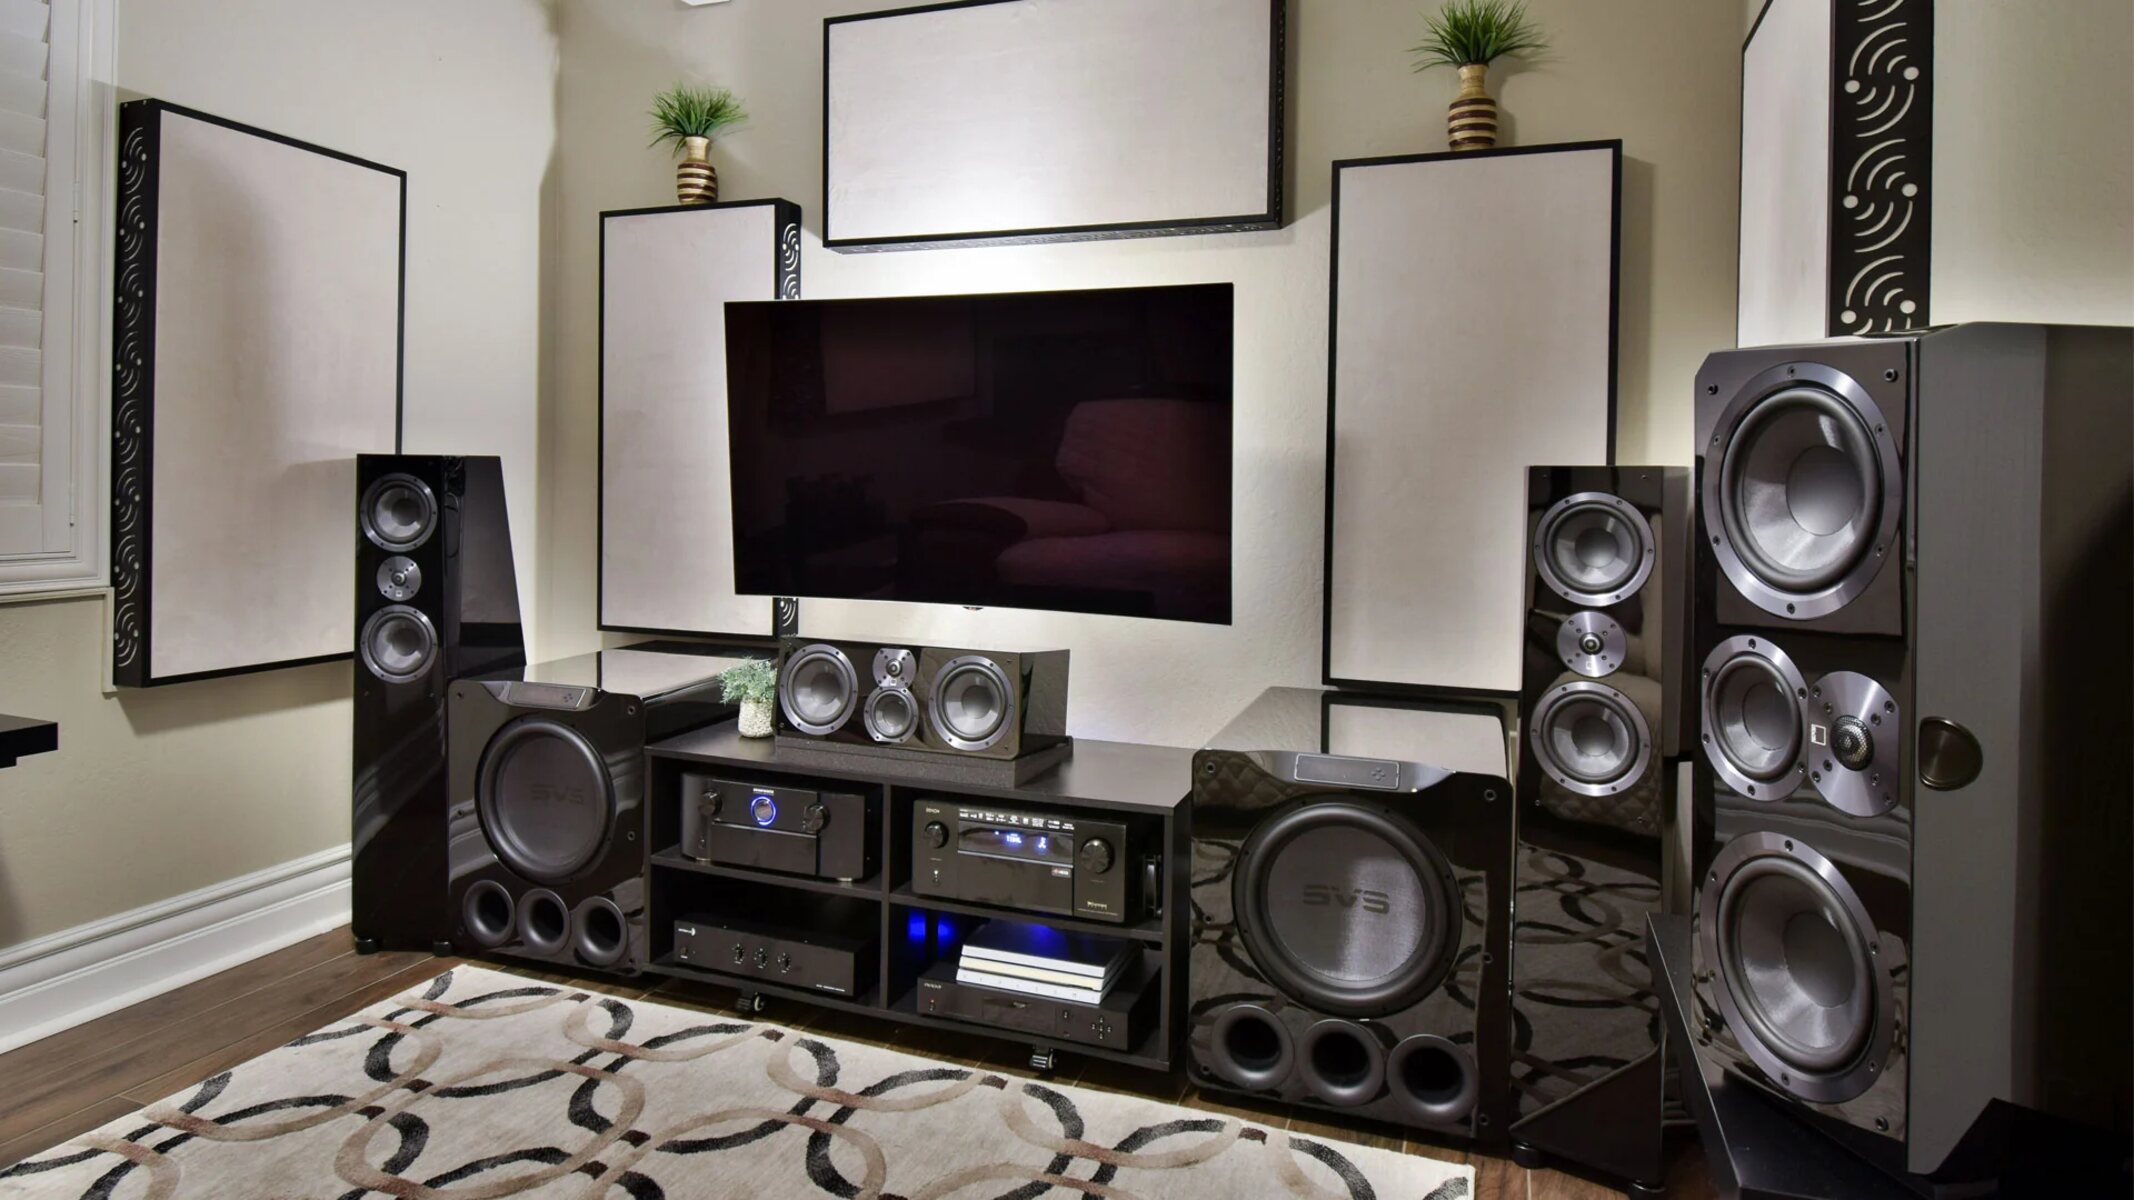
- Set up the subwoofer: If your surround sound system includes a subwoofer, place it somewhere near the front of the room for balanced bass reproduction. Experiment with different subwoofer positions to find the spot that delivers the best low-frequency response.
Once you have completed these steps, you’re ready to enjoy your newly set up surround sound system. However, it’s important to note that optimizing the audio settings can further enhance your listening experience. Adjust the bass, treble, and overall volume levels to match your preferences and the content you’re watching or listening to.
Now that you’ve learned how to set up your surround sound system, let’s move on to the next section, where we will explore how to adjust the speaker placement for optimal audio performance.
Adjusting Speaker Placement
Proper speaker placement is crucial for achieving optimal audio performance from your surround sound system. Follow these tips to fine-tune the positioning of your speakers:
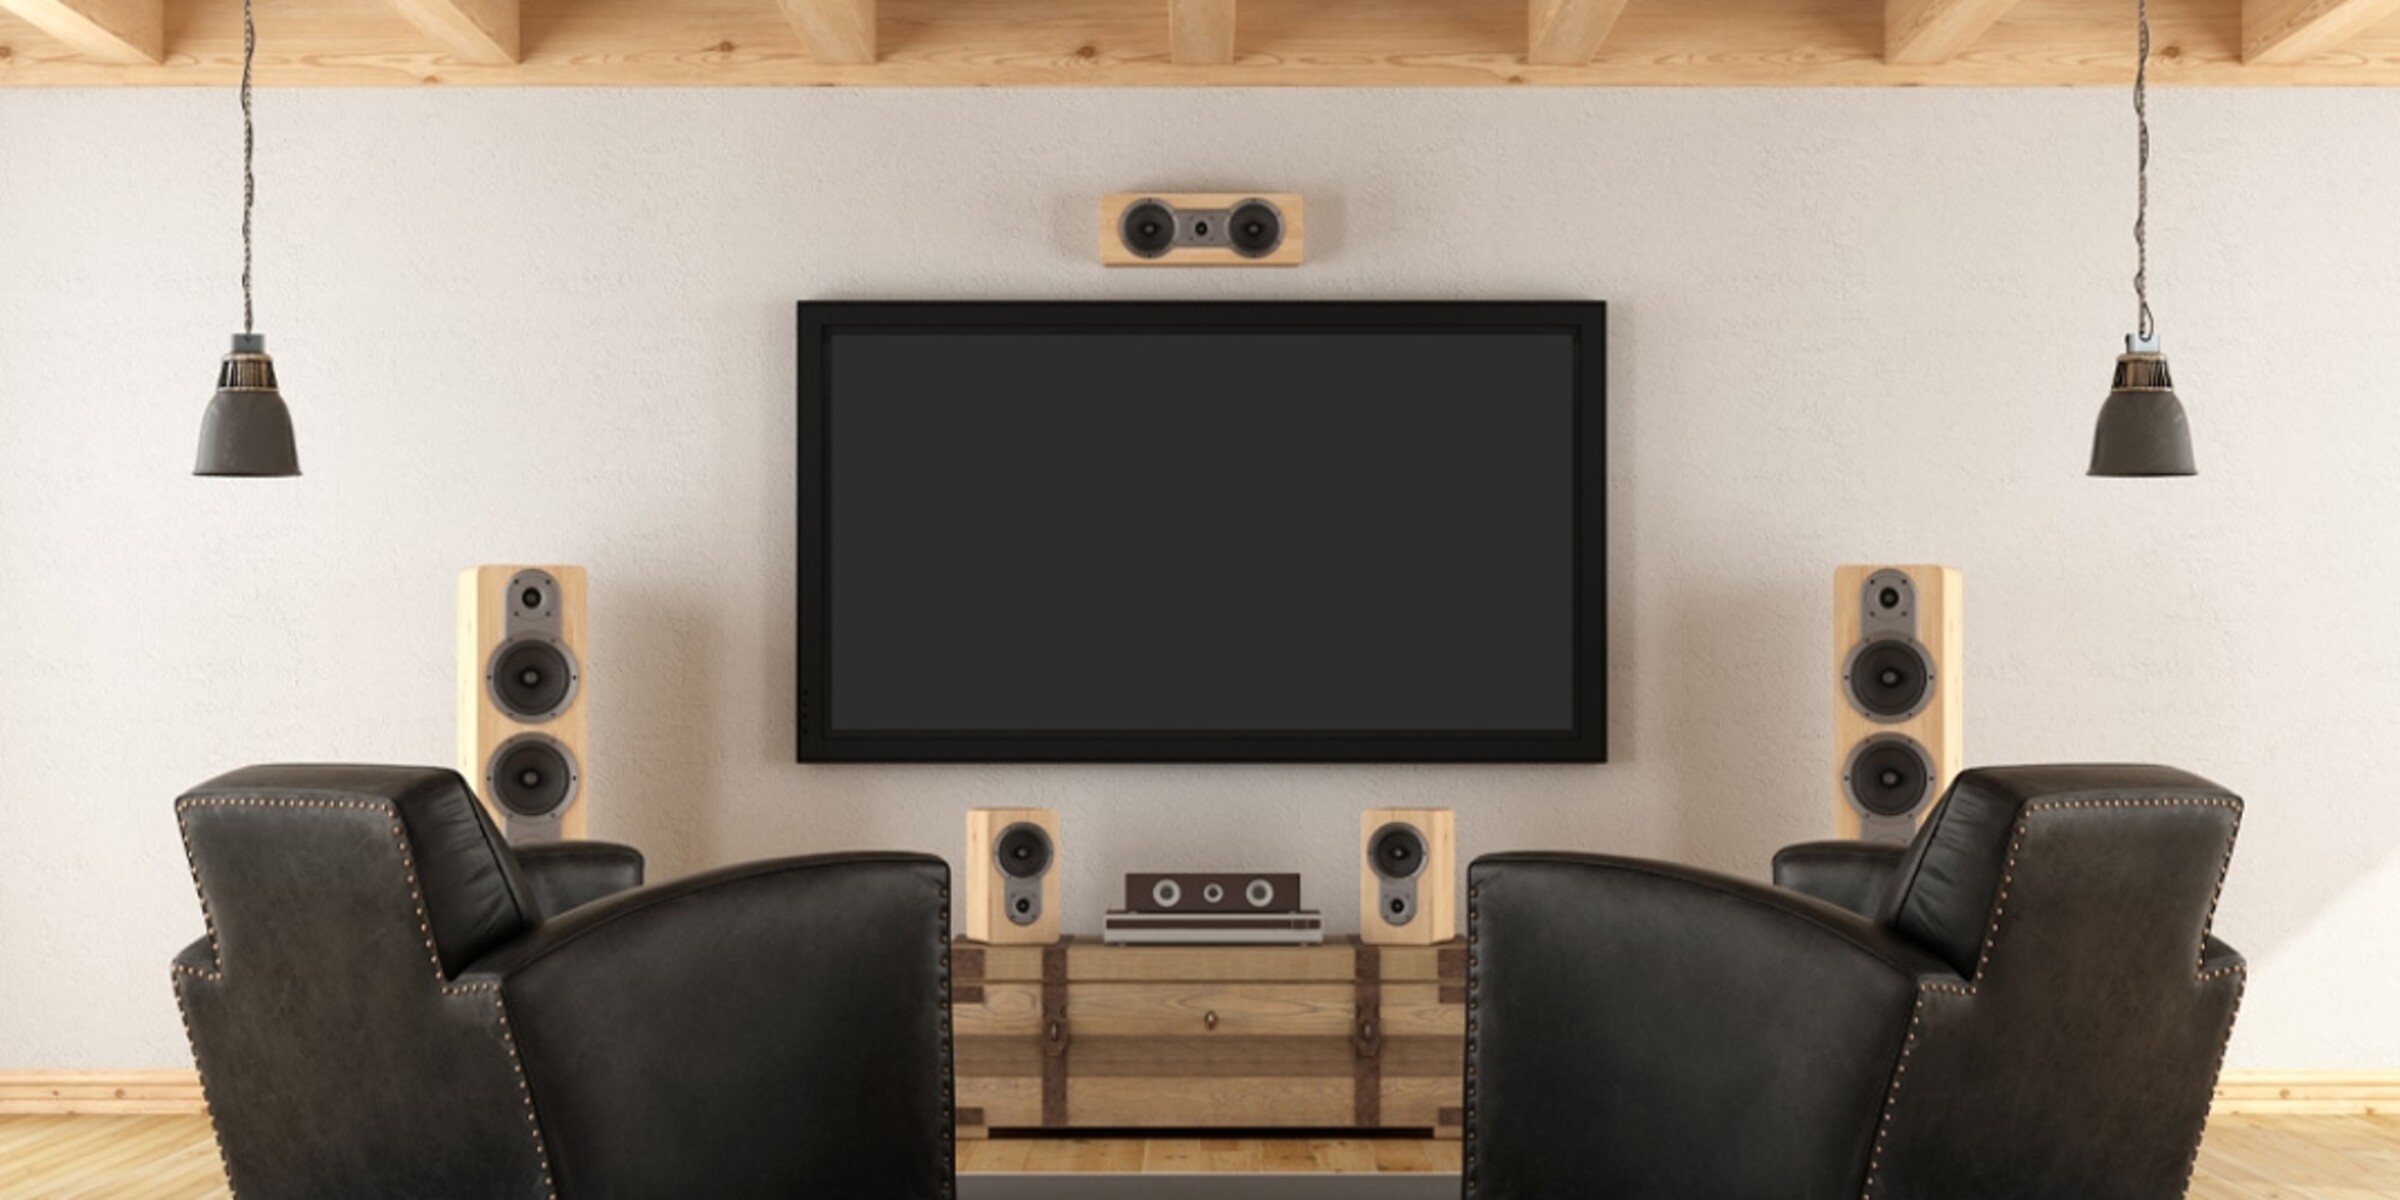
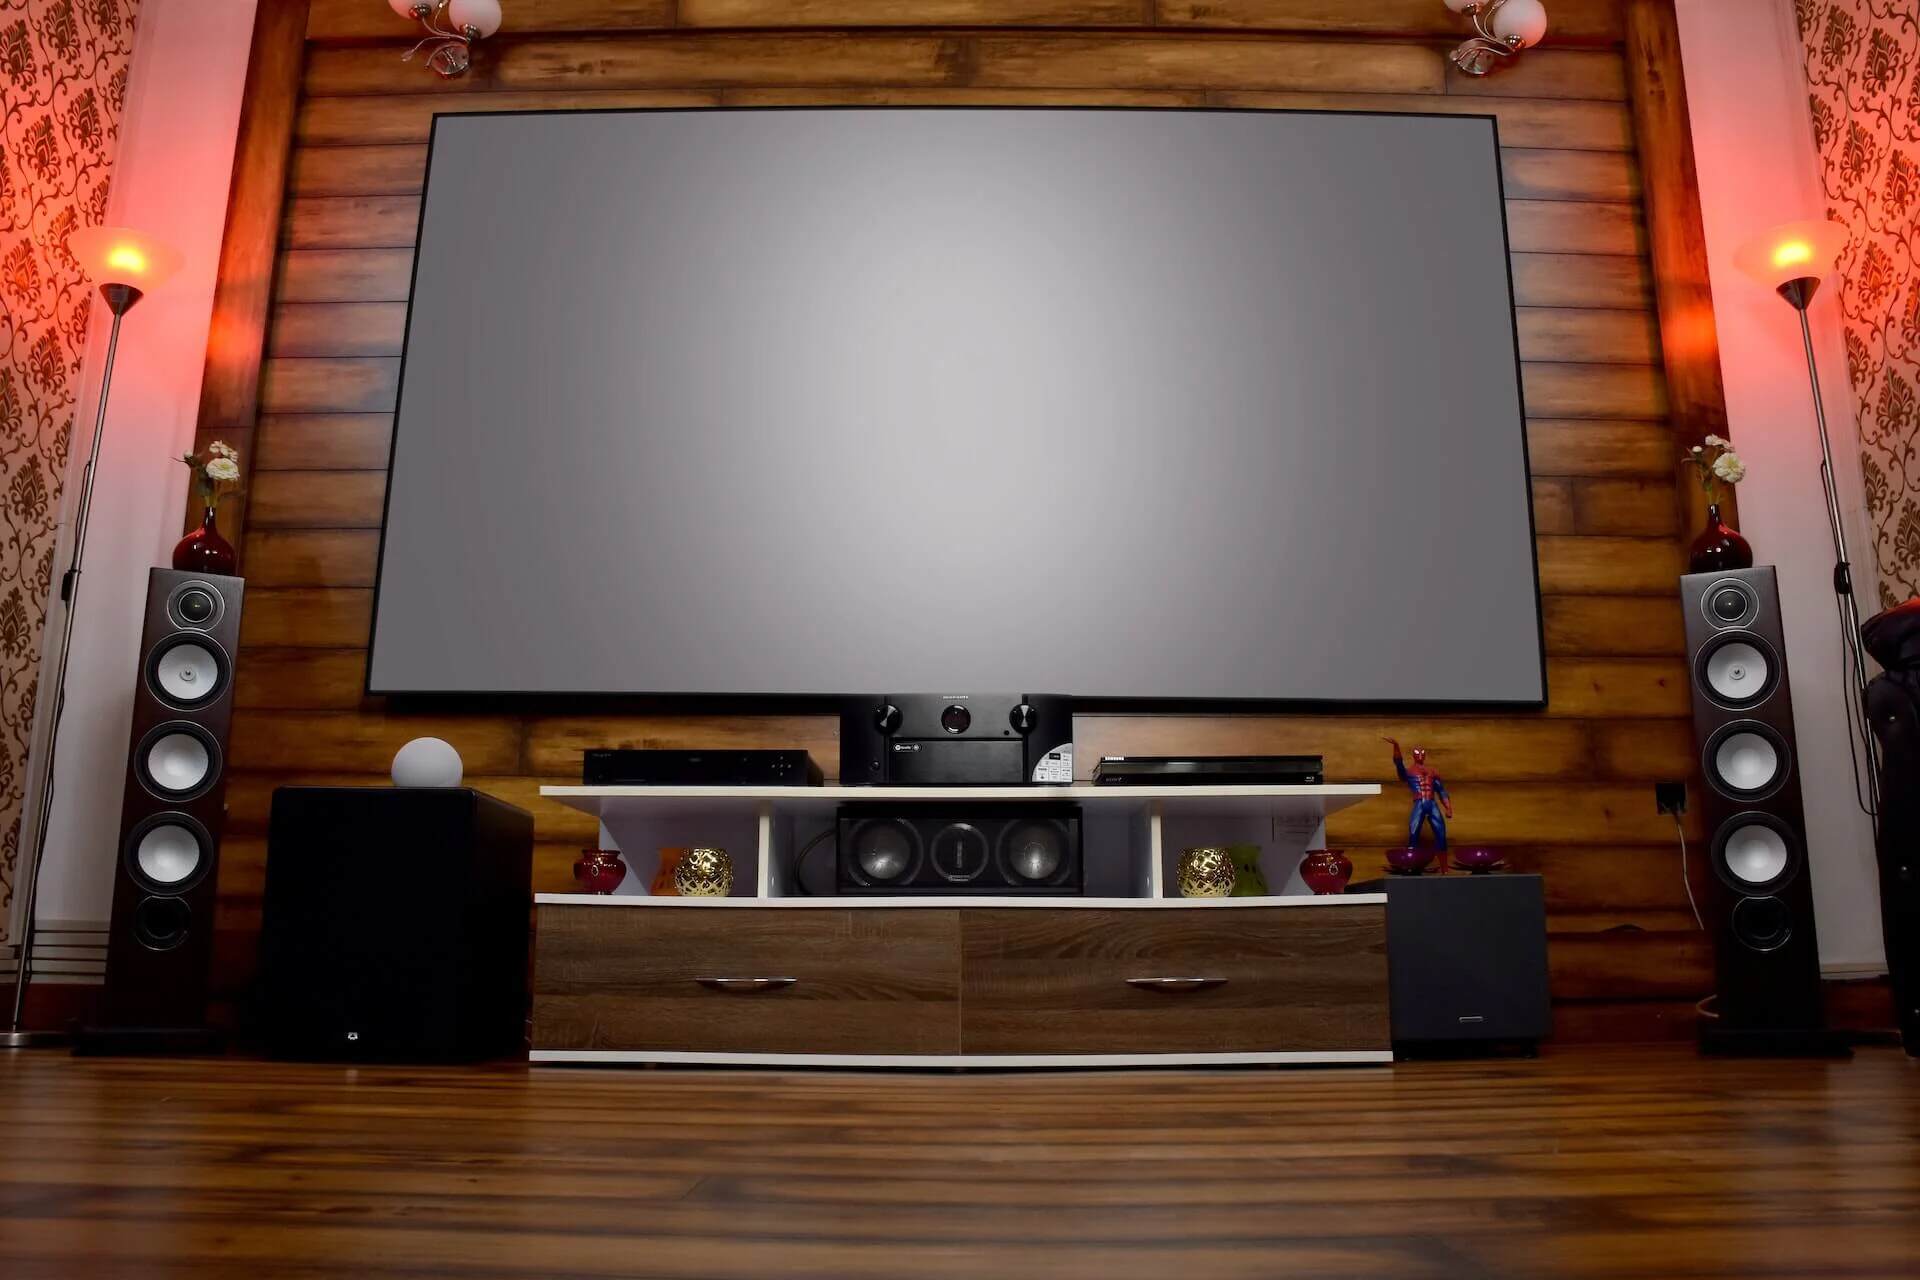
- Front Speakers: The front left, front right, and center speakers play a critical role in delivering the majority of the audio. Ideally, they should be positioned at ear level, facing directly towards the listener. The center speaker should be placed either above or below the TV, aligned with the front left and front right speakers.
- Rear Speakers: The rear left and rear right speakers are responsible for creating a surround sound effect. Position them slightly behind and to the sides of the listening area, around 2-3 feet above ear level. This placement helps provide an immersive audio experience without overpowering the front speakers.
- Subwoofer Placement: Unlike the other speakers, the subwoofer is not as location-sensitive. Place it somewhere near the front of the room, such as a corner or along a wall, to ensure balanced bass distribution. Experiment with different positions to find the spot that offers the best low-frequency response.
- Speaker Angles: Angle the speakers towards the central listening area to focus the sound directly at the viewer. This helps improve sound clarity and localization, enhancing the overall listening experience.
- Room Acoustics: Pay attention to the room’s acoustics, as they can impact sound quality. Soft furnishings, such as curtains, carpets, and upholstered furniture, help absorb sound reflections and reduce audio distortion. Consider adding acoustic panels or diffusers to further enhance the room’s acoustics.
Keep in mind that every room is unique, and the ideal speaker placement may vary. Experiment with different positions and angles to find what works best for your specific setup and listening preferences. Fine-tuning the speaker placement can make a significant difference in the overall audio performance of your surround sound system.
Once you have adjusted the speaker placement, it’s time to move on to the next section, where we will explore how to configure the audio settings to further optimize your surround sound system.
Configuring Your Audio Settings
After setting up the physical placement of your speakers, it’s important to configure the audio settings to ensure optimal sound quality from your surround sound system. Here are some steps to help you get the most out of your audio settings:
- Surround Sound mode: Most surround sound systems offer various sound modes, such as Dolby Digital or DTS. Choose the appropriate mode based on the content you’re watching or listening to. Movie modes generally provide a more immersive experience, while music modes focus on delivering high-fidelity audio.
- Speaker Levels: Use the built-in test tone feature on your surround sound system to adjust the speaker levels. The test tone emits a sound from each speaker one at a time, allowing you to balance the audio levels and ensure equal volume output from all speakers.
- Bass and Treble: Fine-tune the bass and treble levels to match your listening preferences. Experiment with different levels to find the right balance that complements your room acoustics and the content you’re enjoying.
- Dialog Enhancement: If you’re having trouble hearing dialogue clearly, some surround sound systems offer a dialog enhancement feature. Enabling this setting can help boost the vocals and make them more prominent in the overall audio mix.
- Dynamic Range Compression: When watching movies or playing games, there can be large variations in audio volume between soft whispers and loud explosions. Enabling dynamic range compression can help balance these audio extremes, ensuring a more consistent listening experience.
- Room EQ: Some advanced surround sound systems have room equalization (EQ) features. These systems use a microphone to measure the room’s acoustic properties and automatically adjust the audio settings to compensate for any room-induced frequency imbalances.
It’s worth noting that different audio sources may have their own audio settings that you can configure. Be sure to check the audio settings within your Blu-ray player, game console, or streaming device to ensure they are optimized for your surround sound system.
Remember, the goal of configuring your audio settings is to create a balanced and immersive sound experience. Take the time to experiment with different settings and fine-tune them to your preference. This will help you extract the maximum audio quality from your surround sound system.
Now that you have adjusted the audio settings, let’s move on to the next section, where we will explore how to utilize signal processing techniques to further enhance your surround sound system.
Using Signal Processing Techniques
Signal processing techniques can further enhance the audio quality of your surround sound system, providing a more immersive and enjoyable listening experience. Here are some techniques you can use:
- Room Correction: If your surround sound system supports it, consider using room correction software or hardware. These tools analyze the room’s acoustics and automatically adjust the audio settings to compensate for any frequency imbalances caused by the room’s characteristics.
- Virtual Surround Sound: Virtual surround sound technologies, such as Dolby Atmos or DTS:X, can create the illusion of three-dimensional audio using just a few speakers. These technologies use advanced algorithms to bounce sound off the walls and ceiling, tricking our ears into perceiving sound coming from different directions.
- Upmixing: Upmixing is the process of converting stereo or 5.1 channel audio to fill all available speakers in a surround sound system. This technique can provide a more immersive experience for content that isn’t originally mixed in surround sound.
- Sound Equalization: Use an equalizer to fine-tune the frequency response of your surround sound system. This allows you to boost or attenuate specific frequency ranges to compensate for the characteristics of your speakers or personal listening preferences.
- Sound Effects: Many surround sound systems offer various sound modes or effects that simulate different listening environments. Experiment with these effects to add depth and realism to your audio, whether you’re watching a movie, playing games, or listening to music.
- Ambient Lighting: Consider integrating ambient lighting with your surround sound system. Some accessories synchronize the lights with the audio, creating a more immersive and visually captivating experience.
Experimenting with these signal processing techniques can help you create a customized audio experience tailored to your preferences and the content you’re consuming. Each technique has its strengths and limitations, so feel free to explore and find the combination that works best for you.
Remember, the goal is to enhance your surround sound system’s audio quality and immerse yourself in the soundstage of your favorite movies, music, and games. Take the time to fine-tune the settings and enjoy the enhanced audio experience.
Now that we’ve explored signal processing techniques, let’s move on to the next section, where we will provide some troubleshooting tips to help you overcome common issues that may arise with your surround sound system.
Troubleshooting Tips
Even with careful setup and configuration, you may encounter some issues with your surround sound system. Don’t worry — here are some troubleshooting tips to help you address common problems:
- No Sound: If you’re not getting any sound from your speakers, check the connections between your audio sources, the surround sound receiver, and the speakers. Ensure all cables are securely connected and that the audio source is properly selected on the receiver.
- Imbalanced Sound: If you notice imbalanced sound, where some speakers are louder or softer than others, double-check the speaker levels using the calibration feature in your surround sound system. Adjust the levels until the audio output from each speaker is balanced.
- Muffled Sound: If the sound is muffled or lacks clarity, make sure there are no obstacles blocking the speakers. Objects in front of or around the speakers can interfere with sound propagation. Rearrange any furniture or other items that might obstruct the soundwaves.
- Sound Delay: If you experience a noticeable delay between the video and audio, commonly known as audio/video sync issues, check the settings on your audio source. Some TVs or media players have options to adjust audio delay to sync it with the video. Alternatively, your surround sound receiver may have similar settings.
- No Subwoofer Output: If you’re not getting any sound from your subwoofer, ensure that it’s powered on and properly connected to the surround sound receiver. Check the receiver’s settings to confirm that the subwoofer output is enabled.
- Remote Control Issues: If your remote control is not functioning correctly, replace the batteries and make sure there are no obstructions between the remote and the receiver. If problems persist, try reprogramming the remote or using a universal remote with your surround sound system.
If you encounter any other issues not addressed here, consult the user manual for your surround sound system or reach out to the manufacturer’s customer support for further assistance.
By implementing these troubleshooting tips, you can quickly diagnose and resolve common problems that may arise with your surround sound system, ensuring that you continue to enjoy a captivating audio experience.
Now that we’ve discussed troubleshooting tips, let’s wrap up this guide with a brief recap and final thoughts.
Conclusion
Creating a captivating and immersive audio experience with your surround sound system is within reach when you follow the steps outlined in this guide. By understanding the basics of surround sound systems, setting up your speakers correctly, configuring the audio settings, utilizing signal processing techniques, and troubleshooting any issues, you can optimize your system and elevate your audio enjoyment.
Remember to choose the right location for your system, position your speakers correctly, and ensure they are connected appropriately. Take advantage of the calibration features, adjust the audio settings to your preferences, and explore signal processing techniques like room correction and virtual surround sound to bring your audio to life.
If you encounter any issues, refer to the troubleshooting tips to resolve common problems and enhance the performance of your surround sound system.
Now that you have the knowledge and tools to optimize your surround sound system, it’s time to sit back, relax, and immerse yourself in a world of powerful and realistic sound. Enjoy your favorite movies, music, and games with a new level of audio fidelity, and appreciate the rich and immersive soundstage that a well-configured surround sound system can provide.
So, go ahead and embark on this audio journey, as you turn your living room into a private theater or a concert hall. Get ready to experience the power and beauty of sound like never before!