Introduction
Welcome to the world of immersive audio! If you’re a movie enthusiast or a music lover, setting up a 5.1 surround sound system can completely revolutionize your audio experience. With the right equipment and proper placement, you can create a cinema-like atmosphere right in the comfort of your own living room.
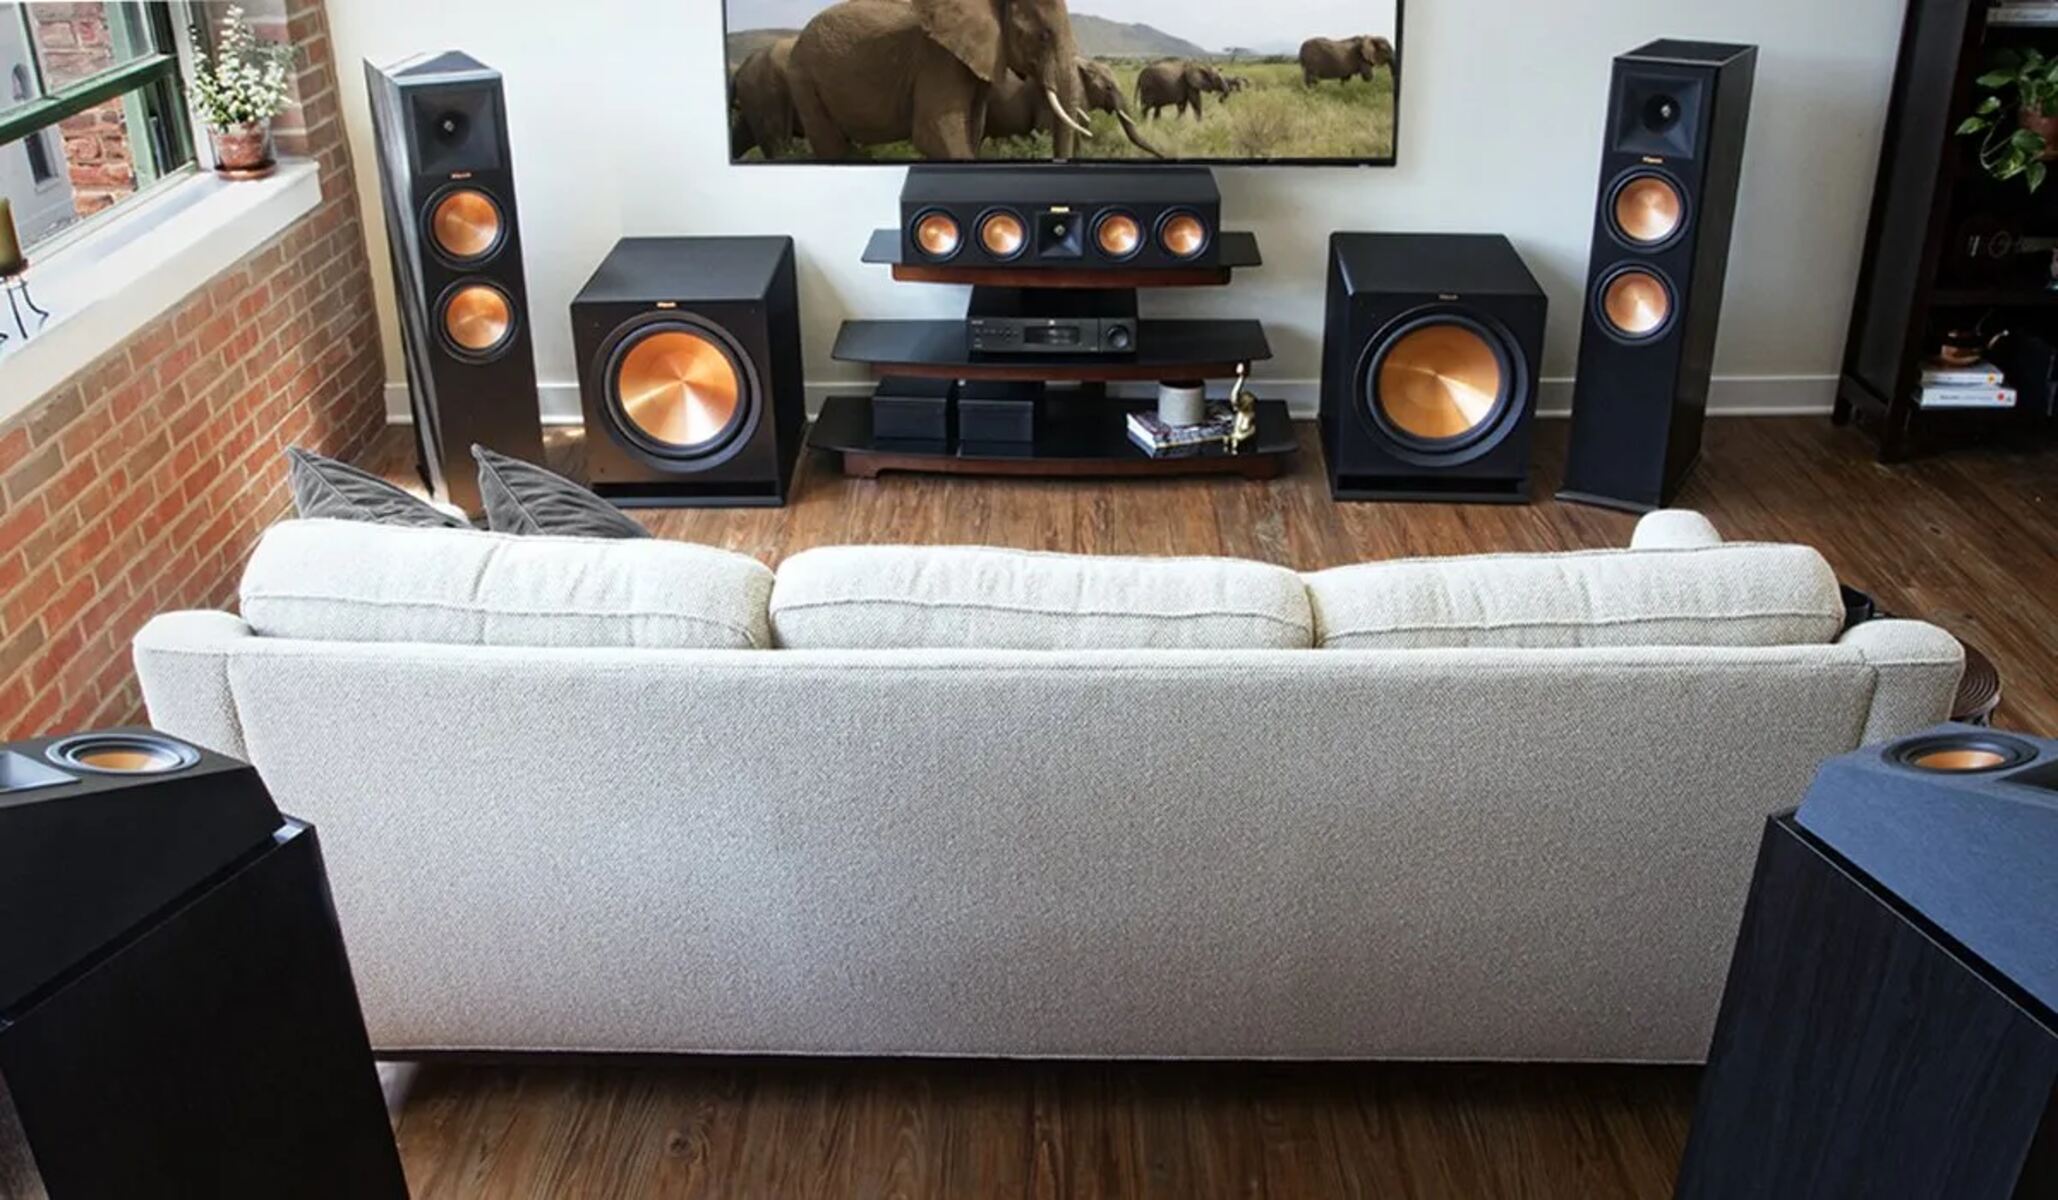
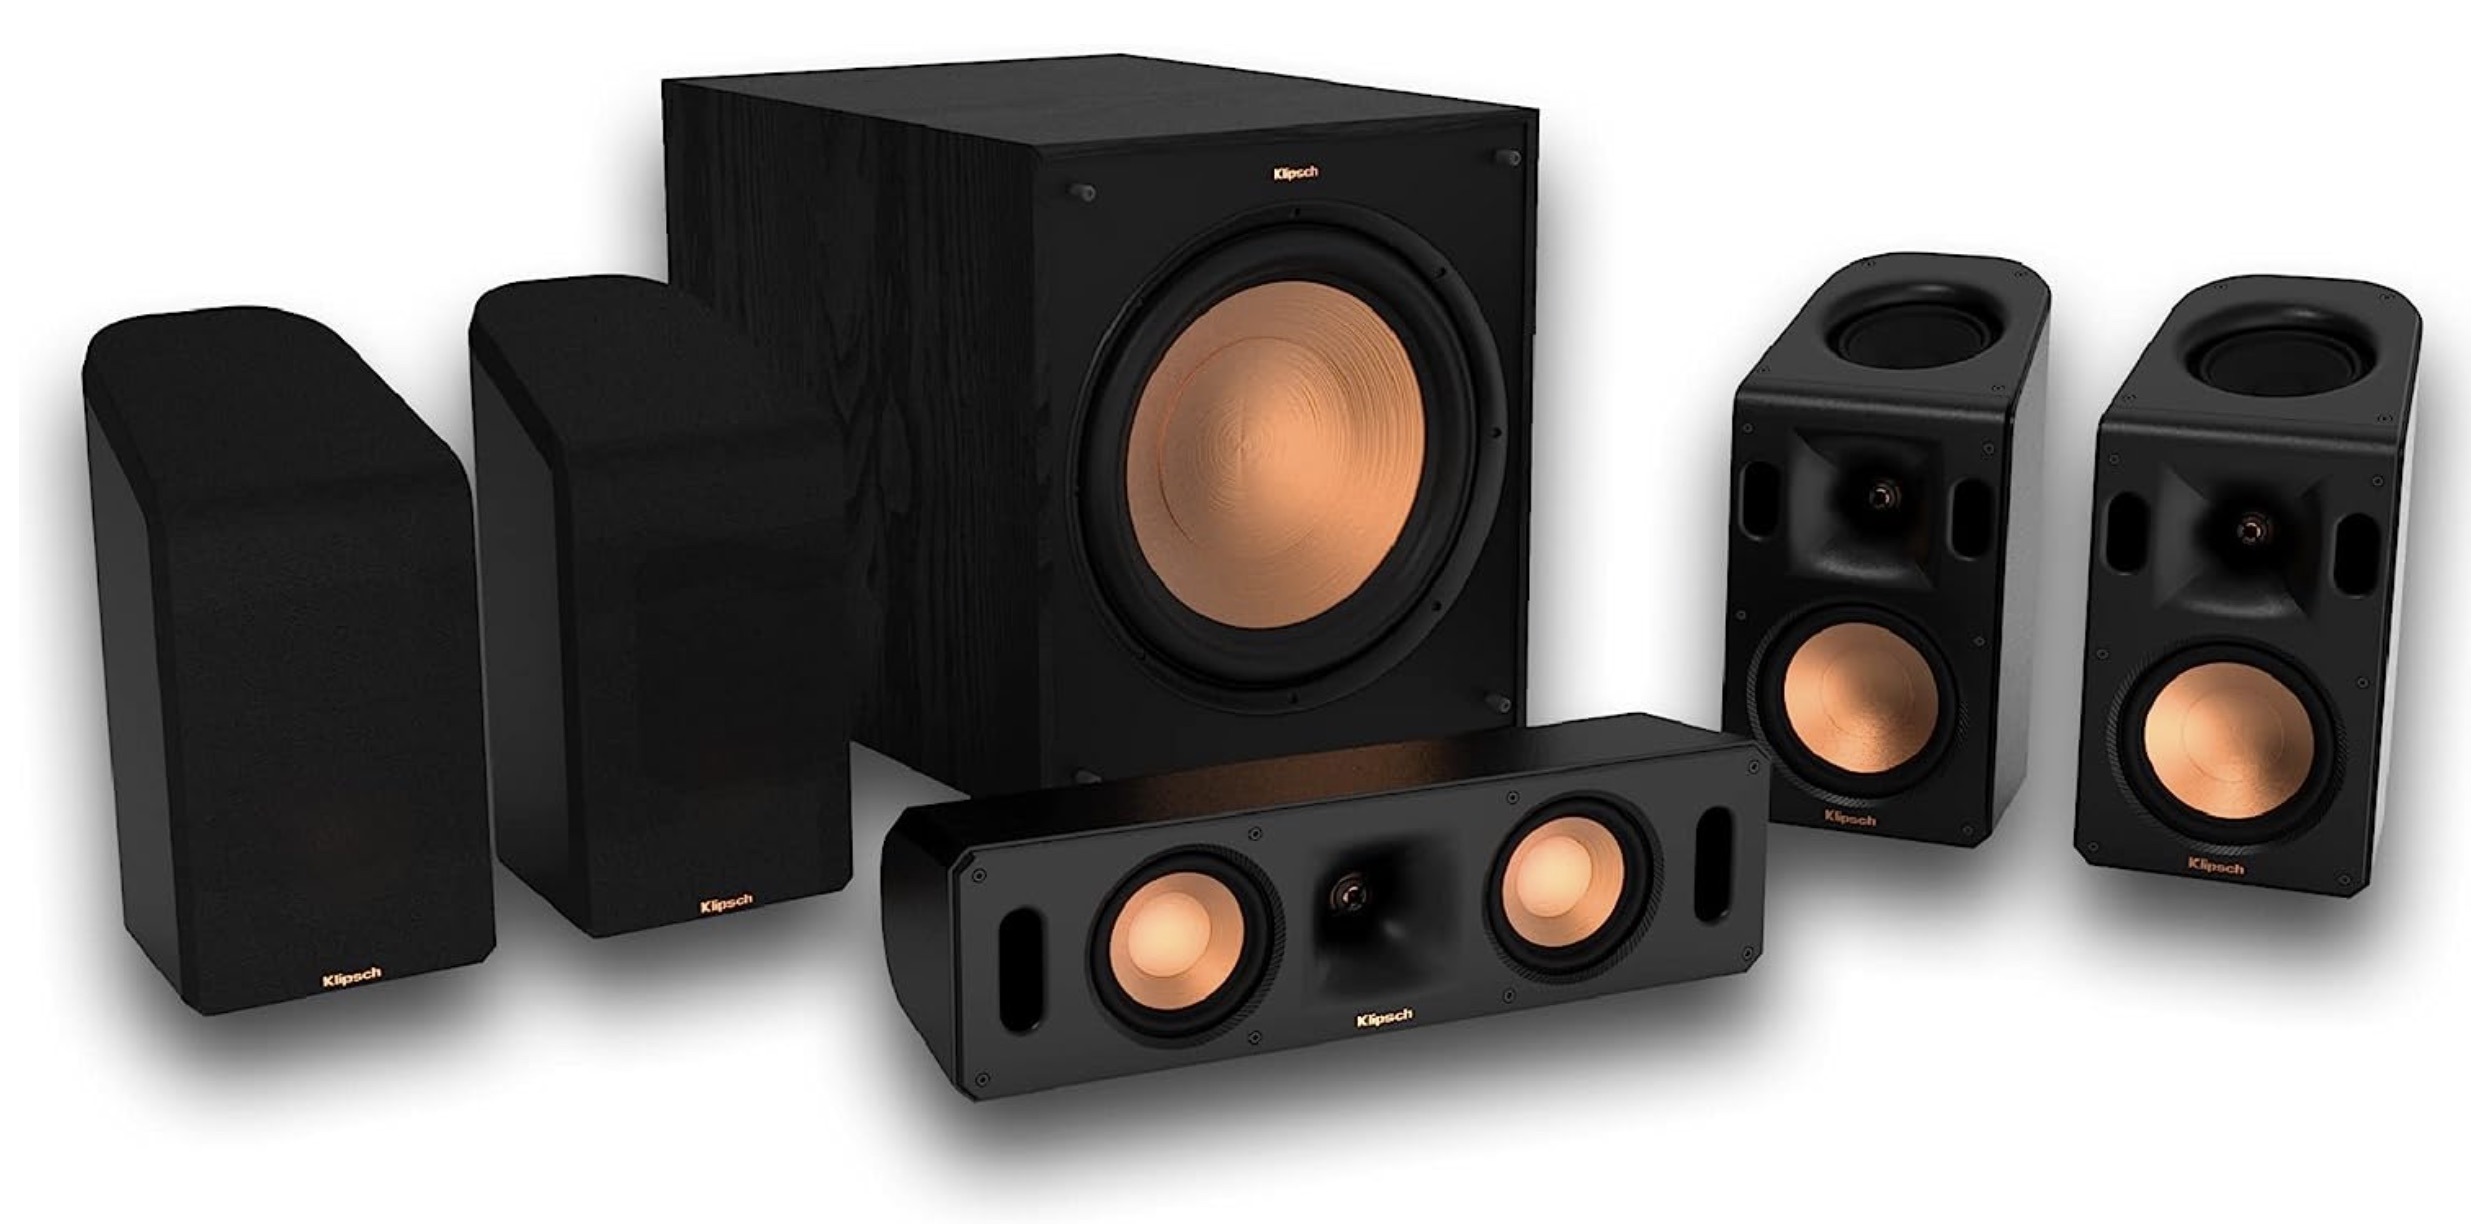
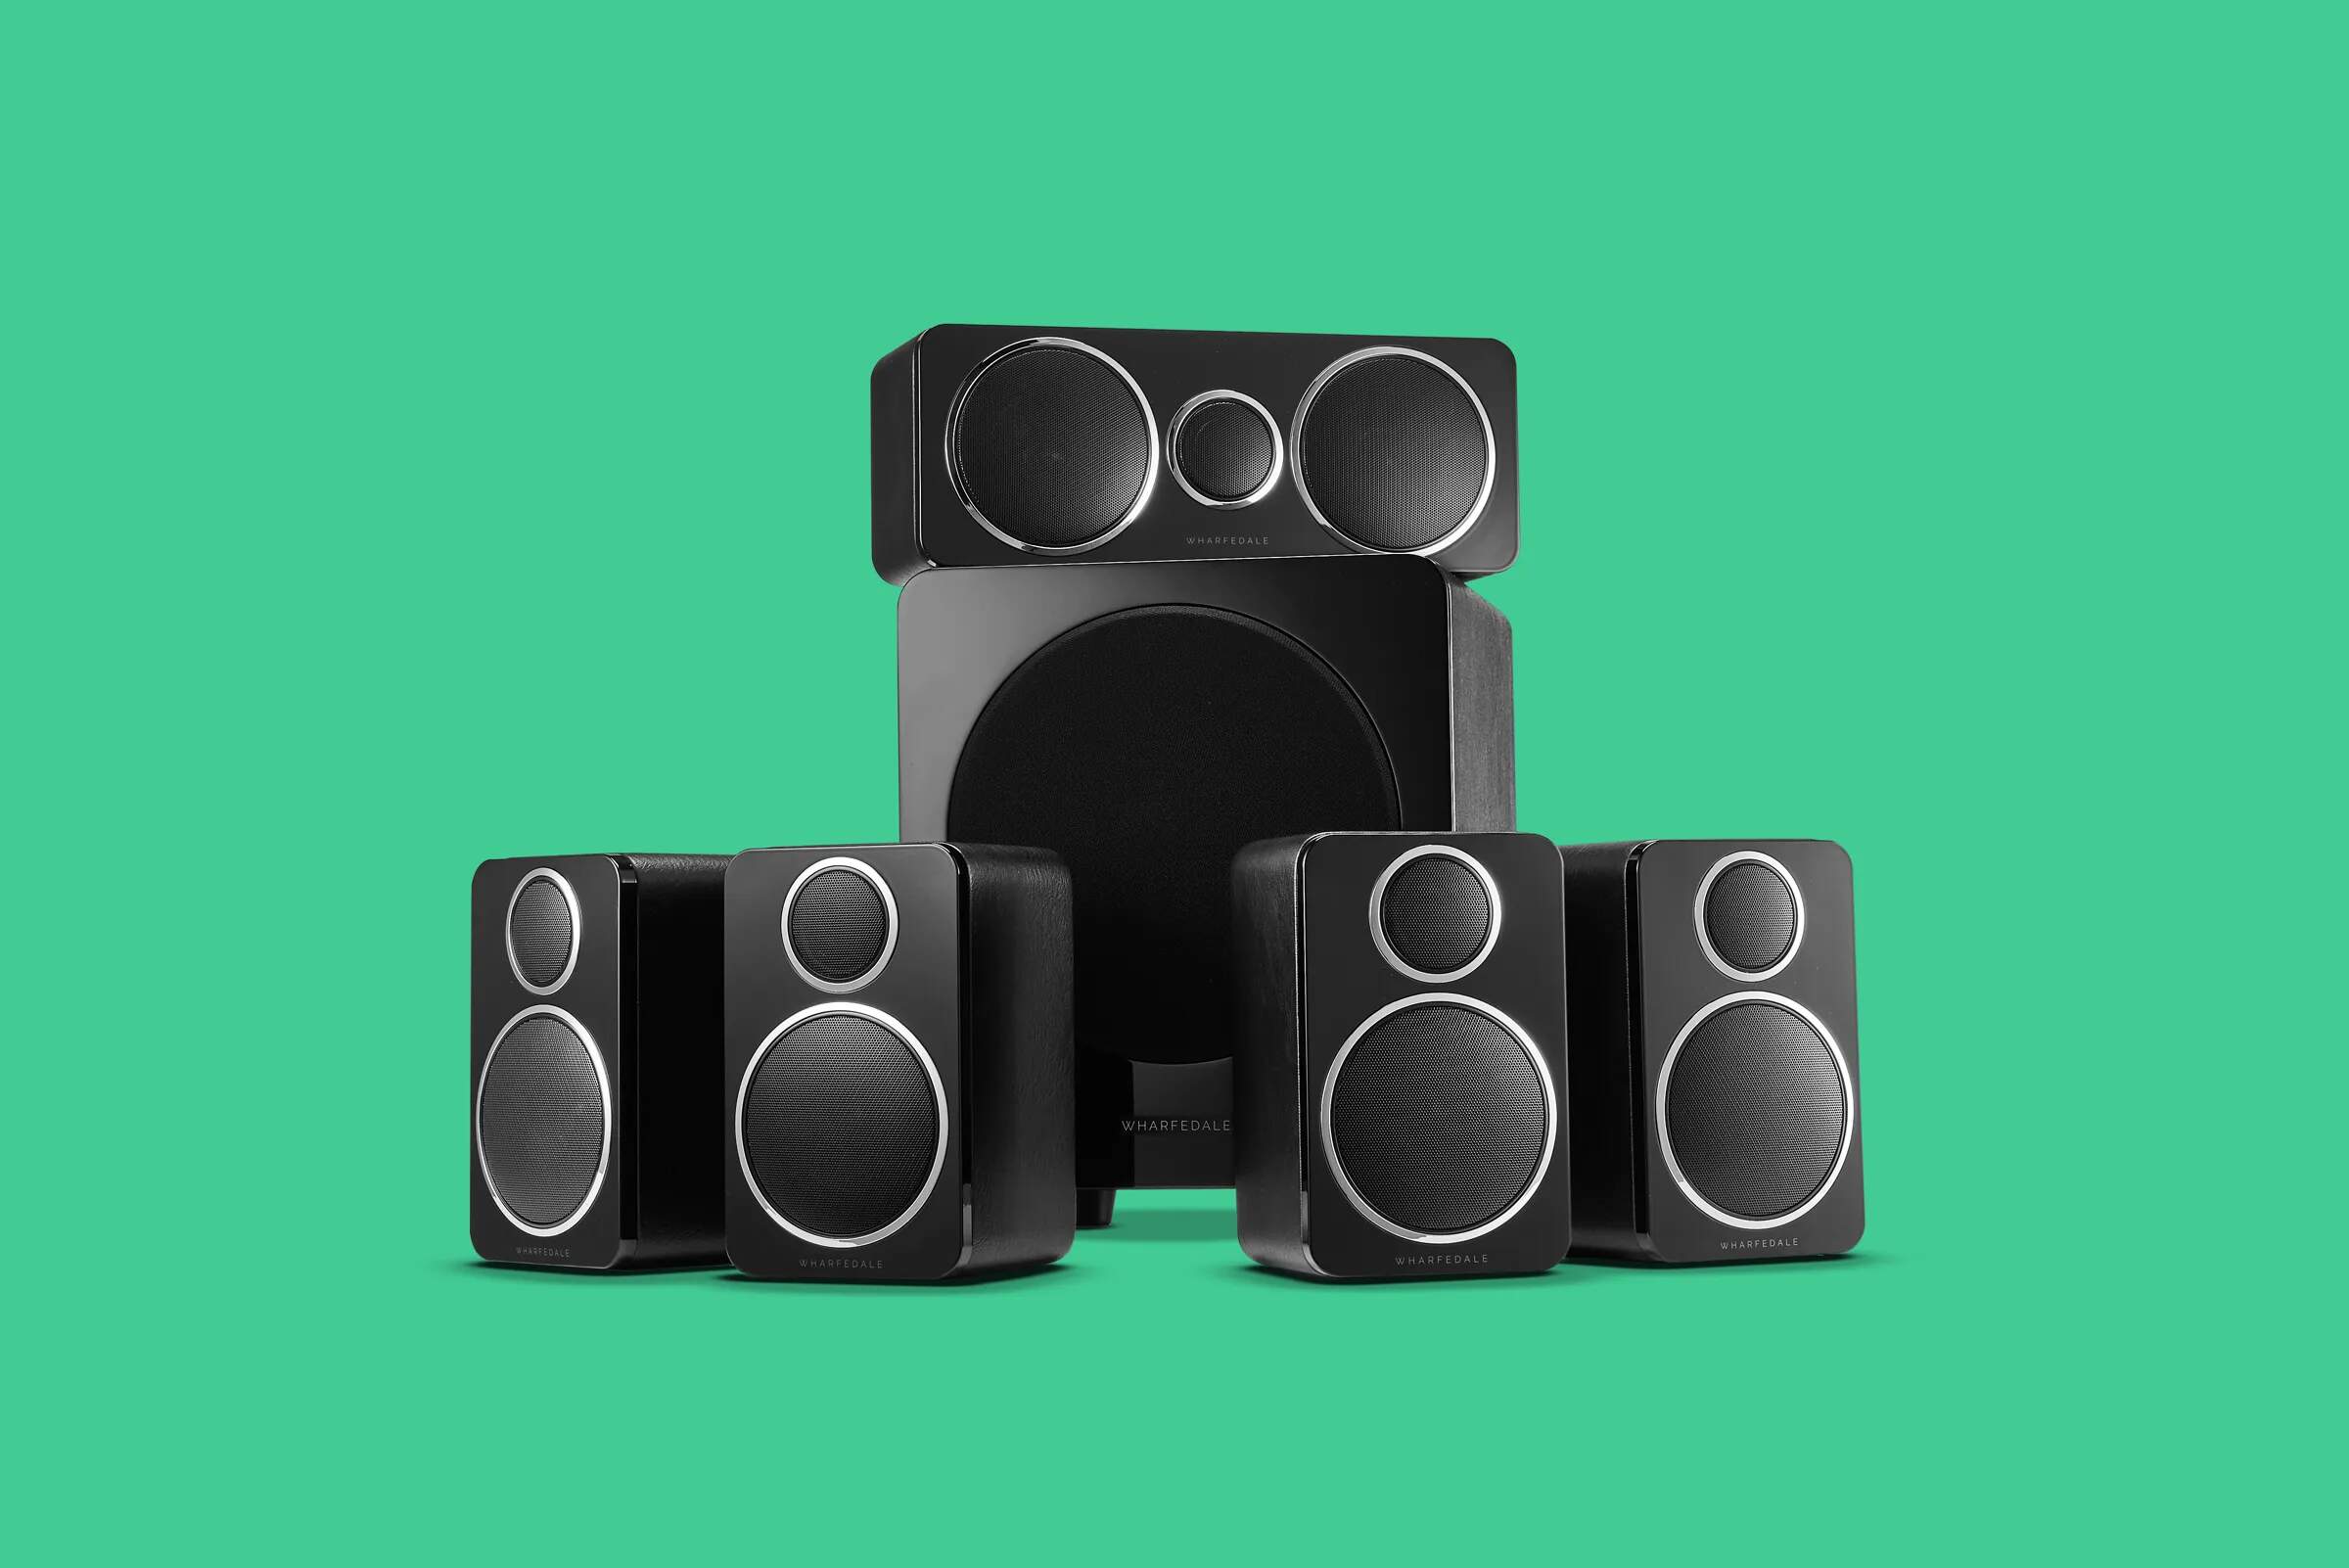
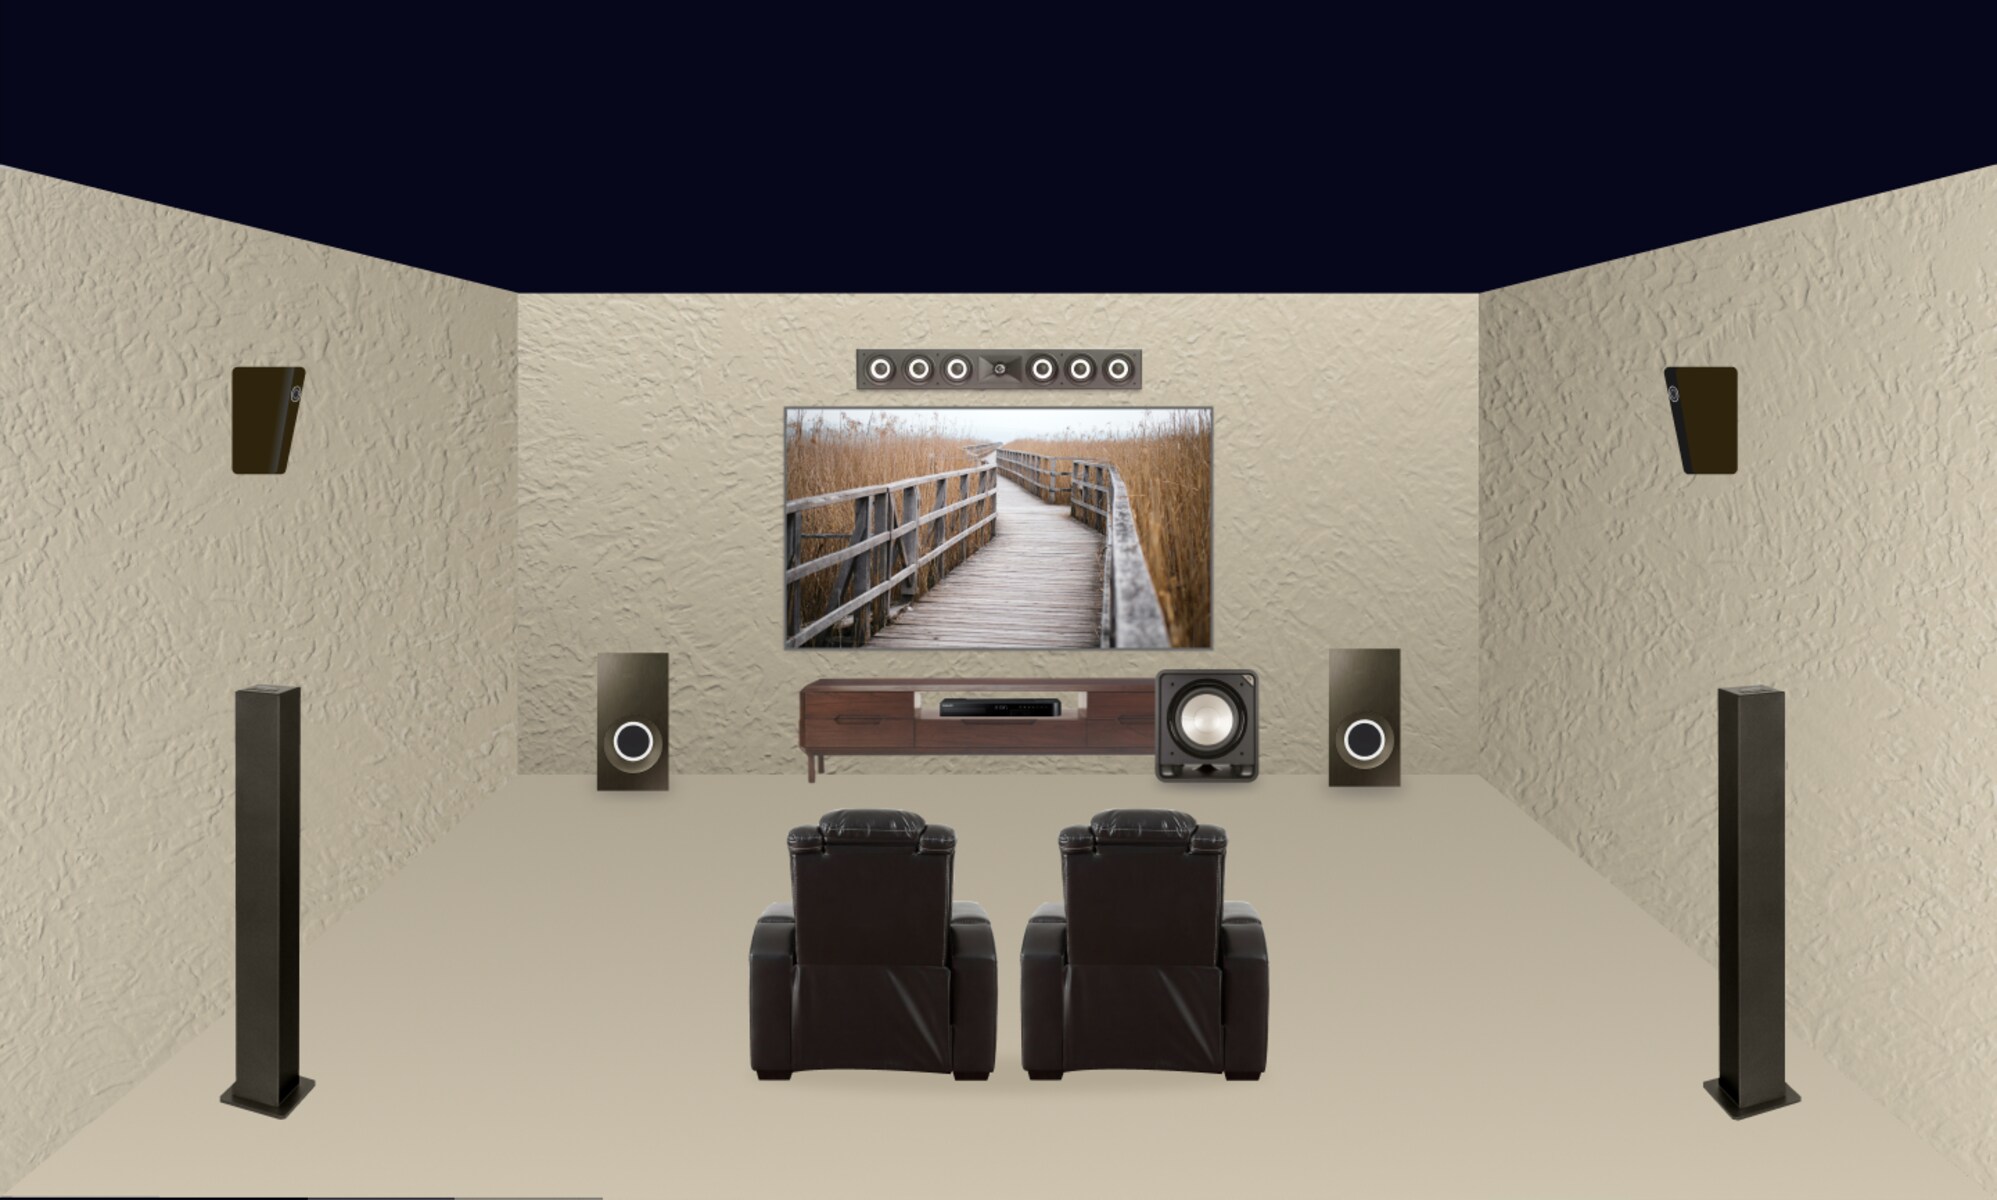
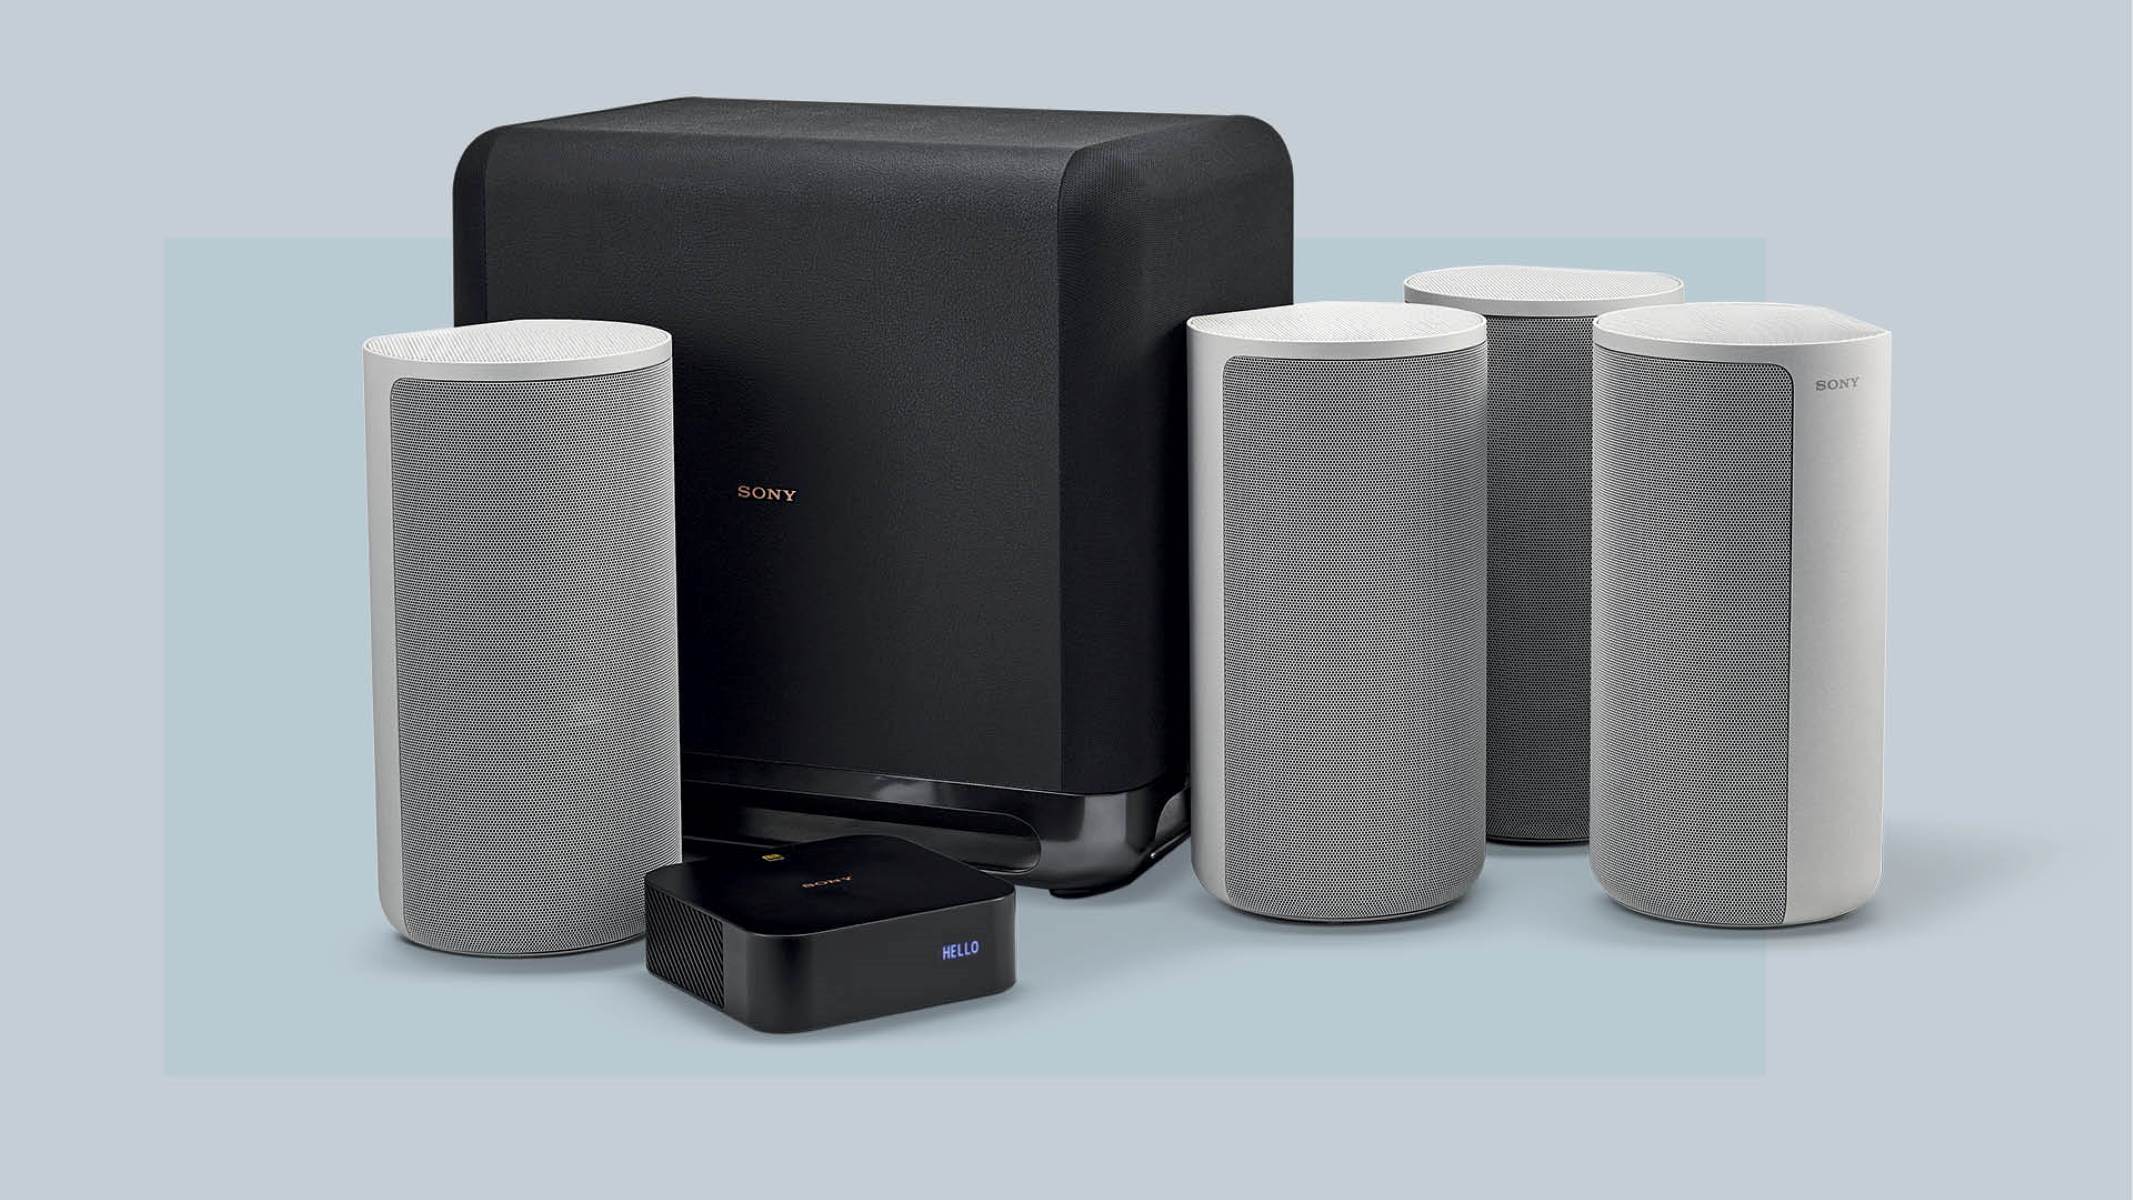
A 5.1 surround sound system consists of five speakers and a subwoofer. The five speakers include a center channel speaker, front left and right speakers, and rear left and right speakers. The subwoofer is responsible for delivering powerful bass frequencies and adding depth to the sound.
Setting up a 5.1 surround sound system can be a bit challenging, especially if you have limited space or your TV is located in the corner of the room. However, with a few expert tips and careful planning, you can overcome these hurdles and achieve optimal sound performance.
In this guide, we will walk you through the step-by-step process of setting up a 5.1 surround sound system with a TV in the corner of the room. From assessing the room layout to connecting the speakers and fine-tuning the system, we’ve got you covered. So, let’s dive in and turn your living room into a home theater experience like no other!
Step 1: Assessing the Room Layout
The first step in setting up your 5.1 surround sound system is to assess the layout of your room. This is essential to determine the ideal placement for the speakers and ensure optimal sound distribution throughout the space.
Start by measuring the dimensions of the room, taking note of any obstacles such as furniture, doors, or windows. Consider the seating arrangement and the distance between the TV and the listener’s position. Ideally, the listeners should be positioned at equal distances from the speakers to achieve a balanced soundstage.
Next, identify the location of the TV in the corner of the room. This placement can add a stylish and space-saving element to your setup, but it may also present challenges in terms of speaker positioning. Take into account the angles and distances required for an immersive audio experience.
Another critical factor to consider is the acoustics of the room. Hard surfaces, such as bare walls and floors, can cause sound reflections and echoes. On the other hand, soft materials like curtains or carpets can absorb sound waves. Assessing the room’s acoustics will help you plan for any necessary adjustments or additions to optimize the audio performance.
Keep in mind that the ideal speaker placement for a 5.1 surround sound system follows a specific configuration. The center channel speaker should be positioned directly above or below the TV. The front left and right speakers should be placed at an equal distance from the TV, forming an equilateral triangle with the listener’s position. The rear left and right speakers are typically placed behind the seating area to create a surround sound effect.
By carefully assessing the room layout, considering the TV placement, and understanding the acoustics of the space, you will be able to plan the setup of your 5.1 surround sound system more effectively. Taking these initial steps will lay the foundation for a truly immersive audio experience that will elevate your entertainment moments to new heights.
Step 2: Choosing the Right Speakers
Choosing the right speakers is crucial for achieving high-quality audio in your 5.1 surround sound system. With a plethora of options available in the market, it’s essential to consider factors such as speaker type, size, power handling, and compatibility with your existing setup.
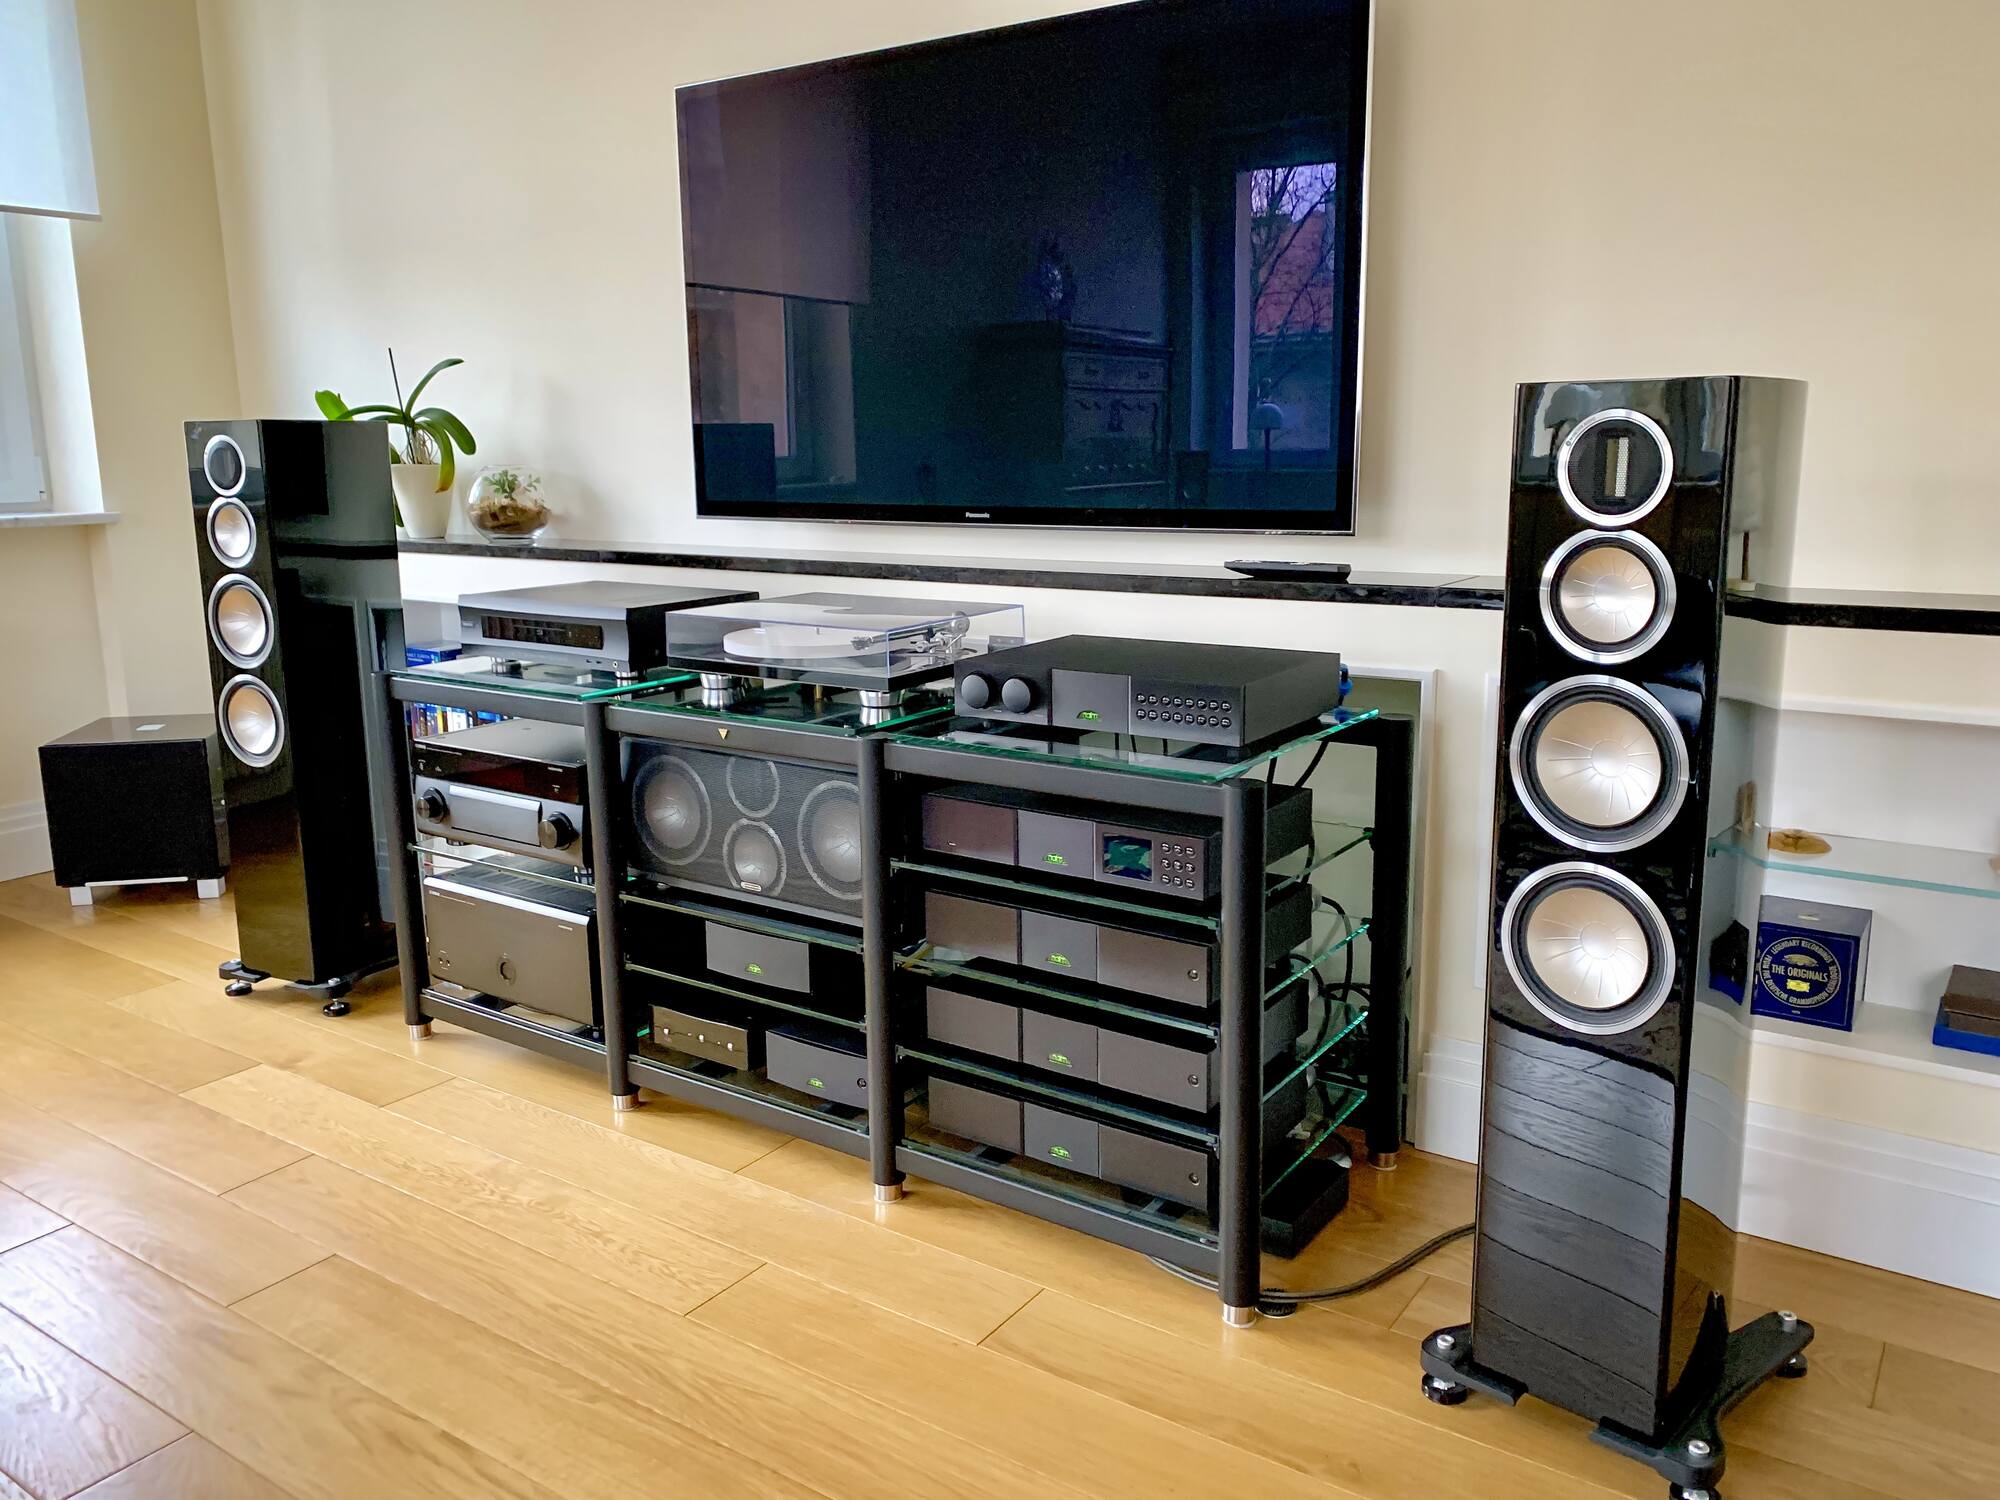
Start by determining the type of speakers you want for your system. There are various options, including bookshelf speakers, floor-standing speakers, and in-wall or in-ceiling speakers. Each type offers its own advantages and considerations. Bookshelf speakers are compact and versatile, floor-standing speakers provide robust sound, and in-wall or in-ceiling speakers offer a discreet and space-saving solution.
Consider the size of your room when selecting speakers. Larger rooms may benefit from bigger and more powerful speakers to fill the space with sound, while smaller rooms might require smaller speakers to avoid overwhelming the area.
Power handling is another important aspect to consider. Ensure that the speakers can handle the power output of your amplifier or AV receiver without distortion or damage. Look for speakers with a power rating that matches your system or amplifier specifications.
Compatibility is key when choosing speakers for your surround sound system. Ensure that the speakers you select are compatible with your AV receiver or amplifier. Check the specifications for impedance (measured in ohms) and match it with the receiver’s specifications to ensure a proper and efficient connection.
Furthermore, consider the brand reputation and customer reviews. Look for reputable brands known for their quality and durability. Reading reviews from other customers can provide valuable insights into the performance and reliability of the speakers you’re considering.
Take the time to listen to the speakers before making a purchase, if possible. Visit audio stores or attend audio demonstrations to get a sense of how the speakers sound. This will help you make a more informed decision based on your personal preferences and audio requirements.
By carefully choosing the right speakers for your 5.1 surround sound system, you’ll be on your way to achieving immersive and high-fidelity audio that enhances your movies, music, and gaming experiences.
Step 3: Placing the TV in the Corner of the Room
Placing the TV in the corner of the room can create a unique and aesthetically pleasing setup for your 5.1 surround sound system. However, it’s important to consider a few factors to ensure optimal viewing angles and speaker placement.
Start by determining the height at which you want to position the TV. Ideally, the center of the TV screen should be at eye level when seated in the primary viewing position. This ensures a comfortable and immersive viewing experience without straining the neck or eyes.
Consider the distance between the TV and the seating area. The TV should be placed at a distance that allows for easy viewing of details without causing eye fatigue. A general rule of thumb is to position the TV at a distance that is approximately 1.5 to 2 times the diagonal screen size.
When positioning the TV in the corner of the room, be mindful of the viewing angles. The corner placement may result in wider angles, which can affect the visibility of the screen. Adjust the TV angle and tilt to minimize any distortions or reduction in picture quality.
Additionally, it’s important to consider the placement of the center channel speaker. The center channel speaker is responsible for delivering clear and articulate dialogue, and it should ideally be positioned directly above or below the TV. If mounting the TV on the wall, ensure that there is enough space to accommodate the center channel speaker without obstructing the screen or compromising the audio quality.
Take into account the reflections and acoustic aspects of the corner placement. The walls surrounding the TV may cause sound reflections that can affect the audio performance of your surround sound system. Consider using acoustic treatments such as wall panels or curtains to minimize reflections and improve sound clarity.
By carefully placing the TV in the corner of the room and considering factors such as height, distance, viewing angles, and speaker placement, you can create a visually appealing and functional setup that complements your 5.1 surround sound system.
Step 4: Setting Up the Center Channel Speaker
The center channel speaker is a vital component of your 5.1 surround sound system as it reproduces dialogue and critical audio information. Proper placement and calibration of the center channel speaker will ensure clear and balanced sound for an immersive audio experience.
Start by positioning the center channel speaker directly above or below the TV. Ideally, it should be at the same height as the listeners’ ears when seated in the primary viewing position. This positioning helps to create a seamless soundstage where the on-screen action and dialogue appear to originate from the center of the screen.
Ensure that the center channel speaker is placed on a stable surface or mounted securely on the wall. Stability is essential to prevent vibrations or unwanted movement that may affect the audio quality. If placing the speaker on a shelf or stand, make sure it is positioned at the same distance from the listeners as the front left and right speakers, forming an equilateral triangle.
Consider the orientation and angle of the center channel speaker. It should be aimed towards the listening area to ensure accurate sound reproduction. Some center channel speakers come with adjustable tilt or angle options, allowing you to fine-tune the speaker’s directionality and optimize the sound dispersion.
Once the center channel speaker is in its ideal position, it’s important to calibrate its volume level to match the other speakers in your system. Most AV receivers have an automatic speaker calibration feature that balances the volume levels and adjusts the speaker settings to match the room’s acoustics. Follow the instructions provided with your receiver to run the calibration process.
If your AV receiver doesn’t have an automatic calibration feature, you can manually adjust the volume level of the center channel speaker. Use a test tone or play a dialogue-heavy content to evaluate if the speaker’s volume needs to be increased or decreased. Aim for a balanced volume level where dialogue is clear and intelligible without overpowering the other speakers.
By setting up the center channel speaker correctly and calibrating its volume level, you’ll ensure that dialogue and critical audio information are faithfully reproduced, enhancing the overall audio performance of your 5.1 surround sound system.
Step 5: Positioning the Front Left and Right Speakers
The front left and right speakers play a crucial role in creating an immersive audio experience in your 5.1 surround sound system. Proper positioning of these speakers is essential to achieve a balanced soundstage and accurate sound imaging.
Start by placing the front left and right speakers at an equal distance from the TV, forming an equilateral triangle with the primary listening position. This triangular positioning helps to create a balanced soundstage where the audio appears to originate from the on-screen action.
The height of the front speakers should match the height of the listener’s ears when seated in the primary viewing position. This ensures that the sound reaches the ears at the correct angle, creating a lifelike and natural audio presentation.
Angles play a vital role in positioning the front speakers. Aim towards the primary listening position to ensure the sound is directed accurately. Angling the speakers slightly inward can also enhance the sound imaging and create a wider and more immersive soundstage.
Consider the placement of the front speakers in relation to the room’s boundaries. Avoid placing them directly against the walls, as this can result in unwanted reflections and resonance. Leave some space between the speakers and the walls to allow for optimal sound dispersion.
Experiment with the positioning of the front speakers to achieve the best sound. Small adjustments in placement can make a significant difference in the audio quality. Take the time to listen and fine-tune the positioning until you achieve the desired soundstage and clarity.
Once the front left and right speakers are in their ideal positions, it’s essential to calibrate their volume levels. Use the automatic calibration feature of your AV receiver or manually adjust the volume to ensure a balanced sound across all speakers.
Remember that the front left and right speakers are responsible for delivering a significant portion of the audio information. Finding the ideal placement and calibrating them correctly will enhance the overall audio experience and immerse you in a world of captivating sound.
Step 6: Placing the Rear Left and Right Speakers
The rear left and right speakers in a 5.1 surround sound system are responsible for creating an immersive and enveloping surround sound experience. Proper placement of these speakers is essential to achieve a balanced and realistic audio performance.
Start by positioning the rear left and right speakers behind the primary listening area. They should be placed slightly higher than ear level, facing inwards towards the center of the room. This positioning helps to envelop the listener in a surround sound field, adding depth and dimension to the audio.
When placing the rear speakers, aim to create an equilateral triangle between each rear speaker and the primary listening position. This ensures a balanced soundstage and accurate sound localization as the audio moves from front to back and side to side.
Consider the distance between the rear speakers and the listener. Ideally, they should be spaced evenly and at an equal distance from the listening position. This symmetrical positioning creates a cohesive and seamless surround sound experience.
Take into account the physical constraints and characteristics of your room. Avoid placing the rear speakers too close to walls or corners, as this can cause unwanted reflections and distortions. Leave some space between the speakers and the room boundaries to allow for optimal sound dispersion.
Experiment with the positioning and angle of the rear speakers to find the optimal placement for your specific room. Small adjustments can make a big difference in the overall surround sound experience. Take the time to listen and fine-tune the positioning until you achieve the desired level of immersion and sound balance.
Once the rear left and right speakers are in their ideal positions, it’s important to calibrate their volume levels to ensure a seamless and balanced surround sound experience. Use the automatic calibration feature of your AV receiver or manually adjust the volume to align with the front speakers and create a cohesive soundstage.
Proper placement of the rear left and right speakers is essential to create an immersive and immersive surround sound experience. With careful positioning and calibration, you’ll be able to enjoy movies, music, and games in a whole new dimension that truly surrounds you.
Step 7: Installing the Subwoofer
The subwoofer is a crucial component of a 5.1 surround sound system, responsible for delivering deep, low-frequency bass that adds impact and intensity to your audio. Proper installation of the subwoofer is vital to achieve optimal bass performance and a balanced audio experience.
Start by identifying the ideal location for your subwoofer. A common placement option is near the front of the room, such as next to the TV or between the front left and right speakers. However, you may need to experiment with different positions to find the spot that delivers the best bass response for your room.
Avoid placing the subwoofer too close to walls or corners, as this can cause exaggerated bass and boominess. Keep it at least a few inches away from walls to allow the sound waves to properly disperse and reduce reflections.
Once you have determined the placement, connect the subwoofer to your AV receiver or amplifier using a high-quality subwoofer cable. Ensure that the cable is securely connected to the subwoofer’s input and the corresponding output on the receiver.
If your subwoofer has built-in controls, adjust the settings according to your preferences and room acoustics. Common controls include volume or gain, frequency cutoff, and phase adjustment. Fine-tuning these settings can help achieve an optimal blend of bass with the rest of the speakers in your system.
Another consideration is the crossover setting. This is responsible for determining the frequency at which the subwoofer takes over from the other speakers in your system. Set the crossover point around 80 Hz, which is the general guideline for most surround sound systems. However, you may need to adjust this depending on the capabilities of your speakers and the room’s acoustics.
Once the subwoofer is installed and connected, it’s essential to test its performance with various audio content. Play music, movies, or test tones that emphasize low-frequency sounds. Listen carefully to ensure that the bass is well-integrated with the rest of the audio, not overpowering or missing in action.
Make small adjustments to the subwoofer’s settings as needed, such as increasing or decreasing the volume or adjusting the phase, until you achieve the desired bass response and blend with your surround sound system.
Installing the subwoofer properly is crucial to achieve a balanced and immersive audio experience in your 5.1 surround sound setup. By following these guidelines and fine-tuning the subwoofer’s settings, you’ll be able to enjoy deep and impactful bass that enhances your audio enjoyment.
Step 8: Connecting the Speakers and Subwoofer to the Receiver
Connecting the speakers and subwoofer to the receiver is a crucial step in setting up your 5.1 surround sound system. Proper wiring and connections ensure that the audio signals are transmitted accurately to each speaker, delivering immersive and high-quality sound.
Start by identifying the speaker outputs on the back of your AV receiver. Most receivers will have dedicated outputs for each speaker channel, including front left, front right, center, rear left, rear right, and subwoofer.
For each speaker, connect the speaker wire to the corresponding output on the receiver. Ensure that you maintain proper polarity, with the positive wire connected to the positive terminal and the negative wire connected to the negative terminal. Many speaker cables have color-coded wires or markings to help you identify the positive and negative ends.
When connecting the subwoofer, use a dedicated subwoofer cable or RCA cable. Locate the subwoofer output or LFE (low-frequency effects) output on the receiver and connect it to the corresponding input on the subwoofer. Again, ensure that the connection is secure and that there is proper polarity.
After making all the connections, carefully tidy up the wires to avoid any tangled or messy appearance. Use cable management solutions or tape to secure the wires and prevent them from becoming a tripping hazard.
Once the speakers and subwoofer are connected, it’s important to test each speaker to ensure they are working correctly. Use the built-in speaker test function on your receiver to send test tones to each individual speaker. Confirm that the sound is coming from the correct speaker and that they are all functioning properly.
If any of the speakers are not working or there is no sound coming from them, check the connections to ensure they are secure and that the wires are properly connected to the receiver and the speakers.
Take the time to fine-tune the volume levels of each speaker using the receiver’s settings. Adjust the volume for each speaker to create a balanced soundstage where all the speakers blend together seamlessly.
By properly connecting the speakers and subwoofer to the receiver, you’ll ensure that the audio signals are transmitted accurately, resulting in a high-quality and immersive surround sound experience.
Step 9: Adjusting the Speaker Levels and Settings
Adjusting the speaker levels and settings is an essential step in fine-tuning your 5.1 surround sound system for optimal audio performance. By making these adjustments, you can achieve a balanced soundstage and ensure that each speaker is delivering the right amount of sound.
Start by accessing the audio settings menu on your AV receiver. Look for options related to speaker levels, balance, and equalization. The exact steps may vary depending on your receiver, so consult the user manual for guidance.
Begin by adjusting the speaker levels. Many receivers offer a test tone feature that allows you to individually adjust the volume level of each speaker. This test tone plays through each speaker, and you can adjust the volume level using the receiver’s settings until each speaker sounds equally balanced in relation to the others.
Pay special attention to the center channel speaker as it is responsible for dialogue and critical audio information. Ensure that the center channel speaker is not too loud or too soft compared to the other speakers. Adjust its level until dialogue sounds clear and well-integrated with the rest of the audio.
Experiment with the balance and equalization settings to further refine the sound. The balance control allows you to adjust the output between the left and right speakers to compensate for any asymmetrical listening positions. The equalization settings, such as bass and treble controls, enable you to customize the audio response to suit your personal taste.
Consider using room correction technology if your AV receiver supports it. Many receivers come with built-in room correction functionality, which analyzes the acoustics of your room and makes automatic adjustments to the speaker levels and equalization settings for optimal sound quality. Follow the instructions provided with your receiver to run the room correction process.
Listen to a variety of audio content, such as music, movies, and games, while making these adjustments. Pay attention to the overall balance, clarity, and detail of the sound. Make small adjustments as needed until you achieve a pleasing and immersive audio experience.
Remember to save your settings once you have completed the adjustments. This ensures that your preferred settings are retained for future use.
By taking the time to adjust the speaker levels and settings, you can customize the sound of your 5.1 surround sound system to best fit your preferences and the characteristics of your room, resulting in a truly immersive and enjoyable audio experience.
Step 10: Testing and Fine-Tuning the Surround Sound System
Testing and fine-tuning your surround sound system is the final step to ensure optimal audio performance and a rewarding experience. It allows you to identify any issues, make necessary adjustments, and fully immerse yourself in the audio experience.
Start by testing the system with a variety of audio content, such as movies, music, and games. This will help you evaluate the overall sound quality, soundstage, and imaging. Pay attention to the clarity of dialogue, the balance between different speakers, and the impact of low-frequency effects.
During the testing phase, listen for any noticeable imbalances or issues with the sound. If certain frequencies are overpowering or certain speakers are underperforming, make note of those specific areas that require adjustments.
Experiment with different audio formats and surround sound effects. Some content may have dedicated surround sound tracks that can take advantage of your system’s capabilities. Explore different settings on your AV receiver to find the best audio mode for each type of content.
Fine-tune the individual speaker settings. Use the equalizer function on your receiver to adjust the tone of each speaker, emphasizing or minimizing specific frequency ranges as needed. This can help balance the sound and improve the overall audio performance.
Consider incorporating acoustic treatments in the room. Adding sound-absorbing panels or diffusers can help reduce echoes and unwanted reflections, enhancing the clarity of the audio. Experiment with the placement of these treatments to find the sweet spot for optimal acoustic performance.
Involve multiple listeners in the testing phase. Have others sit in various positions around the room to ensure that the surround sound effects are well-distributed and deliver an immersive experience from all angles.
Pay attention to any software or firmware updates for your receiver or other audio components. Manufacturers often release updates to improve performance or fix any known issues. Stay informed and update your system as necessary.
Continuously fine-tune and adjust as you use your surround sound system over time. Your preferences may change, or you may upgrade or modify your audio setup. Regularly revisit the settings and conduct audio tests to ensure that you are always getting the best performance from your system.
By testing and fine-tuning your surround sound system, you’ll be able to optimize the audio performance, identify any areas for improvement, and create a truly immersive and captivating audio experience that brings your entertainment to life.
Conclusion
Congratulations! You have successfully set up your 5.1 surround sound system with the TV in the corner of your room. By following the steps outlined in this guide, you have created an immersive audio experience that will elevate your entertainment moments to new heights.
Throughout the setup process, you assessed the room layout, carefully chose the right speakers, positioned the TV in the corner of the room, set up the center channel speaker, placed the front left and right speakers, positioned the rear left and right speakers, installed the subwoofer, connected the speakers and subwoofer to the receiver, adjusted the speaker levels and settings, and finally tested and fine-tuned the system.
These steps ensure that each component of your surround sound system is in the optimal position and calibrated to deliver a balanced and captivating audio performance. Whether you’re watching movies, playing games, or listening to music, you can now enjoy a truly immersive and cinema-like experience in the comfort of your own home.
Remember to regularly revisit and fine-tune your system as you use it. As your preferences change and technology evolves, fine-tuning will help you adapt and get the best audio performance from your surround sound system.
Enjoy the incredible sound quality, the depth of bass from the subwoofer, the crisp dialogue from the center channel speaker, and the surround sound effects that create a realistic and immersive experience.
Now, grab your favorite movie or album, gather your friends and family, and let the power of your 5.1 surround sound system transport you into a world of sensational audio bliss!