Introduction
Welcome to the ultimate guide on how to make a wireless surround sound system! If you’re a movie buff or a music lover, having a surround sound system can greatly enhance your audio experience and transform your living space into a mini home theater. With the advancement of technology, setting up a wireless surround sound system has become easier and more convenient than ever.
Gone are the days of dealing with a mess of cables and limited placement options. A wireless audio system offers flexibility in terms of positioning the speakers, allowing you to create an immersive audio environment without the constraints of wired connections. Whether you’re watching movies, playing video games, or listening to music, a wireless surround sound system provides a high-quality and seamless audio experience.
In this guide, we’ll walk you through the step-by-step process of setting up your wireless surround sound system, from choosing the right audio system to troubleshooting common issues. By the end of this guide, you’ll have all the knowledge and confidence to create your own wireless surround sound setup and enjoy incredible sound right in the comfort of your home.
Before we dive into the nitty-gritty details, it’s important to note that different wireless audio systems and setups may vary. However, the general principles and steps outlined in this guide will provide a solid foundation for building your system.
So, if you’re ready to take your audio experience to the next level, let’s get started and create your own wireless surround sound system!
Materials Needed
Before you begin setting up your wireless surround sound system, it’s essential to gather all the necessary materials. Here’s a list of items you’ll need to get started:
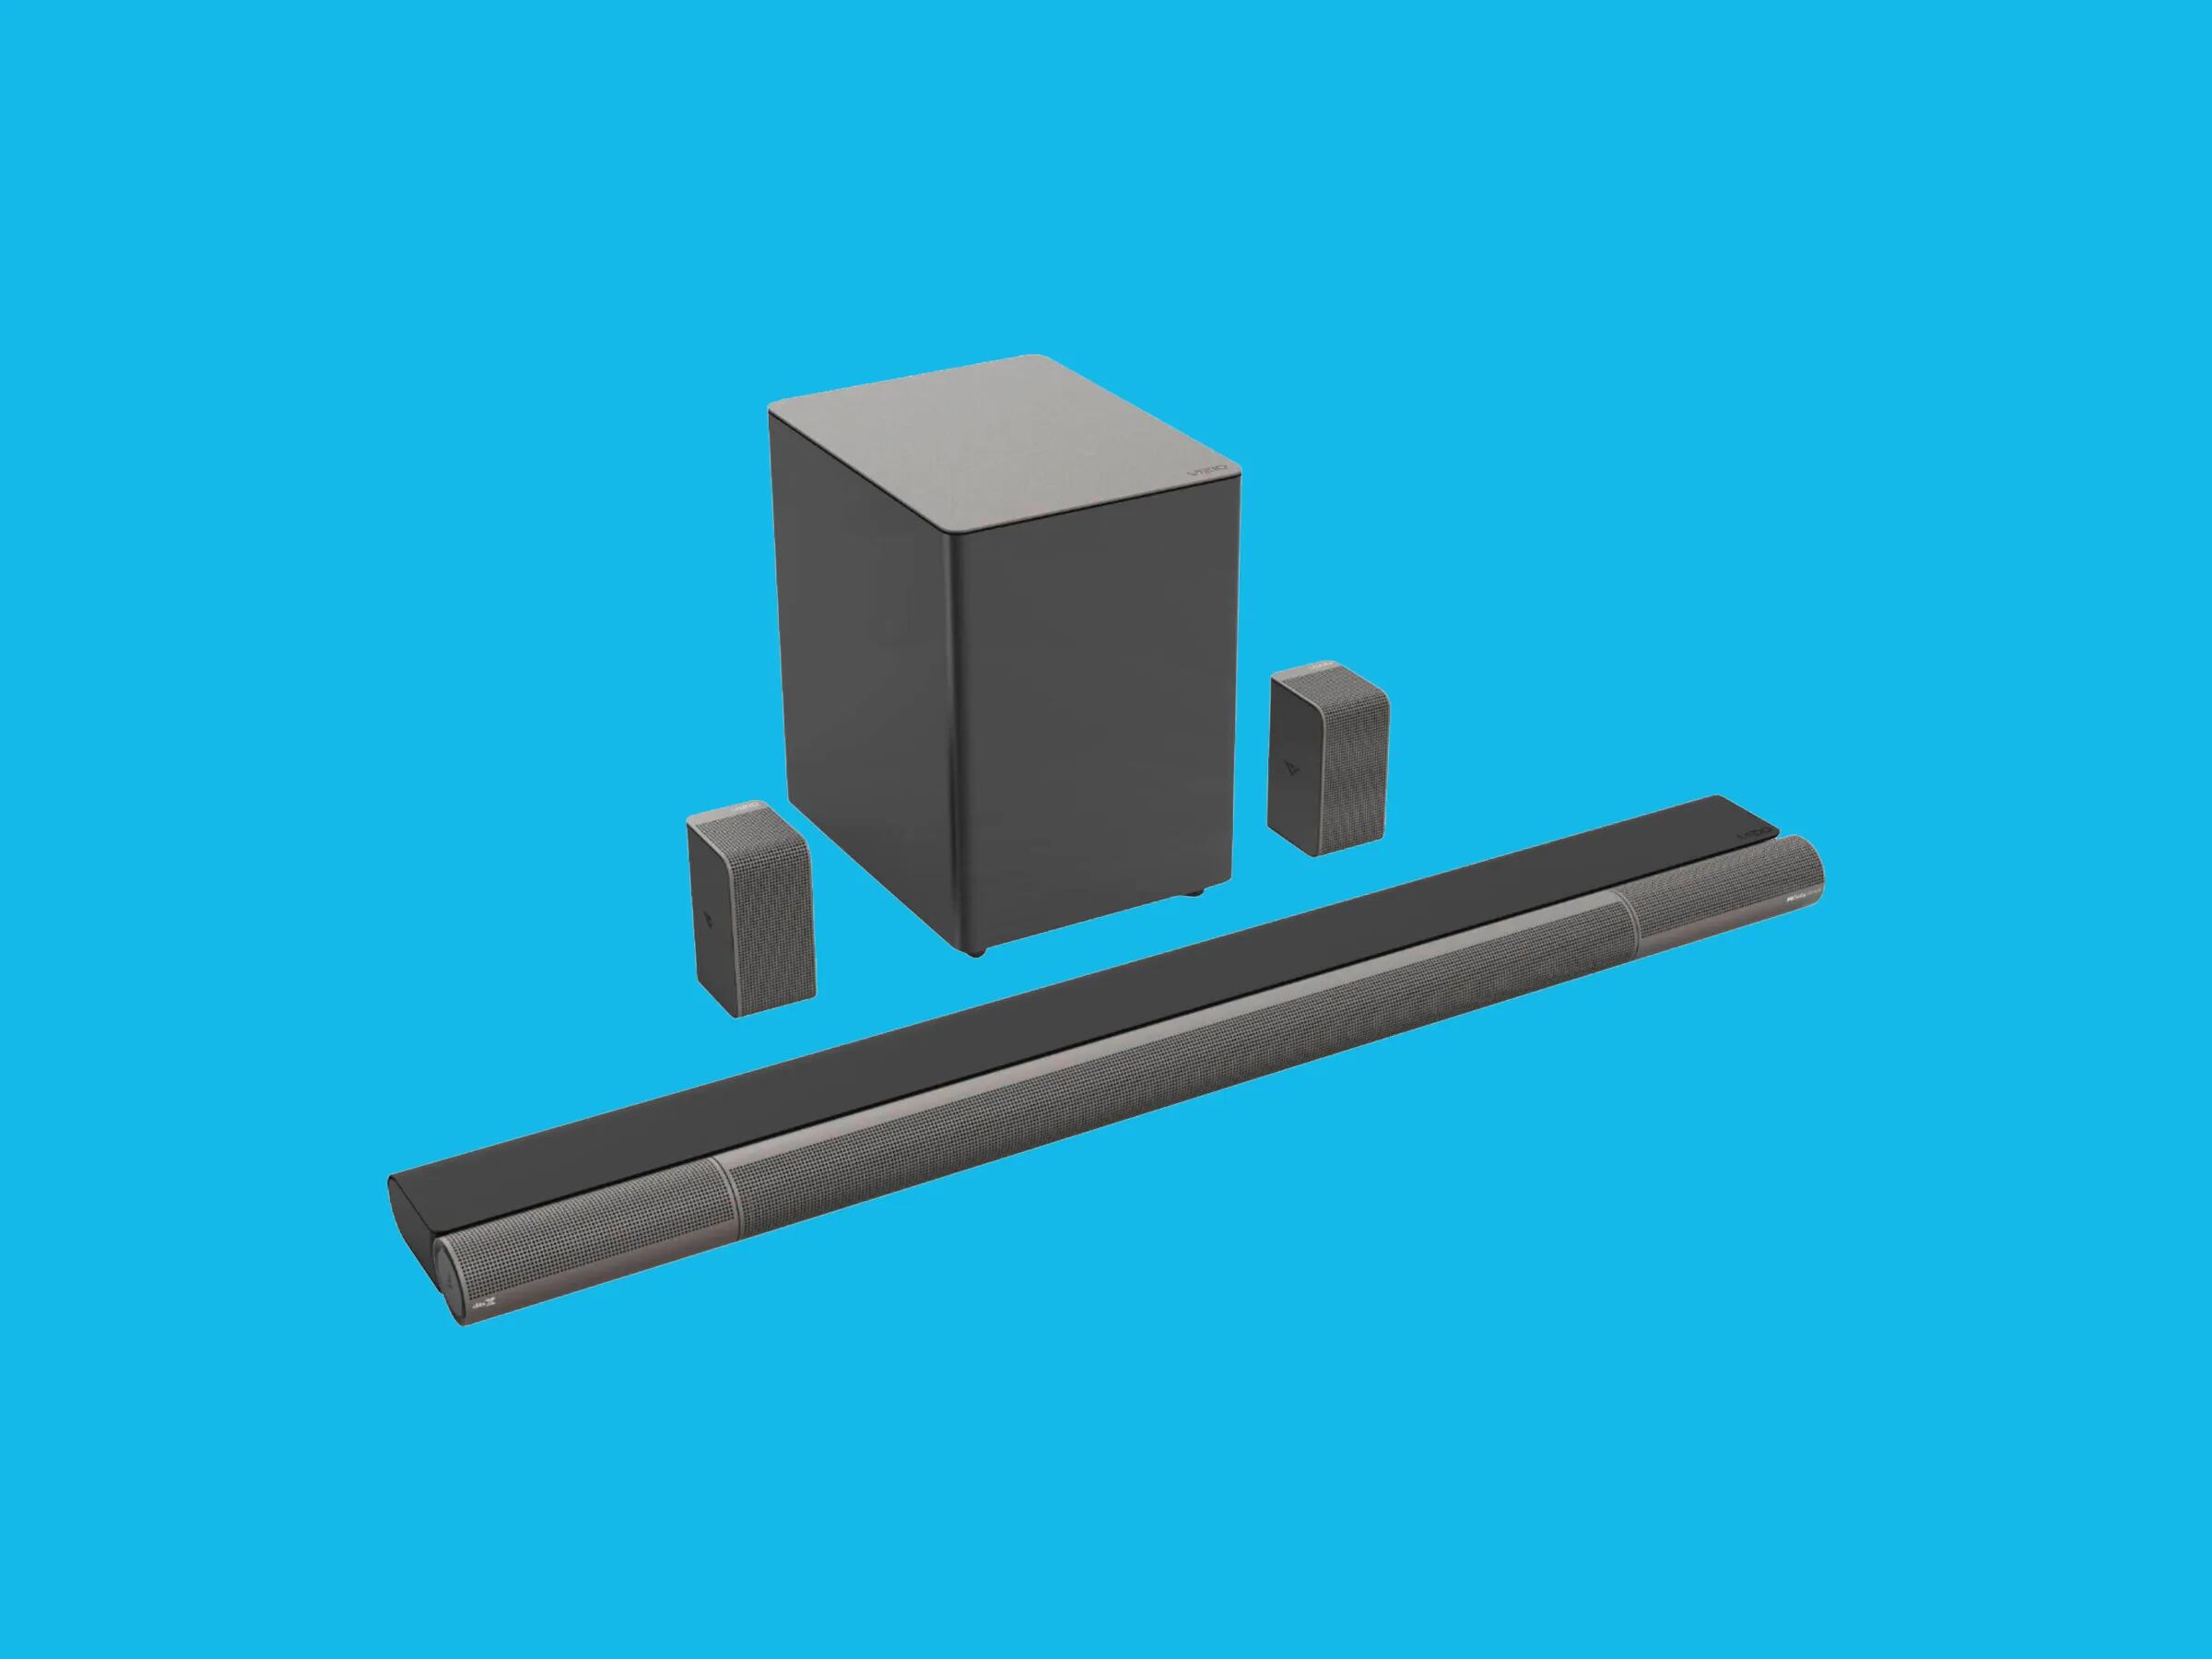
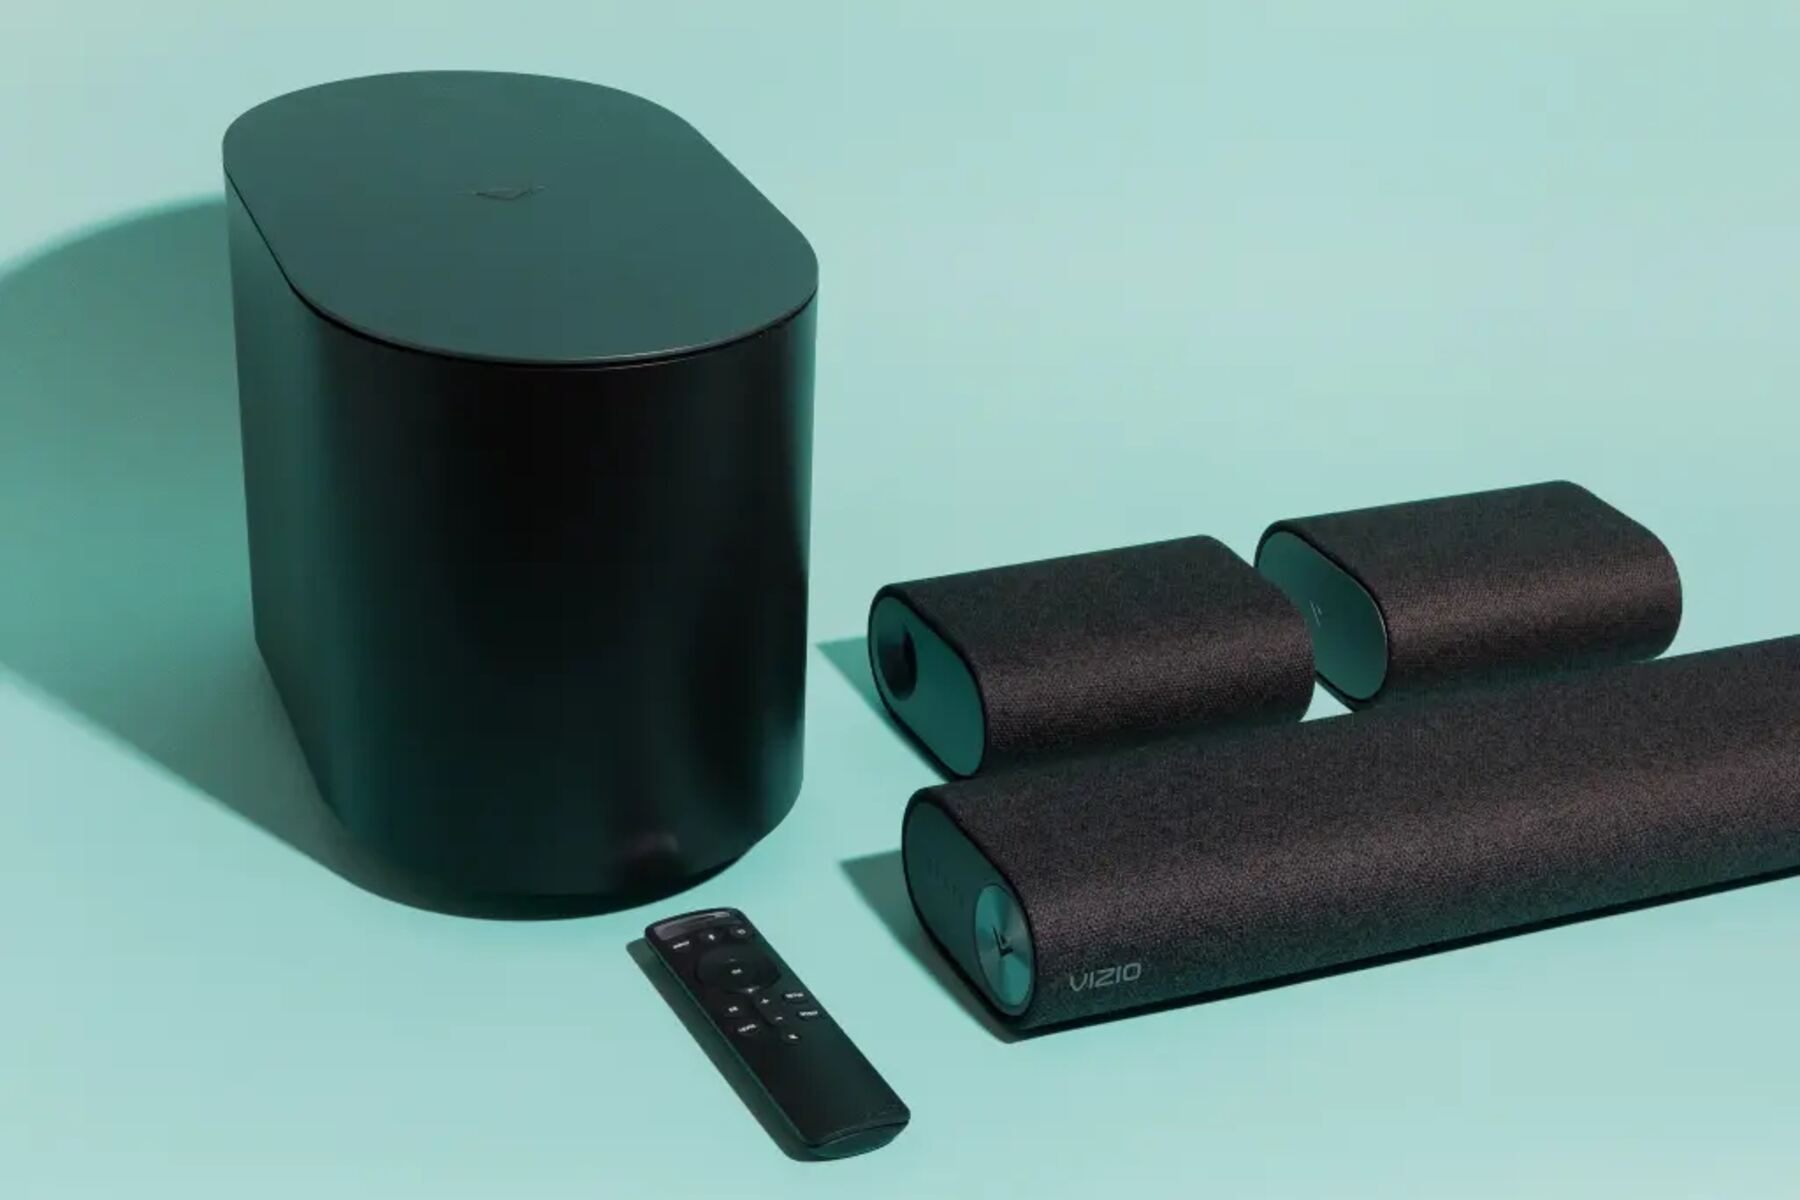
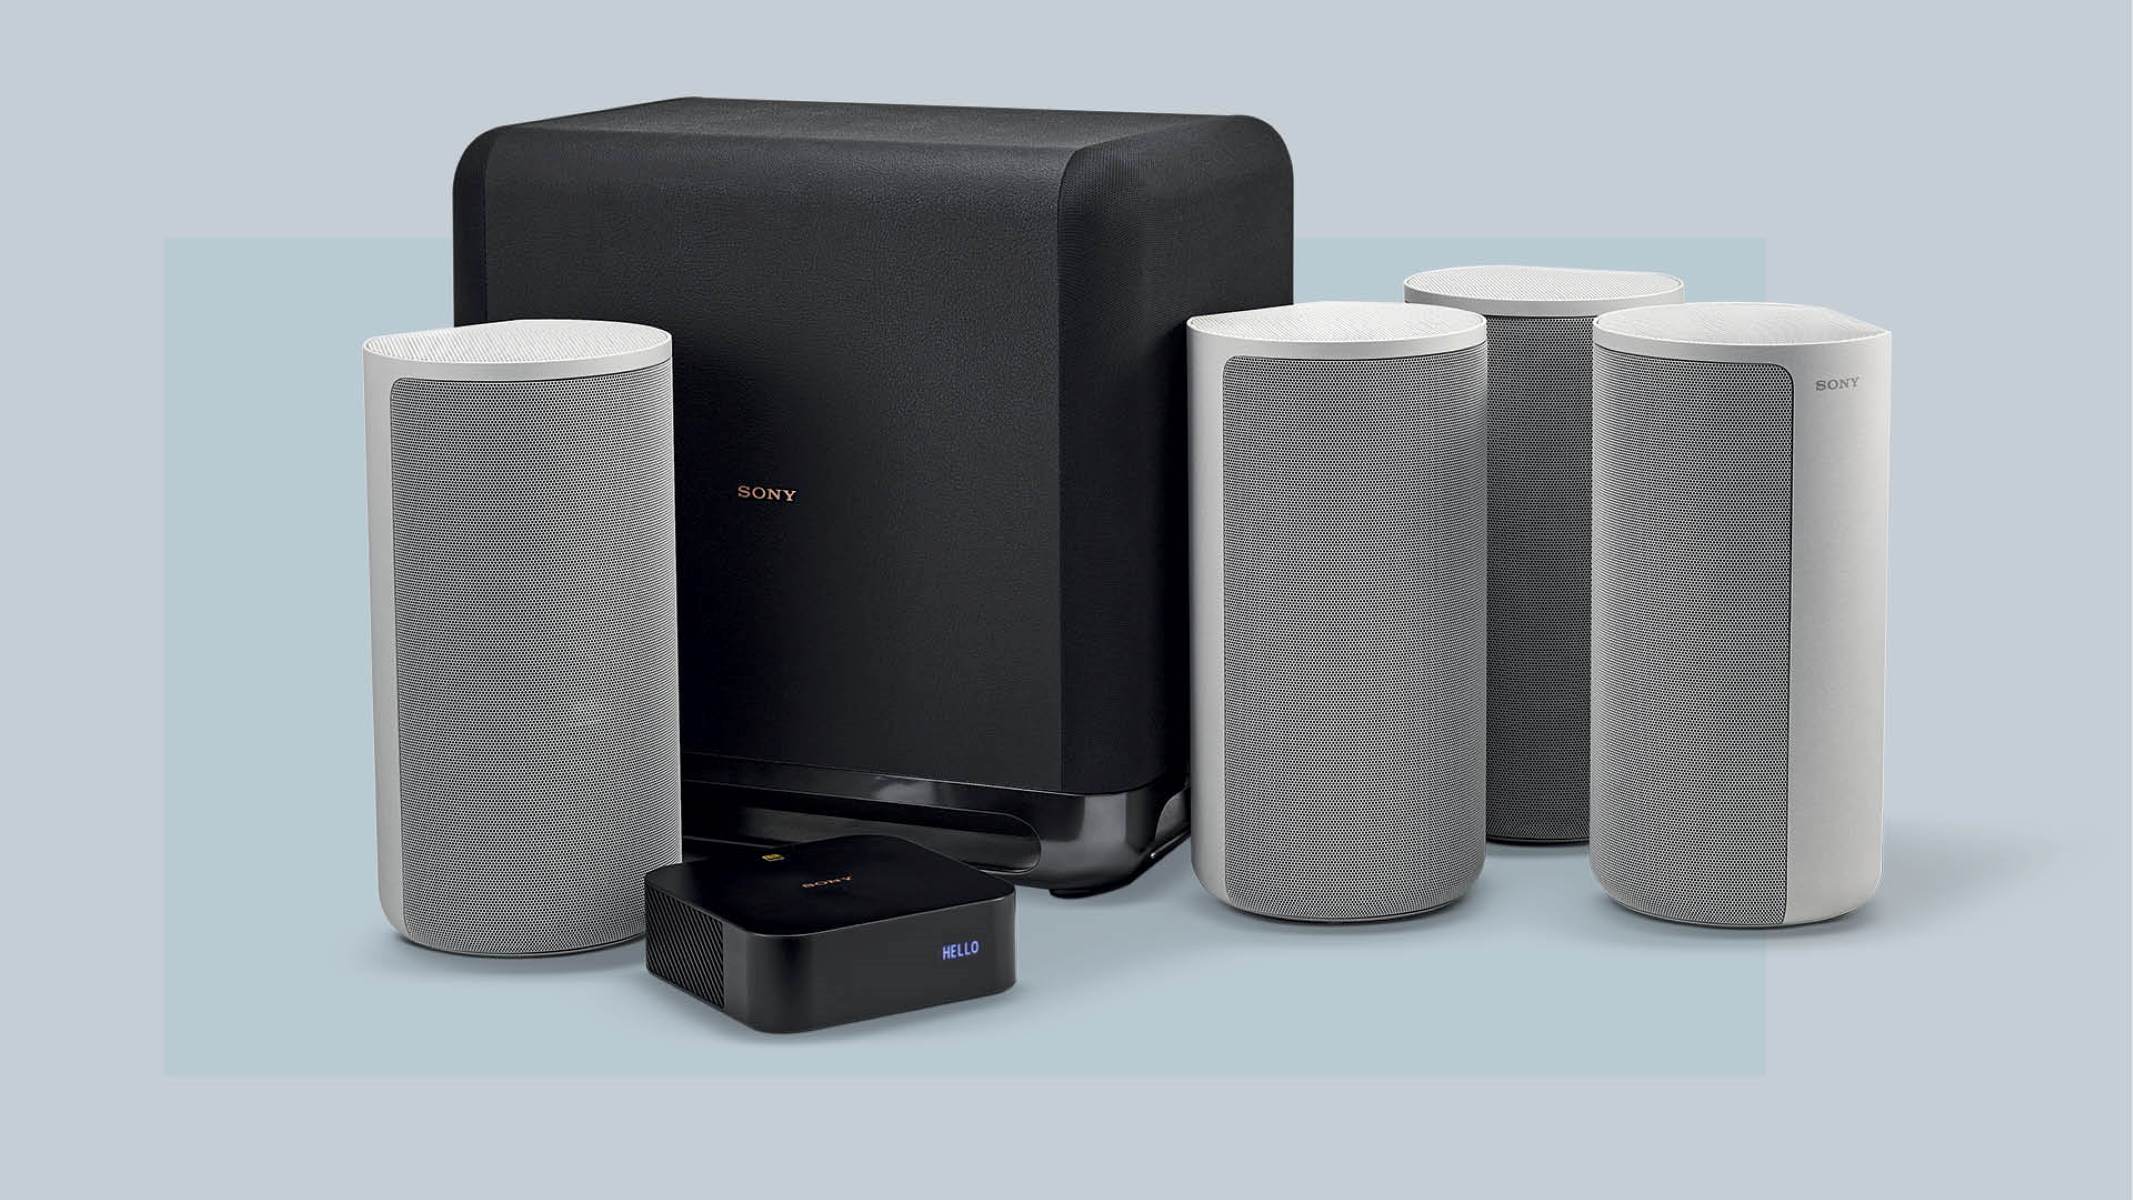
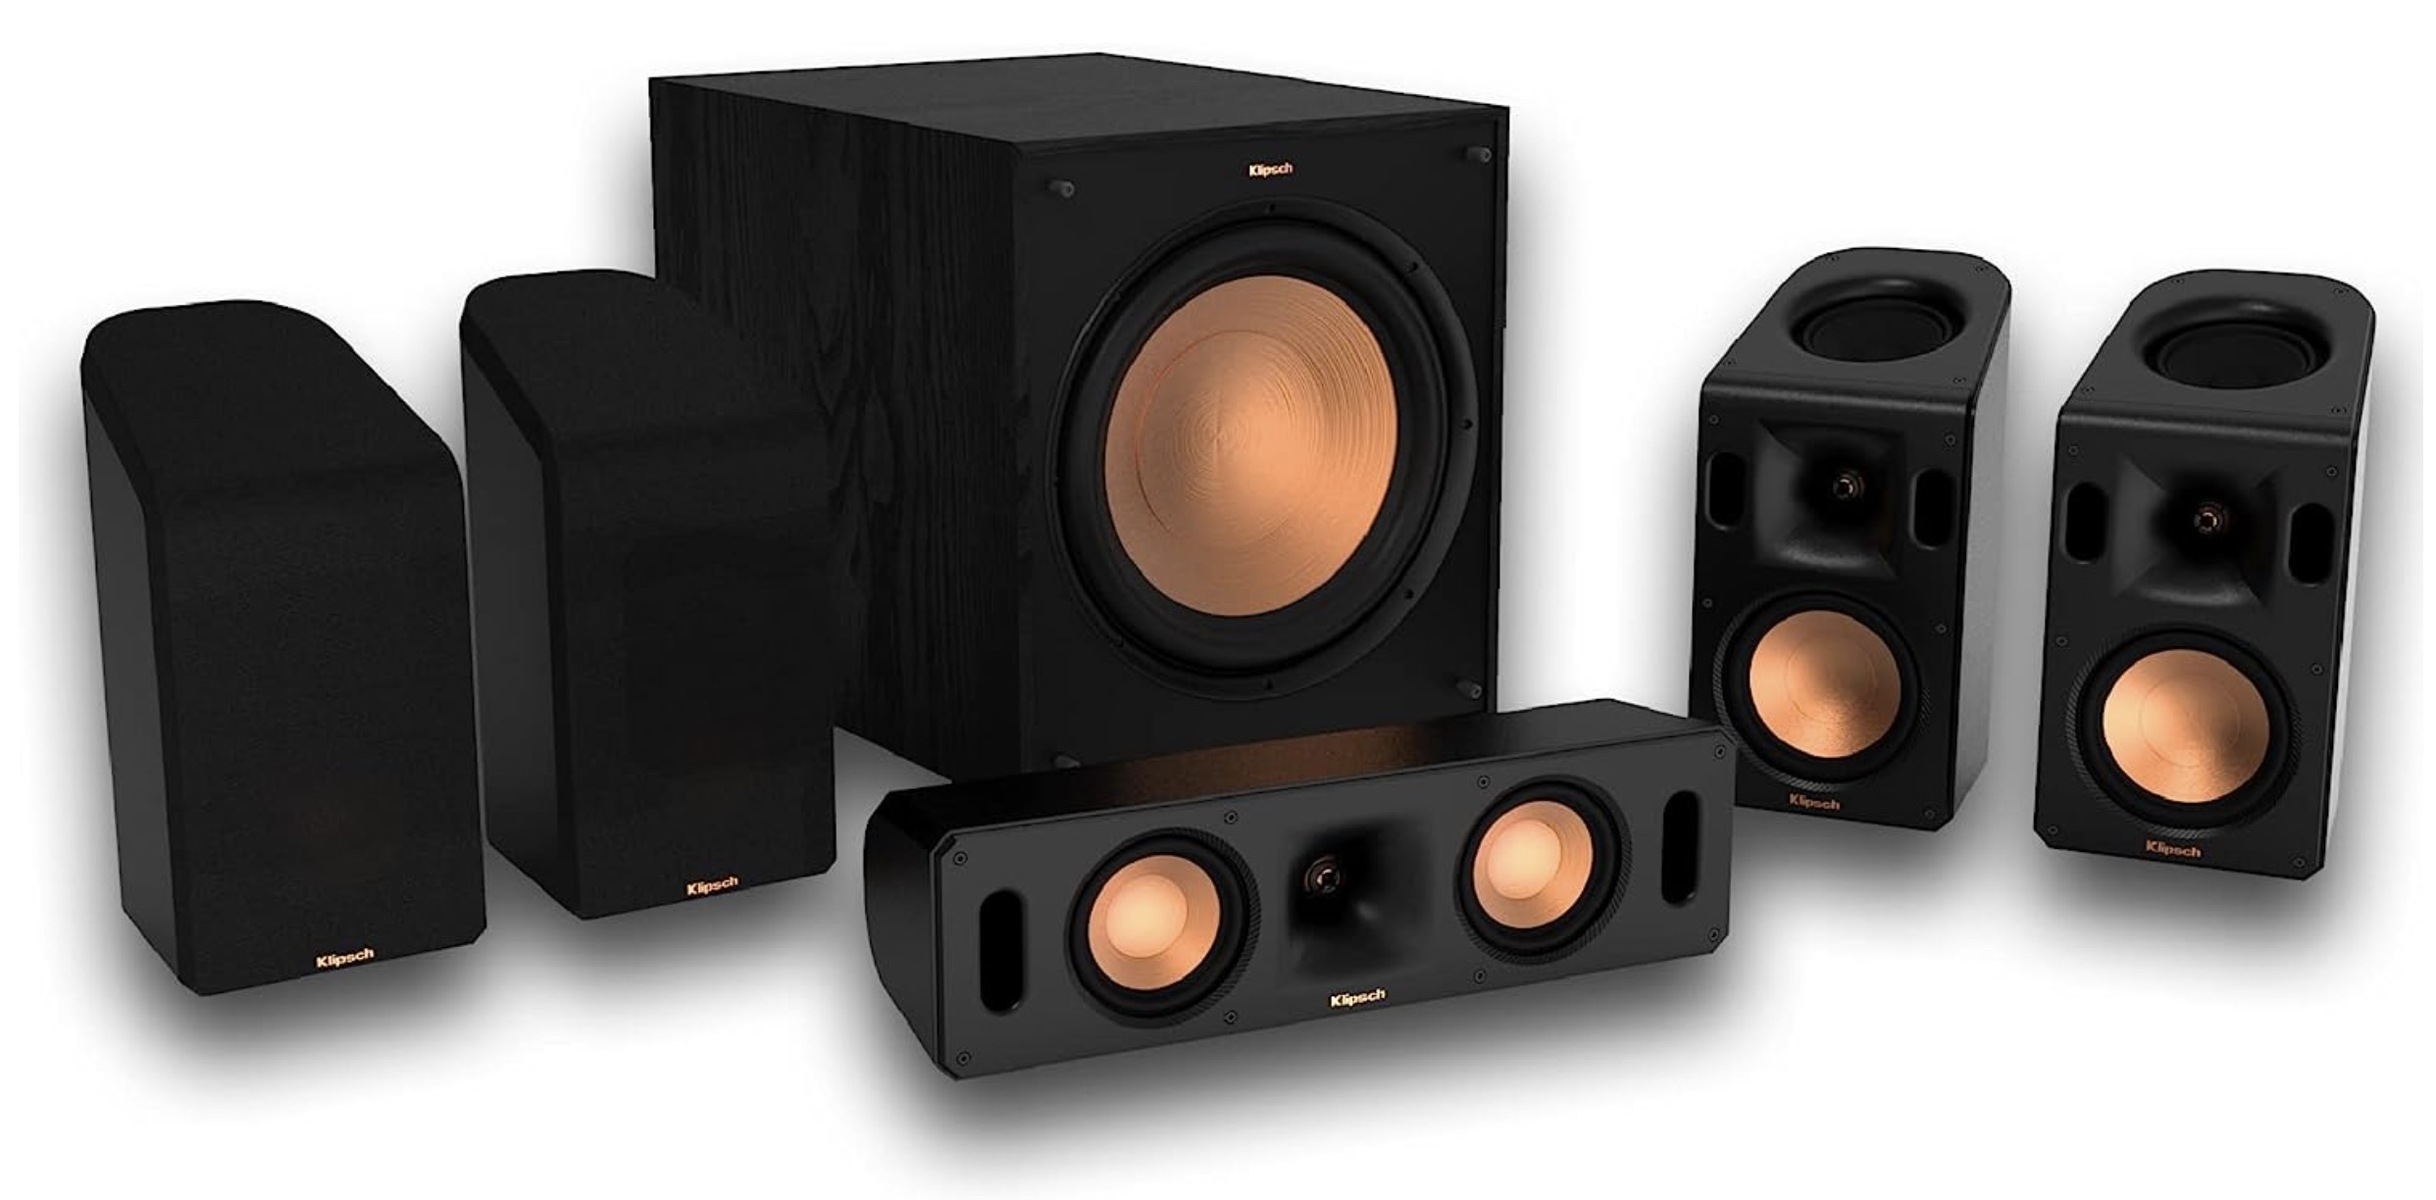
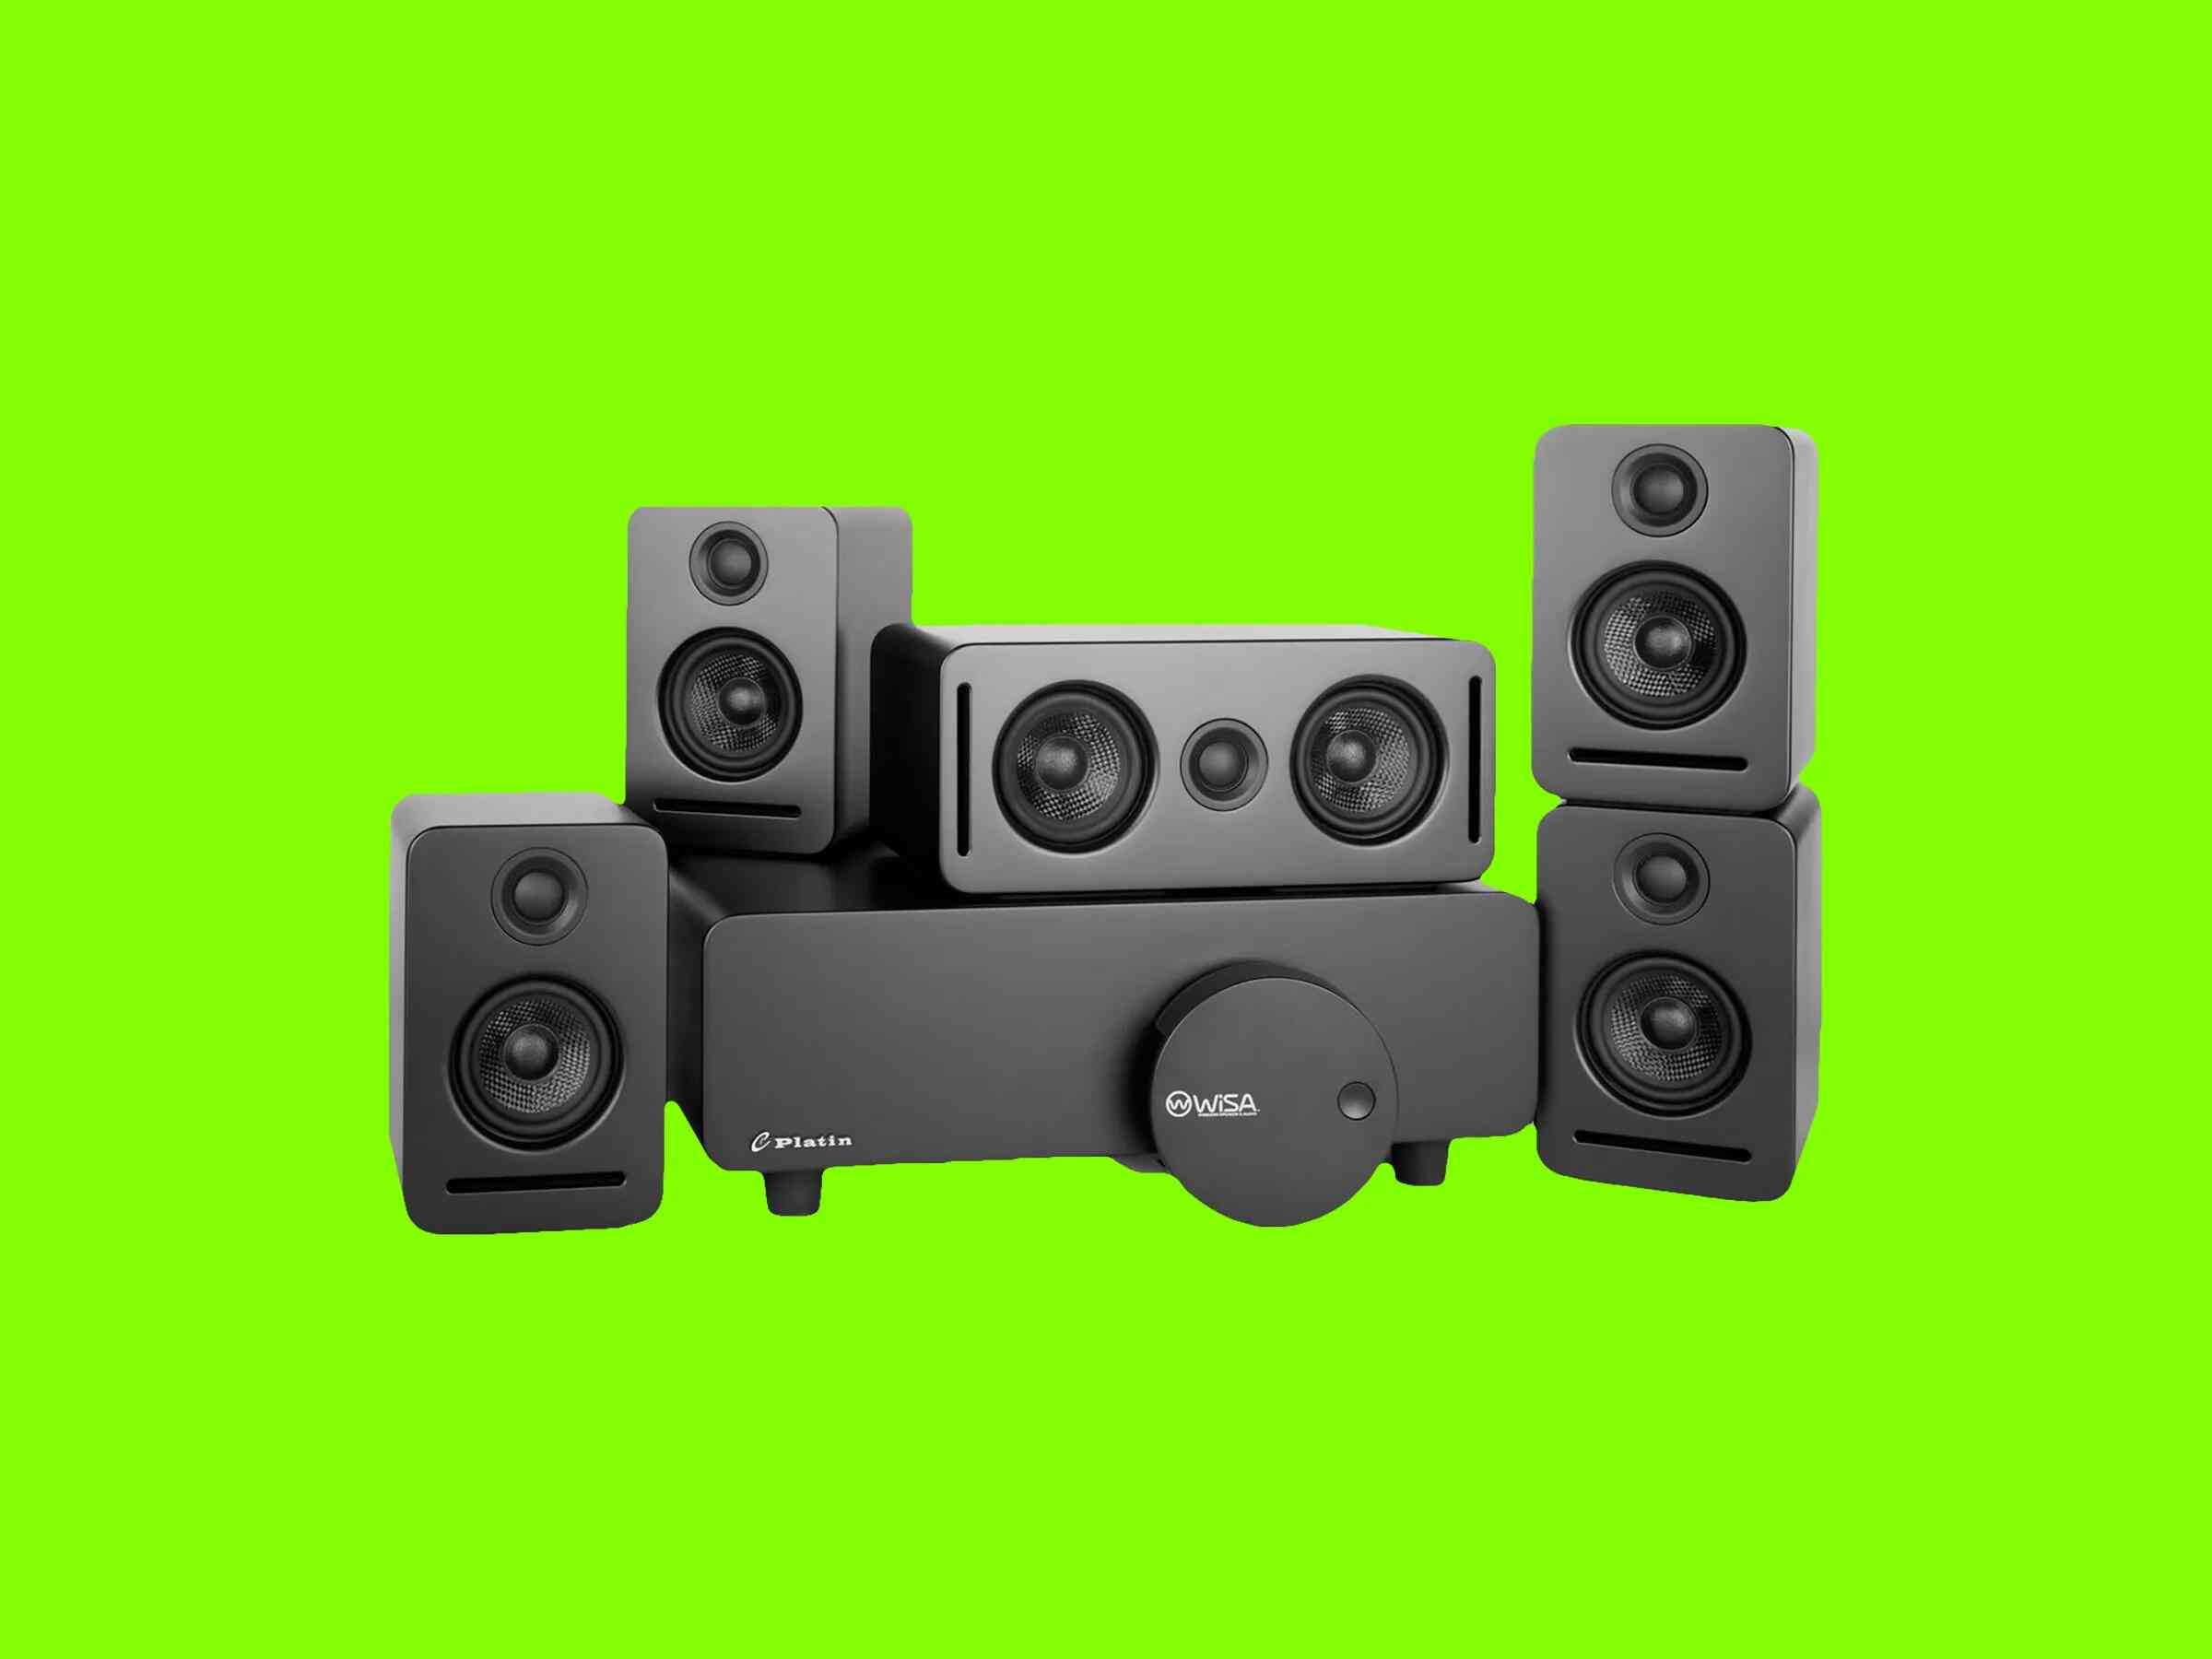
- Wireless Soundbar or Wireless Speakers: The heart of your surround sound system will be a wireless soundbar or a set of wireless speakers. Look for high-quality options that support surround sound formats.
- Television or Audio Source: You’ll need a television or audio source to connect your wireless soundbar or speakers. Ensure that your TV has the necessary audio outputs or find an alternative audio source such as a receiver, streaming device, or game console.
- Power Cables: Don’t forget to have an adequate number of power cables to supply power to your soundbar or speakers. Check the manufacturer’s recommendations for specific power requirements.
- Audio Cables: Even though you’re setting up a wireless system, you may still need audio cables to connect certain components. Common examples include HDMI or optical cables to connect your TV or audio source to your soundbar.
- Wireless Subwoofer: For enhanced bass performance, consider adding a wireless subwoofer to your setup. This will add depth and richness to your audio experience.
- Mounting Hardware: Depending on your preferred placement, you might need mounting hardware such as brackets or wall mounts for your speakers or soundbar. Check the user manual or manufacturer’s recommendations for guidance.
- Wireless Router: To establish a stable wireless connection for your surround sound system, ensure that you have a reliable wireless router that supports the necessary wireless standards.
- Smartphone or Tablet: Some wireless soundbar systems or speaker systems may require you to download specific mobile apps for initial setup or control. Make sure you have a compatible smartphone or tablet.
- User Manuals: Last but not least, keep all the user manuals handy. They are valuable resources that provide detailed instructions specific to your equipment.
Remember, the specific materials you need may vary depending on the brand, model, and type of wireless audio system you choose. It’s always best to consult the user manuals and manufacturer’s recommendations to ensure you have the necessary items for a successful setup.
Now that you have everything you need let’s move on to the first step: choosing the right wireless audio system for your needs and preferences.
Step 1: Choosing the Right Wireless Audio System
Choosing the right wireless audio system for your surround sound setup is crucial to achieving the best audio quality and overall experience. With numerous options available in the market, it can be overwhelming to make the right choice. Here are some key factors to consider when selecting your wireless audio system:
- Audio Quality: Look for an audio system that delivers excellent sound quality. Check customer reviews, professional reviews, and technical specifications to ensure it meets your expectations.
- Compatibility: Ensure that the wireless audio system is compatible with your TV or audio source. Check the connectivity options such as Bluetooth, Wi-Fi, HDMI, and optical inputs to see if they match your setup.
- Surround Sound Support: If you’re specifically looking for a surround sound experience, ensure that the system supports the desired formats like Dolby Atmos, DTS:X, or 5.1/7.1 channel configurations.
- Wireless Range: Consider the wireless range offered by the audio system. This is especially important if you plan to place your speakers at a distance from the audio source.
- Ease of Setup: Look for a system that offers a straightforward setup process. Some systems come with dedicated mobile apps or intuitive user interfaces to simplify the initial configuration.
- Expandability: If you anticipate expanding your audio system in the future, check if the system supports additional speakers or subwoofers. This way, you can easily add components as needed.
- Budget: Determine your budget and find an audio system that offers the best value for money. Remember that higher-priced systems might provide better audio quality or additional features.
Researching and comparing different models based on these factors will help you narrow down your options. Don’t hesitate to visit electronics stores or reach out to professionals for recommendations based on your specific requirements and budget.
Once you’ve selected the best wireless audio system for your needs, you’re ready to move on to the next step: setting up the soundbar or speakers.
Step 2: Setting Up the Soundbar or Speakers
Now that you’ve chosen the perfect wireless audio system for your surround sound setup, it’s time to set up the soundbar or speakers. Here’s a step-by-step guide to help you through the process:
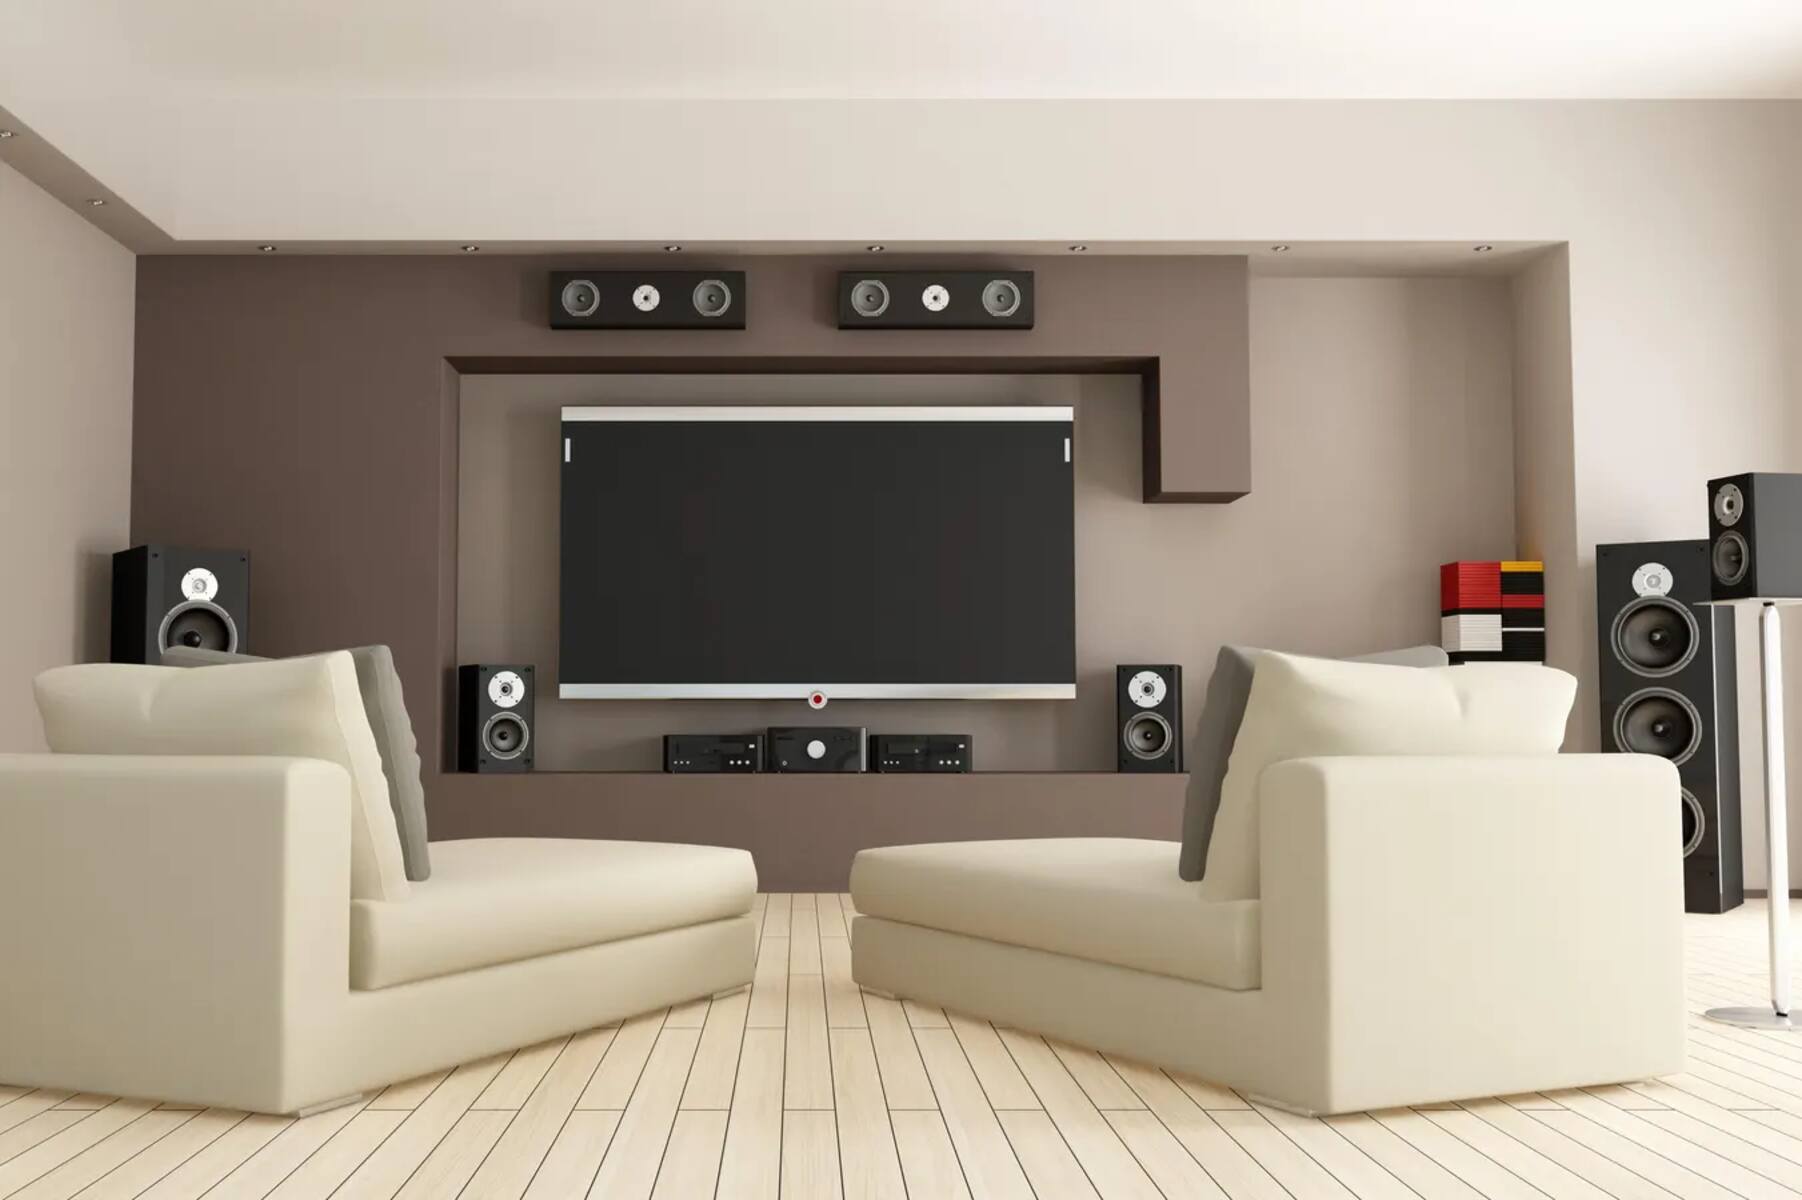
- Placement: Decide on the optimal placement for your soundbar or speakers. The position will depend on the layout of your room and personal preferences, but it’s generally recommended to place the soundbar or front speakers directly in front of the seating area for the best soundstage.
- Mounting (if applicable): If you choose to mount your soundbar or speakers on walls or stands, follow the manufacturer’s instructions to ensure proper installation and secure attachment.
- Power Connection: Connect the power cable to the soundbar or speakers and plug it into a power outlet. Ensure that the cables are not tangled or obstructed to maintain a clean and safe setup.
- Wireless Subwoofer (if applicable): If you have a wireless subwoofer, place it in a convenient location within the recommended range of the soundbar or speakers. Ensure that it is powered and connected to a power outlet.
- Satellite Speakers (if applicable): If your audio system includes satellite speakers for a complete surround sound experience, position them in the appropriate locations around your viewing or listening area. Consult the user manual for guidance on optimal speaker placement.
- Speaker Connections (if applicable): If you’re using wireless speakers that require a wired connection to the soundbar or audio source, follow the manufacturer’s instructions to connect the cables properly. Ensure a secure and snug connection.
It’s essential to carefully follow the manufacturer’s instructions provided with your specific soundbar or speaker system. These instructions will include detailed information on power requirements, cable connections, and recommended positioning for optimal audio performance.
Once you’ve successfully set up your soundbar or speakers, you’re ready to move on to the next step: connecting them to your TV or audio source.
Step 3: Connecting the Soundbar or Speakers to the TV or Audio Source
After setting up the soundbar or speakers in your desired location, it’s time to connect them to your TV or audio source. Follow these steps to establish the necessary connections:
- Identify the Audio Output: Locate the audio output ports on your TV or audio source. The most common options are HDMI, optical (TOSLINK), or RCA (red and white) audio outputs.
- HDMI Connection (preferred): If both your soundbar or speakers and TV/audio source support HDMI ARC or eARC, connect one end of an HDMI cable to the HDMI ARC or eARC port on your TV, and the other end to the HDMI ARC or eARC port on your soundbar or speakers. This will enable a direct audio connection and can often provide the best sound quality.
- Optical Connection: If your TV or audio source has an optical audio output, connect one end of an optical cable to the optical output port on your TV, and the other end to the optical input port on your soundbar or speakers. Secure the connections to prevent accidental disconnection.
- RCA Connection: If your TV or audio source has RCA audio outputs, use RCA cables to connect the audio output jacks on your TV to the corresponding input jacks on your soundbar or speakers. Match the red and white connectors to the respective audio channels.
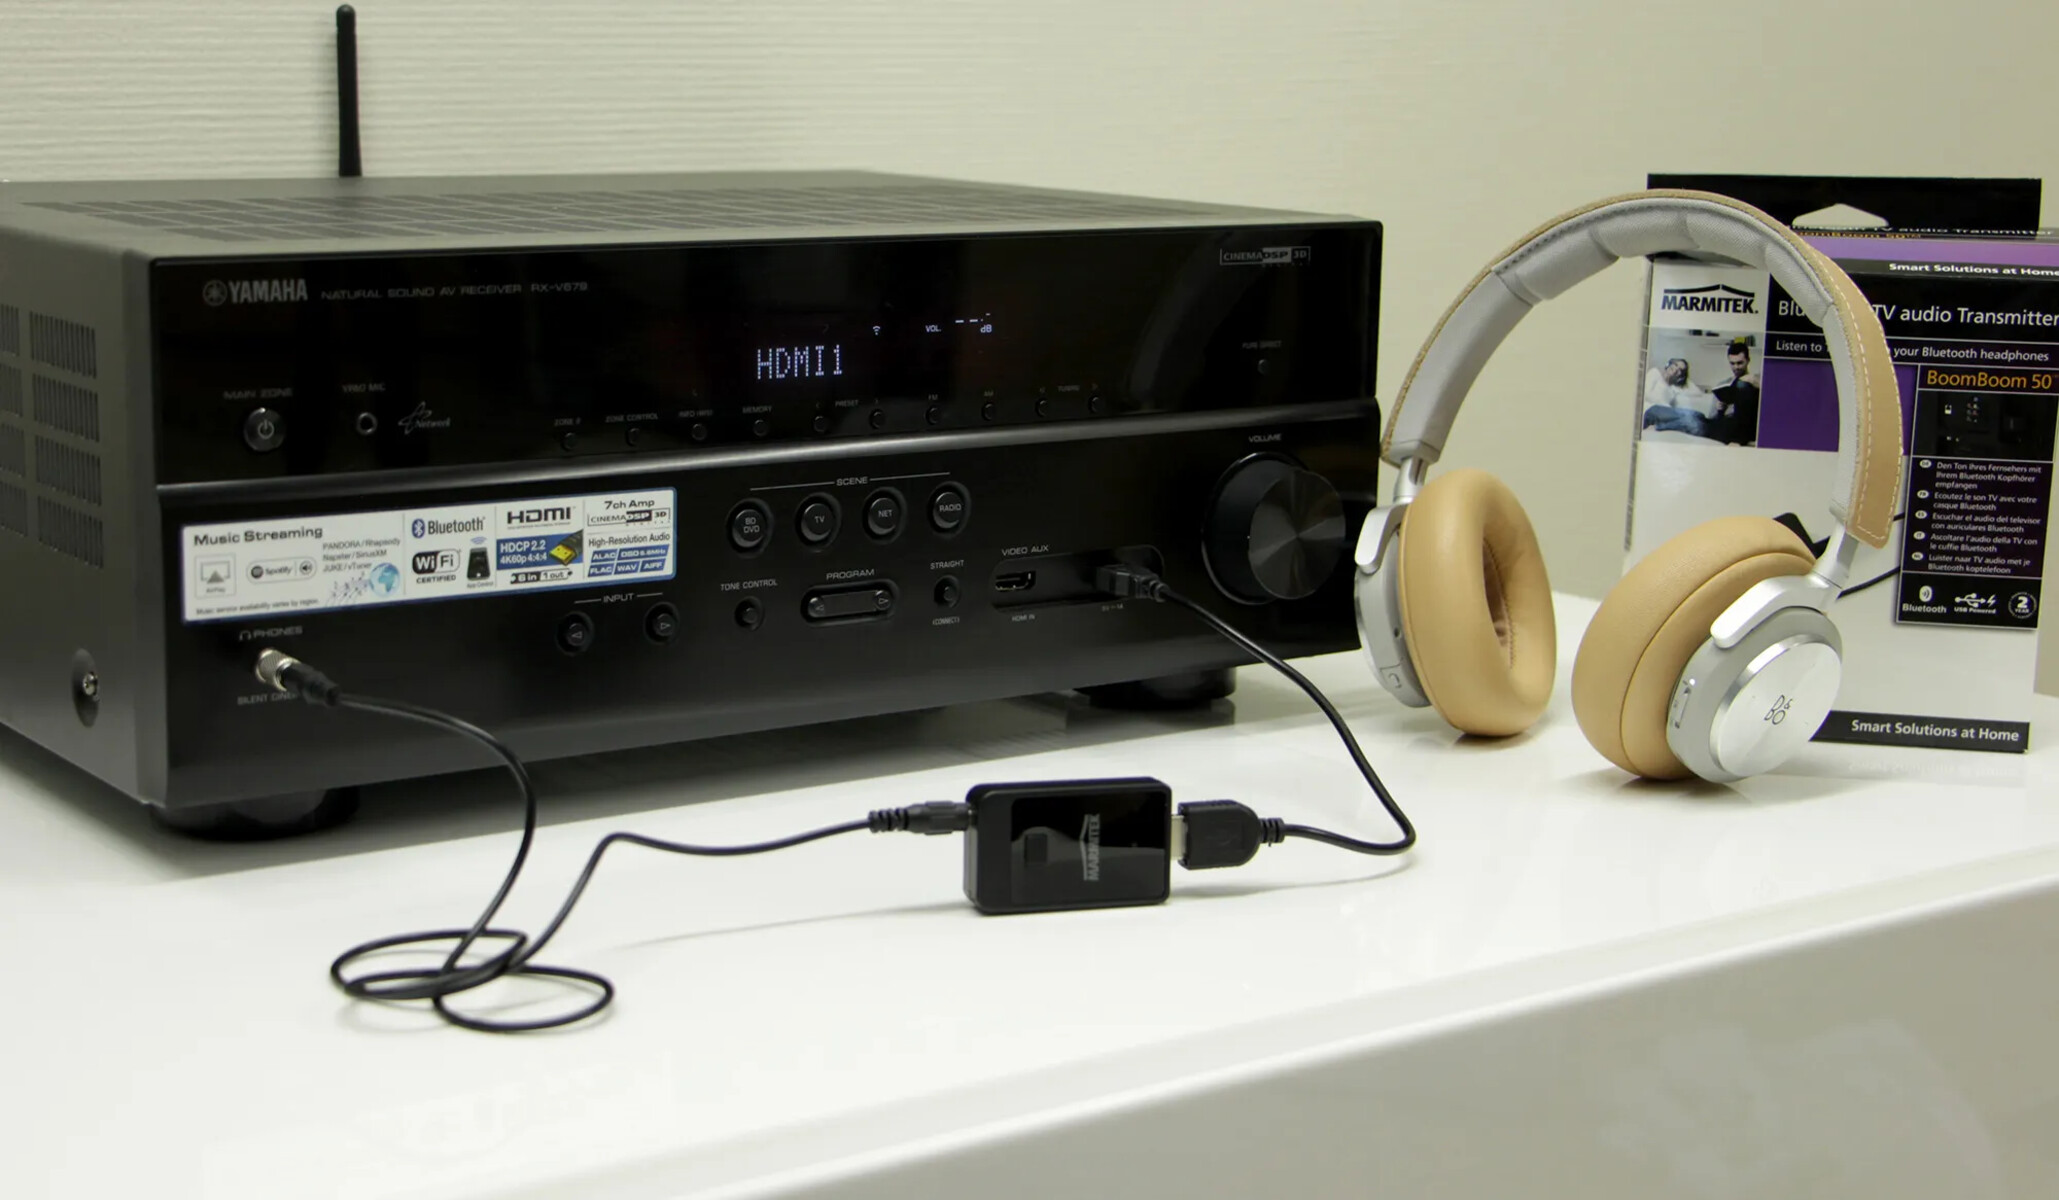
- Additional Connections (if applicable): Depending on your system’s capabilities and connectivity options, you may need to make additional connections. For example, some soundbars or speakers offer Bluetooth or Wi-Fi connections, allowing you to stream audio wirelessly from your mobile devices or home network.
- Power on the Devices: Make sure both your TV and soundbar or speakers are powered on. Use the respective power buttons or remote controls to turn on the devices. Follow any on-screen prompts or menu settings on your TV to select the appropriate audio output source.
Remember to consult the user manuals for your specific TV, soundbar, and speakers to ensure you’re following the correct connection process. The manuals may provide additional guidance or troubleshooting tips for different scenarios.
Once you’ve successfully connected your soundbar or speakers to your TV or audio source, it’s time to move on to the next step: configuring the wireless connection for optimum performance.
Step 4: Configuring the Wireless Connection
Configuring the wireless connection is an integral part of setting up your wireless surround sound system. Follow these steps to ensure a stable and seamless wireless connection:
- Access the Settings: Use your TV remote or the dedicated mobile app for your soundbar or speaker system to access the settings or setup menu.
- Network Connection: Navigate to the network settings or wireless setup options. Follow the prompts to connect your soundbar or speakers to your home Wi-Fi network. Enter your network name (SSID) and password when prompted.
- Wi-Fi Direct or Bluetooth (if applicable): Some systems offer alternative wireless connection methods such as Wi-Fi Direct or Bluetooth. Follow the respective instructions to connect your soundbar or speakers to your smartphone or tablet if desired.
- Firmware Updates (if applicable): Check for firmware updates for your soundbar or speakers. Firmware updates can improve performance, add new features, and fix any known issues. Follow the manufacturer’s instructions to download and install any available updates.
- Speaker Pairing (if applicable): If you have additional wireless speakers or a subwoofer that need to be paired with your soundbar or speakers, consult the user manual for specific instructions on pairing and syncing the devices together.
- Adjust Settings: Once the wireless connection is established, explore the audio settings on your TV, soundbar, or speaker system. Depending on your preferences and room acoustics, you may want to adjust settings such as volume, equalizer settings, surround sound modes, and dialogue enhancement.
It’s important to note that the configuration process may vary depending on the brand and model of your wireless audio system. It’s recommended to refer to the user manual or online resources provided by the manufacturer for detailed instructions specific to your setup.
Once you have successfully configured the wireless connection for your soundbar or speakers, you’re ready to move on to the next step: testing and adjusting your wireless surround sound system to ensure optimal performance.
Step 5: Testing and Adjusting the Surround Sound System
Now that you have set up and configured your wireless surround sound system, it’s time to test and adjust the audio settings to ensure optimal performance. Here are some steps to follow:
- Play Test Content: Select a movie, TV show, or music that is known to have surround sound effects. This will help you gauge the audio quality and surround sound capabilities of your system.
- Auditory Placement: Listen to the audio and identify the placement of different sound elements. Ensure that the sound is evenly distributed across the room and that each speaker is producing sound as intended.
- Balance Adjustments: Pay attention to the balance between the soundbar or front speakers and the satellite speakers or surround speakers. Adjust the speaker levels and balance settings to achieve a cohesive surround sound experience.
- Subwoofer Performance: Assess the performance of the subwoofer by listening to low-frequency sounds and bass-heavy content. If necessary, adjust the subwoofer volume and crossover settings to achieve the desired level of bass response.
- Dialogue Clarity: Pay attention to the clarity of dialogue. If the voices sound muffled or unclear, adjust the center channel level or use dialogue enhancement features if available.
- Room Acoustics: Take into account the unique characteristics of your room. Consider using acoustic treatments such as curtains, rugs, or sound-absorbing panels to minimize echoes or unwanted reflections that may affect audio quality.
- Experiment and Fine-Tuning: Don’t be afraid to experiment with different audio settings, surround sound modes, or EQ adjustments to find the best sound for your preferences and the content you’re enjoying.
Remember that your personal preferences and room acoustics will play a role in determining the ideal audio settings. Take the time to fine-tune your system until you achieve the immersive surround sound experience you desire.
If you encounter any challenges or issues during the testing and adjustment process, consult the user manual or reach out to customer support for further guidance. They may be able to provide specific troubleshooting steps or recommendations based on your system.
Once you’re satisfied with the performance of your wireless surround sound system, you’re ready to sit back, relax, and enjoy a truly immersive audio experience in your home.
Step 6: Troubleshooting Common Issues
While setting up and using a wireless surround sound system can be a rewarding experience, you may encounter some common issues along the way. Here are a few troubleshooting steps to address these issues:
- No Sound: If you’re not getting any audio, check the connections between your soundbar or speakers and the TV or audio source. Ensure that the volume is not muted and that the audio output source is properly selected on your TV.
- Poor Audio Quality: If you’re experiencing poor audio quality, check the audio settings on your soundbar or speakers. Adjust the EQ settings, surround sound modes, or volume levels to improve the sound output.
- Audio Lag or Delay: If you notice a delay between the audio and video, you may need to enable a feature like “lip-sync” or “audio delay” adjustment on your soundbar or speakers. Refer to the user manual for specific instructions.
- Wi-Fi Connectivity Issues: If you’re experiencing unstable or weak Wi-Fi connectivity, try moving your wireless router closer to your soundbar or speakers. You can also reset your router or adjust its settings to prioritize the audio system’s connection.
- Interference or Dropouts: If you’re experiencing interference or frequent dropouts in the audio signal, ensure that there are no wireless devices or obstacles (such as walls) blocking the signal between your soundbar or speakers and the audio source.
- Unresponsive Controls: If the controls on your soundbar or speakers do not respond, try replacing the batteries on the remote (if applicable) or power cycle the system by unplugging it for a few minutes and then plugging it back in.
- Firmware or Software Updates: Check for the latest firmware or software updates for your soundbar or speakers. Keeping the system up to date can resolve compatibility issues or improve overall performance.
- Factory Reset: If all else fails and you’re still experiencing issues, consider performing a factory reset on your soundbar or speakers. This will restore the system to its default settings, eliminating any potential software or configuration issues.
If you encounter persistent issues that you’re unable to resolve, don’t hesitate to reach out to the customer support of the manufacturer. They will have the expertise to guide you through specific troubleshooting steps or provide further assistance.
Remember, troubleshooting steps may vary depending on the brand and model of your wireless audio system. Always refer to the user manual or online resources provided by the manufacturer for the most accurate and detailed troubleshooting instructions.
With these troubleshooting steps in mind, you’ll be well-equipped to tackle any common issues that may arise while using your wireless surround sound system.
Conclusion
Congratulations, you have successfully learned how to make a wireless surround sound system! By following the steps outlined in this guide, you have set up your wireless audio system, connected it to your TV or audio source, configured the wireless connection, tested and adjusted the surround sound system, and troubleshooted common issues that may arise.
Now, you can enjoy a truly immersive audio experience in your home. Whether you’re watching your favorite movies, listening to music, or playing video games, the wireless surround sound system will elevate your audio enjoyment to new heights.
Remember, when choosing the right wireless audio system, consider factors such as audio quality, compatibility, surround sound support, wireless range, ease of setup, expandability, and your budget. Gathering the necessary materials and understanding the setup process are essential steps in creating your wireless surround sound system.
Throughout the setup process, make sure to refer to the user manuals provided by the manufacturer for detailed instructions specific to your equipment. Troubleshooting common issues and fine-tuning the audio settings will help you achieve the best audio performance tailored to your preferences and room acoustics.
If you encounter any challenges or have questions along the way, don’t hesitate to reach out to customer support for assistance. They are there to help you make the most of your wireless surround sound system.
Now, sit back, immerse yourself in the captivating audio, and enjoy the incredible sound experience that your wireless surround sound system brings to your home entertainment.