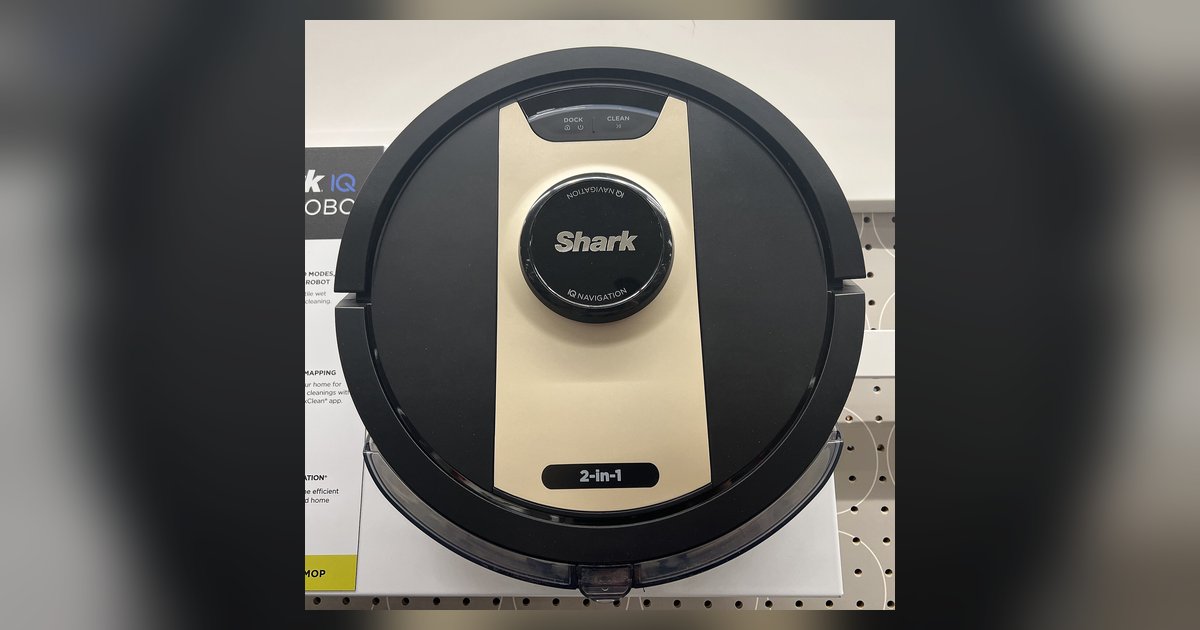
Unplug the vacuum, remove the bottom battery cover screws, disconnect the old battery, and plug in a genuine Shark replacement battery before securing the cover back on.
Signs your shark robot battery is dead
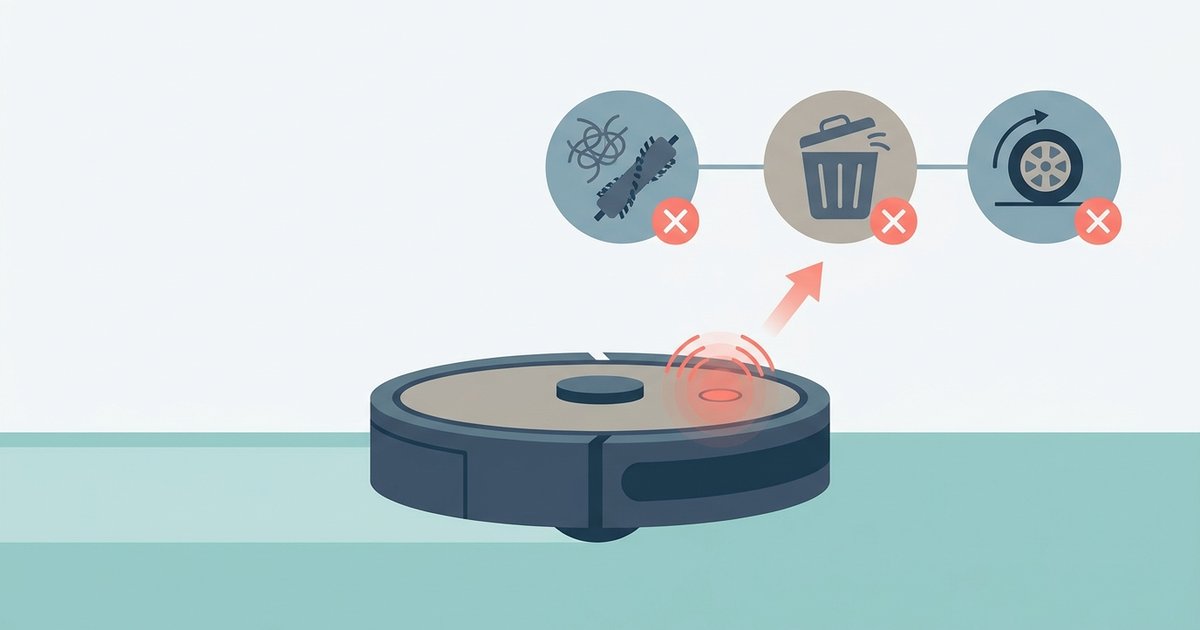
A battery that needs replacement behaves differently from one that is simply discharged or stuck in a software glitch. The clearest indicator is runtime under 10 minutes after a full charge, if the vacuum runs for only a few seconds or stops abruptly mid-room, the cells can no longer hold energy. Another telltale sign is failure to hold any charge after 3 hours of being plugged into the dock; a healthy battery reaches full voltage within two hours. If the unit flashes an error light pattern, this often signals the battery management system has detected a fault. Before concluding the battery is dead, you should perform a hard reset according to your model's manual, then re-dock it. If that does not restore normal operation and the vacuum still dies quickly, the battery may need replacement.
What battery to buy and what to avoid
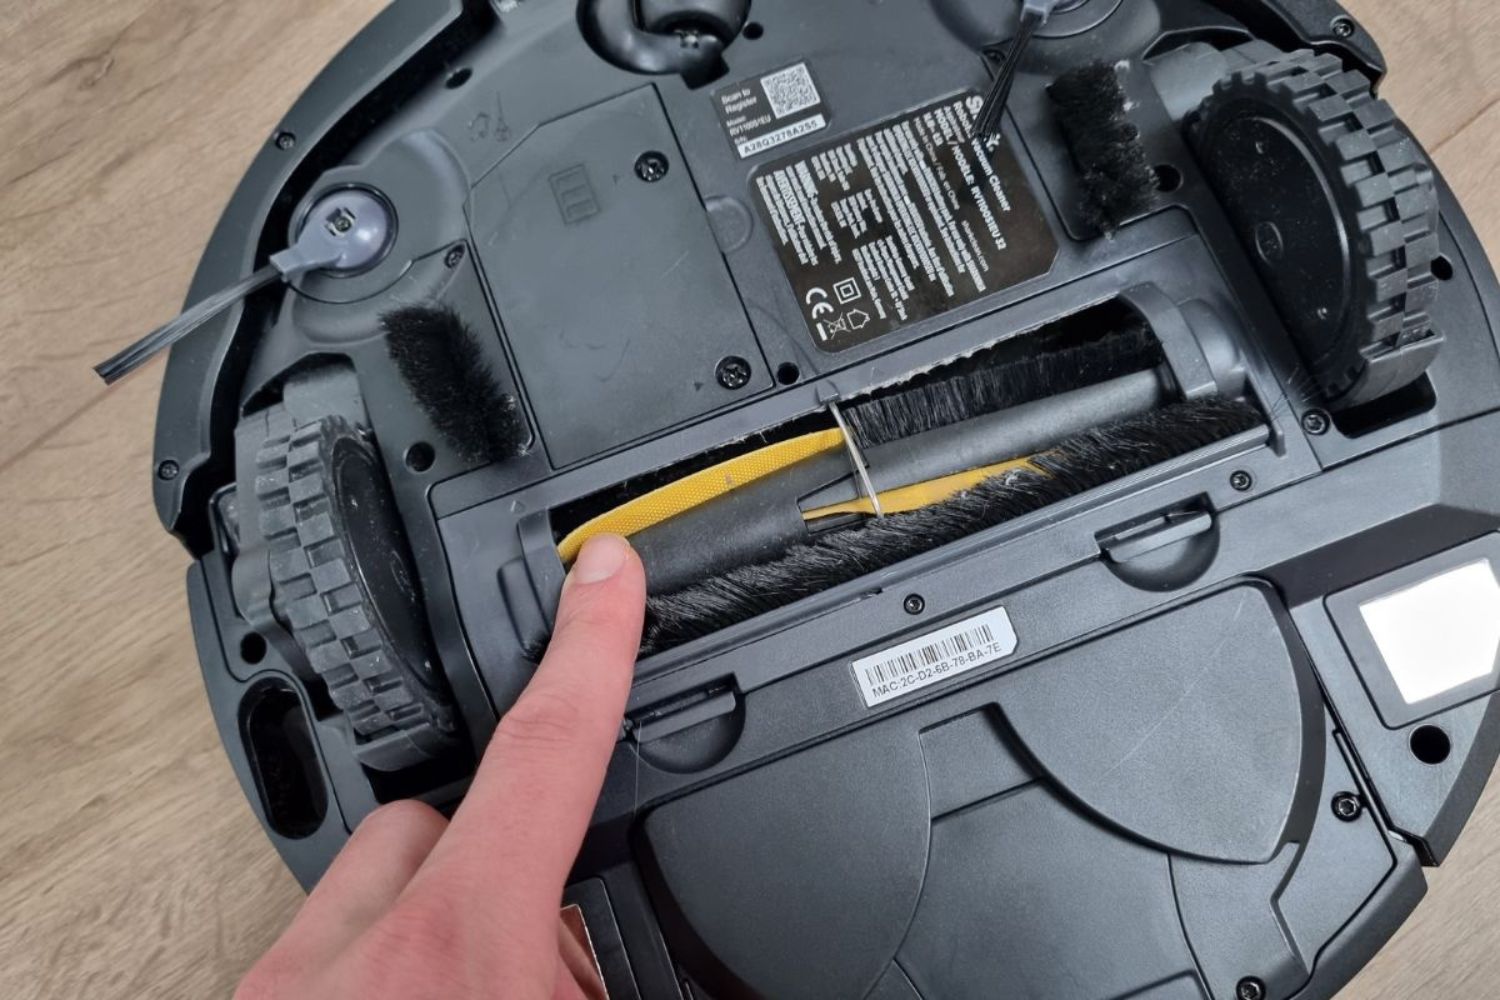
Only a replacement battery specifically compatible with your Shark robot vacuum model should be used. Aftermarket packs may not be compatible, causing the vacuum to refuse to charge, run erratically, or shut down prematurely. To find your exact model number, flip the vacuum over and look for a sticker with the model number. Purchase the replacement directly from Shark's website (sharkclean.com). Avoid any battery that is not specifically compatible with your Shark robot vacuum model. While you have the vacuum flipped over, it's also a good time to empty the shark robot vacuum to ensure peak performance with the new battery.
Step-by-step battery swap
Begin by powering off the robot vacuum, removing it from its charging dock, and flipping it so its underside is facing up. The battery compartment is located on the underside of the chassis, secured by one or two Phillips-head screws. Use a #1 or #2 Phillips screwdriver. Remove the screws and lift off the battery compartment cover. Inside you will see the battery pack connected by a white clip connector. Grip the connector by its plastic body, not the wires, and pull straight upward to disconnect it. Slide the old pack out. Insert the new genuine Shark battery with the connector facing the same direction, then press the clip firmly until it clicks. Ensure no wires are pinched under the pack, then replace the cover and tighten the screws in a crisscross pattern to avoid warping the plastic. Place the vacuum on the dock and verify the charging light appears within 10 seconds.
When a new battery doesn't fix the problem
If the vacuum still won’t run after a battery swap, the issue lies elsewhere. First, check the charging dock, plug it directly into a wall outlet (not a power strip) and confirm the dock’s indicator light is solid. Clean the metal charging contacts on both the dock and the vacuum’s underside with a dry microfiber cloth; dirt or oxidation can block current flow. If the contacts are clean but the vacuum still fails to charge, the dock’s power supply may be faulty. A motherboard issue is also possible, especially if the vacuum shows no signs of life even when manually placed on the dock. In that case, you may need to fix your shark robot vacuum by contacting Shark support for a main board replacement. For routine maintenance, remember to regularly empty the bin after each cleaning session to prevent debris from interfering with sensors, and if you ever need to clear a software lock, consult the reset robot vacuum cleaner procedure that involves pressing the power and dock buttons simultaneously for 15 seconds, or try a hard reset shark robot vacuum to restore factory settings when the standard reset doesn’t resolve persistent glitches.