Introduction
Are you the proud owner of a new Shark device but unsure how to connect it to your home’s WiFi? Don’t worry, we’ve got you covered! Connecting your Shark device to your WiFi network is a straightforward process that requires just a few simple steps. In this guide, we will walk you through the process, ensuring that you can enjoy all the features and benefits of your Shark device.
Shark devices, known for their innovative technology and powerful performance, offer a range of smart functionalities that can be enhanced when connected to the internet. From remote control operation to accessing advanced features and firmware updates, connecting your Shark device to WiFi allows for seamless integration into your smart home ecosystem.
In this article, we will provide you with a detailed, step-by-step guide on how to connect your Shark device to WiFi. Whether you have a Shark robot vacuum cleaner, an electric mop, or a smart coffee maker, the steps outlined here apply to all Shark devices with WiFi capability.
So, if you’re ready to take your Shark device to the next level and experience the convenience and efficiency it brings, let’s dive right in and get started with connecting your Shark device to your WiFi network!
Step 1: Prepare your Shark device
Before we begin the process of connecting your Shark device to WiFi, it’s essential to ensure that your device is ready for setup. Follow these steps to prepare your Shark device:
- Unbox and inspect: Carefully unbox your Shark device and inspect it for any damage. Make sure all the necessary components are included.
- Read the user manual: Take some time to read the user manual or the setup guide provided by Shark. Familiarize yourself with the device’s features and functionality.
- Check compatibility: Verify that your Shark device is compatible with WiFi connectivity. Some older models may not have this feature.
- Gather required information: Keep the WiFi network name (SSID) and password handy. You will need this information during the setup process.
- Ensure power supply: Make sure your Shark device is near a power outlet and has access to a reliable power source.
- Charge if necessary: If your Shark device is battery-powered, ensure that it is fully charged before proceeding with the setup.
Taking these preparatory steps will ensure a smooth and hassle-free setup process for your Shark device. Once everything is in order, move on to the next step of connecting your Shark device to WiFi.
Step 2: Connect the Shark device to power
Now that you have prepared your Shark device, it’s time to connect it to power. Follow these simple steps:
- Locate the power cord: Identify the power cord that came with your Shark device. It is typically a detachable cable with a plug at one end and a connector at the other.
- Connect the power cord: Insert the connector end of the power cord into the corresponding port on your Shark device.
- Plug it in: Find a nearby power outlet and plug the power cord into it.
- Power on the device: Look for the power button or switch on your Shark device and turn it on by pressing or flipping it.
- Verify power status: Check for any indicators or LED lights on the device that confirm it is receiving power.
By connecting your Shark device to power, you ensure that it has the necessary energy to perform its tasks and go through the setup process. Some Shark devices may have built-in batteries, which you should charge before attempting to connect to power.
Once your Shark device is successfully connected to power, you are ready to move on to the next step of the setup process.
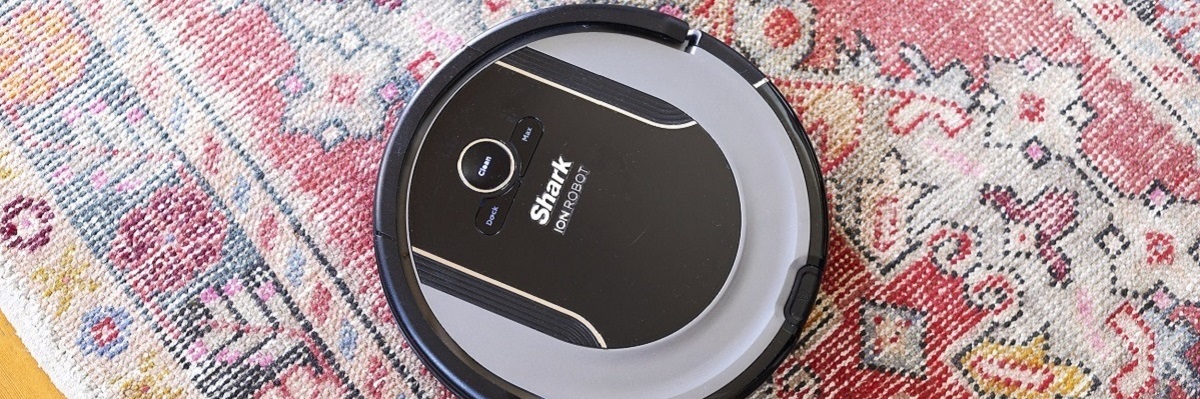
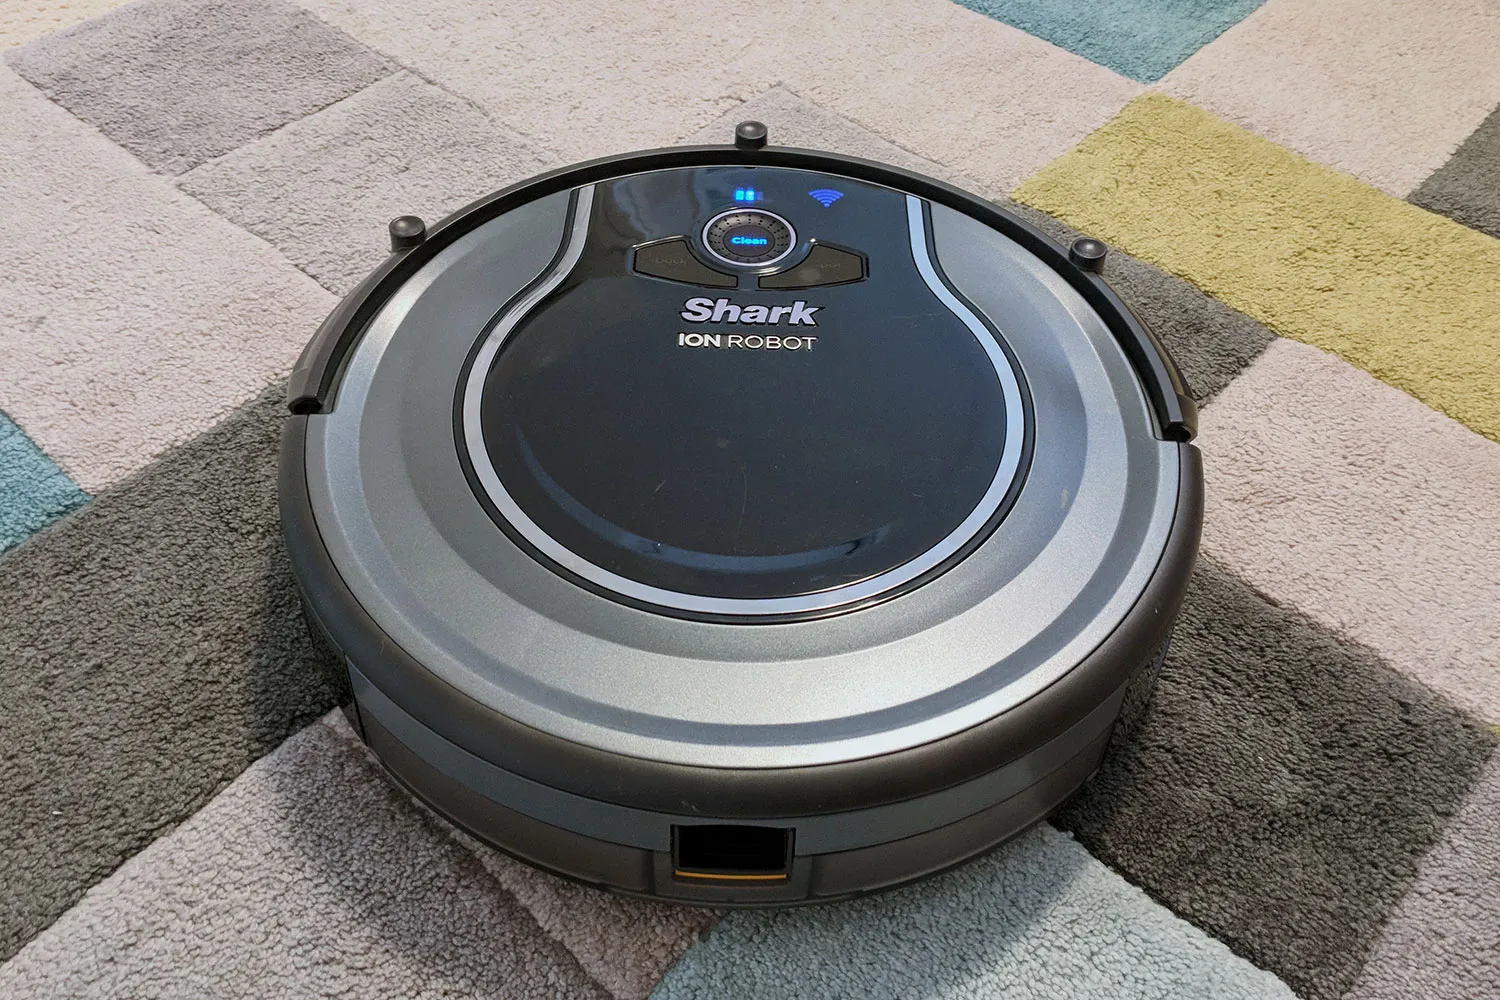
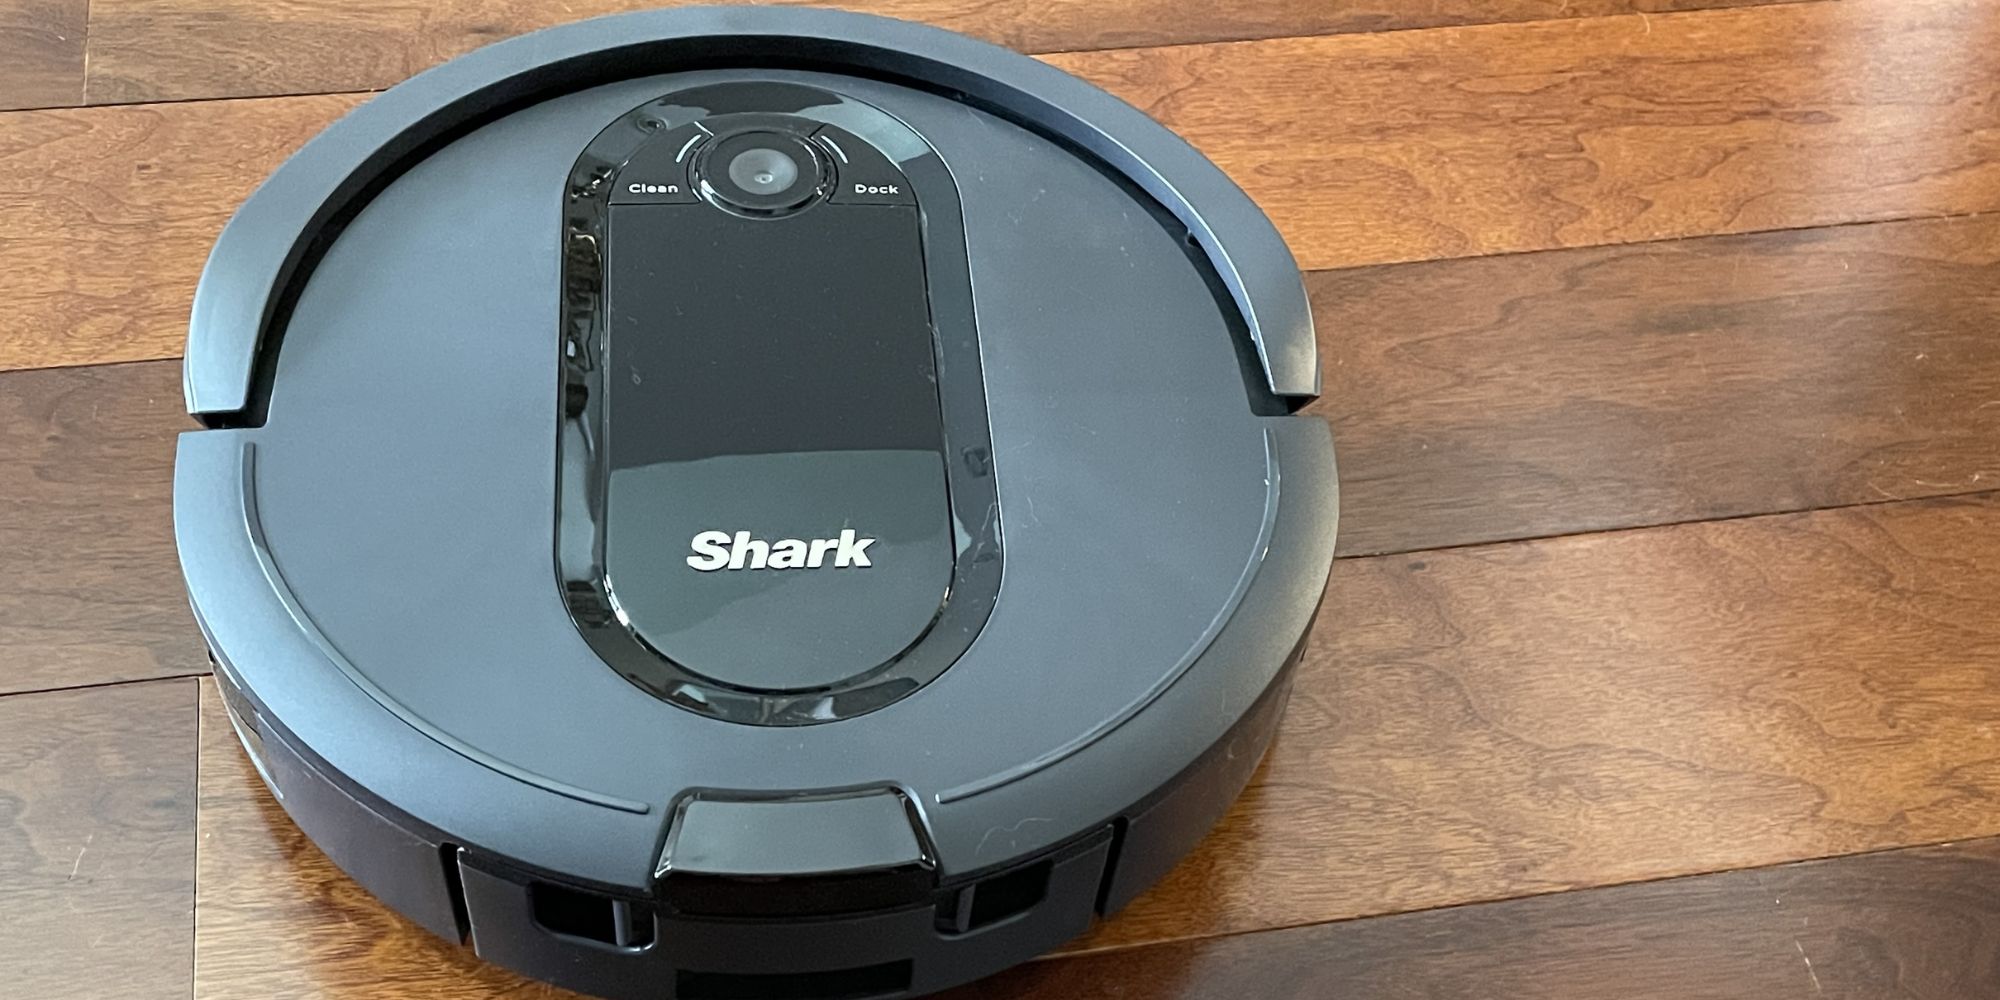
Step 3: Locate the Shark device’s WiFi button
In order to connect your Shark device to your WiFi network, you need to locate the WiFi button on the device. The placement of this button may vary depending on the specific model of your Shark device. Follow these steps to locate the WiFi button:
- Refer to the user manual: Consult the user manual or setup guide that came with your Shark device. It should provide detailed instructions on where to find the WiFi button.
- Inspect the device: Examine your Shark device for any buttons or indicators related to WiFi connectivity. Look for labels such as “WiFi” or “Connect” on the device’s exterior.
- Check control panel: If your Shark device has a control panel or display, navigate through the menu options or settings to find the WiFi button.
- Search online: If you’re still having trouble finding the WiFi button, search online for your specific Shark device model and its WiFi button location. There may be user forums or support articles that provide this information.
It’s important to locate the WiFi button on your Shark device before proceeding to the next steps. This button is crucial for initiating the WiFi connection process and allowing your device to connect to your home’s wireless network.
Once you have successfully identified the WiFi button on your Shark device, you are ready to move on to the next step of the setup process.
Step 4: Press the WiFi button on the Shark device
Now that you have located the WiFi button on your Shark device, it’s time to press it to initiate the WiFi connection process. Follow these steps:
- Make sure your Shark device is powered on: Ensure that your Shark device is turned on and ready for setup.
- Press and hold the WiFi button: Locate the WiFi button on your Shark device and press and hold it for a few seconds. The location and design of the WiFi button may vary depending on the specific model of your device.
- Observe the WiFi indicator: As you press and hold the WiFi button, pay attention to any indicators or LED lights on the device. These lights may start flashing or change color, indicating that the device has entered WiFi pairing mode.
By pressing the WiFi button on your Shark device, you have activated the WiFi connection mode, making it ready to establish a connection with your home’s WiFi network.
Note that the duration you need to hold the WiFi button may vary depending on the device. Refer to the user manual or setup guide for specific instructions related to your Shark device.
With the WiFi button pressed, you are now prepared to proceed to the next step and connect your mobile device or computer to the Shark device’s WiFi network.
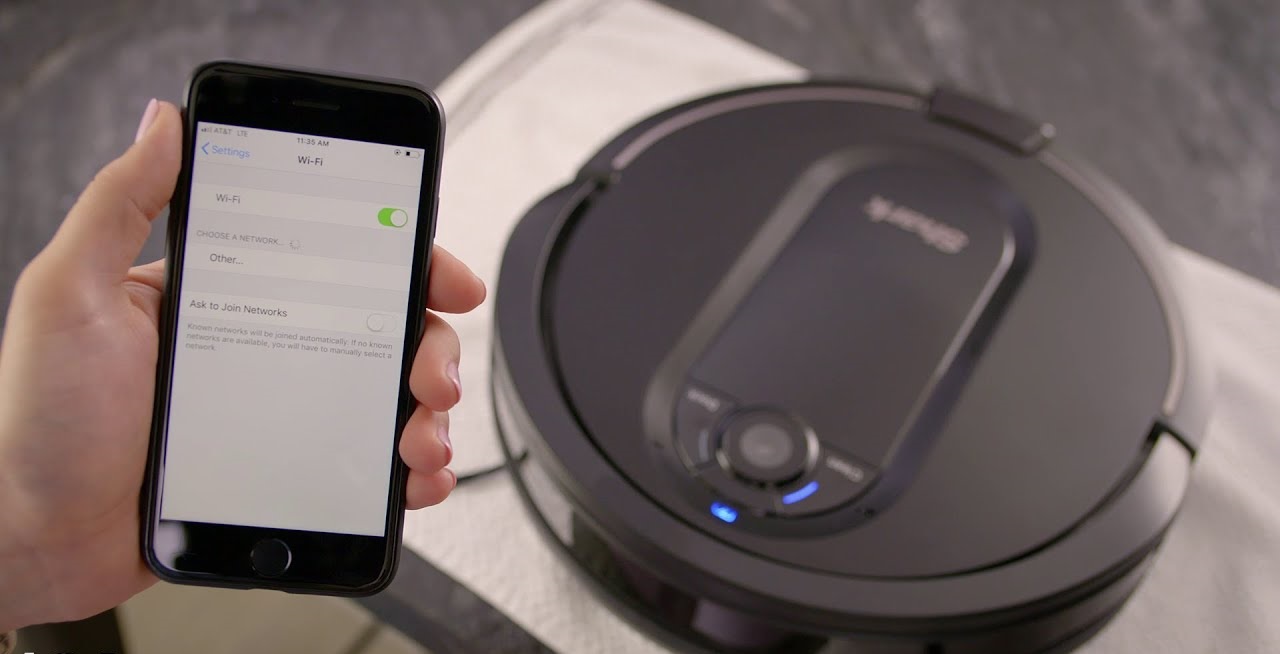
Step 5: Enable WiFi on your mobile device or computer
Before you can connect your Shark device to WiFi, you need to ensure that the WiFi feature on your mobile device or computer is enabled. Follow these steps to enable WiFi:
- Mobile device: If you are using a mobile device such as a smartphone or tablet, begin by accessing the “Settings” menu. Look for the “WiFi” or “Connections” option and tap on it. Toggle the switch to turn on WiFi if it is currently disabled.
- Computer: If you are using a computer or laptop, check the taskbar or system tray for the WiFi icon. Click on the icon to open the WiFi menu. Select the option to enable WiFi if it is currently disabled.
Enabling WiFi on your mobile device or computer allows it to detect and connect to available wireless networks, including the one being broadcast by your Shark device.
Once you have enabled WiFi on your device, it will start scanning for nearby networks. In the next step, you will connect to the WiFi network being broadcast by your Shark device.
It is important to note that the exact steps for enabling WiFi may vary depending on the operating system and device you are using. Refer to the user manual or online support resources for your specific device if you encounter any difficulties enabling WiFi.
With WiFi enabled on your mobile device or computer, you’re now ready to proceed to the next step and connect to the WiFi network of your Shark device.
Step 6: Connect to the Shark device’s WiFi network
Now that WiFi is enabled on your mobile device or computer, it’s time to connect to the WiFi network being broadcast by your Shark device. Follow these steps to establish the connection:
- Access the WiFi settings: Open the “Settings” menu on your mobile device or computer. Look for the “WiFi” or “Wireless Networks” option and tap on it.
- Scan for available networks: Your device will scan for nearby WiFi networks. Wait for the scan to complete, and you should see a list of available networks, including the one being broadcast by your Shark device.
- Select the Shark device’s WiFi network: Locate the WiFi network associated with your Shark device in the list. It may have a name or SSID specific to your device, such as “Shark-1234”. Tap or click on the network to connect to it.
- Enter the WiFi password: If prompted, enter the password for the Shark device’s WiFi network. This password is typically printed on a label or included in the user manual of your Shark device.
- Wait for connection: After entering the password, your mobile device or computer will attempt to connect to the Shark device’s WiFi network. Wait for a moment while the connection is established.
- Verify successful connection: Once connected, you should see a confirmation message or an indicator on your device that it is now connected to the Shark device’s WiFi network.
Congratulations! You have successfully connected your mobile device or computer to the WiFi network being broadcast by your Shark device. This establishes a direct connection between your device and the Shark device, allowing for seamless communication and setup.
In the next step, you will open a web browser and enter the Shark device’s IP address to continue the setup process and connect the device to your home’s WiFi network.
Step 7: Open a web browser and enter the Shark device’s IP address
Now that you have successfully connected to the WiFi network being broadcast by your Shark device, it’s time to open a web browser and enter the Shark device’s IP address to continue the setup process. Follow these steps:
- Open a web browser: Launch your preferred web browser on your mobile device or computer. You can use browsers like Chrome, Firefox, Safari, or Edge.
- Enter the Shark device’s IP address: In the address bar of the web browser, type in the IP address of your Shark device. The IP address is a unique combination of numbers, such as 192.168.1.1. The specific IP address for your device can usually be found in the user manual or setup guide provided by Shark.
- Press Enter or Go: After entering the IP address, press Enter or click the Go button to navigate to that address.
By entering the Shark device’s IP address in the web browser, you are accessing the device’s internal web configuration page. This page allows you to make further adjustments, configure settings, and complete the setup process.
Note that the appearance and layout of the web configuration page may vary depending on the model of your Shark device. However, you will generally find a setup or configuration wizard that will guide you through the remaining steps of connecting your Shark device to your home’s WiFi network.
In the next step, you will follow the on-screen instructions provided by the Shark device’s web configuration page to finalize the WiFi connection and complete the setup process.
Step 8: Follow the on-screen instructions to connect the Shark device to your WiFi network
After entering the Shark device’s IP address in the web browser, you will be directed to the device’s web configuration page. This page will provide on-screen instructions to guide you through the final steps of connecting your Shark device to your home’s WiFi network. Follow these steps:
- Read the instructions: Carefully review the information and instructions provided on the web configuration page. Familiarize yourself with the options and features available.
- Locate the WiFi setup section: Look for a section or tab related to WiFi setup or network configuration. This is where you will configure the connection to your home’s WiFi network.
- Select your home’s WiFi network: Within the WiFi setup section, you should see a list of available networks. Identify and select your home’s WiFi network from the list.
- Enter the WiFi network password: If prompted, enter the password for your home’s WiFi network. This is the same password you use to connect other devices to your WiFi network.
- Save and apply settings: Once you have entered the WiFi network password, save and apply the settings on the web configuration page. This will initiate the process of connecting your Shark device to your home’s WiFi network.
- Wait for the connection to be established: Your Shark device will now attempt to connect to your home’s WiFi network. It may take a few moments for the connection to be established. Be patient and allow the device to complete the process.
- Verify the connection: Once the connection has been established, you will typically see a confirmation message or an indicator on the web configuration page that your Shark device is now connected to your home’s WiFi network.
By following the on-screen instructions provided by the Shark device’s web configuration page, you will successfully connect your Shark device to your home’s WiFi network. This connection will enable you to access advanced features, receive firmware updates, and seamlessly integrate your Shark device into your smart home ecosystem.
Congratulations! You have completed the setup process and successfully connected your Shark device to your WiFi network. You can now enjoy the full range of capabilities and benefits that your Shark device has to offer.
Conclusion
Connecting your Shark device to your WiFi network is a simple process that allows you to unlock a world of convenience and functionality. By following the step-by-step guide outlined in this article, you can seamlessly integrate your Shark device into your smart home ecosystem and enjoy all the features and benefits it has to offer.
From robot vacuum cleaners to electric mops and smart coffee makers, Shark devices are designed to make your life easier and more efficient. By connecting them to your WiFi network, you can take advantage of features like remote control operation, firmware updates, scheduling, and even voice control integration with virtual assistants.
Throughout the setup process, make sure to carefully read the user manual or setup guide provided by Shark for your specific device. This will ensure that you follow any device-specific instructions or troubleshooting steps that may be necessary.
We hope that this guide has provided you with the knowledge and confidence to connect your Shark device to your WiFi network. If you encounter any difficulties during the setup process, don’t hesitate to reach out to Shark’s customer support for further assistance.
Now that you’re ready to connect your Shark device to WiFi, go ahead and bring your device online. Experience the convenience and power of a connected Shark device and enjoy a cleaner, smarter home environment!