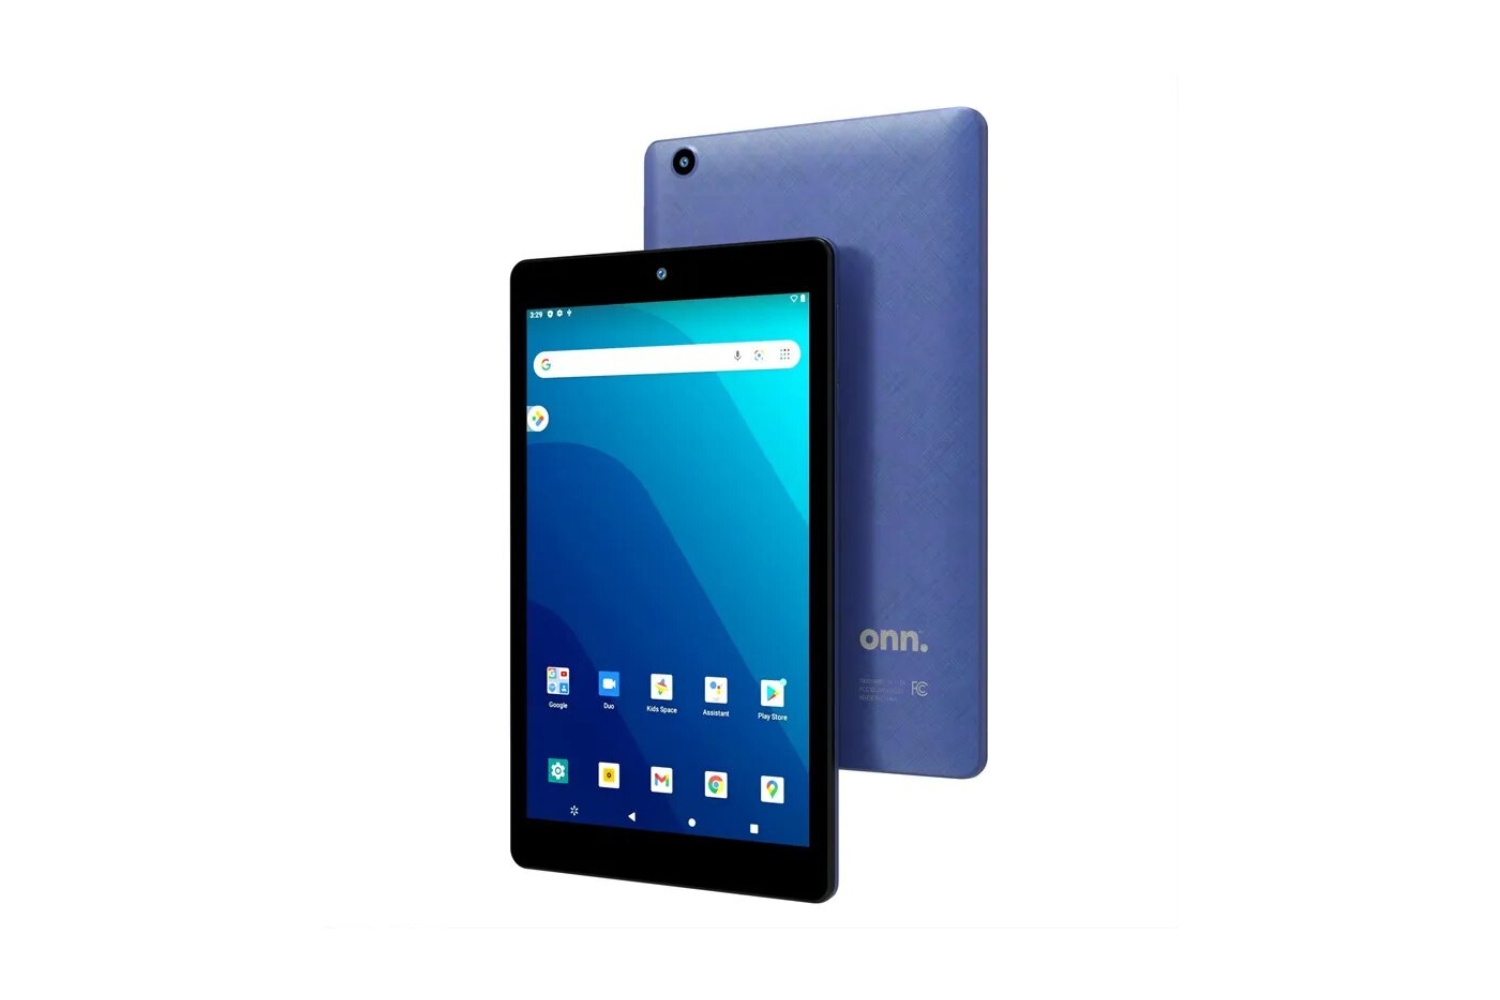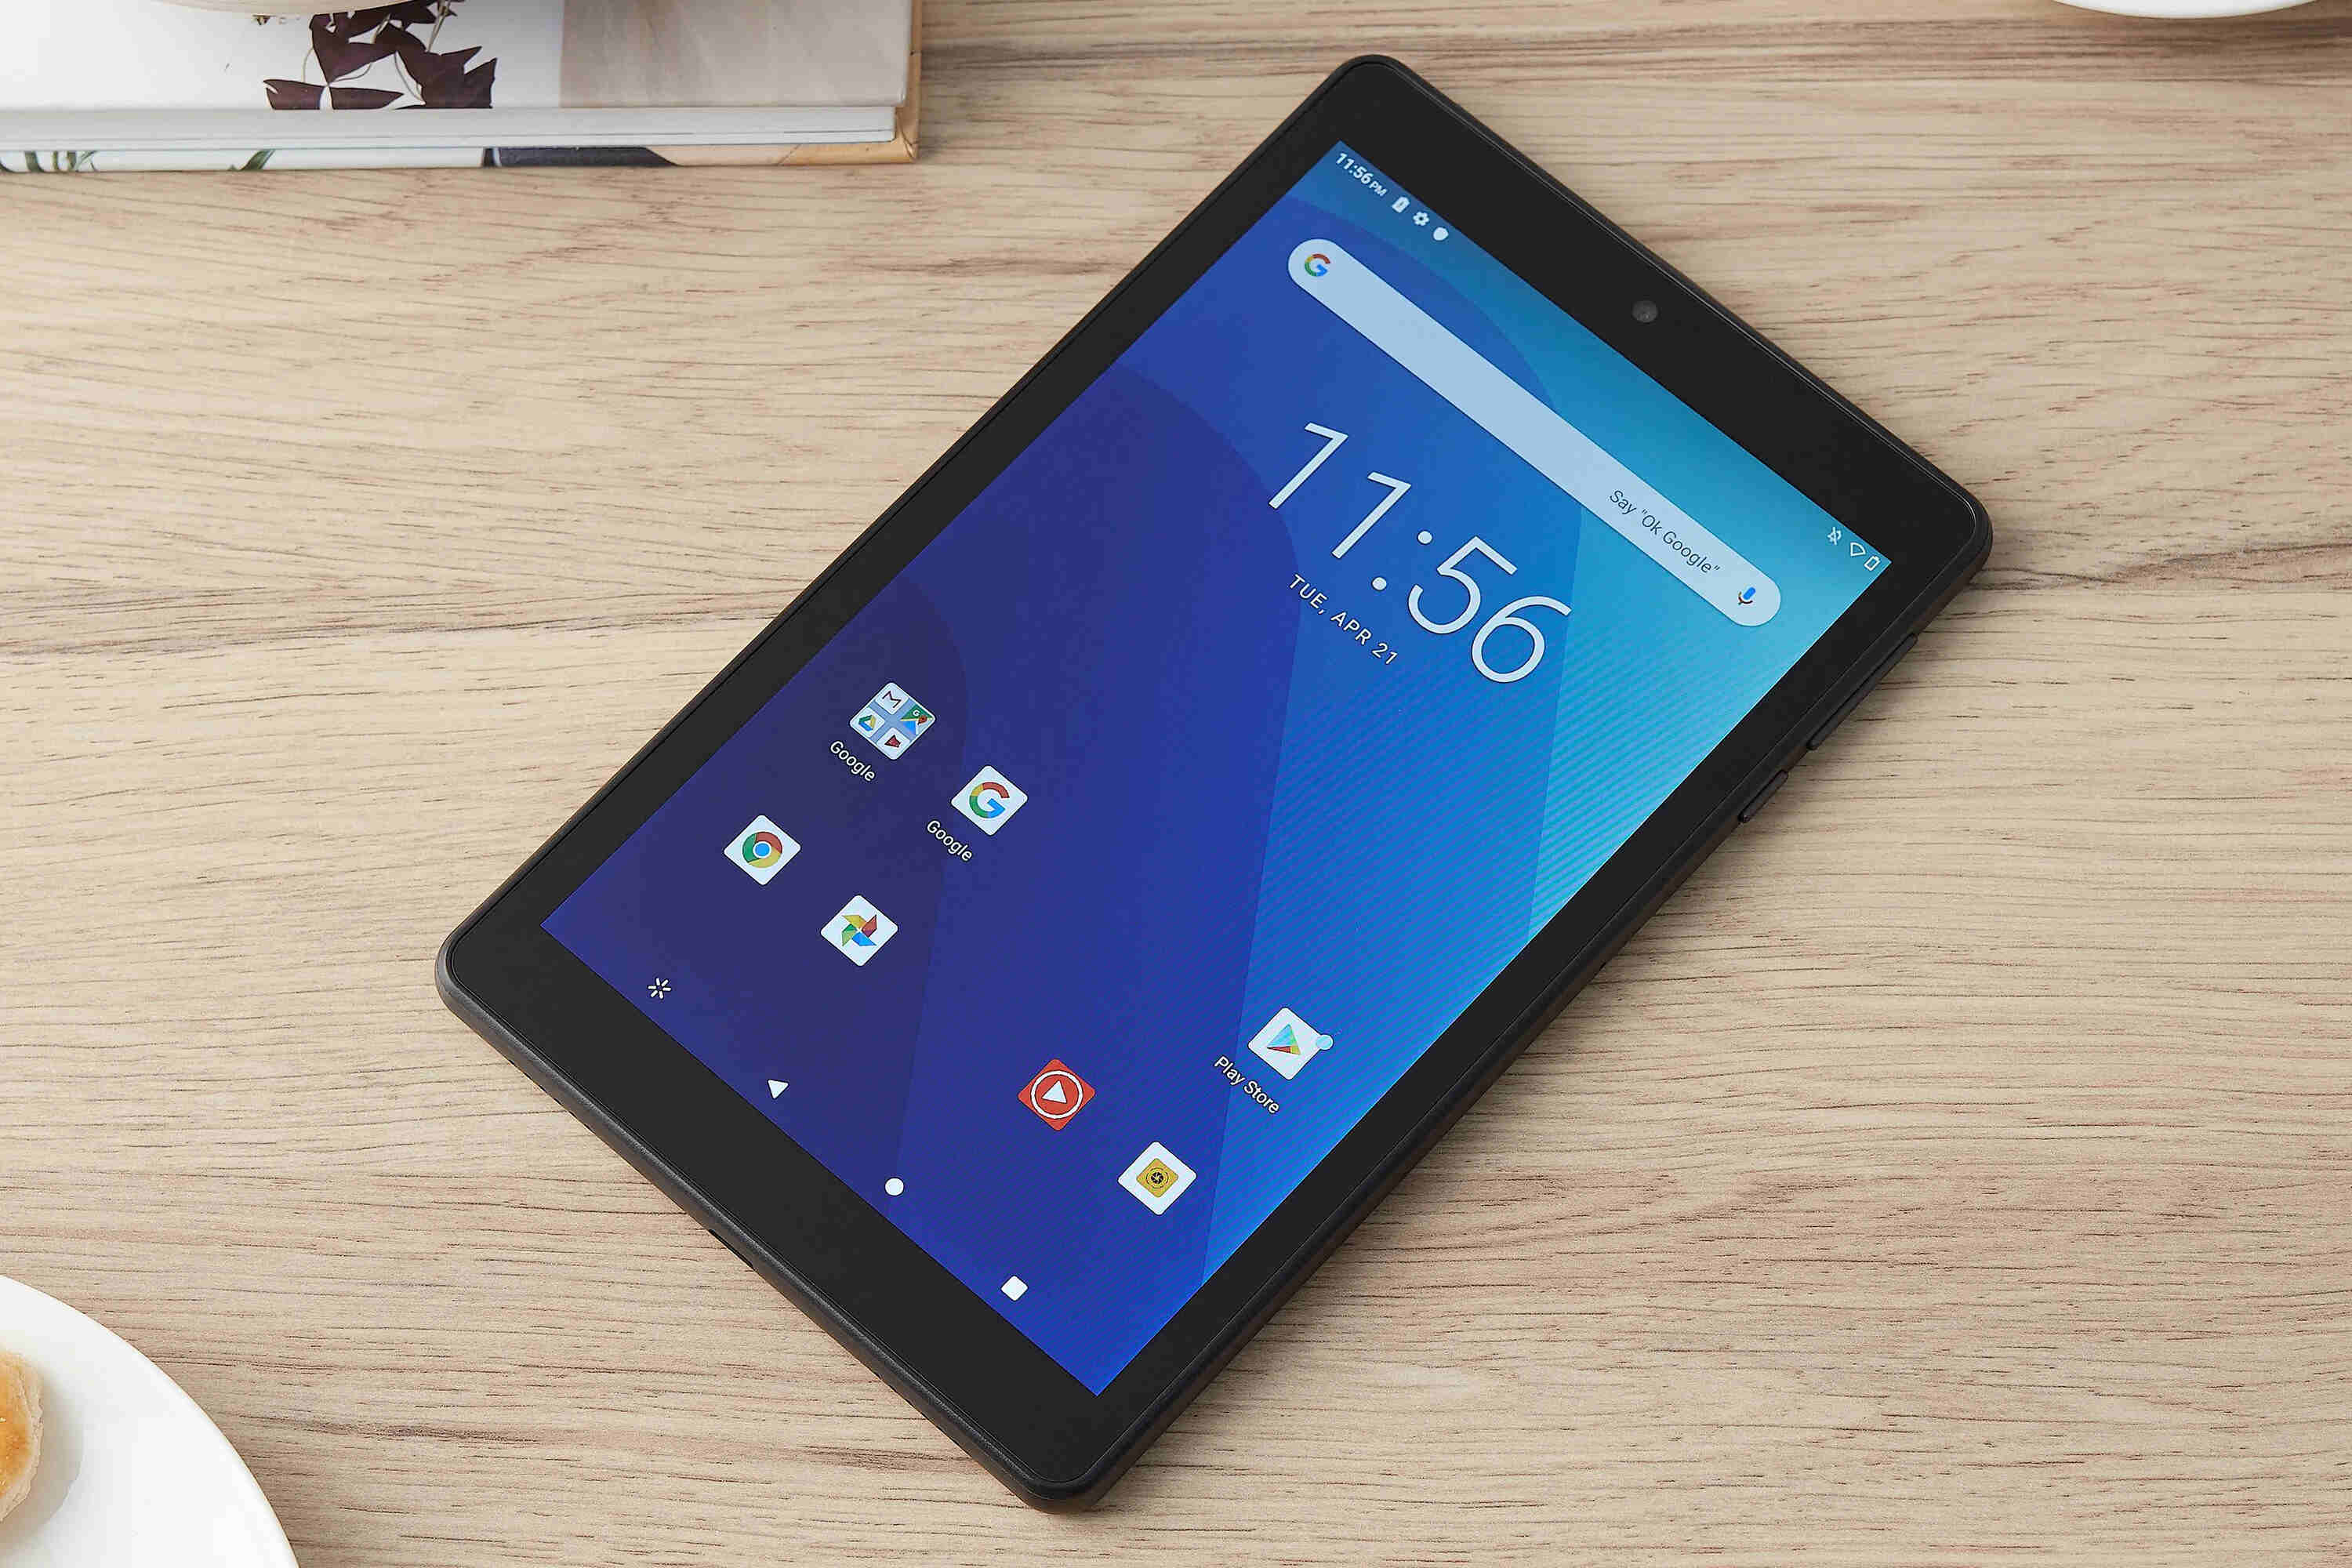
Introduction
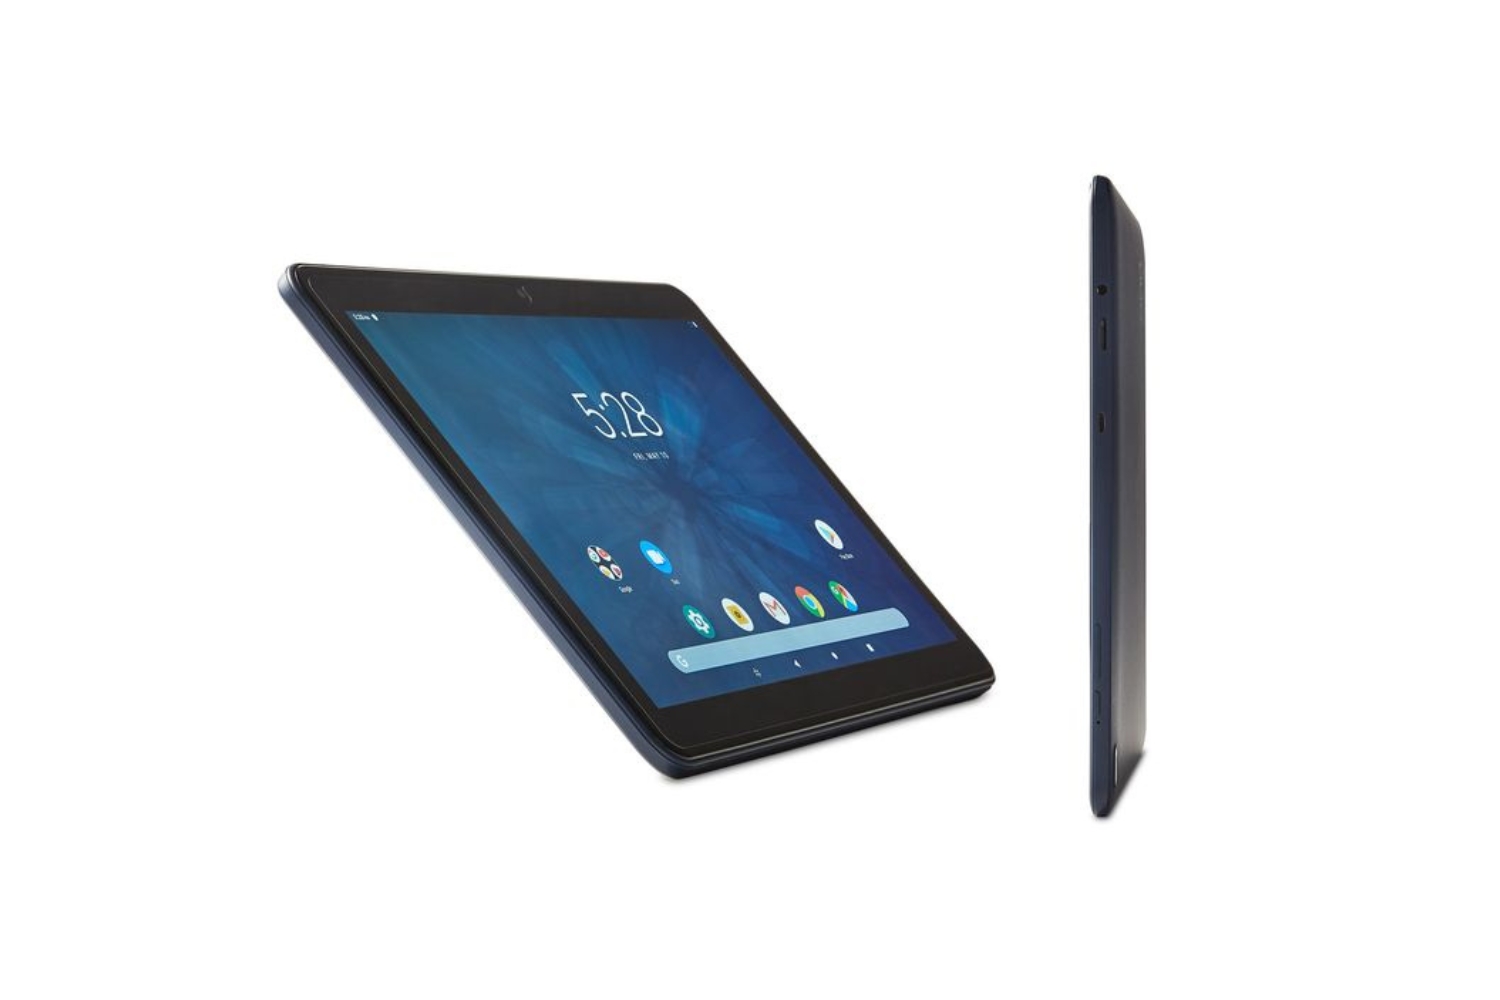
Removing the battery from an Onn tablet can be a necessary task for troubleshooting or replacement purposes. The tablet’s battery may need to be removed if it is defective, not holding a charge, or causing other issues with the device. However, it is important to approach this process with caution and follow the correct steps to avoid any damage to the tablet or harm to yourself.
In this guide, we will walk you through the step-by-step process of removing the battery from an Onn tablet. Before you begin, make sure to gather all the necessary tools and follow each step carefully to ensure a smooth and safe battery removal.
It is worth noting that removing the battery from an Onn tablet may void any existing warranty, so proceed at your own discretion and consider consulting the manufacturer or seeking professional assistance if you are unsure or uncomfortable with performing this task yourself.
By following this guide, you will gain the knowledge and confidence to safely remove the battery from your Onn tablet, allowing you to address battery-related issues and potentially prolong the lifespan of your device. So, let’s get started with the first step: gathering the necessary tools.
Step 1: Gather the necessary tools
Before you begin removing the battery from your Onn tablet, it is important to gather all the necessary tools to make the process easier and safer. Here are the tools you will need:
- Screwdriver set: Make sure to have a screwdriver set with various sizes and types of screw heads. This will allow you to remove any screws holding the tablet together.
- Plastic pry tool: A plastic pry tool is essential for safely prying open the back cover of the tablet without damaging the device or the cover.
- Tweezers: Tweezers are useful for handling small components and cables during the battery removal process.
- Anti-static wrist strap: An anti-static wrist strap is an optional but recommended tool to prevent electrostatic discharge (ESD) that could potentially damage electronic components.
- Work surface: Find a clean and flat work surface to perform the battery removal process. This will help prevent any accidental damage or loss of small components.
Once you have gathered these tools, ensure that you have a clear workspace to comfortably work on your tablet. Having all the necessary tools beforehand will help you complete the battery removal process smoothly and efficiently.
It is also important to note that different Onn tablet models may have specific tools or steps required for battery removal. Therefore, it is always recommended to consult the user manual or manufacturer’s instructions for your specific model before proceeding.
After gathering all the necessary tools, you are now ready to move on to the next step: powering off the tablet.
Step 2: Power off the tablet
Before you begin the process of removing the battery from your Onn tablet, it is crucial to ensure that the device is powered off. This step will help prevent any potential damage to the tablet’s internal components and ensure your safety throughout the battery removal process.
To power off your Onn tablet, follow these steps:
- Press and hold the power button located on the side or top of your tablet.
- A screen will appear with options such as Power off, Restart, or Airplane mode.
- Select the “Power off” option by tapping on it. This will initiate the shutdown process.
- Wait for a few seconds until the tablet completely powers down. The screen will turn off, and you may hear a confirmation sound indicating that the device has successfully powered off.
It is important to note that the steps to power off a tablet may vary slightly depending on the specific model of your Onn tablet. If you are unsure about the power-off process, refer to the user manual or manufacturer’s instructions for your particular device.
Once you have powered off your tablet, proceed to the next step to locate the battery compartment.
Step 3: Locate the battery compartment
Locating the battery compartment is an essential step before removing the battery from your Onn tablet. Different tablet models may have varying designs, so it is important to identify the specific location of the battery compartment for your device.
To locate the battery compartment in your Onn tablet, follow these general steps:
- Inspect the edges and sides of your tablet for any visible screws. These screws often indicate the presence of the back cover and the location of the battery compartment.
- Using the appropriate screwdriver from your toolkit, carefully remove the screws securing the back cover in place. Place the screws in a safe spot to prevent loss or damage.
- Gently pry open the back cover using a plastic pry tool. Start at a corner or along the edges, applying steady pressure to lift the cover without causing any damage to the device.
- Once the back cover is removed, you may be able to see the battery compartment. The battery is typically a rectangular or square-shaped component.
It is important to exercise caution and gentle force during this step to avoid damaging the tablet or accidentally disconnecting any internal components. If you encounter any resistance or difficulty, refer to your tablet’s specific user manual or manufacturer’s instructions for guidance.
Each Onn tablet model may have a different battery compartment design, so it is crucial to identify the location correctly before proceeding to the next step of removing the battery.
Once you have successfully located the battery compartment, proceed to Step 4 to learn how to remove the back cover.
Step 4: Remove the back cover
With the battery compartment located, the next step in removing the battery from your Onn tablet is to carefully remove the back cover. The back cover is usually held in place by clips or additional screws, depending on the tablet model.
To remove the back cover from your Onn tablet, follow these steps:
- Ensure that the tablet is powered off and placed on a flat, stable surface.
- Using a plastic pry tool, gently insert it into the gap between the back cover and the tablet’s body.
- Apply gentle force and slowly work your way around the edges of the tablet, carefully prying the cover open. Be cautious not to exert too much pressure or use sharp objects that can cause damage.
- If you encounter any resistance, double-check for any hidden screws that may be securing the back cover. Remove these screws, if any, and proceed with prying open the cover.
- Continue prying the cover until it is completely detached from the tablet’s body. Set the back cover aside in a safe place.
It is important to note that some tablets may have adhesive holding the back cover in place. In such cases, you may need to use a heat gun or hairdryer to gently warm the edges of the tablet, softening the adhesive and making it easier to remove the cover.
Take your time and be careful during this step to avoid any damage to the tablet or the back cover. Each tablet model may have slight variations in the removal process, so refer to the user manual or manufacturer’s instructions if you encounter any difficulties.
Now that you have successfully removed the back cover, proceed to Step 5 to learn how to disconnect the battery cable.
Step 5: Disconnect the battery cable
Once the back cover is removed, the next step in removing the battery from your Onn tablet is to disconnect the battery cable. The battery cable is responsible for supplying power to the device, and it needs to be safely disconnected before proceeding with battery removal.
To disconnect the battery cable from your Onn tablet, follow these steps:
- Locate the battery cable connected to the motherboard. The cable is usually connected through a small connector or socket.
- Gently grasp the connector or socket and carefully wiggle it back and forth while pulling it away from the socket. Be cautious not to apply too much force as you disconnect it.
- If the connector has a latch or lock mechanism, release it before attempting to disconnect the cable. Refer to your tablet’s user manual or manufacturer’s instructions if needed.
- Once the battery cable is detached from the motherboard, ensure that it is positioned away from any other components to prevent accidental reconnection.
It is important to exercise caution and handle the battery cable delicately to avoid any damage. Avoid tugging or pulling excessively, as this can cause damage to the cable or the motherboard.
Every Onn tablet may have a slightly different battery cable design or connection, so refer to the user manual or manufacturer’s instructions specific to your tablet model for more detailed guidance.
Now that you have successfully disconnected the battery cable, you are ready to proceed to Step 6, where we will cover how to remove the battery itself.
Step 6: Remove the battery
With the battery cable disconnected, the next step in removing the battery from your Onn tablet is to safely remove the battery itself. Removing the battery requires careful handling to prevent any damage to the device or injury to yourself.
To remove the battery from your Onn tablet, follow these steps:
- Locate the battery within the battery compartment. It is usually a rectangular or square-shaped component.
- Gently grasp the battery by the edges and slowly lift it out of the compartment. Apply even pressure to avoid bending or damaging the battery.
- If the battery is not easily removable, check for any additional screws or clips securing it in place. Use a screwdriver or pry tool, if necessary, to remove these fasteners before attempting to lift the battery.
- Avoid using excessive force or bending the battery during removal. Batteries can be fragile, and mishandling can lead to damage or even rupture.
- Once the battery is successfully removed, set it aside in a safe place away from any heat sources or flammable materials.
It is important to note that the battery size and design may vary depending on the specific Onn tablet model. Taking note of the battery’s orientation and position within the battery compartment will assist you in correctly reinstalling a new battery, if needed.
If you are unsure about how to safely remove the battery from your Onn tablet, consult the user manual or contact the manufacturer for specific instructions.
Now that you have successfully removed the battery, proceed to the final step to learn how to reassemble your tablet.
Step 7: Reassemble the tablet
After removing the battery from your Onn tablet, the final step is to reassemble the device. Reassembling the tablet involves putting the back cover back in place and securing any screws or clips that hold it together.
To reassemble your Onn tablet, follow these steps:
- Take the back cover that you set aside earlier and align it with the tablet’s body.
- Gently press the cover onto the tablet, ensuring that it fits snugly and aligns with the edges and corners.
- If there are any screws that were removed during the disassembly process, use the appropriate screwdriver to fasten them securely. Tighten the screws, but be careful not to overtighten and risk damaging the tablet’s housing.
- Verify that the back cover is securely attached and there are no gaps or loose sections.
Once the tablet is reassembled, you can power it on to ensure everything is functioning properly. Press and hold the power button to turn on the tablet. If the tablet powers on successfully and functions as expected, the reassembly process is considered complete.
It is recommended to go through the reassembly steps cautiously, paying attention to the proper alignment of the back cover and the correct engagement of any screws or clips. Taking your time during this step will help avoid any potential damages or issues with the tablet.
By following these steps, you have successfully removed and reassembled the battery in your Onn tablet. This process can assist in troubleshooting battery-related problems or preparing the tablet for battery replacement if necessary.
If you encounter any difficulties during the reassembly process or have concerns about the functionality of your tablet, it is recommended to consult the user manual, contact the manufacturer, or seek professional assistance.
Conclusion
Removing the battery from your Onn tablet may seem like a daunting task, but by following the steps outlined in this guide, you can safely and successfully complete the process. Whether you need to troubleshoot battery issues or replace a faulty battery, the step-by-step instructions provided here will guide you through the process with confidence.
Remember to approach the task with caution, gather the necessary tools beforehand, and always consult the user manual or manufacturer’s instructions specific to your Onn tablet model. Taking these precautions will help prevent any accidental damage to your device and ensure your safety throughout the battery removal process.
Additionally, it’s important to note that removing the battery from your Onn tablet may void any existing warranty. If your tablet is still under warranty or if you are unsure about performing the battery removal yourself, consider reaching out to the manufacturer or seeking assistance from a professional technician.
By successfully removing and reassembling the battery in your Onn tablet, you have gained valuable insights and skills to address battery-related issues and potentially extend the lifespan of your device. Remember to handle the battery and other components with care and dispose of the old battery properly according to local regulations.
With this knowledge, you can now confidently troubleshoot and address battery-related problems with your Onn tablet. Enjoy uninterrupted usage and enhanced performance as you navigate the world of technology with your rejuvenated device.