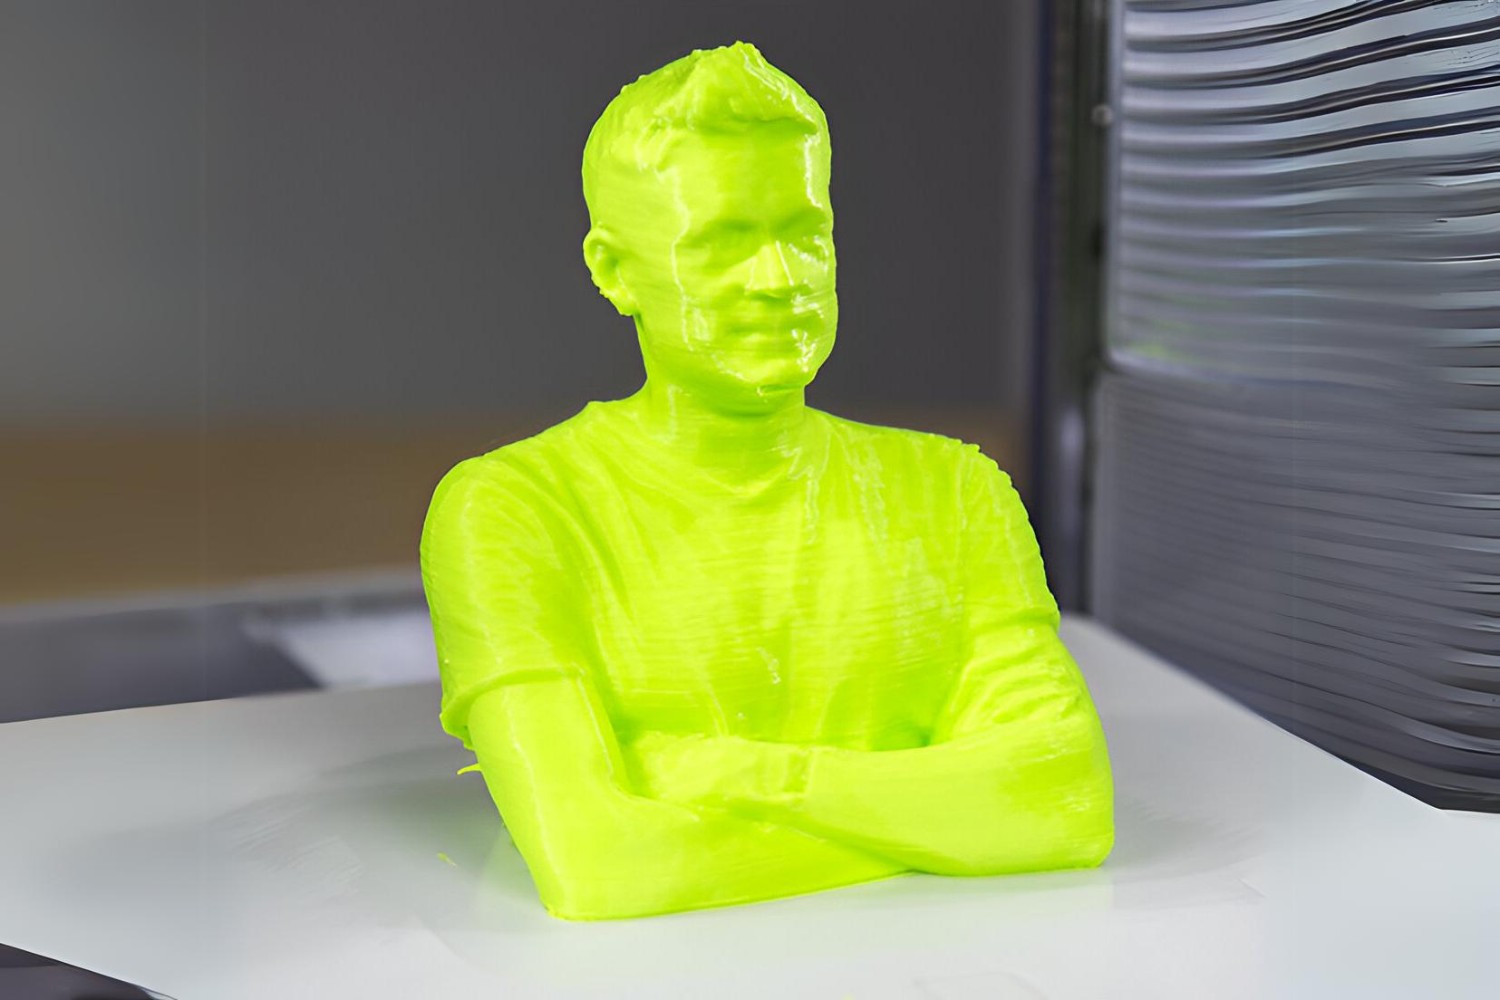
To turn your Microsoft Kinect v2 sensor into a working kinect 3d scanner, you need a Windows PC, the free Kinect for Windows SDK 2.0, and Microsoft's 3D Builder app, no paid software required. This guide walks you through the exact setup, calibration, scanning, and export steps to capture real objects as STL or OBJ files for 3D printing or digital modeling.
What you need to use a Kinect 3D scanner
Before starting, verify your PC meets the mandatory requirements for Kinect v2. You need Windows 8 or later (64-bit), a dual-core 3.1-GHz or faster CPU, 4 GB RAM, and a DirectX 11 compatible graphics card. The most common failure point is the USB 3.0 port: it must use an Intel or Renesas chipset, not a third-party controller, because Kinect v2 streams raw depth data at high bandwidth. Check your motherboard or laptop specs for "Intel USB 3.0" or "Renesas USB 3.0" before buying any adapters.
You also need the Kinect for Windows SDK 2.0, which is a free download from Microsoft's official site. This SDK provides the device drivers and calibration tools that allow Windows to communicate with the sensor. Note that the SDK only works with Kinect v2 (the Xbox One version with the USB 3.0 connector), not the original Kinect for Xbox 360. Install the SDK first, restart your PC, and plug in the sensor only after the drivers are loaded.
Installing the free scanning software
Microsoft's 3D Builder app (pre-installed on Windows 10/11) is the verified free application for Kinect v2 scanning. It includes a built-in "Scan" mode that directly captures from the depth sensor. If 3D Builder is missing from your system, download it from the Microsoft Store. For advanced users, the optional 3D Scan app (also free from Microsoft) provides more control over scan resolution and mesh density, but 3D Builder is sufficient for most projects.
Both apps are fully compatible with Kinect v2 and require no extra plugins. Avoid third-party tools like Skanect or ReconstructMe for this workflow, they add cost and complexity without improving the core scanning process.
Connecting and calibrating your Kinect v2
The sensor also needs its external power supply connected. Windows should automatically recognize it after the SDK is installed.
Next, run the SDK calibration tool (found in the Start Menu under "Kinect for Windows SDK 2.0"). This tool aligns the infrared depth sensor with the RGB camera. You'll see a split-screen view showing both feeds; hold a flat checkerboard pattern (print one from the SDK's sample files) in front of the sensor and move it slowly in all directions. The tool will display green outlines when alignment is correct. Complete the full calibration, this step is critical because misalignment causes blurry or distorted 3D scans.
Positioning your object for the best scan
Place your object on a stable surface that won't shift during scanning. Use a lazy Susan or rotating turntable if you plan to spin the object; otherwise, keep it stationary and move the sensor around it.
Lighting matters more than you think. Use soft, diffuse lighting (e.g., a lamp pointed at the ceiling) to minimize shadows. Avoid direct sunlight or harsh spotlights. The background should be plain and contrasting, a white object needs a dark background, and vice versa. Remove any reflective or transparent objects from the scene; glass, mirrors, and shiny plastic will confuse the depth sensor. If your object has glossy surfaces, spray it with a matte acrylic coating or dust it with talcum powder to improve scan quality.
Scanning with 3D Builder
Launch 3D Builder and click "New" to open a blank canvas. In the top menu, select "Scan" and choose "Kinect" as the input device. The live depth feed will appear on screen. You have two scanning modes: rotate the subject on a platform (if you have a turntable) or move the sensor around a stationary subject (handheld or on a tripod).
The app will automatically capture frames as the object spins. For handheld scanning: move the sensor in a slow, steady arc around the object, keeping it at a constant distance. Watch the progress indicator, 3D Builder shows a colored mesh filling in as it captures data. Aim to cover all sides; the software will align overlapping frames automatically. Stop recording when the mesh looks complete.
3D Builder merges additional passes into the existing mesh. For best results, keep the object in the center of the depth frame and avoid moving it mid-scan.
Cleaning up and exporting your 3D model
After stopping the scan, 3D Builder displays the raw mesh. Use the "Edit" tools to clean it up. First, click "Repair" to automatically fill small holes and remove floating artifacts. The "Smooth" tool reduces surface noise from depth sensor jitter, apply it lightly to avoid losing fine details.
Once the mesh is clean, export it. Click "Save As" and choose STL (for 3D printing) or OBJ (for editing in other software). In the export dialog, set the resolution to "High" if you plan to print; lower resolutions reduce file size for web use. If you need to scale the model, use 3D Builder's "Scale" tool before exporting, measure the real object with calipers and enter the exact dimensions.
For advanced cleanup (e.g., texture mapping or merging multiple scans), export to OBJ and open in a free tool like Blender or Meshmixer. But for most hobbyist projects, 3D Builder's built-in tools are sufficient to produce a printable model.
Scanning alternatives if you don't have a Kinect
If your PC fails the USB 3.0 chipset requirement or you can't source a Kinect v2, don't give up, you can use a phone as a 3D scanner with photogrammetry apps like Polycam or RealityScan. These tools capture the same result using your phone's camera and require no special hardware. The phone-based approach is slower but works on any modern smartphone, making it a practical fallback for users whose hardware setup fails the Kinect requirements.