Introduction
Welcome to the world of creative possibilities where you can transform a simple barcode scanner into a sophisticated 3D scanner. Imagine the ability to capture three-dimensional objects and create detailed digital models right from the comfort of your own home or workspace. With a little bit of technical skill and some ingenuity, you can turn a commonly available barcode scanner into a powerful tool for 3D scanning.
In this guide, we will dive into the exciting realm of barcode scanner hacking and explore how you can unlock its potential for 3D scanning. We’ll take a step-by-step approach, from understanding the basics of barcode scanners and the principles of 3D scanning, to disassembling and modifying the barcode scanner components. By the end, you’ll have your very own 3D scanner ready to capture the world in a whole new dimension.
Before we delve into the technical steps, it’s important to note that this project requires a certain level of technical expertise and comfort with handling electronic components. Take caution and always adhere to safety guidelines when working with any hardware modifications.
Now, without further ado, let’s embark on this exciting journey of turning a barcode scanner into a 3D scanner!
Understanding the Basics of Barcode Scanners
Before we dive into the world of 3D scanning, it’s important to have a solid understanding of the basics of barcode scanners. Barcode scanners are devices used to read and decode barcodes, which are widely used in various industries for inventory management, product tracking, and point-of-sale systems.
A barcode consists of a series of black and white lines or squares that represent alphanumeric characters. These characters are encoded in a specific format, such as UPC (Universal Product Code) or EAN (International Article Number), and can be scanned by a barcode scanner.
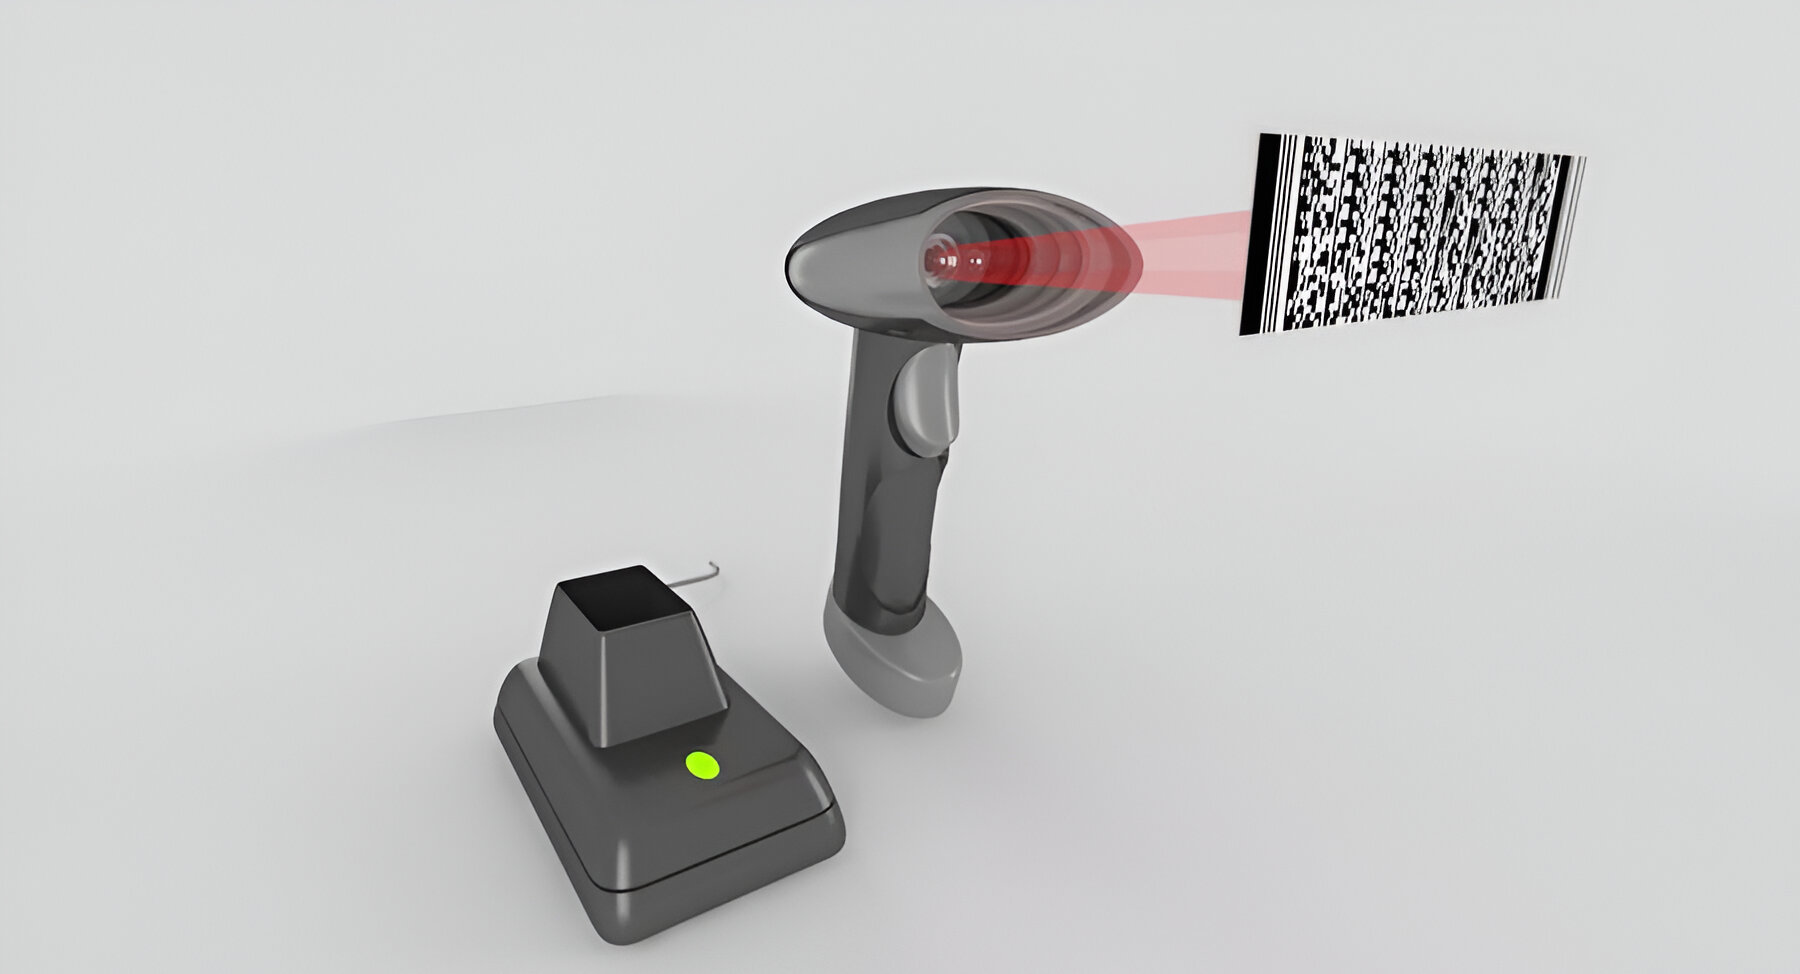
The most common type of barcode scanner is the laser scanner. It emits a laser beam that scans across the barcode, detecting the reflected light. The scanner then converts the pattern of light and dark elements into data that can be read by a computer or other devices.
Another type of barcode scanner is the image scanner, which uses a built-in camera to capture an image of the barcode. The image is then processed by software to extract the barcode information. Image scanners are often used in environments where laser scanners may not be suitable, such as reading damaged or poorly printed barcodes.
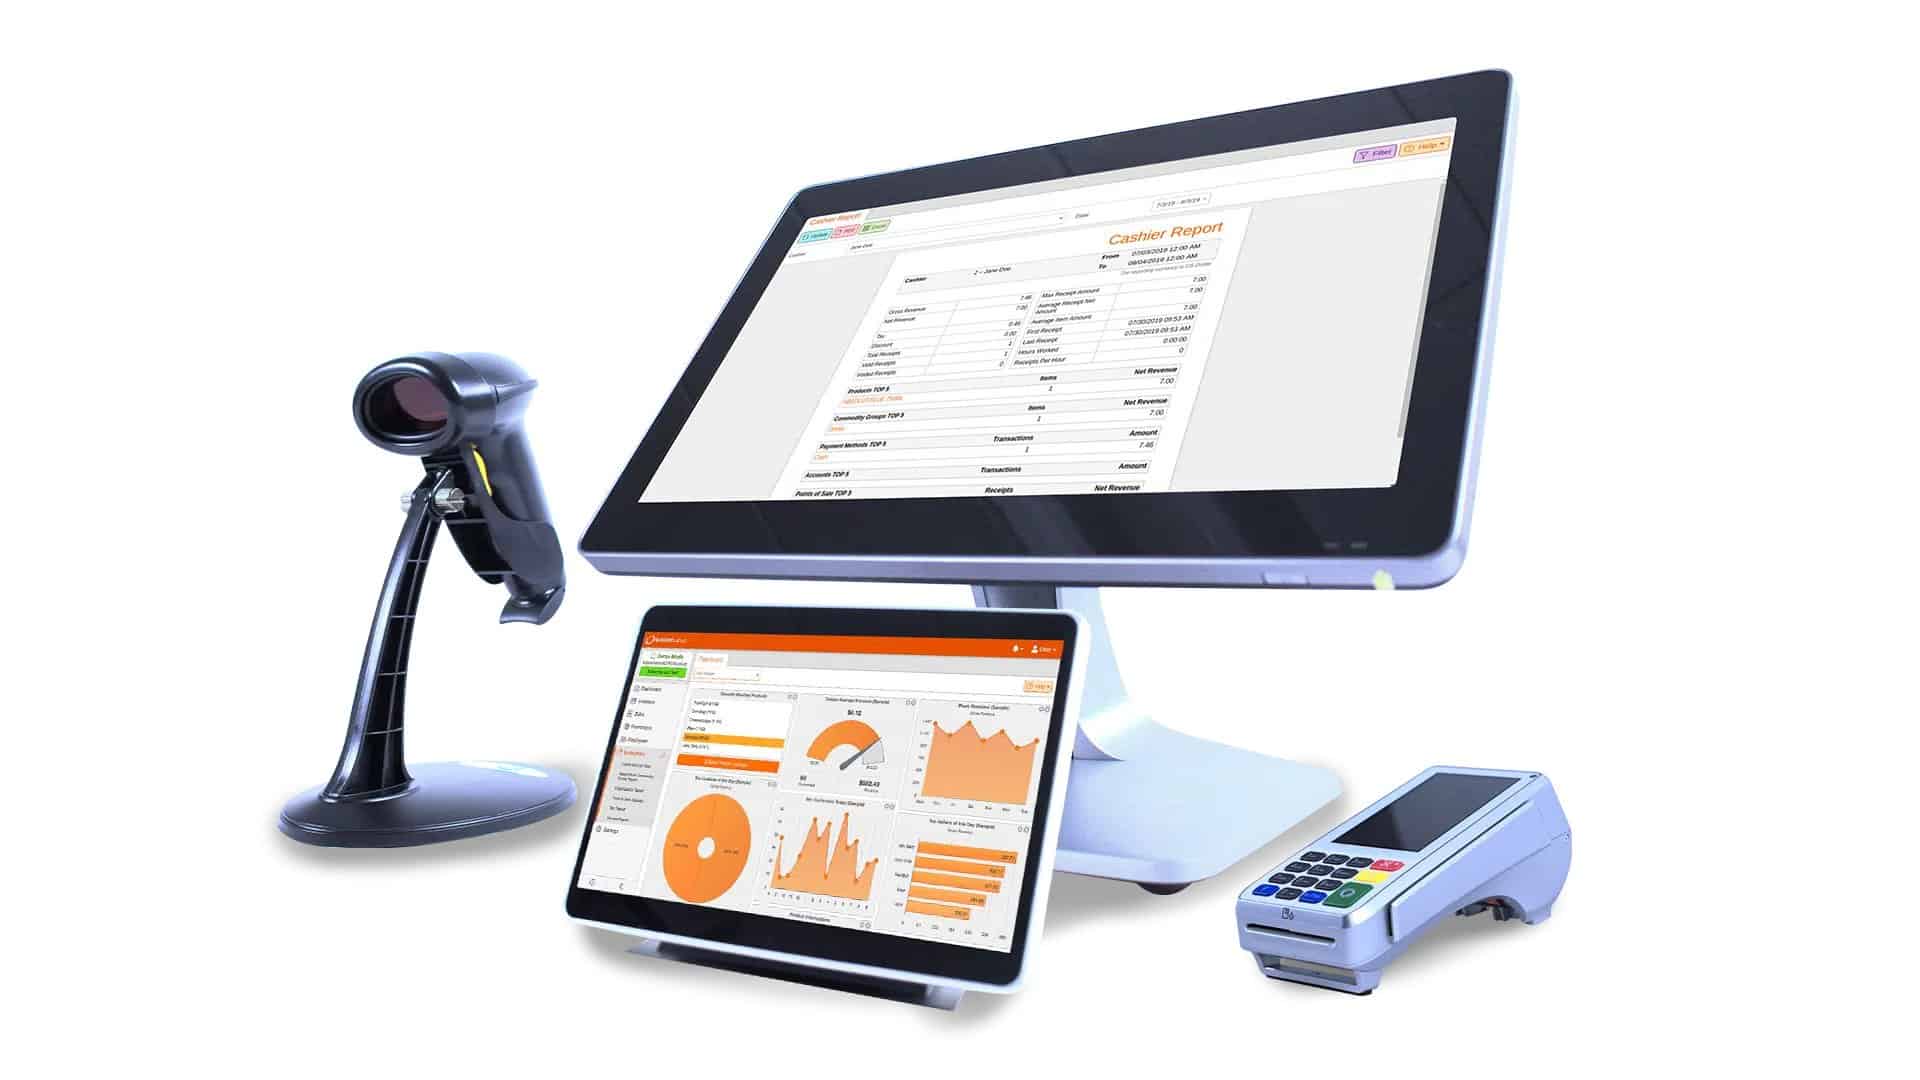
Barcode scanners typically connect to a computer or other devices via USB, Bluetooth, or other wired or wireless connections. They are designed to be lightweight, portable, and easy to use, making them an ideal choice for a wide range of applications.
Now that we have a basic understanding of barcode scanners, let’s move on to exploring the principles of 3D scanning and how we can leverage barcode scanning technology to create our own 3D scanner.
Exploring the Principles of 3D Scanning
3D scanning is the process of capturing the shape and geometry of a physical object to create a digital representation in three dimensions. This technology has numerous applications in various fields, including product design, manufacturing, animation, and virtual reality.
The core principle behind 3D scanning is the collection of data points that define the surface of an object. This is achieved by capturing multiple views of the object from different angles and using various techniques to measure the distance between the object and the scanning device.
One common method of 3D scanning is structured light scanning. This technique involves projecting a pattern of light onto the object and using cameras to capture the deformation of the pattern caused by the object’s surface. By analyzing these deformations, the scanner can determine the shape of the object with high precision.
Another popular method is laser scanning, where a laser beam is directed towards the object, and the reflected light is measured. The scanner uses the time-of-flight or triangulation principle to calculate the distance between the laser source and the object’s surface at various points. By combining these distance measurements, a point cloud is generated, representing the object’s shape.
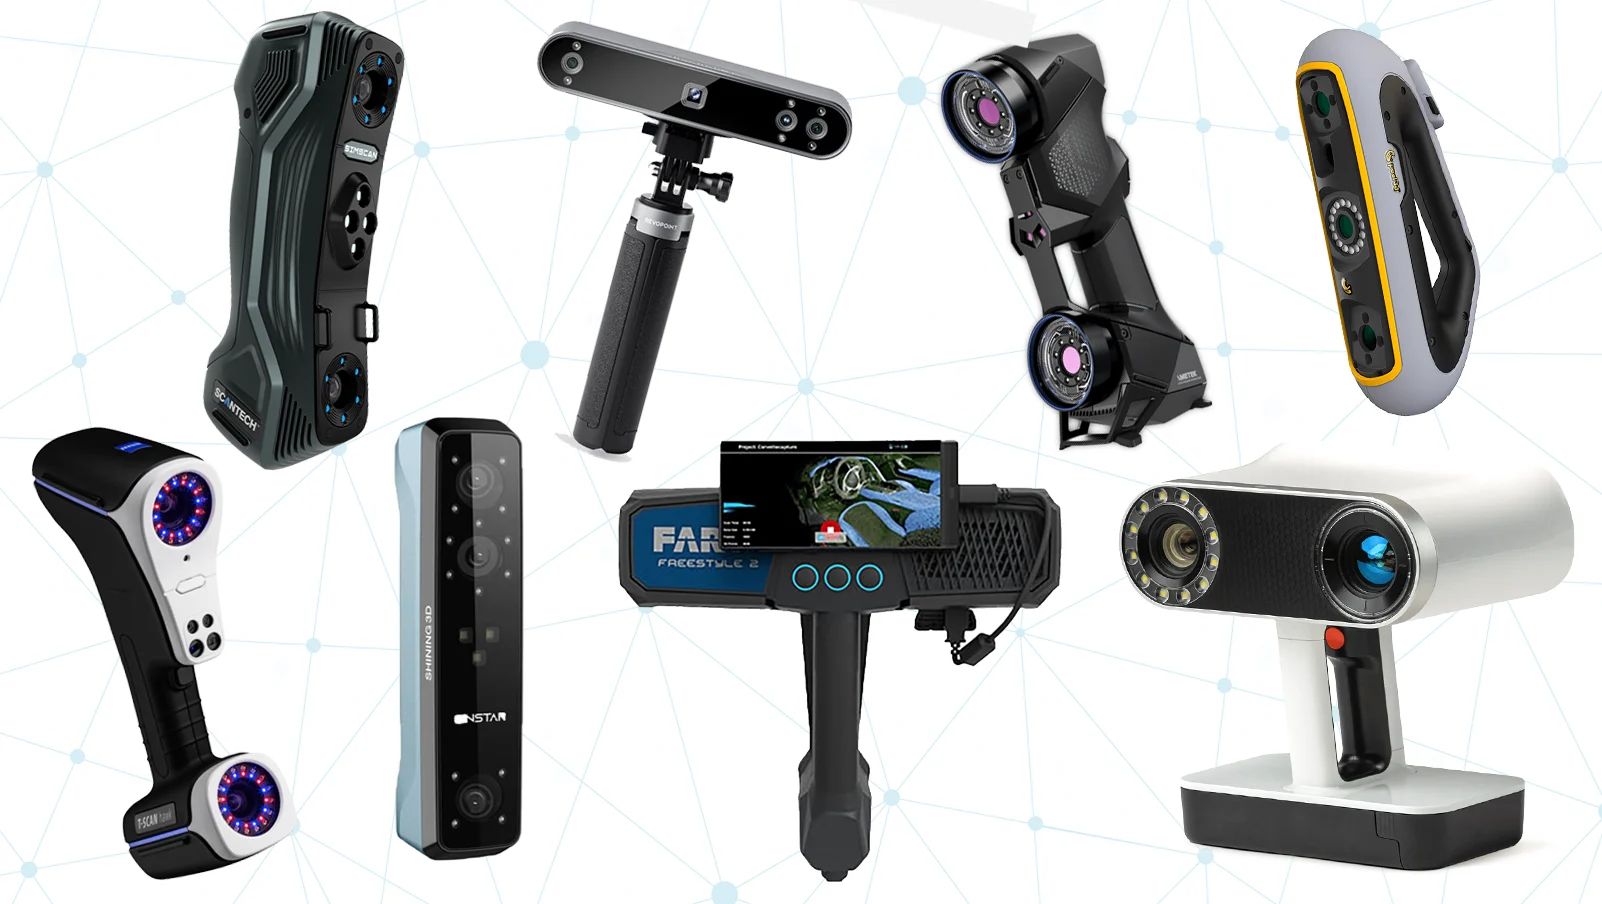
There are also other techniques like photogrammetry, which involves taking multiple photographs of the object from different angles and using specialized software to extract the object’s 3D shape based on the differences in the photographs.
Now, you might be wondering, how can we leverage the principles of 3D scanning using a barcode scanner? Well, barcode scanners can be repurposed to act as a 3D scanner by modifying their components and integrating them with the necessary software. This opens up a whole new world of possibilities and allows us to create 3D models of real-world objects using affordable and easily accessible hardware.
Next, we’ll explore the factors to consider when choosing the right barcode scanner for your 3D scanning project. So, let’s dive in!
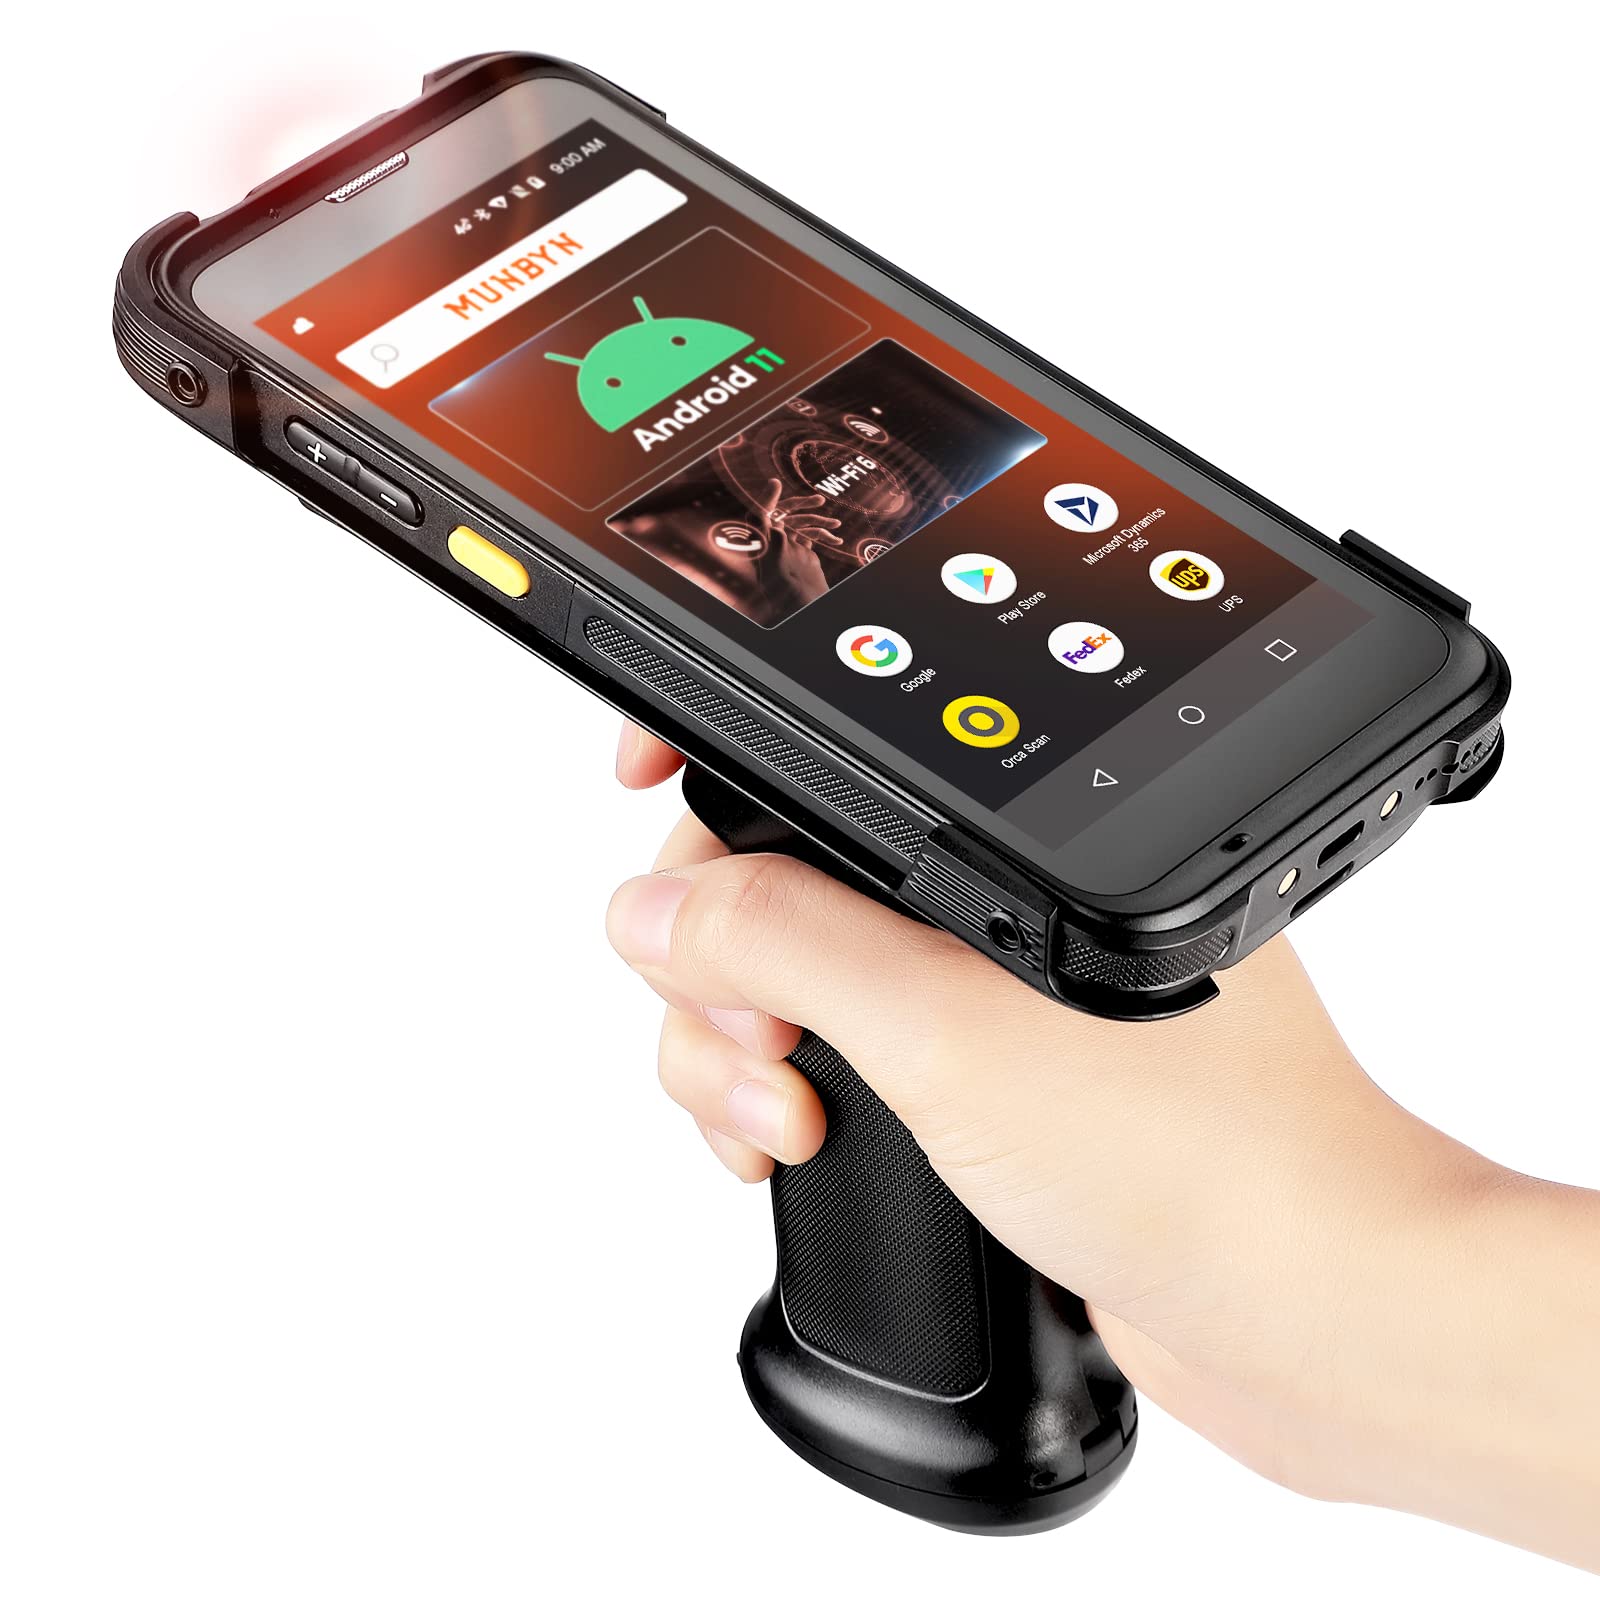
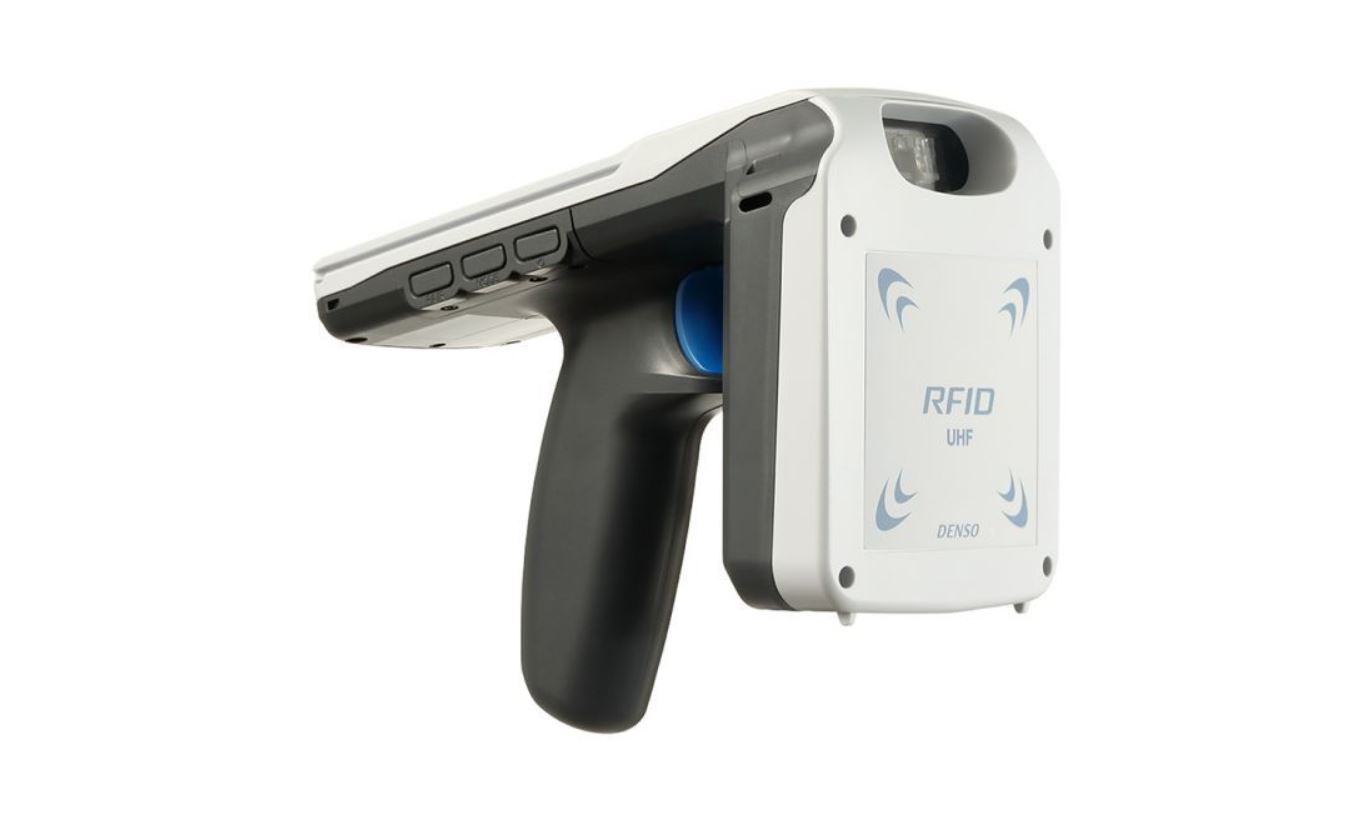
Choosing the Right Barcode Scanner for 3D Scanning
Selecting the appropriate barcode scanner is a crucial step in transforming it into a capable 3D scanner. There are several factors to consider when choosing a barcode scanner for this purpose.
The first consideration is the type of barcode scanner. Laser scanners and image scanners can both work for 3D scanning, but each has its own advantages and limitations. Laser scanners offer high accuracy and are excellent for scanning small and detailed objects. On the other hand, image scanners are better suited for capturing larger objects or objects with complex textures.
Another essential factor is the scanning range. The range determines the distance between the scanner and the object for accurate scanning. If you plan to scan small objects, a short-range scanner will suffice. However, for larger objects, you may need a scanner with a longer scanning range.
Resolution is another critical factor to consider. The resolution determines the level of detail captured in the 3D model. Higher resolution scanners provide finer detail but may require more processing power and storage capacity.
Additionally, consider the compatibility of the barcode scanner with your computer or device. Ensure that the scanner can connect via USB or other compatible interfaces, enabling seamless integration with the 3D scanning software.
Budget is also an important consideration. Barcode scanners come in a range of prices, and it’s essential to find one that fits your budget without compromising on the necessary features for 3D scanning.
Lastly, it’s beneficial to look for a barcode scanner that is easily modifiable. Some scanners have readily available documentation and resources for hacking and customizing their components, making your 3D scanning journey more accessible.
By carefully evaluating these factors and considering your specific requirements, you can choose the barcode scanner that best suits your 3D scanning project. In the next section, we will dive into the process of disassembling the barcode scanner in preparation for modification. So, let’s get hands-on and explore the inner workings of the barcode scanner!
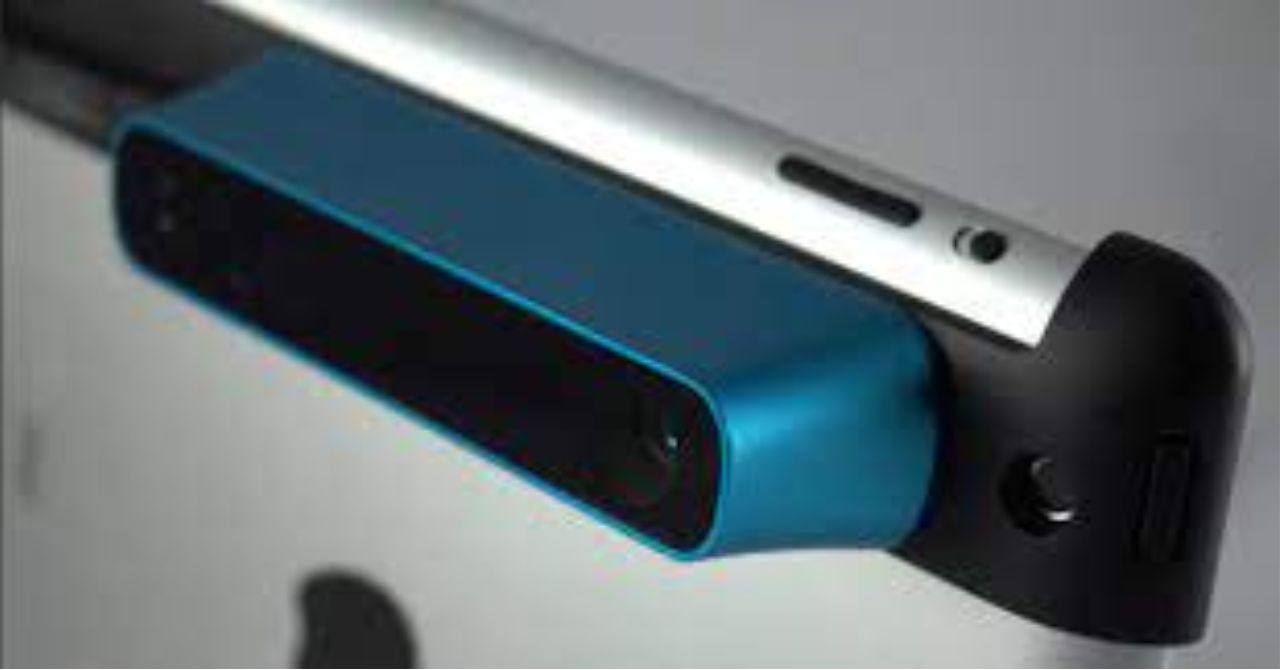
Disassembling the Barcode Scanner
Now that you have chosen the barcode scanner for your 3D scanning project, it’s time to disassemble it and prepare it for modification. Take note that disassembling the barcode scanner may void the warranty, so proceed at your own risk.
Start by carefully examining the barcode scanner and identifying any visible screws or fasteners that are holding it together. Depending on the model, you may find screws under labels, rubber pads, or even hidden compartments. Use a small screwdriver or a suitable tool to remove these screws.
Once the screws are removed, gently pry open the casing of the barcode scanner. Take caution not to damage any internal components or cables. If necessary, refer to the manufacturer’s documentation or online resources for guidance on disassembly.
Inside, you will find the primary components of the barcode scanner. These typically include the laser or image sensor, the circuit board, the buttons, and the connectors. Take a moment to familiarize yourself with the layout before proceeding.
If your barcode scanner uses a laser sensor, you may need to disconnect the laser module from the circuit board. Carefully remove any connectors or cables attached to the laser module, taking note of their positions for reassembly later.
If your scanner uses an image sensor, you may need to remove the camera module. Again, pay attention to any connectors or cables that need to be disconnected, ensuring that you do so gently and without applying unnecessary force.
During the disassembly process, take care to document each step and take pictures if possible. This will be helpful when it’s time for reassembly.
With the barcode scanner disassembled, you are now ready to move on to the next stage: modifying the components. Stay tuned for the next section, where we will explore the exciting world of customizing and adapting the barcode scanner for 3D scanning purposes!
Modifying the Barcode Scanner Components
Now that you have disassembled the barcode scanner, it’s time to modify its components to transform it into a capable 3D scanner. The modifications will vary depending on the type of scanner and your specific goals. Here are some common modifications you may consider:
1. Attachment Adaptation: One of the key modifications is adapting the scanner to accommodate a 3D scanning structure. This can involve creating or 3D-printing custom brackets or mounts to securely hold the scanner in place during the scanning process.
2. Power Source: Consider the power source for your modified scanner. Depending on its capabilities and power requirements, you may need to connect it to an external power supply, rechargeable batteries, or a USB power bank.
3. Extra Connectivity: To interface with your computer or device, you may need to add or modify the connections on the scanner. This can involve soldering additional wires or connectors onto the circuit board to establish a reliable connection.
4. Lighting Enhancement: Improving the lighting system can significantly enhance the quality of your 3D scans. You may want to add additional LED lights to ensure uniform illumination of the object during the scanning process. This can help minimize shadows and improve the accuracy of the captured data.
5. Sensitivity Adjustment: Depending on the scanning distance and the object’s surface, you may need to fine-tune the sensitivity of the scanner. This can involve adjusting the laser power or the camera exposure settings to ensure optimal scanning results.
Remember, when modifying the components, always exercise caution and take necessary safety measures. Follow any guidelines or documentation provided by the manufacturer, or consult online resources or forums for specific guidance on modifying your particular barcode scanner model.
Once you have made the necessary modifications, it’s time to move on to building the structure that will serve as the foundation for your 3D scanner. In the next section, we will explore the process of constructing the 3D scanning structure. So, let’s continue our journey towards building a fully functional 3D scanner!
Building the 3D Scanning Structure
With the modified barcode scanner in hand, it’s time to construct the 3D scanning structure that will provide stability and support during the scanning process. The structure will help ensure accurate and consistent results by minimizing movement and vibrations. Here’s how you can build the 3D scanning structure:
1. Choose a Sturdy Base: Start by selecting a sturdy base for your 3D scanner. This can be a flat surface or a platform that can support the weight of the object and the scanner. Make sure it provides stability and doesn’t introduce any unwanted vibrations.
2. Vertical Support: Next, create a vertical support system that holds the barcode scanner at a fixed height. This can be done using a combination of brackets, rods, or even 3D-printed parts. Ensure that the scanner is securely attached and aligned properly for optimal scanning accuracy.
3. Horizontal Movement: Depending on your scanning needs, you may want to incorporate a mechanism for horizontal movement to capture different angles of the object. This can be achieved by using sliders, rails, or even a turntable that rotates the object during the scanning process.
4. Object Placement: Consider how you will position and hold the object being scanned. Depending on the size and shape of the objects, you may need to create adjustable or custom fixtures to securely hold them in place. This will ensure consistent positioning and minimize unwanted movements during scanning.
5. Cable Management: To maintain a clean and organized setup, think about how you will manage the cables. Ensure that the cables connecting the scanner to the computer or power source are properly routed and secured to prevent tangling and interference during the scanning process.
Remember to plan your 3D scanning structure according to the size and requirements of the objects you intend to scan. Flexibility and adjustability can be beneficial to accommodate a range of object sizes and shapes.
Once you have assembled the 3D scanning structure, you are now ready to mount the modified barcode scanner. In the next section, we will explore the process of securely attaching the scanner to the structure. So, let’s continue our journey towards creating our own 3D scanner!
Mounting the Barcode Scanner to the Structure
Now that you have built the 3D scanning structure, it’s time to securely mount the modified barcode scanner onto it. Proper mounting is crucial for stability and accuracy during the scanning process. Here’s how you can mount the scanner to the structure:
1. Positioning: Determine the optimal position for mounting the scanner on the structure. Consider factors such as the scanning range, the object size, and the desired scanning angles. Choose a position that provides a clear line of sight for the scanner to capture the object effectively.
2. Secure Attachment: Use the mounting brackets or customized parts that you created during the modification phase to securely attach the scanner to the structure. Ensure that the scanner is aligned properly and firmly fixed in place, minimizing any potential movement or vibrations.
3. Adjustability: Consider incorporating adjustable features into the mounting mechanism. This will allow you to fine-tune the position of the scanner for different scanning scenarios and object sizes. Adjustable brackets or sliders can be used to achieve this flexibility.
4. Balance and Stability: Verify that the mounted scanner is well-balanced and does not tip or wobble during the scanning process. Make any necessary adjustments to ensure stability, ensuring that the scanner remains in a fixed position while scanning the object.
5. Cable Management: Pay attention to cable management when mounting the scanner. Ensure that the cables coming from the scanner are properly routed and secured along the structure. This will minimize the chances of accidental disconnections or interference during the scanning process.
Take your time to carefully mount the scanner, ensuring that it is securely attached and properly positioned. Test the stability by gently shaking or moving the structure to check for any unwanted movement of the scanner. Make any necessary adjustments before proceeding to the next steps.
With the barcode scanner firmly mounted to the 3D scanning structure, we’re getting closer to a fully operational 3D scanner. In the next section, we will explore the crucial step of connecting the barcode scanner to a computer. So, let’s continue our journey toward unlocking the 3D scanning potential!
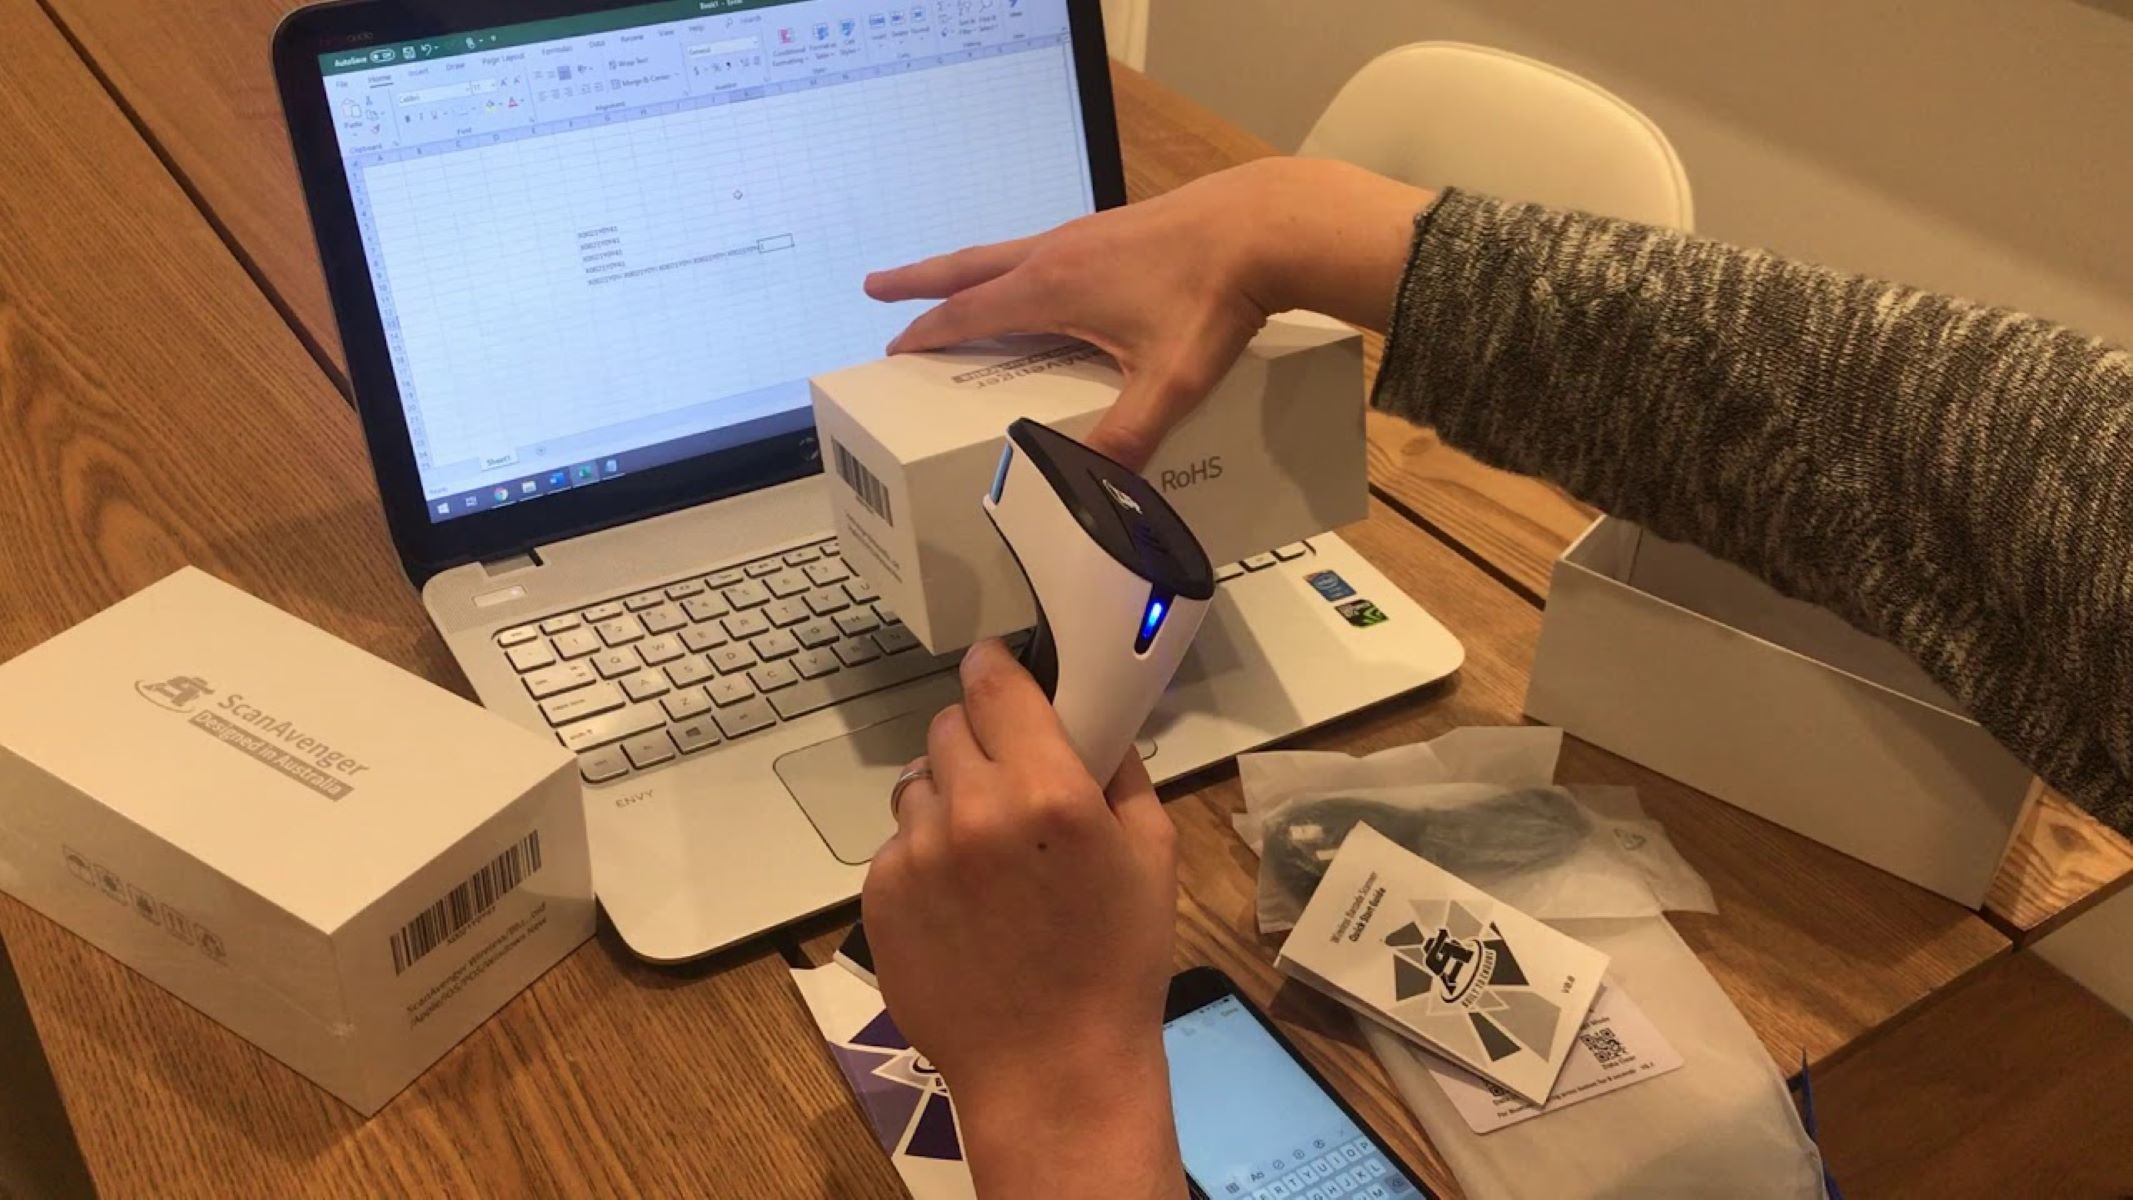
Connecting the Barcode Scanner to a Computer
Now that the modified barcode scanner is securely mounted on the 3D scanning structure, it’s time to connect it to a computer to enable communication and data transfer. Connecting the scanner properly ensures a seamless integration with the necessary 3D scanning software. Here’s how you can connect the barcode scanner to a computer:
1. Identify the Connection Type: Determine the type of connection supported by the barcode scanner. Most scanners use USB, but some may support other interfaces like Bluetooth or RS-232. Ensure that your computer has the appropriate ports or adapters for the chosen connection type.
2. Connect the Cable: Plug the appropriate cable into the corresponding port on the barcode scanner. If it’s a USB connection, plug the USB cable into the USB port. If it’s a wireless connection, follow the manufacturer’s instructions to pair the scanner with the computer using Bluetooth or other wireless technology.
3. Check for Driver Installation: Depending on the barcode scanner model and the operating system of your computer, you may need to install drivers or software to enable proper communication. Consult the scanner’s user manual or the manufacturer’s website for any necessary drivers or software downloads.
4. Configure the Scanner: Once the connection is established and drivers are installed, you may need to configure the barcode scanner. This may involve adjusting settings such as the scanning distance, scanning modes, or data format. Refer to the scanner’s documentation for guidance on how to configure these settings.
5. Test the Connection: After connecting and configuring the scanner, test the connection to ensure that the computer recognizes the scanner and can receive data from it. Open a scanning software or 3D scanning application and perform a test scan to verify the scanner’s functionality.
Ensure that the connection between the barcode scanner and the computer is secure and stable throughout the scanning process. Inspect the cables for any signs of damage or loose connections and make any necessary adjustments or replacements.
With the barcode scanner successfully connected to the computer, we are now ready to move on to the next phase which involves installing and configuring the 3D scanning software. In the next section, we will explore this crucial step to complete our journey of turning a barcode scanner into a 3D scanner. So, let’s proceed and immerse ourselves in the world of 3D scanning software!
Installing and Configuring 3D Scanning Software
With the barcode scanner connected to the computer, the next step in our journey of turning it into a 3D scanner is to install and configure the appropriate 3D scanning software. The software will allow us to capture, process, and manipulate the data obtained from the scanner. Here’s how you can install and configure the 3D scanning software:
1. Research and Choose the Software: Explore different 3D scanning software options available in the market. Consider factors such as compatibility, features, user-friendliness, and the level of detail required for your scanning projects. Some popular software options include Meshroom, MeshLab, and ReconstructMe.
2. Download and Install the Software: Visit the official website of the chosen software and download the latest version. Follow the provided installation instructions to install the software on your computer. Make sure the software is compatible with your operating system.
3. Connect the Scanner to the Software: Launch the installed 3D scanning software and ensure that it recognizes the connected barcode scanner. Navigate to the software’s settings or preferences to check for any available options to connect or configure the scanner specifically.
4. Calibration and Calibration File: Some 3D scanning software requires calibration to ensure accurate measurements. Check the software’s documentation to understand the calibration process. This may involve capturing a calibration pattern with the scanner and generating a calibration file for accurate scanning results.
5. Adjust Settings and Preferences: Explore and configure the settings and preferences within the software according to your scanning requirements. This may include adjusting scan resolution, scanning speed, file formats, and other advanced options provided by the software.
6. Test and Familiarize: After configuring the settings, perform some test scans to get familiar with the software’s interface and functionality. Experiment with different scanning techniques, object orientations, and software features to understand their impact on the final scan quality.
Be patient and take the time to explore the software’s capabilities. Follow any tutorials or user guides provided by the software’s developers to maximize your understanding and expertise with the chosen 3D scanning software.
With the 3D scanning software installed and configured, we are approaching the final stages of our journey towards a fully functional 3D scanner. In the next section, we will explore the process of calibrating and testing the 3D scanner to ensure accurate and high-quality scans. So, let’s move forward and bring our 3D scanning capabilities to life!
Calibrating and Testing the 3D Scanner
Now that the 3D scanning software is installed and configured, it’s time to calibrate and test the performance of your newly transformed 3D scanner. Calibration is essential to ensure accurate measurements and precise reconstruction of the scanned objects. Here’s how you can calibrate and test your 3D scanner:
1. Calibration Pattern: Some 3D scanning software provides a calibration pattern or target that needs to be captured by the scanner. Follow the software’s instructions to print or display the calibration pattern and position it within the scanner’s field of view. Capture an image of the pattern and allow the software to analyze it for calibration.
2. Calibration Process: The software will guide you through the calibration process, which typically involves identifying specific points or patterns on the calibration target. The software calculates the camera or scanner parameters based on these reference points and adjusts its measurements accordingly.
3. Validation and Adjustment: After completing the calibration, it’s important to validate its accuracy. Scan an object of known dimensions and compare the software’s measurements against the actual measurements. If there are any deviations, follow the software’s guidelines to fine-tune and adjust the calibration parameters for better accuracy.
4. Testing Scanning Process: With calibration complete, it’s time to test the scanning process. Scan a variety of objects with different shapes, sizes, and textures to evaluate the scanner’s performance. Inspect the scanned point cloud or mesh for accuracy, resolution, and overall quality. Identify any areas of improvement and make necessary adjustments to the scanning parameters if needed.
5. Iterative Process: Keep in mind that calibration and testing are often iterative processes. It may take several rounds of fine-tuning and experimentation to achieve optimal results. Document your findings and adjustments along the way to ensure consistency and reproducibility in future scanning projects.
Throughout the calibration and testing process, refer to the user manuals, online forums, and resources provided by the software’s developers for detailed instructions and troubleshooting assistance. Stay patient and persistent, as achieving optimal calibration and scanning performance may take some time and experimentation.
With the 3D scanner calibrated and tested, we are ready to embark on an exciting journey of capturing stunning 3D models. In the next section, we will share some tips and troubleshooting techniques to ensure a successful 3D scanning experience. So, let’s move forward and unleash the full potential of our newly created 3D scanner!
Tips and Troubleshooting for a Successful 3D Scanning Experience
As you embark on your 3D scanning journey with your transformed barcode scanner, here are some valuable tips and troubleshooting techniques to ensure a successful and rewarding scanning experience:
1. Optimal Lighting: Lighting plays a crucial role in the quality of your 3D scans. Ensure that the scanning area is well-lit with uniform lighting to minimize shadows and capture accurate details. Experiment with different lighting setups and positions to achieve optimal results.
2. Object Preparation: Before scanning an object, make sure it is clean and free from any dirt, dust, or reflective surfaces. Reflective surfaces can interfere with the scanning process and potentially hinder accurate data capture. Consider using a non-reflective spray or coating for shiny objects.
3. Scan Alignment: Maintain a consistent and steady scanning motion to ensure proper alignment of the scanned data. Move the scanner smoothly and steadily around the object, making sure to cover all the desired areas. Avoid abrupt movements or sudden changes in scanning speed, as they can introduce errors in the final scan.
4. Overlap and Multiple Angles: To capture intricate details, scan the object from multiple angles. Ensure that there is sufficient overlap between scans to enable software algorithms to align and merge the individual scans into a single, coherent 3D model. This helps in creating a robust and accurate representation of the object.
5. Post-Processing: Post-processing is often required to clean up and refine the scanned data. Take advantage of the software’s editing and cleaning tools to remove any unwanted artifacts, fill in gaps, or optimize the mesh topology. Experiment with different smoothing and decimation settings for optimal results.
6. Patience and Practice: Like any skill, 3D scanning requires practice and patience to master. Don’t get discouraged if your initial scans do not meet your expectations. Learn from each scan, iterate on your techniques, and keep refining your process to achieve better results with every attempt.
If you encounter any issues or challenges during the scanning process, seek guidance from online communities, forums, or the software’s support resources. Troubleshooting techniques may involve adjusting settings, checking hardware connections, updating software versions, or consulting experienced users for specific solutions.
Remember, a successful 3D scanning experience comes with perseverance, a creative mindset, and continuous learning. Embrace the exciting opportunities that 3D scanning brings and enjoy the process of transforming physical objects into digital marvels!
Having covered the valuable tips and troubleshooting techniques, we are now equipped to embark on the exciting journey of 3D scanning. In the concluding section, we will summarize our adventure and reflect on the remarkable capabilities we have unlocked by transforming a simple barcode scanner into a powerful 3D scanner.
Conclusion
Congratulations! You have completed the journey of transforming a barcode scanner into a functional 3D scanner. By gaining a deeper understanding of barcode scanners, exploring the principles of 3D scanning, modifying the components, building the scanning structure, and configuring the necessary software, you have unlocked a world of creative possibilities.
With your newly created 3D scanner, you can now capture and digitize physical objects, creating detailed 3D models that can be used for various purposes, including product design, prototyping, art, and virtual reality experiences.
Throughout this process, you learned the importance of choosing the right barcode scanner, disassembling and modifying its components, constructing a stable scanning structure, and connecting it to a computer. You also gained insights into the calibration and testing phases, where precision and accuracy are crucial for producing high-quality scans.
Remember, 3D scanning is not just a technical skill, but an art that requires experimentation, patience, and continuous learning. It is a journey of discovery, where each scan presents an opportunity to refine your techniques and improve the quality of your digital models.
As you continue to explore the possibilities of 3D scanning, don’t be afraid to push the boundaries and experiment with different objects, lighting setups, and scanning techniques. Embrace the challenges and setbacks as opportunities for growth and improvement.
In this rapidly evolving technological landscape, the ability to repurpose and transform everyday devices like barcode scanners into powerful tools demonstrates the potential of human ingenuity. You have unlocked the true potential of a simple barcode scanner and turned it into a gateway to the amazing world of 3D scanning.
So, go forth and explore, create, and innovate with your 3D scanner, and let your imagination run wild as you capture the world around you in a whole new dimension!