Introduction
Welcome to the world of eco-friendly charging solutions! In this guide, we will show you how to create your very own USB solar panel charger. With this portable device, you can harness the power of the sun to charge your USB-powered devices, such as smartphones, tablets, and cameras, anytime and anywhere.
Why rely on traditional electrical outlets and waste precious energy when you can take advantage of renewable energy sources? By building your own USB solar panel charger, you not only reduce your carbon footprint but also save money in the long run.
The process of building a USB solar panel charger is surprisingly simple and requires affordable materials that are readily available. Even if you have limited technical skills, you can still complete this project with ease by following the step-by-step instructions.
In this guide, we will walk you through the process, starting with gathering the necessary components and ending with testing the finished USB solar panel charger. Along the way, we will provide helpful tips and insights to ensure that you achieve the best results.
In today’s increasingly connected world, it’s essential to stay powered up, whether you’re on a camping trip, hiking in the mountains, or simply relaxing at the beach. With a USB solar panel charger, you can tap into the sun’s energy to keep your devices charged and stay connected with the world around you.
So, let’s dive in and create your very own USB solar panel charger. Get ready to embark on a sustainable journey that empowers you to charge your devices while reducing your impact on the environment. Let’s get started!
Materials Needed
Before we begin building our USB solar panel charger, let’s gather the essential materials. Don’t worry, you won’t need any fancy or expensive components. Here’s what you’ll need:
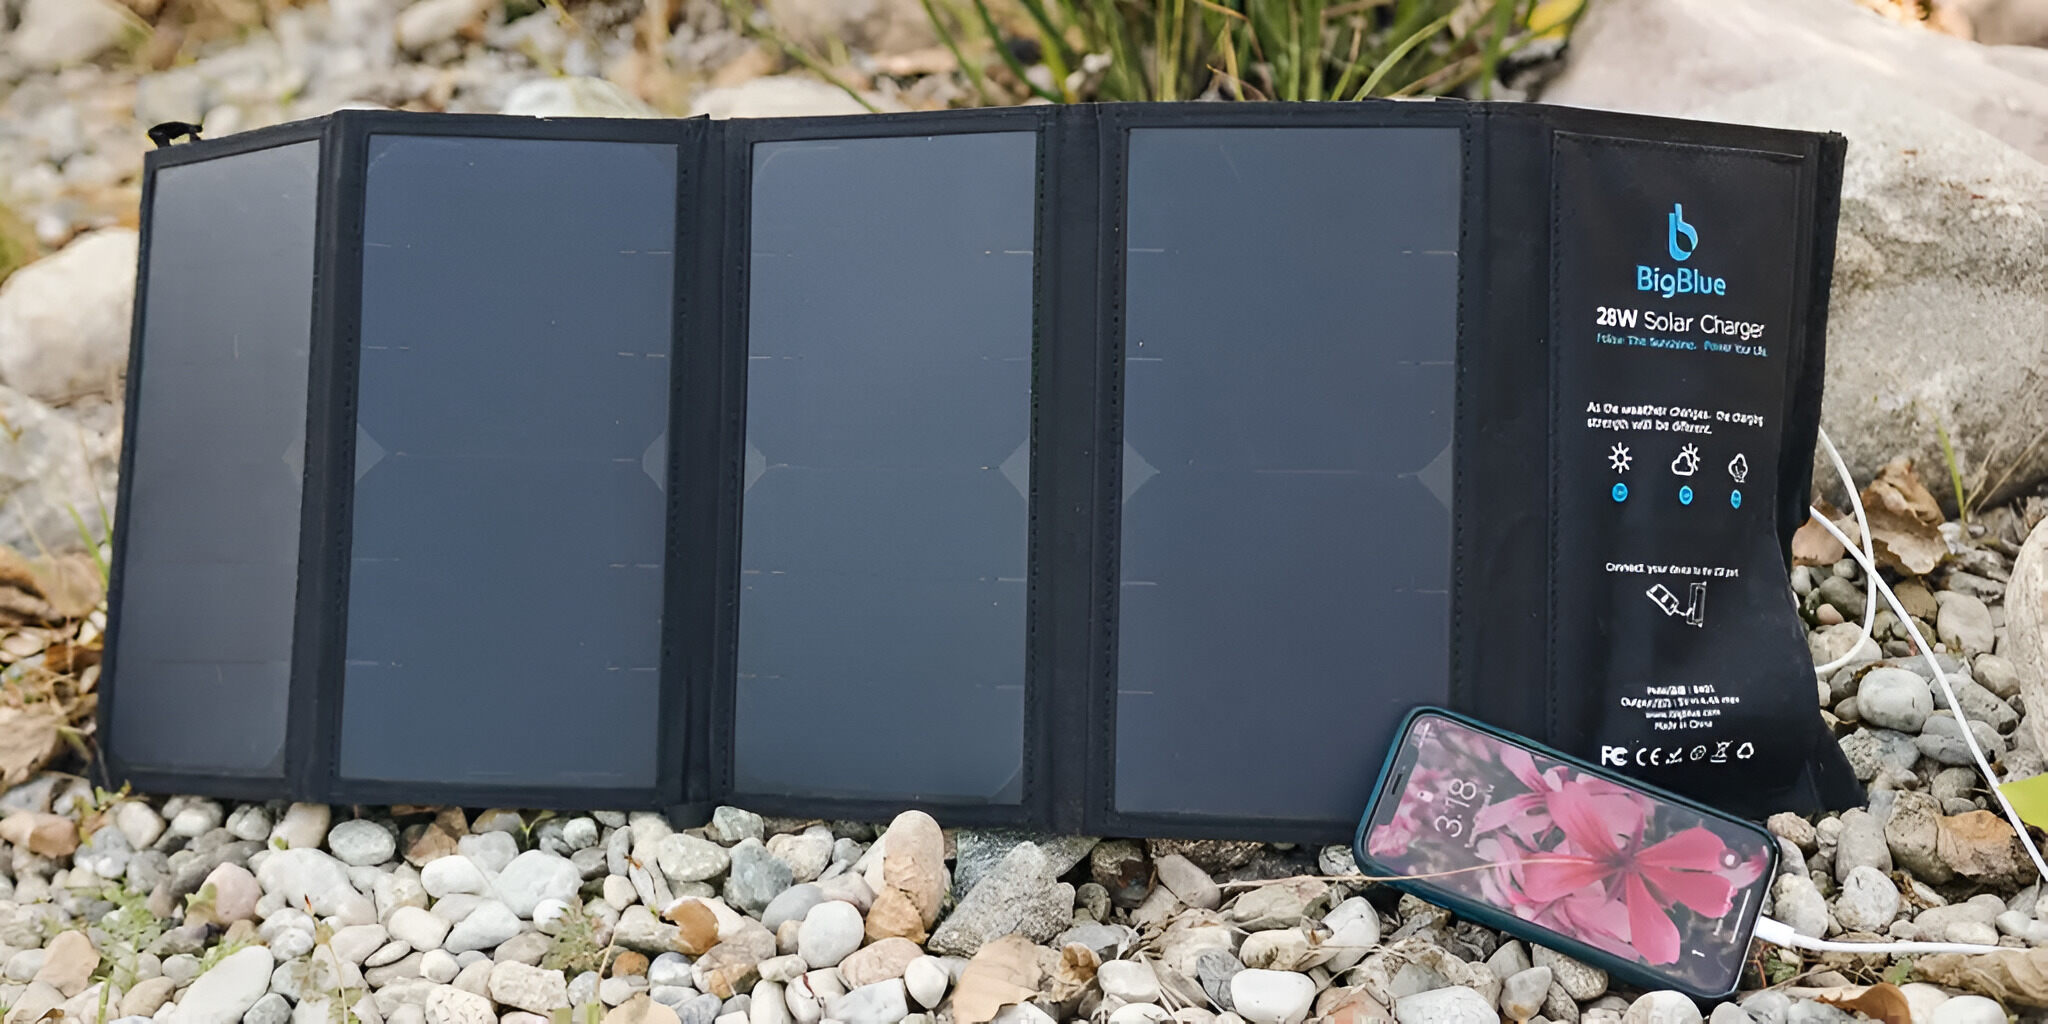
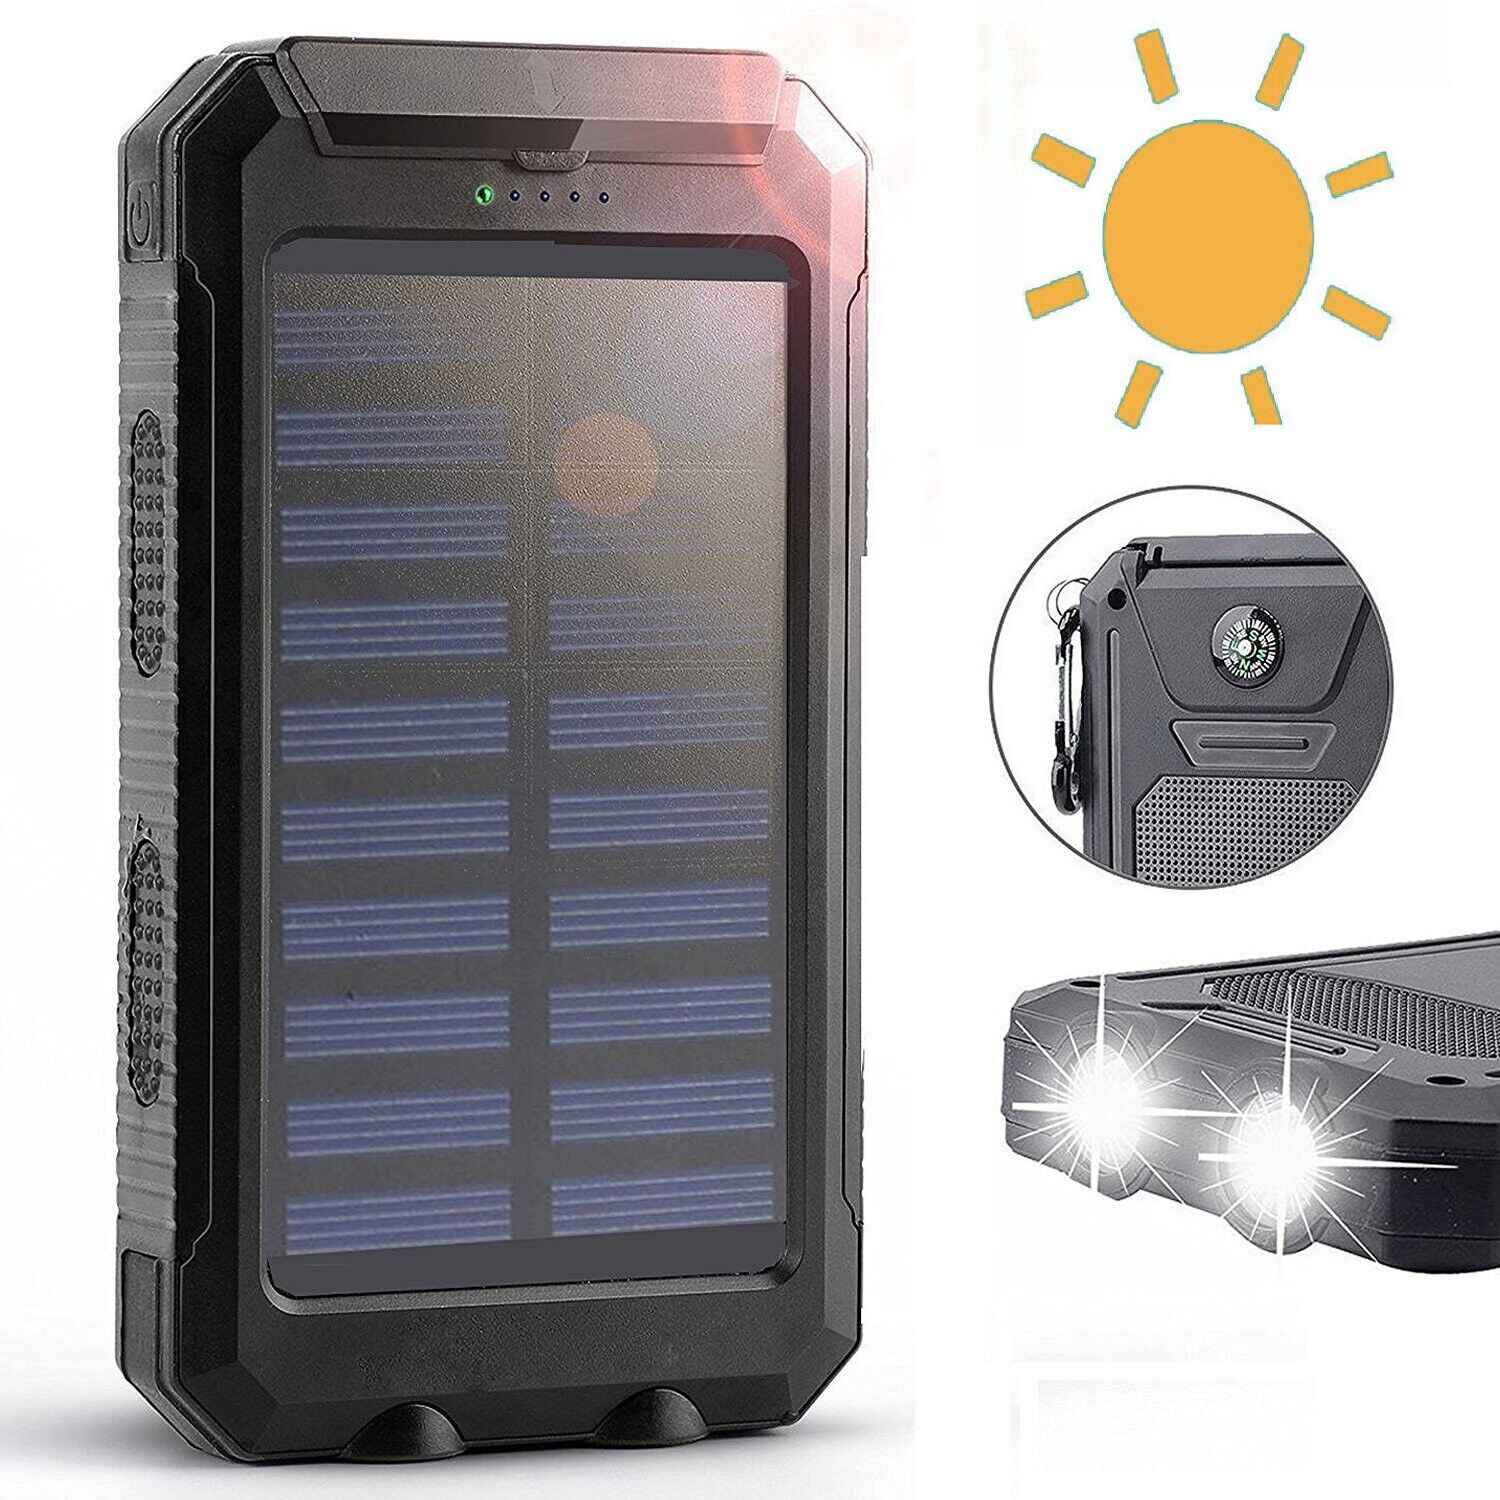
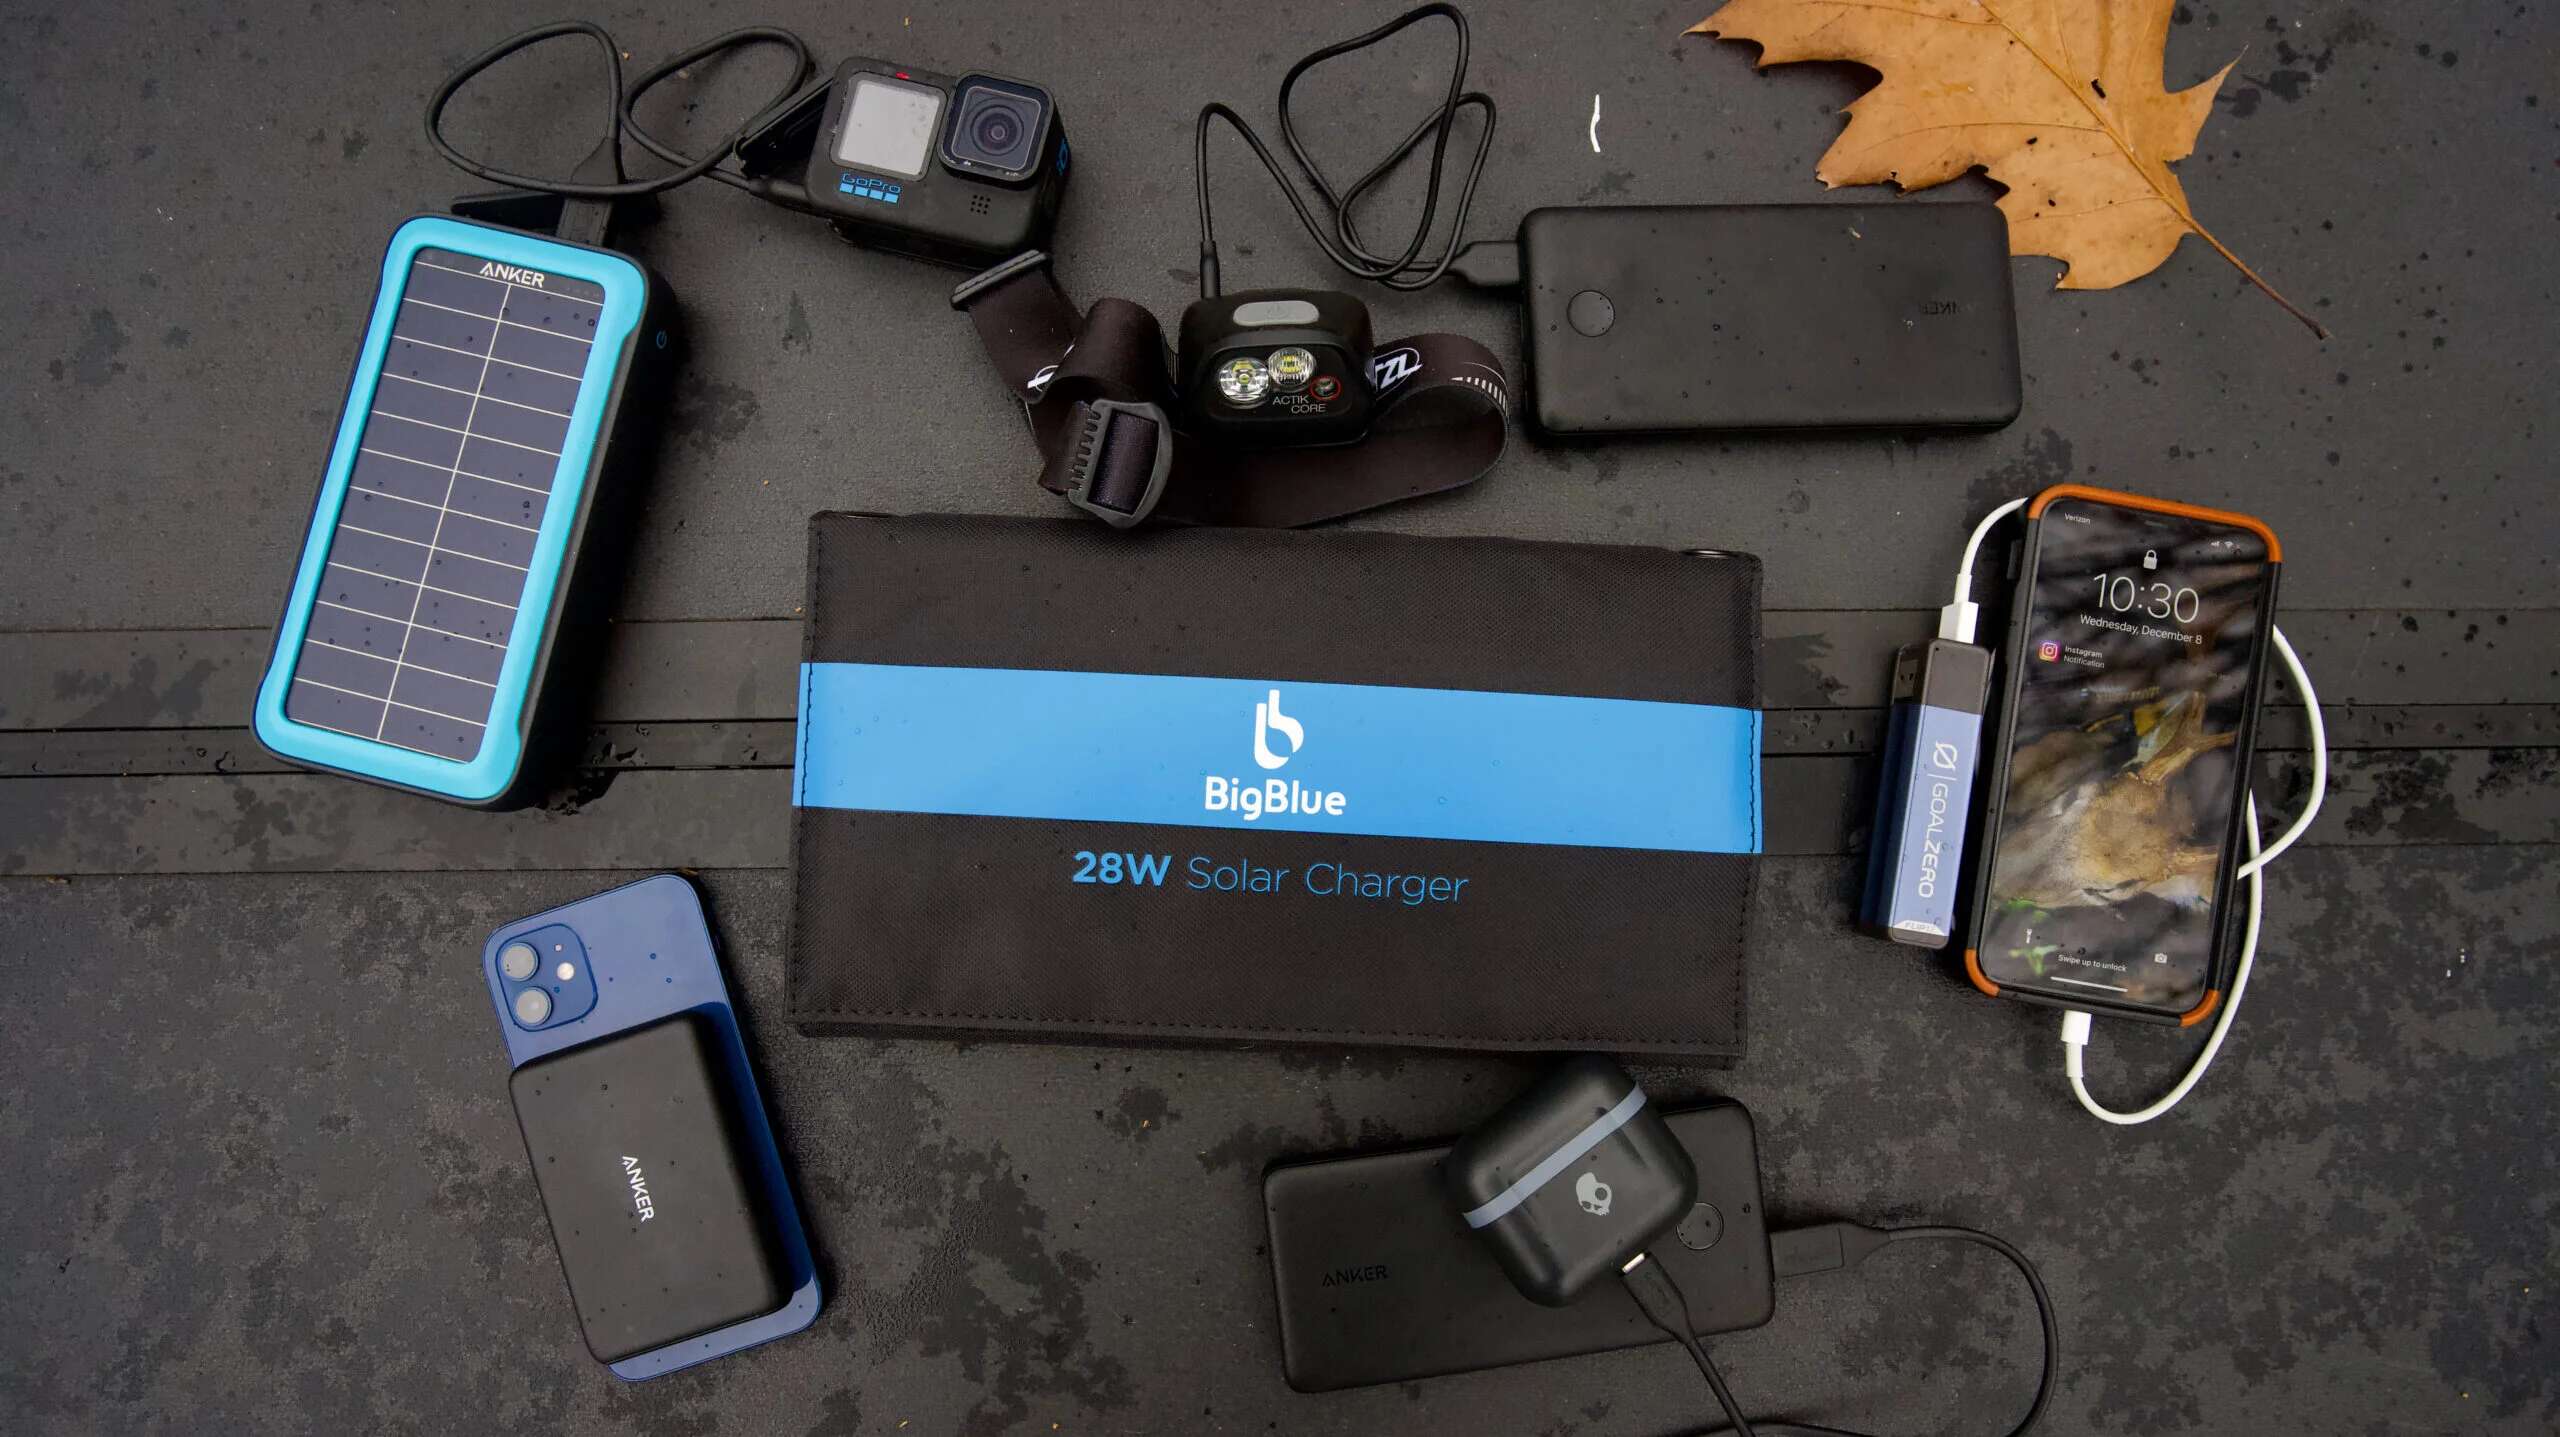
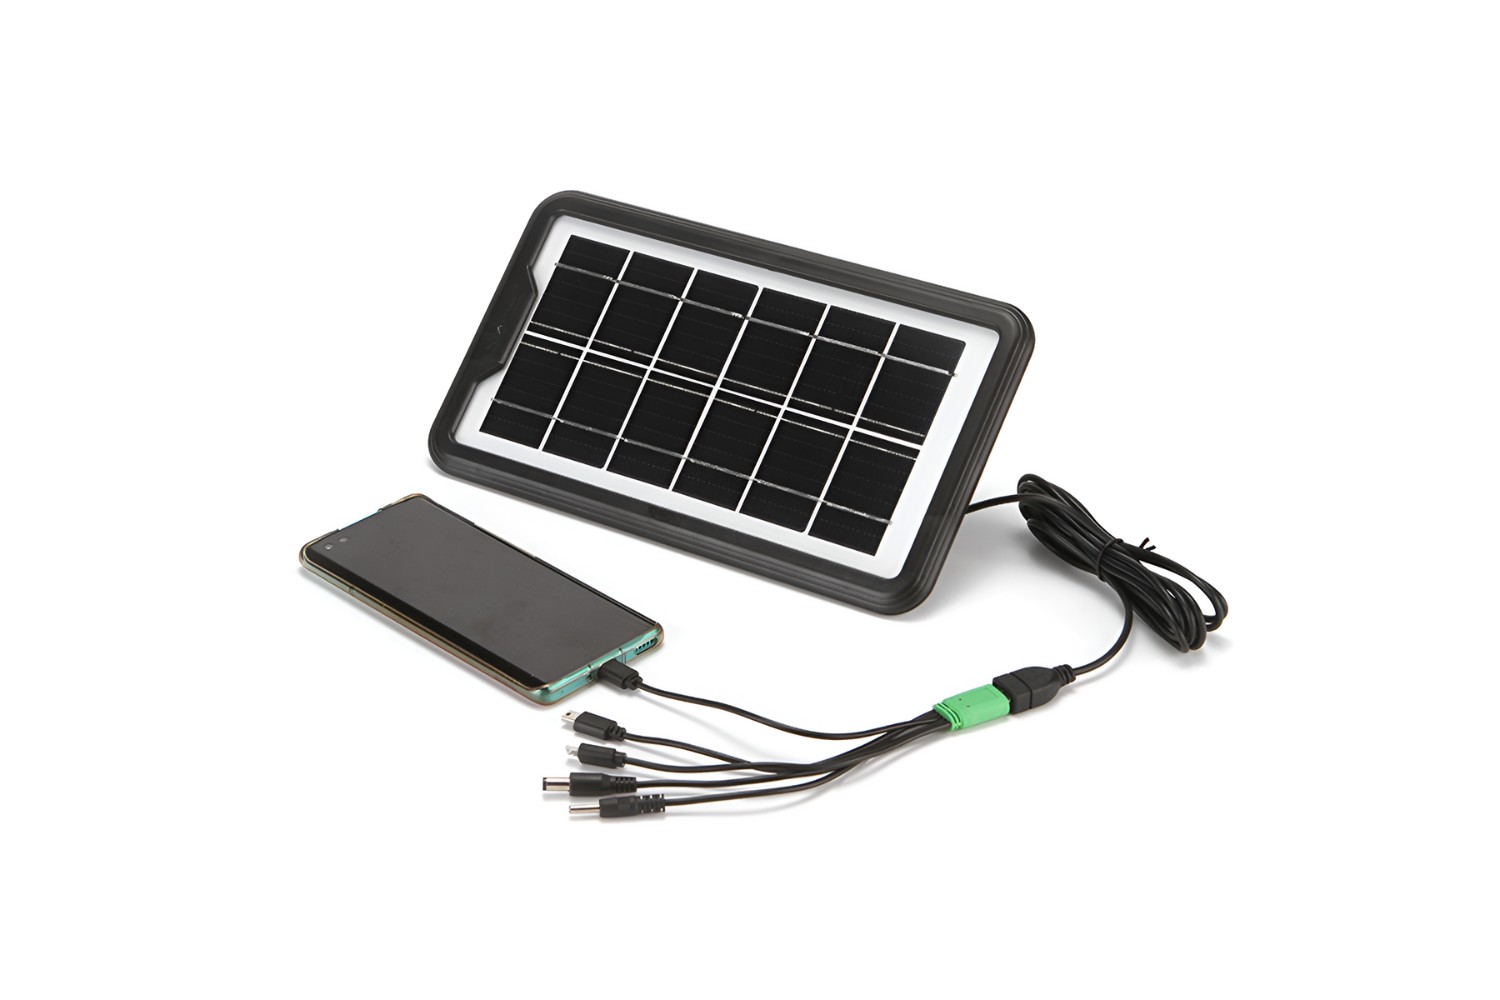
- Solar panel – Look for a small, portable solar panel that is capable of generating enough power to charge your USB devices.
- USB charger module – This module will take the power generated by the solar panel and convert it into usable voltage for your USB devices.
- Battery pack – A small rechargeable battery pack is needed to store the energy generated by the solar panel, allowing you to charge your devices even when the sun isn’t shining.
- Enclosure – You’ll need a suitable enclosure to house all the components. It can be a plastic container, a project box, or any other enclosure that fits your needs.
- Wires and connectors – To connect the components together, you’ll need various wires and connectors. Make sure to choose connectors that are compatible with your USB charger module and battery pack.
- Double-sided adhesive tape – This will be used to securely mount the solar panel and other components to the enclosure.
- Tools – You’ll need basic tools such as a soldering iron, wire cutters, and a screwdriver for this project.
These are the core materials required to build your USB solar panel charger. However, you may also find it useful to have some additional items on hand, such as heat shrink tubing for insulating connections, zip ties for cable management, and a multimeter for testing voltages and currents. Keep in mind that the specific materials required may vary depending on the exact components you choose and the design of your enclosure.
Now that you have your materials ready, we can move on to the next step of this project. In the following section, we’ll guide you through the process of preparing the solar panel for use in your USB charger.
Step 1: Gathering the Components
In this step, we will gather all the necessary components to build our USB solar panel charger. Before we start, double-check that you have the materials mentioned in the previous section. Once you have everything at hand, follow the steps below:
- First, locate your solar panel. Make sure it is in good condition and capable of generating enough power to charge your USB devices.
- Next, find the USB charger module. This module will convert the power generated by the solar panel into a voltage suitable for charging USB devices. Ensure that it is compatible with your solar panel and has the necessary output capacity.
- Look for a suitable battery pack. This pack will store the energy generated by the solar panel and provide power to your USB devices when needed. Choose a rechargeable battery pack with sufficient capacity to meet your charging requirements.
- Now, find an enclosure to house all the components. This can be a plastic container, a project box, or any other enclosure that fits your needs. Ensure that it is spacious enough to accommodate all the components comfortably.
- Gather the required wires and connectors. These will be used to connect the solar panel, USB charger module, battery pack, and other components together. Use wires of appropriate gauge and connectors that are compatible with your chosen components.
- Lastly, ensure that you have the necessary tools for the assembly process. These may include a soldering iron, wire cutters, a screwdriver, and any other tools specific to your chosen components.
Once you have gathered all the components and tools, organize them in a well-lit workspace. Having everything readily available will make it easier to follow the subsequent steps and ensure a smooth assembly process.
With all the required components at hand, we are now ready to move on to the next step: preparing the solar panel for use in our USB charger.
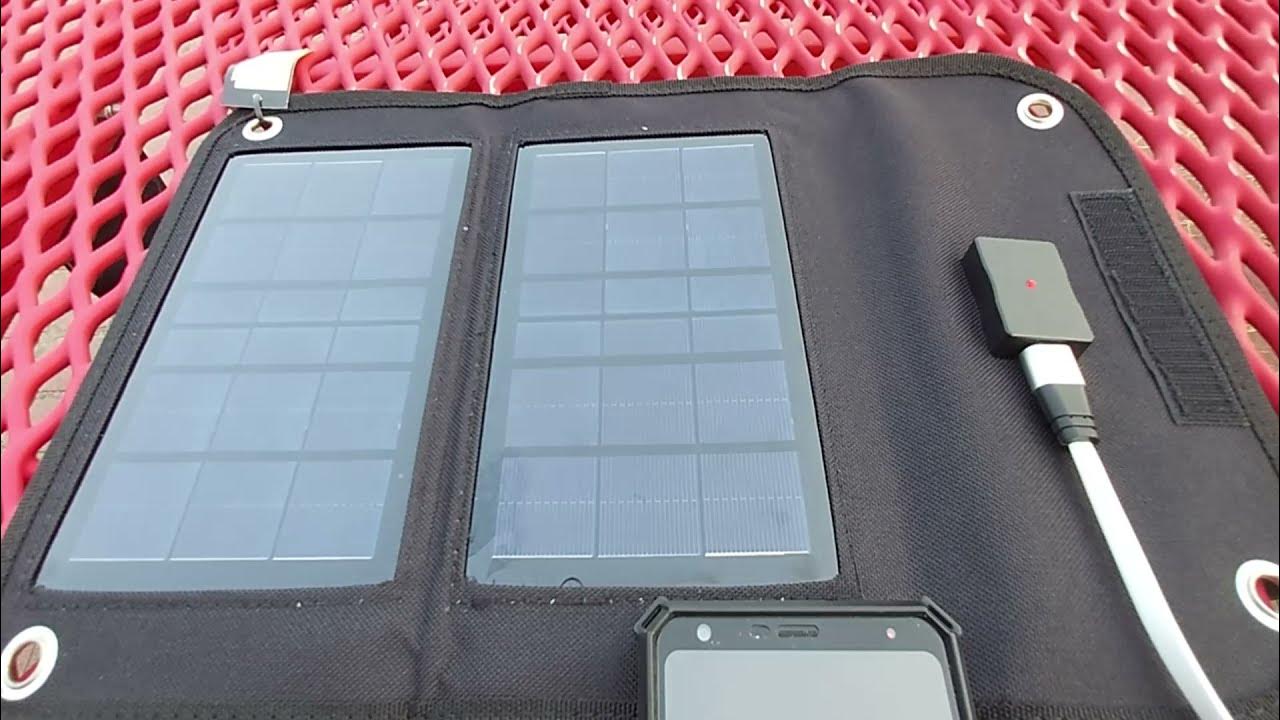
Step 2: Preparing the Solar Panel
Now that we have gathered all the necessary components, it’s time to prepare the solar panel for use in our USB charger. Follow the step-by-step instructions below to ensure proper preparation:
- Start by carefully examining the solar panel. Clean the surface with a soft cloth to remove any dirt or debris that may hinder its performance. It’s important to have a clean and clear solar panel for optimal sunlight absorption.
- Inspect the back of the solar panel for any wires or connectors. Some panels may come with pre-attached wires and connectors, while others may require manual connection. If there are no pre-attached wires, you will need to solder wires onto the positive and negative terminals of the solar panel.
- Using a soldering iron, carefully solder wires onto the designated terminals of the solar panel. Ensure that the positive wire is connected to the positive terminal and the negative wire to the negative terminal. Double-check the connections to make sure they are secure.
- If you prefer to have detachable connections between the solar panel and the USB charger module, you can use connectors instead of soldering the wires directly. This will allow for easier disassembly and maintenance in the future.
- After the connections are made, use heat shrink tubing or electrical tape to insulate the soldered joints. This will protect them from moisture and minimize the risk of short circuits.
- Once the solar panel is prepared, position it on the enclosure in a way that maximizes sunlight exposure. Use double-sided adhesive tape or any other suitable method to securely mount the solar panel on the enclosure’s surface.
By properly preparing the solar panel, you ensure that it is clean, connected correctly, and securely mounted on the enclosure. This step is crucial for the overall performance and longevity of your USB solar panel charger. With the solar panel ready, we can now move on to the next step: testing the functionality of the solar panel.
Step 3: Testing the Solar Panel
Now that we have prepared the solar panel, it’s time to test its functionality. This step will ensure that the solar panel is working properly and generating the expected amount of power. Follow these instructions to conduct a simple test:
- Connect the positive and negative wires of the solar panel to the corresponding terminals of a multimeter. Set the multimeter to measure DC voltage.
- Expose the solar panel to direct sunlight or a bright light source. Ensure that there are no obstructions blocking the light from reaching the solar panel.
- Observe the multimeter’s display. It should indicate the voltage being generated by the solar panel. Take note of the voltage reading.
- Compare the voltage reading to the specifications provided by the manufacturer or the desired output for your USB charger module. This will help determine if the solar panel is generating sufficient power.
- If the voltage reading is significantly lower than expected, ensure that the solar panel is positioned correctly towards the light source. You may also want to check the connections and ensure they are secure.
- Additionally, you can test the solar panel’s performance under different light conditions, such as direct sunlight, indirect sunlight, or artificial light. This will give you a better understanding of its capabilities.
By testing the solar panel, we can confirm its functionality and ensure that it is generating the expected voltage. If the solar panel is not producing the desired voltage, double-check the connections, clean the panel surface, and make any necessary adjustments.
With the solar panel successfully tested, we are one step closer to completing our USB solar panel charger. In the next step, we will assemble the USB charger module and other components into the enclosure.
Step 4: Assembling the USB Charger
Now that we have tested the solar panel and confirmed its functionality, it’s time to assemble the USB charger module and other components inside the enclosure. This step will involve connecting the necessary wires and securing the components in place. Follow these instructions to perform the assembly:
- Start by placing the USB charger module inside the enclosure. Ensure that it fits properly and aligns with any mounting holes or slots available.
- Connect the positive and negative wires from the solar panel to the corresponding terminals on the USB charger module. Double-check the connections to ensure they are secure and properly aligned.
- If you are using a battery pack, position it inside the enclosure next to the USB charger module. Connect the positive and negative wires from the battery pack to the appropriate terminals on the USB charger module.
- Take note of any additional wires or connectors that may be required for the specific components you are using. Connect them as necessary, following the guidelines provided by the manufacturers of the components.
- Secure the components in place using screws, adhesive, or any other suitable method. Ensure that they are firmly mounted and do not move or rattle inside the enclosure.
- Organize the wires inside the enclosure to minimize any potential interference or entanglement. You can use zip ties or adhesive-backed cable clips to keep the wires tidy and organized.
By assembling the USB charger module, solar panel, and other components inside the enclosure, we create a compact and functional USB solar panel charger. The proper alignment of the components and secure connections are important for optimal performance and longevity of the device.
With the USB charger assembled, we are now ready to proceed to the next step: connecting the solar panel to the USB charger and completing the final testing of our USB solar panel charger.
Step 5: Connecting the Solar Panel to the USB Charger
Now that we have assembled the components inside the enclosure, it’s time to connect the solar panel to the USB charger module. This step will allow the solar panel to provide power to the USB charger, which can then be used to charge your USB devices. Follow these instructions to connect the solar panel:
- Locate the positive (+) and negative (-) terminals on the USB charger module.
- Identify the positive and negative wires coming from the solar panel, which are connected to the corresponding terminals.
- Match the positive wire from the solar panel to the positive terminal on the USB charger module.
- Match the negative wire from the solar panel to the negative terminal on the USB charger module.
- Ensure that the connections are secure and properly aligned. Double-check that the positive and negative wires are not reversed.
With the solar panel successfully connected to the USB charger module, the USB charger is now ready to harness the power of the sun and convert it into usable voltage for charging your devices. The proper connection of the solar panel ensures a consistent and reliable power source for your USB charger.
At this stage, it’s a good idea to perform a final visual inspection of the connections and ensure that everything is securely in place. Check for any loose wires, loose screws, or any other potential points of failure. Taking the time to double-check the connections will help prevent any issues or malfunctions down the line.
Having successfully connected the solar panel to the USB charger module, we are now ready to proceed to the final step: testing the USB solar panel charger and ensuring its functionality.
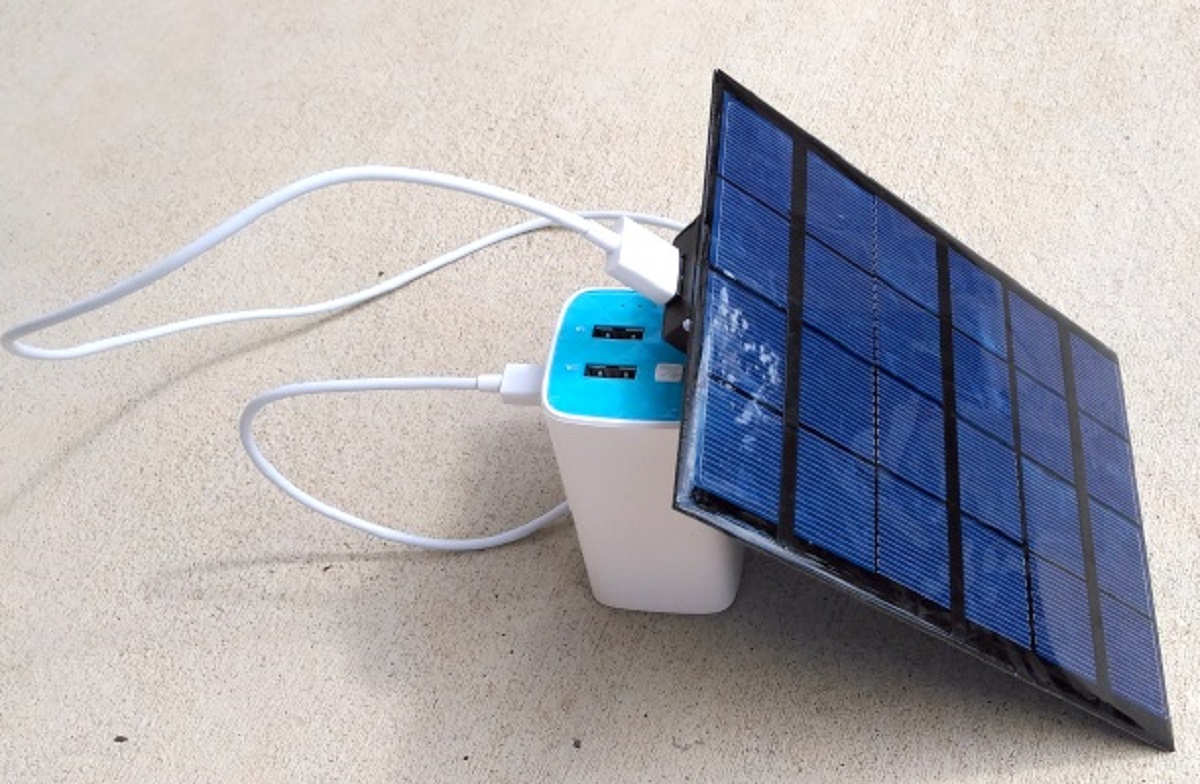
Step 6: Testing the USB Solar Panel Charger
Now that we have connected the solar panel to the USB charger module, it’s time to test the functionality of our USB solar panel charger. This step will ensure that the charger is working as expected and can effectively charge your USB-powered devices. Here’s how you can test it:
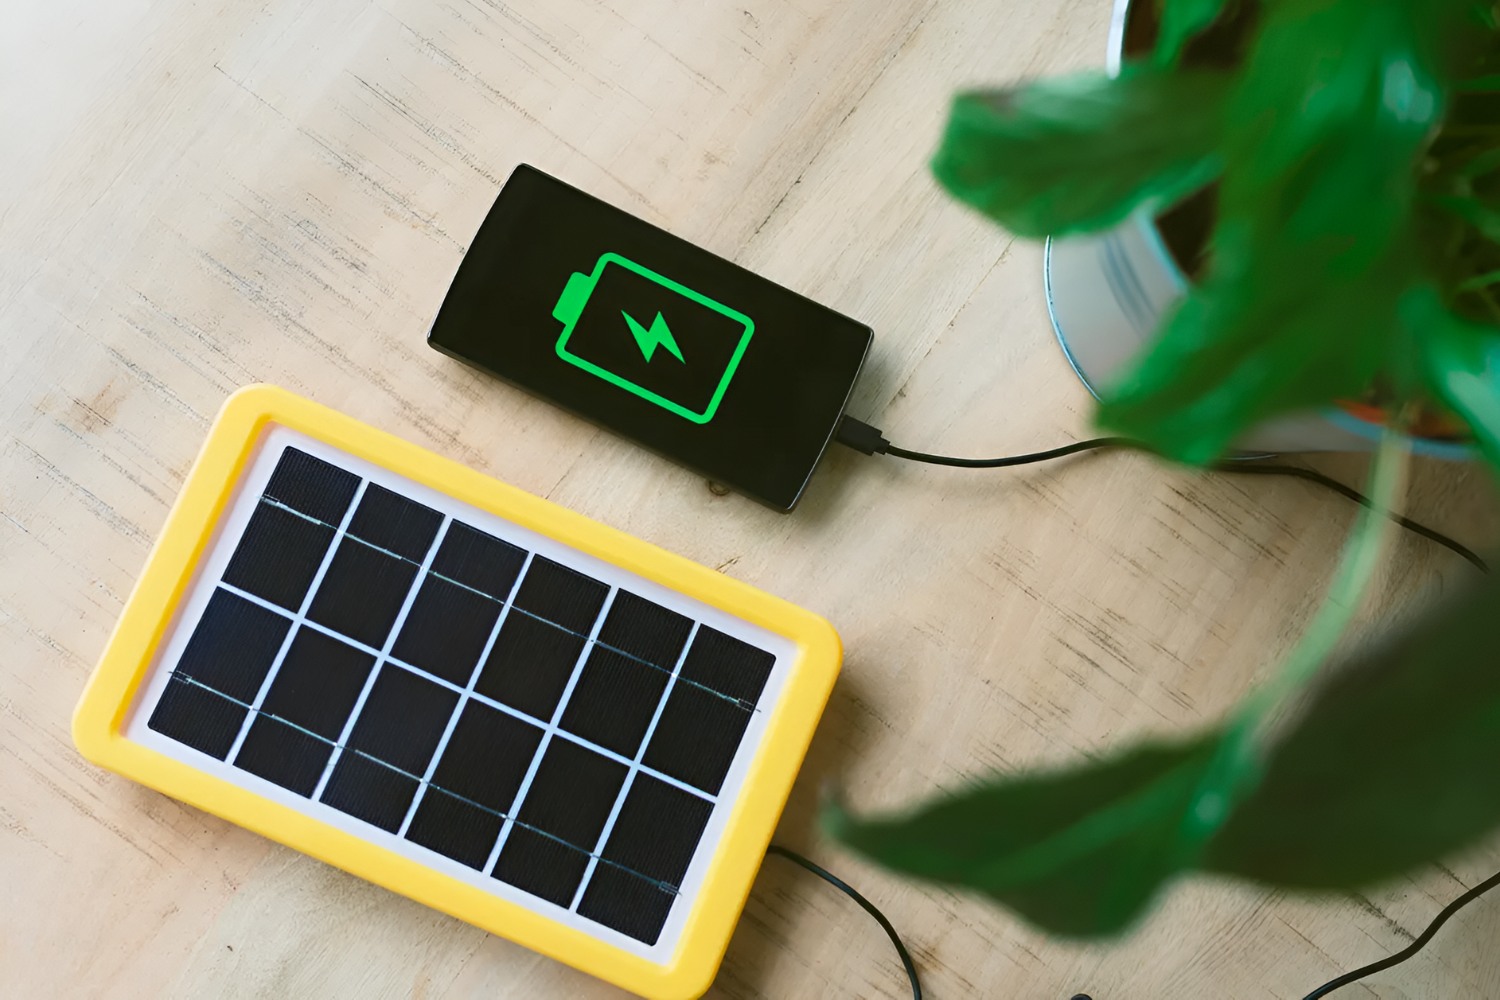
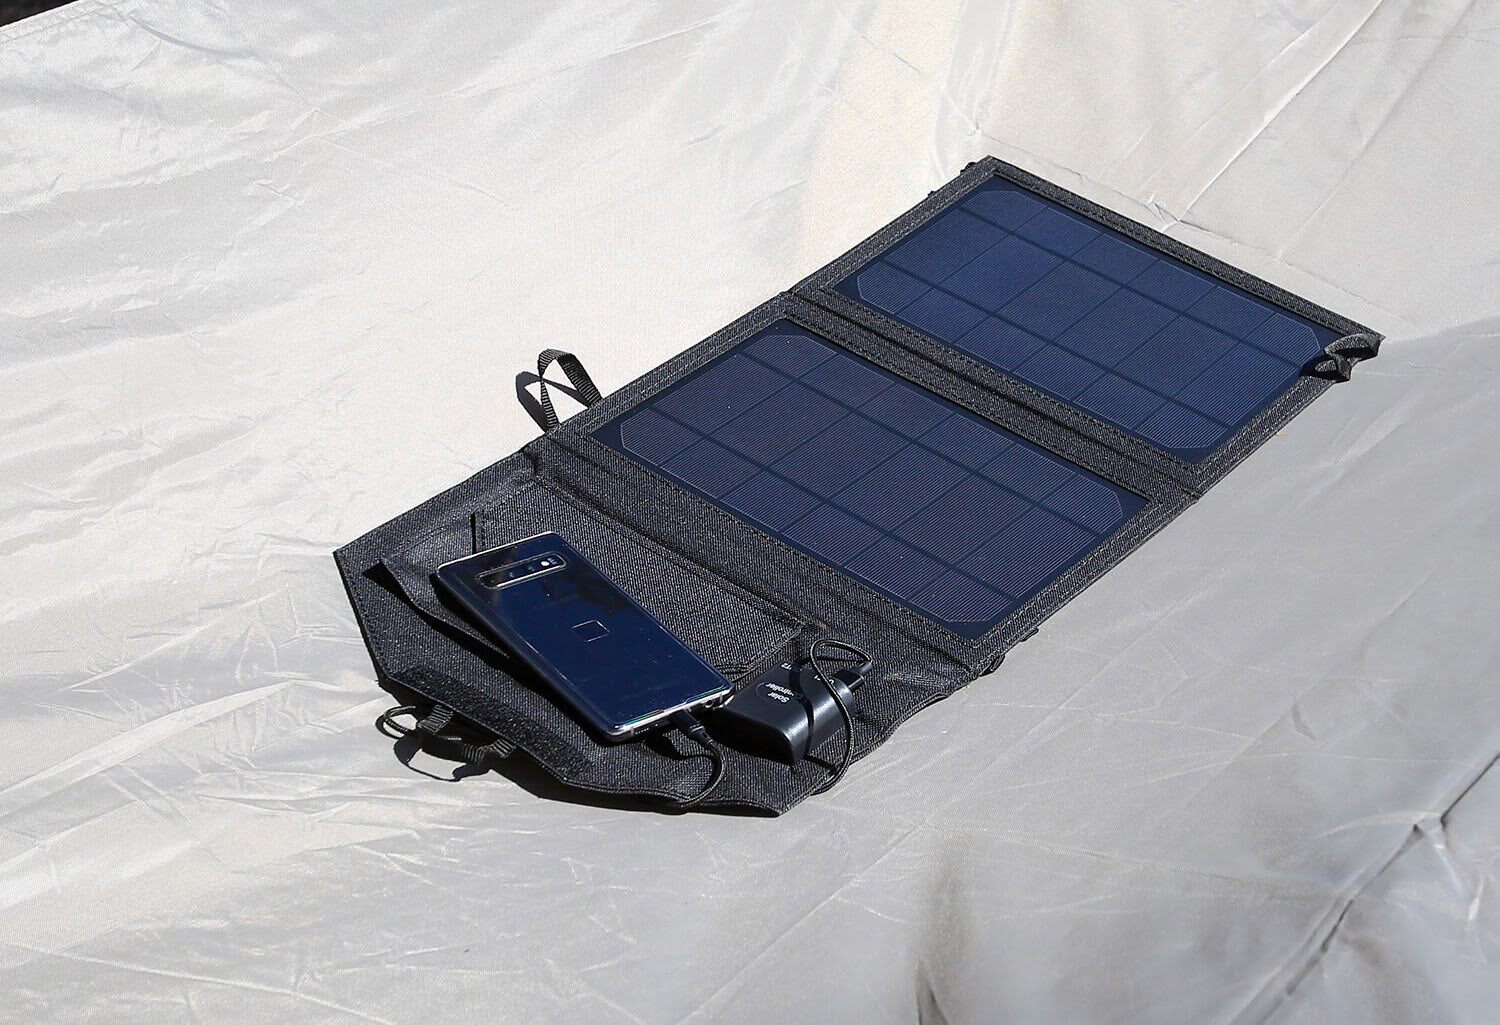
- Expose the solar panel to direct sunlight or a bright light source. Ensure that there are no obstructions blocking the light from reaching the solar panel.
- Connect your USB-powered device to the USB port on the charger module.
- Observe if the device begins to charge. You may see an indication on the device’s screen or battery icon indicating that it is being charged.
- Monitor the charging process to ensure that it is progressing as expected. If the device is charging too slowly or not at all, check the connections and ensure that the solar panel is receiving sufficient sunlight.
- If you are using a battery pack, monitor the charging of the pack. This will indicate whether the solar panel is effectively charging the battery pack for later use.
During the testing process, it’s important to note the charging time required for your USB-powered device. This will give you an idea of how long it takes to charge a device under specific light conditions. Keep in mind that the charging speed may vary depending on the solar panel’s capacity and environmental factors.
If you encounter any issues during the testing phase, double-check the connections, ensure proper sunlight exposure, and troubleshoot any potential problems. It’s also worth referring to the instruction manuals or guidelines provided by the manufacturers of the components in case of any troubleshooting requirements.
Once you have successfully tested the USB solar panel charger and confirmed that it is charging your devices as expected, you can now enjoy the benefits of having a portable, eco-friendly charging solution. Whether you are hiking, camping, or simply spending time outdoors, your USB solar panel charger will provide a reliable and sustainable way of keeping your USB-powered devices powered up.
Congratulations! You have now successfully built and tested your own USB solar panel charger. This DIY project not only saves you money but also gives you the satisfaction of reducing your carbon footprint and promoting sustainable energy usage.
Conclusion
Congratulations on successfully building your USB solar panel charger! By harnessing the power of the sun, you have created a portable and environmentally-friendly solution for charging your USB-powered devices. This DIY project not only saves you money on electricity bills but also reduces your carbon footprint, making it a win-win for both your wallet and the planet.
Throughout this guide, we have covered the step-by-step process of creating your USB solar panel charger. From gathering the necessary components to testing the functionality, you have learned how to assemble a reliable and efficient charging solution. By following the instructions and paying attention to detail, you have created a device that will serve you well in various outdoor activities or emergency situations.
Remember that the performance of your USB solar panel charger may depend on various factors, such as the capacity of the solar panel, sunlight exposure, and the efficiency of the USB charger module. It’s essential to position the solar panel to maximize sunlight absorption and ensure proper connections to maintain optimal performance.
With your USB solar panel charger, you are now equipped with a sustainable and convenient way to charge your USB devices anywhere, anytime. Whether you’re camping in the wilderness, on a beach vacation, or simply enjoying the great outdoors, you no longer have to rely solely on electrical outlets. Instead, you can rely on the power of the sun to keep you connected and powered up.
We hope that this guide has provided you with the knowledge and inspiration to embark on more eco-friendly projects in the future. Remember to share your experiences and ideas with others who may be interested in sustainable charging solutions. Together, we can make a positive impact on the environment and embrace a more sustainable way of living.
Thank you for joining us on this journey. Happy charging with your USB solar panel charger!