Introduction
Welcome to the world of capture cards! If you’re a PC enthusiast or a content creator, you may have heard about the benefits of using a capture card. Whether you want to record and share your gaming adventures or stream live gameplay to an audience, a capture card is an essential tool that can take your PC experience to the next level.
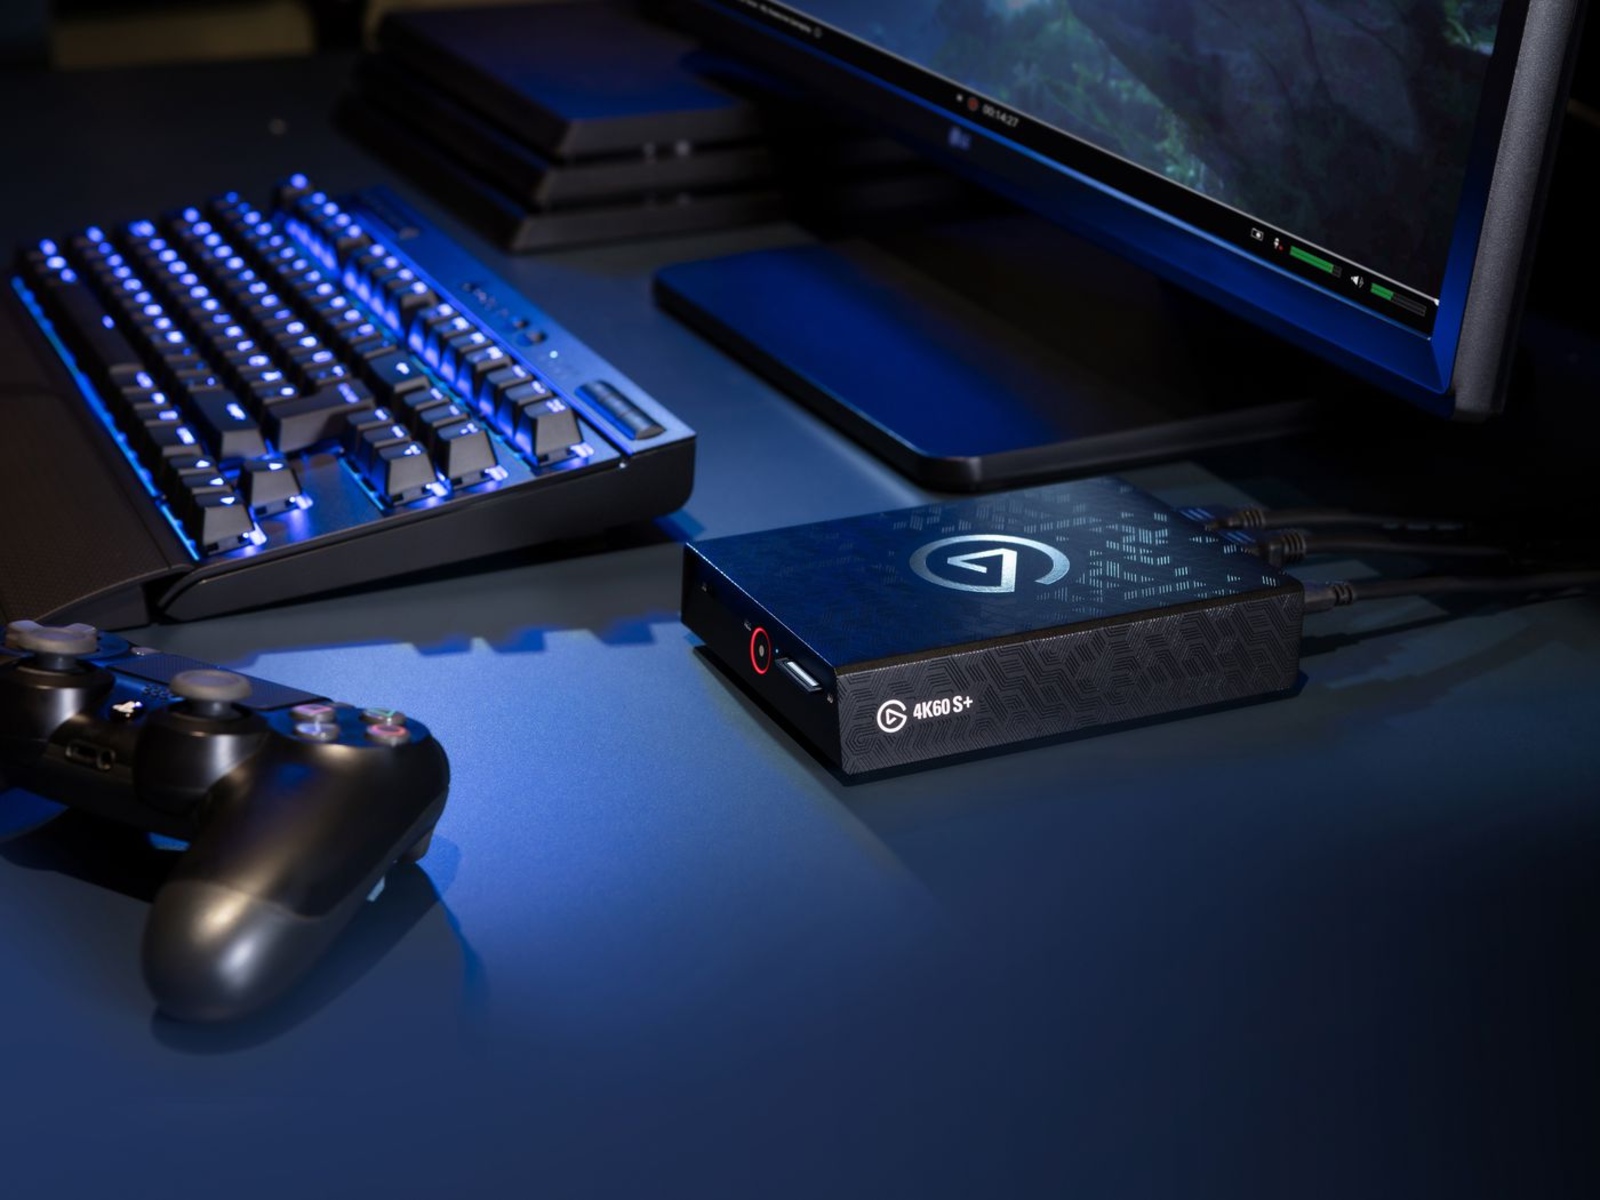
So, what exactly is a capture card? In simple terms, a capture card is a hardware device that allows you to capture and record audio and video signals from external devices, such as gaming consoles, cameras, or even another PC. It acts as a bridge between your PC and the device you want to capture from, enabling you to capture and transfer high-quality content directly to your computer.
Using a capture card for your PC offers numerous advantages. First and foremost, it allows you to record and preserve your gameplay moments in stunning detail. Whether you’re an aspiring streamer or just want to save memorable moments for future reference, a capture card ensures that your gameplay footage looks professional and polished.
Additionally, a capture card provides the opportunity to stream your gameplay live to platforms like Twitch or YouTube. By connecting your gaming console or other external devices to your PC through the capture card, you can share your gaming sessions with a wider audience, engage with your viewers, and even build a community around your content.
Before you can start using a capture card, it’s crucial to choose the right one based on your needs and setup. There are various options available, ranging from budget-friendly entry-level cards to high-end models packed with advanced features. Understanding your requirements and budget will help you make an informed decision.
In this guide, we will walk you through the process of using a capture card for your PC. We’ll cover everything from choosing the right capture card to installing it in your system, setting up the necessary software, connecting your devices, and configuring audio and video settings. We’ll also provide tips for recording gameplay and streaming with a capture card, as well as troubleshooting common issues that may arise.
So, if you’re ready to elevate your gaming and content creation experience, let’s dive into the world of capture cards and unlock a whole new level of creativity and entertainment.
What is a capture card?
A capture card is a hardware device that allows you to capture and record audio and video signals from external sources, such as gaming consoles, cameras, or even another PC. It acts as a bridge between your PC and the device you want to capture from, enabling you to transfer high-quality content directly to your computer.
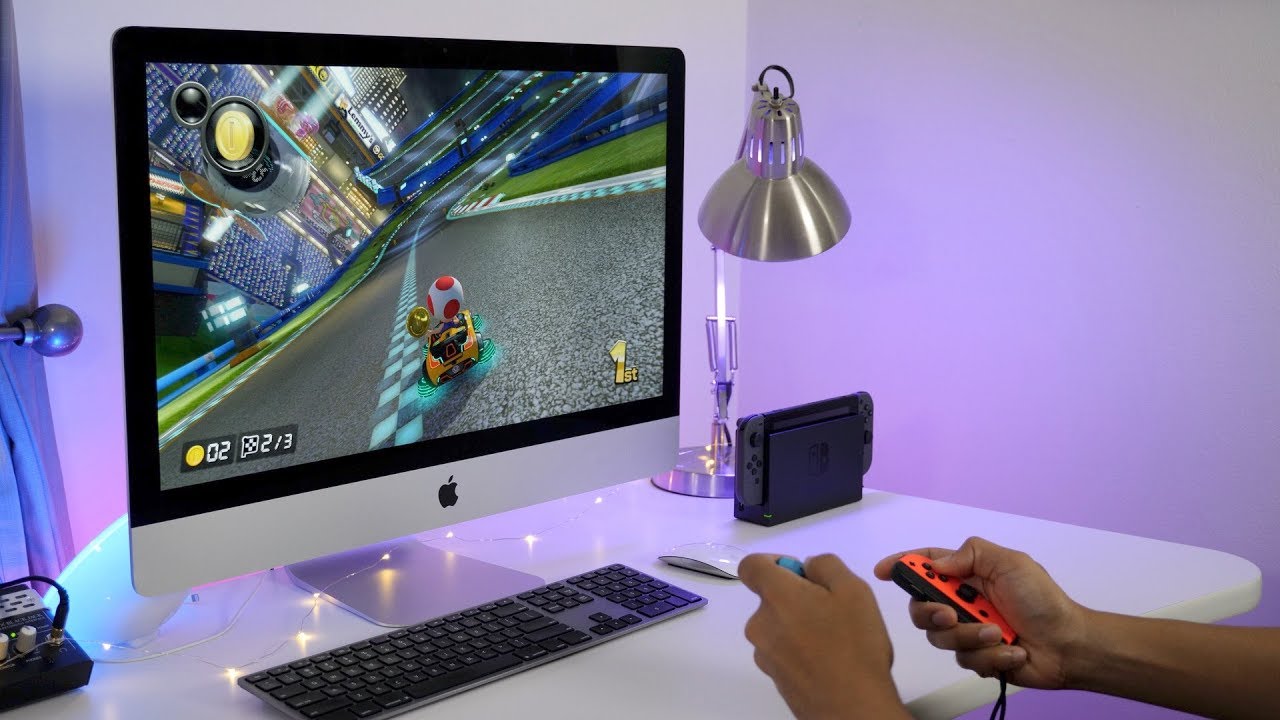
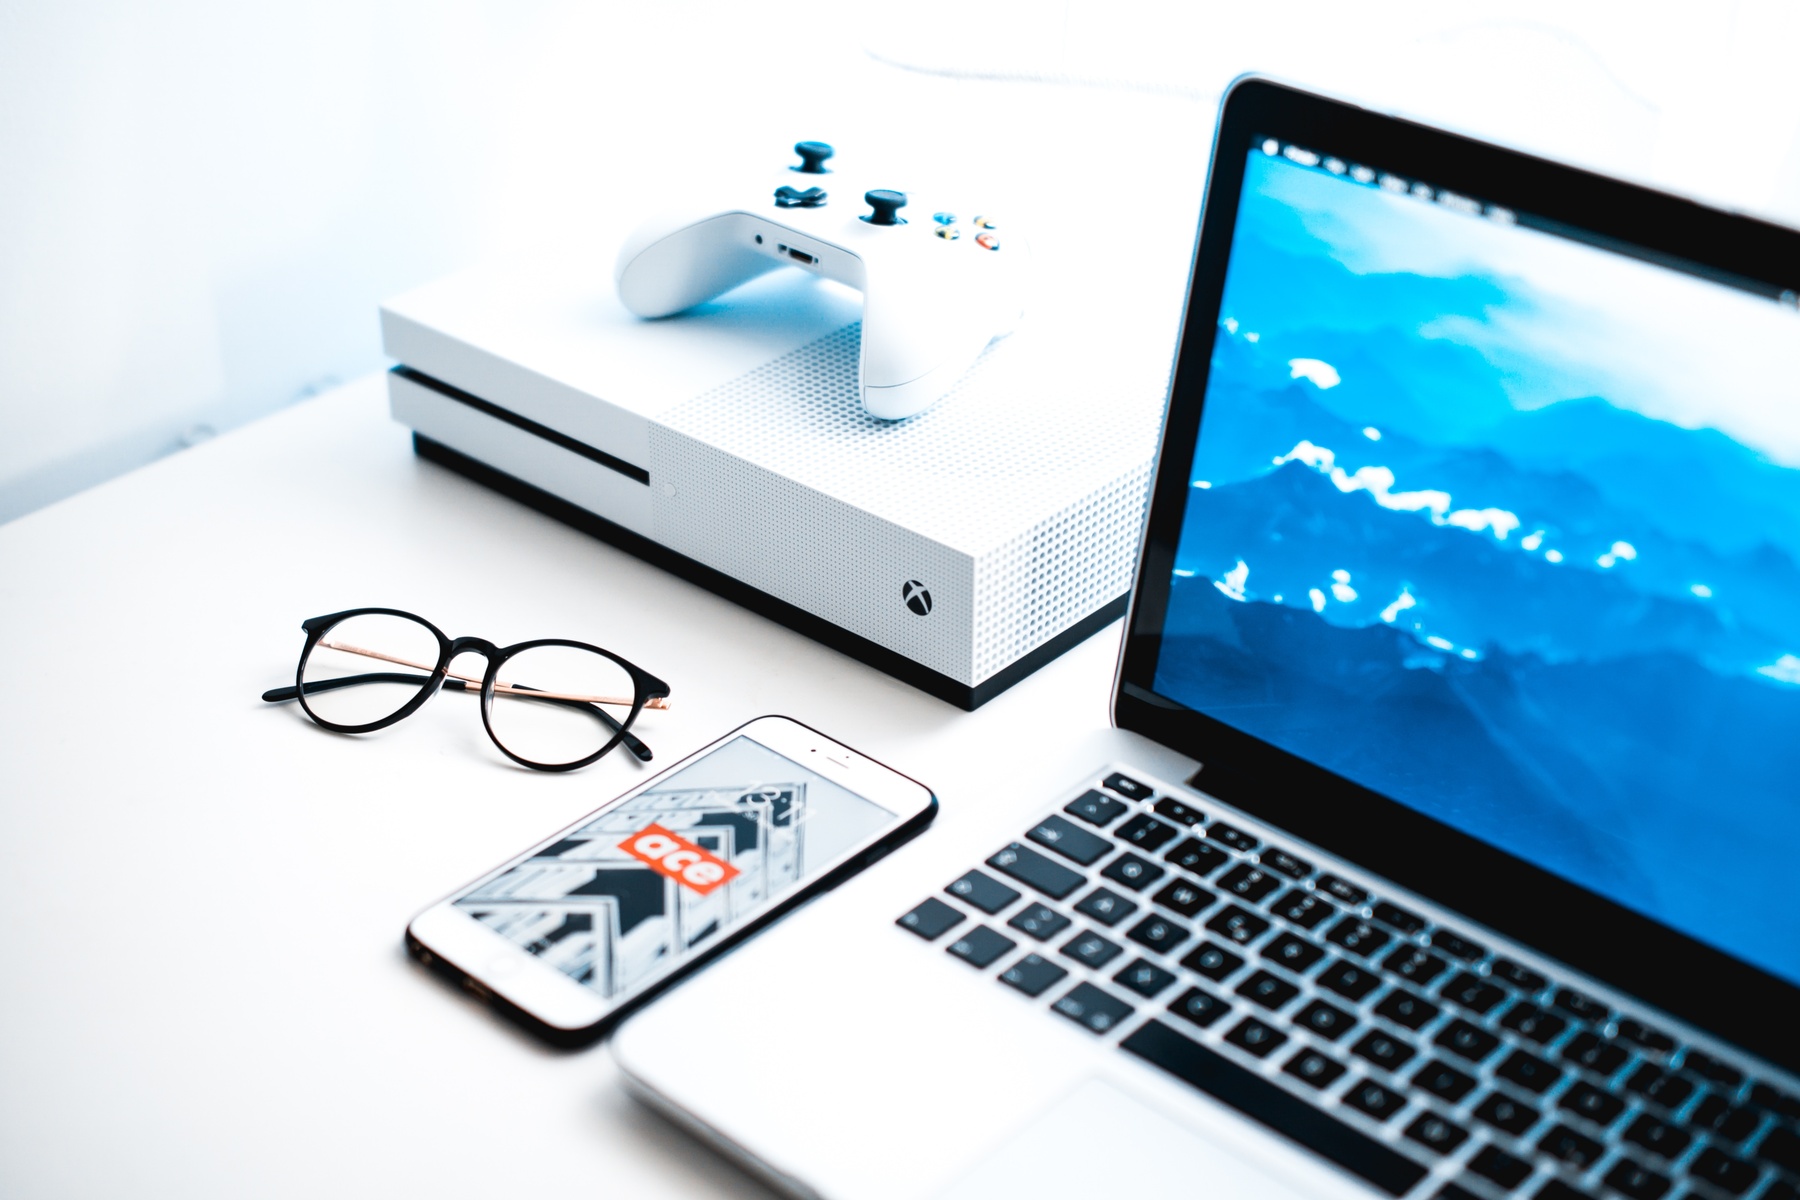
The primary function of a capture card is to capture gameplay footage from gaming consoles, such as Xbox, PlayStation, or Nintendo Switch, and transfer it to your PC for recording or live streaming. By connecting your console to the capture card, you can capture gameplay in real-time and save it for later editing or share it with your audience.
Capture cards also come in handy for content creators who want to record or stream content from other sources, such as cameras, camcorders, or even DSLRs. Whether you’re creating video tutorials, vlogs, or live streaming events, a capture card provides a seamless way to capture and transfer high-quality audio and video to your PC.
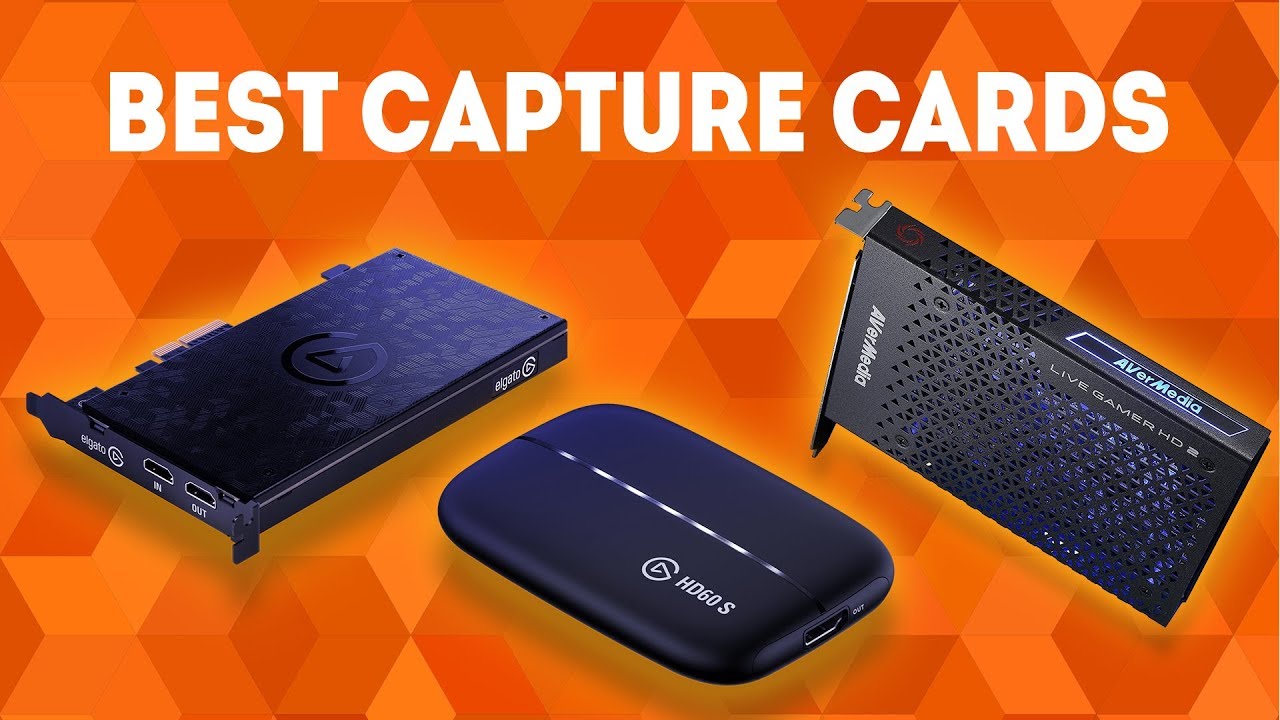
There are two types of capture cards: internal and external. Internal capture cards are installed directly into your PC’s motherboard using the available PCIe slot. They offer stable connectivity and high data transfer rates since they are directly connected to the system. On the other hand, external capture cards are standalone devices that connect to your PC via USB or Thunderbolt ports. They are portable and offer flexibility in terms of usage across multiple systems.
Capture cards capture both the audio and video signals from the source device. Some advanced capture cards even allow you to capture and record audio from a separate microphone, providing you with better control over the sound quality of your recordings or live streams.
One of the key advantages of using a capture card is the ability to capture gameplay or content at a higher resolution and frame rate than what’s available through software-based recording options. This ensures that your recordings or streams are of superior quality and provide a more immersive experience for your viewers.
Overall, a capture card is an essential tool for gamers, content creators, and anyone who wants to capture high-quality audio and video from external devices. Whether you’re a streamer looking to entertain your audience or a content creator aiming for professional-looking recordings, a capture card unlocks a world of possibilities and elevates your PC experience to new heights.
Why use a capture card for PC?
Using a capture card for your PC offers a wide range of benefits, making it a valuable tool for gamers, content creators, and anyone who wants to capture and share high-quality audio and video content. Let’s explore the reasons why you should consider using a capture card for your PC.
Superior recording quality: Capture cards allow you to capture gameplay footage or content from external devices, such as gaming consoles, at a higher resolution and frame rate than what’s typically available through software-based recording options. This ensures that your recordings are of superior quality, providing crisp visuals and smooth playback.
Live streaming capabilities: If you’re a streamer, a capture card is a must-have tool for live streaming your gameplay or content. By connecting your gaming console or other external devices to your PC through the capture card, you can stream your content to popular platforms like Twitch or YouTube. This opens up opportunities to connect with your audience in real-time, engage with them through chat, and potentially grow your online presence.
Multi-device support: Capture cards are not limited to gaming consoles. They can also capture content from a variety of external devices, including cameras, camcorders, and DSLRs. This versatility allows you to create diverse content, whether you’re shooting video tutorials, vlogs, or covering live events.
Separate audio recording: Advanced capture cards often support separate audio input, which means you can capture high-quality audio from a separate microphone or audio source. This allows you to have more control over the sound quality of your recordings or streams, ensuring crystal-clear audio for your viewers.
Real-time monitoring and editing: Many capture cards come with software that allows you to monitor your capture in real-time on your PC’s screen. This feature is especially useful for gamers who want to ensure their gameplay is being captured smoothly and can make adjustments on the fly. Additionally, some capture card software provides basic editing functionality, allowing you to make quick edits or add overlays to your content before sharing it.
Professional-level content creation: By using a capture card, you can elevate your content creation to a professional level. Whether you’re a gamer looking to showcase your skills, a content creator aiming for high-quality recordings, or a streamer looking to provide an immersive experience for your viewers, a capture card ensures that your content stands out with superior audio and video quality.
Expand your audience and opportunities: With the ability to capture and stream high-quality content, using a capture card opens up opportunities to reach a wider audience and potentially attract sponsorship or collaboration opportunities. Creating polished, professional content with the help of a capture card can set you apart from others in the crowded world of online content creation.
Overall, using a capture card for your PC allows you to capture high-quality audio and video content, enables live streaming capabilities, supports multi-device recording, provides separate audio recording options, facilitates real-time monitoring and editing, and helps you achieve a professional-level content creation. Incorporating a capture card into your setup can enhance your gaming experiences, expand your audience, and unlock a world of creative possibilities.
Choosing the right capture card
When it comes to choosing a capture card for your PC, there are several factors to consider to ensure that you select the right one based on your needs and setup. Let’s explore the key considerations to keep in mind when choosing a capture card:
Compatibility: Ensure that the capture card you choose is compatible with your PC and the devices you intend to capture from. Check the system requirements and compatibility specifications provided by the manufacturer to make sure it will work seamlessly with your setup.
Connectivity: There are two main types of capture card connectivity: internal and external. Internal capture cards are installed directly into your PC’s motherboard using the available PCIe slot, while external capture cards connect to your PC via USB or Thunderbolt ports. Consider your preference for portability, ease of installation, and the available ports on your PC before deciding which type of capture card is best suited for your needs.
Resolution and frame rate: Different capture cards support different resolutions and frame rates. If you want to capture or stream content in high definition, look for a capture card that supports at least 1080p resolution and 60 frames per second (fps). For those looking to future-proof or capture content in 4K, there are capture cards available that can handle higher resolutions and frame rates.
Hardware encoding: Some capture cards come with hardware encoding capabilities, which offload the video encoding process from your PC’s CPU. This can help reduce the processing load on your system, resulting in smoother performance and better overall recording or streaming quality.
Software features: Consider the software features that come with the capture card. Look for features like real-time monitoring, on-screen overlays, streaming integration, and basic editing functionality. Some capture cards even provide advanced features such as chroma keying, which allows you to create green screen effects during live streams or recordings.
Budget: Capture cards are available in a range of prices, so it’s important to determine your budget before making a purchase. Consider your requirements and prioritize the features that are most crucial to you. While entry-level capture cards may not have all the advanced features, they can still provide reliable performance for basic recording and streaming needs.
Reviews and recommendations: Before making a final decision, read reviews and seek recommendations from experienced gamers, content creators, and online communities. Hearing about the experiences and insights of others who have used specific capture cards can help you make an informed choice and avoid potential compatibility or performance issues.
By considering factors such as compatibility, connectivity, resolution and frame rate support, hardware encoding, software features, budget, and user feedback, you can confidently choose the capture card that best suits your needs. Remember that the right capture card can significantly enhance your recording or streaming experience and unlock new possibilities for content creation.
Preparing your PC for capture card installation
Before installing a capture card in your PC, it’s important to ensure that your system is prepared and ready for the installation process. Taking the time to properly prepare your PC will help ensure a smooth and successful installation. Here are the key steps to prepare your PC for capture card installation:
Check system requirements: Start by checking the system requirements specified by the manufacturer of your capture card. Verify that your PC meets the minimum requirements in terms of hardware specifications, such as the processor, RAM, operating system, and available PCIe slots if you are installing an internal capture card.
Update drivers and firmware: Updating your PC’s drivers and firmware is crucial to ensure compatibility with the capture card. Visit the manufacturer’s website to download and install the latest drivers and firmware updates for your PC’s motherboard or any other relevant components. This will help optimize performance and ensure a stable connection.
Free up PCIe slots: Internal capture cards are typically installed in the PCIe slots on your motherboard. Make sure you have an available and compatible PCIe slot for the capture card. If all the slots are occupied, consider removing any unnecessary expansion cards to free up space for the capture card.
Prepare your workspace: Clear out your workspace and ensure you have enough room to work comfortably. Keep any tools or accessories you may need, such as a screwdriver or anti-static wrist strap, within easy reach. Creating a clutter-free environment will make the installation process easier and minimize the risk of damaging any components.
Turn off and unplug your PC: Before handling any internal components, shut down your PC and unplug it from the power source. This will protect you from potential electrical hazards and prevent any accidental damage to your PC or the capture card during the installation process.
Take precautions against static electricity: Static electricity can damage sensitive electronic components. To minimize the risk, wear an anti-static wrist strap or frequently touch a grounded metal surface to discharge any static electricity buildup from your body. Handle the capture card and other components by their edges, avoiding direct contact with electronic circuits or connectors.
Review the installation guide: Consult the installation guide provided by the manufacturer of your capture card. The guide will provide step-by-step instructions specific to your capture card model. Familiarize yourself with the installation process and any additional requirements or considerations mentioned in the guide.
Backup your data: As a precautionary measure, it’s always recommended to back up any important data on your PC before making any changes to the hardware. Although the likelihood of data loss during capture card installation is low, accidents can happen. Keeping a backup will give you peace of mind and ensure that your important files are protected.
By following these steps and properly preparing your PC for capture card installation, you can help ensure a smooth and successful installation process. Taking the time to prepare your system will not only minimize the risk of complications but also contribute to the overall longevity and performance of your capture card.
Installing the capture card
Now that you have prepared your PC, it’s time to install the capture card. Installing a capture card may seem daunting, but with careful attention to detail, you can successfully add it to your system. Follow these step-by-step guidelines to install your capture card:
Step 1: Power down your PC: Ensure your PC is powered off and disconnected from the power source. This will prevent any electrical mishaps and protect both your PC and the capture card during the installation process.
Step 2: Open your PC’s case: Depending on your PC’s chassis, remove the panels or side cover to gain access to the internal components. Refer to your PC’s manual or consult online resources if you are unsure how to open your specific case.
Step 3: Locate an available PCIe slot: Look for an available PCIe slot on your motherboard. The slot may be labelled as “PCIe” or “PCIe x1” or “PCIe x16.” Select a slot that suits your capture card. If you are using an external capture card, skip to the next step.
Step 4: Install the capture card: Carefully align the capture card with the PCIe slot and gently insert it into the slot. Apply even pressure until the card is securely seated in the slot. Use a screwdriver to secure the capture card to the case using the provided screws.
Step 5: Connect power to the capture card: If your capture card requires power, locate the power connector on the card (if applicable) and connect the appropriate power cable from your power supply unit. Consult the capture card’s manual for specific instructions.
Step 6: Close the PC’s case: Once the capture card is installed, carefully replace the PC case panels or side cover, ensuring that everything is properly aligned. Reattach any screws or fasteners to secure the case.
Step 7: Connect the capture card (external card): If you are using an external capture card, connect one end of the USB or Thunderbolt cable to the capture card and the other end to an available USB or Thunderbolt port on your PC.
Step 8: Power on your PC: Now that the capture card is installed and connected, plug your PC back into the power source and power it on. Allow the operating system to fully load before proceeding to the next steps.
Step 9: Install capture card drivers and software: Insert the driver or software installation disc provided with your capture card into your PC’s optical drive, or download the latest drivers and software from the manufacturer’s website. Follow the on-screen instructions to install the necessary drivers and software for your capture card.
Step 10: Configure capture card settings: Once the drivers and software are installed, launch the capture card software and configure the settings according to your preferences. This may include selecting the capture card as the video input source, adjusting resolution and frame rate settings, and configuring audio settings.
By following these step-by-step instructions, you can successfully install a capture card into your PC. Remember to handle the capture card and other components with care, follow recommended installation methods, and refer to the manufacturer’s instructions for any specific details related to your capture card model.
Setting up the capture card software
After successfully installing the capture card in your PC, the next step is to set up the capture card software. The software is essential for configuring various settings and ensuring that the capture card functions properly. Follow these steps to set up the capture card software:
Step 1: Launch the capture card software: Locate the capture card software on your PC. It can usually be found in your Start menu, desktop, or system tray. Double-click the software icon to launch it.
Step 2: Check for updates: Once the software is launched, check for any available updates. Manufacturers frequently release software updates to improve compatibility, performance, and add new features. Download and install any updates that are available.
Step 3: Configure video settings: Access the video settings within the capture card software. Adjust the resolution, frame rate, and bitrate settings based on your preferences and the capabilities of your PC and capture card. Opt for higher settings if you desire better video quality, but keep in mind that higher settings may also require more system resources.
Step 4: Adjust audio settings: In the capture card software, navigate to the audio settings section. Depending on your capture card, you may have options to adjust the volume, select audio input devices, enable noise cancellation, or apply audio effects. Customize the audio settings to achieve the desired sound quality.
Step 5: Set up recording locations: Determine where you want your captured videos to be saved. Most capture card software allows you to specify a folder or directory for storing recorded videos. Choose a location on your PC’s storage drive that has sufficient space and is easily accessible.
Step 6: Configure streaming settings: If you plan to stream with your capture card, navigate to the streaming settings section in the software. Enter the streaming platform credentials (such as Twitch or YouTube), select the desired quality settings, and configure any additional options like stream delay, chat integration, or overlays. Follow the platform-specific instructions provided by the capture card software.
Step 7: Test the capture card: Before you start recording or streaming, perform a test to ensure that your capture card is functioning properly. Connect the source device (such as a gaming console or camera) to your capture card and verify that the software detects the input correctly. Check the preview window to verify that the video and audio are being captured without any issues.
Step 8: Make additional adjustments: Explore the capture card software for any additional settings that may enhance your recording or streaming experience. This may include options to add overlays, adjust chroma key settings for green screen effects, or configure hotkeys for quick control during capture.
Step 9: Take time to learn the software: Familiarize yourself with the various features and functionality offered by the capture card software. Spend time experimenting with different settings and exploring the software’s capabilities to harness the full potential of your capture card.
By following these steps to set up the capture card software, you can ensure that your capture card is optimized for your recording or streaming needs. Don’t hesitate to consult the manufacturer’s documentation or online resources for specific guidance on using the software that accompanies your specific capture card model.
Connecting your devices to the capture card
Now that you have your capture card installed and the software set up, it’s time to connect your devices to the capture card. Whether you’re capturing gameplay from a gaming console, footage from a camera, or any other external device, proper connections are crucial for a successful capture. Here’s how to connect your devices to the capture card:
Step 1: Identify the input and output ports: Locate the input and output ports on both your capture card and the device you want to capture from. Common input ports include HDMI, DisplayPort, or component video, while output ports often include HDMI or SDI.
Step 2: Connect your device to the capture card: Use an appropriate cable to connect the output port of your device to the input port on the capture card. For example, if you’re capturing gameplay from a gaming console, connect the HDMI output of the console to the HDMI input of the capture card. Ensure that the connections are secure and snug.
Step 3: Connect the capture card to your PC: If you’re using an external capture card, connect one end of the USB or Thunderbolt cable to the capture card, and the other end to an available USB or Thunderbolt port on your PC. This establishes the data connection between the capture card and your PC.
Step 4: Turn on the capture device: Switch on the device you’re capturing from, whether it’s a gaming console, camera, or another external device. Make sure it’s set to output the desired signal (e.g., the correct resolution and frame rate).
Step 5: Launch the capture card software: Open the capture card software on your PC. Ensure that the software recognizes the connected capture card and displays the input signal correctly. If the signal is not being detected, check the connections and make sure everything is properly plugged in.
Step 6: Test the capture: Start a test recording or streaming session to verify that the capture card is working correctly. Monitor the capture card software to ensure that the captured audio and video are being displayed properly. Pay attention to audio levels, visual quality, and any potential lag or latency issues.
Step 7: Adjust settings if needed: In the capture card software, adjust any settings related to the input signal, such as resolution, frame rate, or audio levels. Take the time to fine-tune these settings to achieve the desired recording or streaming quality.
Step 8: Make additional connections if necessary: If you have multiple devices that you want to switch between capturing, you may need to invest in additional cables or switchers. Connect each device to the capture card and use the switcher to select the active input source as needed.
Step 9: Verify audio and video synchronization: Check for any audio and video synchronization issues by playing back the captured footage. If you notice any delays or synchronization problems, consult the capture card software settings or refer to the manufacturer’s documentation for troubleshooting advice.
Step 10: Experiment and fine-tune: Take the time to experiment with various combinations of devices, connections, and settings to find the optimal setup for your specific needs. Continuously monitor the captured content and make adjustments to achieve the best possible audio and video quality.
By following these steps, you can connect your devices to the capture card and ensure that the capture process is smooth and error-free. Proper connections are crucial for capturing high-quality audio and video content, whether you’re recording gameplay, filming from a camera, or capturing content from another external device.
Configuring audio and video settings
Once your devices are connected to the capture card, the next step is to configure the audio and video settings. Configuring these settings correctly ensures that you capture high-quality audio and video content with your capture card. Let’s explore how to configure the audio and video settings:
Video Settings:
1. Resolution and Frame Rate: Within the capture card software, adjust the resolution and frame rate settings to match your desired output. Consider the capabilities of your capture card and the device you’re capturing from. Higher resolutions and frame rates provide better visual quality but may require more system resources.
2. Bitrate: Adjusting the bitrate controls the quality and file size of your captured video. Higher bitrates result in better quality but also create larger file sizes. Find the right balance based on your available storage space and desired video quality.
3. Video Encoder: Capture card software may offer options to select the video encoder used for recording or streaming. Hardware encoding, if available, offloads the encoding process from your PC’s CPU and can result in smoother performance.
4. Aspect Ratio: Choose the appropriate aspect ratio for your content. Most commonly used ratios are 16:9 for widescreen or 4:3 for standard screen sizes. Match the aspect ratio with the device you’re capturing from to avoid any distortion.
Audio Settings:
1. Audio Source: Select the appropriate audio source that corresponds to the device from which you want to capture audio. This could be the built-in microphone, an external microphone, or the audio output of the device you’re capturing from.
2. Audio Levels: Adjust the audio levels to ensure that the captured audio is neither too quiet nor too loud. Monitor the audio levels while capturing a test video to make sure the audio is clear and balanced.
3. Audio Mixer: Some capture card software may include an audio mixer that allows you to adjust the levels of different audio sources independently. This is useful if you want to mix audio from different devices or sources together.
4. Audio Effects: Consider using audio effects to enhance the audio quality of your captured content. This may include noise reduction, equalization, or audio enhancements to improve the overall listening experience for your audience.
5. Synchronization: For gameplay capture or any scenario where audio and video need to be perfectly synced, make sure the audio is properly synchronized with the video. Use the software settings to adjust any delay if there is a noticeable discrepancy.
6. Test and Adjust: After configuring the audio and video settings, perform a test recording or streaming session. Evaluate the recorded content to ensure that the audio and video are well-balanced, and the quality meets your expectations. Make adjustments as necessary based on your test results.
By paying attention to the video settings, audio source selection, audio levels, and other related options within the capture card software, you can fine-tune the configuration to capture high-quality audio and video content. Experiment with different settings and make adjustments based on the specific requirements of your captured content and the preferences of your audience.
Recording gameplay with a capture card
Recording gameplay with a capture card allows you to capture and preserve your gaming moments in high-quality audio and video. Whether you want to create gaming montages, share gameplay highlights, or compile footage for editing, a capture card is an essential tool. Follow these steps to record gameplay with a capture card:
Step 1: Launch the capture card software: Open the capture card software on your PC. Ensure that your capture card is properly connected to your gaming console or other source device and recognized by the software.
Step 2: Configure the recording settings: Within the capture card software, navigate to the recording settings. Set the desired resolution, frame rate, and bitrate for your recordings. Higher settings will result in better quality but may require more storage space.
Step 3: Select the output folder: Choose the folder where you want your recorded gameplay to be saved. Make sure you have enough storage space available to accommodate the size of your gameplay recordings.
Step 4: Customize additional recording settings: Explore the capture card software for additional recording settings that may enhance your recording experience. This may include options to enable a webcam overlay, record in a specific video format, or configure hotkeys for easy start and stop recording.
Step 5: Start recording: Launch your game and get ready to record. In the capture card software, click on the “Record” button or use the assigned hotkey to start recording. The software will start capturing the gameplay in real-time.
Step 6: Play and record your gameplay: Begin playing your game as usual while the capture card software is recording. Perform your best moves, execute impressive strategies, and engage with the game. The capture card will continuously capture and save the gameplay as a video file on your computer.
Step 7: Pause or stop recording: If you want to pause or stop the recording, use the designated hotkey or click the “Stop” button in the capture card software. Make sure to follow the instructions provided by the software to ensure a clean and complete recording process.
Step 8: Review and edit the recorded gameplay: After you’ve finished recording, locate the recorded gameplay file in the output folder. Use video editing software to review and edit the footage as desired. Trim out any unwanted sections, add transitions, overlays, or effects to enhance the visual experience.
Step 9: Save and export the edited gameplay video: Once you’re satisfied with the edited gameplay video, save your changes and export the final video in the desired format. Consider compressing the video if you plan to share it online to reduce file size without compromising too much on quality.
Step 10: Share and showcase your gameplay: With your recorded and edited gameplay video ready, you can now share it with your friends, upload it to social media platforms, or even create a dedicated YouTube or Twitch channel to showcase your gaming skills and entertain an audience.
By following these steps, you can utilize your capture card to record gameplay and create high-quality video content. Remember to experiment with different recording settings, explore the features of your capture card software, and have fun capturing and sharing your gaming adventures.
Streaming with a capture card
Streaming with a capture card offers a seamless way to share your gaming experiences, events, or creative content in real-time with an audience. Whether you aspire to become a professional streamer or simply want to connect with like-minded individuals, a capture card is a valuable tool for streaming. Here’s how you can stream using a capture card:
Step 1: Set up your streaming software: Open your preferred streaming software, such as OBS Studio or Streamlabs OBS, on your PC. Ensure that the software is properly configured with your streaming platform credentials, bitrate settings, and other desired settings.
Step 2: Connect your capture card to your PC: If you’re using an external capture card, connect it to your PC via USB or Thunderbolt. Make sure the capture card is recognized by your PC and appears as a video capture device in your streaming software.
Step 3: Launch the capture card software: Open the capture card software that accompanies your capture card. Navigate to the streaming settings within the software and configure the necessary settings, such as the streaming platform, stream quality, and bitrate.
Step 4: Connect your console or external device: Connect the gaming console or any external device you want to stream from to your capture card. Use the appropriate cables for video and audio connections. Ensure the device is properly recognized and displaying in the capture card software.
Step 5: Configure audio and video settings: Within your streaming software, configure the audio and video settings to ensure optimal streaming quality. This includes adjusting audio levels, selecting the audio input device, and optimizing the video output resolution and frame rate.
Step 6: Add overlays and alerts: Enhance your stream by adding overlays, alerts, and widgets to engage your audience visually. Many streaming software options offer features to customize your stream’s appearance, including webcam overlays, chat boxes, and on-screen notifications.
Step 7: Start your stream: Click the “Start Streaming” button in your streaming software to begin broadcasting your gameplay or content to your chosen streaming platform. Make sure to test and monitor your stream to ensure that both audio and video are being captured and streamed properly.
Step 8: Interact with your audience: Engage with your viewers by keeping an eye on the chat window and responding to their messages or questions. Encourage interactions and build a community by creating a welcoming and interactive streaming environment.
Step 9: Monitor stream quality: Continuously monitor the quality of your stream by periodically checking the video and audio output. Look for any issues, such as dropped frames, audio desync, or compression artifacts, and make adjustments as necessary to maintain a smooth streaming experience.
Step 10: End the stream: When you’re ready to conclude your streaming session, use the “Stop Streaming” button in your streaming software to end the stream gracefully. Take a moment to thank your audience for joining and provide any necessary closing remarks.
Streaming with a capture card opens up opportunities to connect with an audience in real-time and share your gaming adventures or creative content. Experiment with different settings, engage with your viewers, and continuously learn and improve your streaming skills to create an enjoyable and entertaining streaming experience.
Troubleshooting common issues
While using a capture card for your PC, you might encounter some common issues that can hinder your recording or streaming experience. However, most issues can be resolved with some troubleshooting. Here are some common issues you may encounter when using a capture card and their potential solutions:
No video or audio signal: If you’re not receiving any video or audio signal in your capture card software, check the connections between your devices and the capture card. Ensure that the source device is powered on and set to output the signal correctly. Try reconnecting the cables, restarting your devices, or updating the capture card drivers.
Poor video or audio quality: If the captured video or audio quality is below expectations, verify that the capture card settings match the desired resolution, frame rate, and bitrate. Ensure that your source device is outputting the correct video and audio settings. Adjust the capture card software settings for bitrate, encoder, and other video/audio parameters to improve the quality.
Video and audio sync issues: If you notice that the video and audio are out of sync in your recordings or streams, adjust the audio synchronization settings in your capture card software. Some software allows you to add a specific delay to the audio to match it with the video. Experiment with small adjustments until the sync issue is resolved.
Frame drops or choppy video: If your recorded or streamed video is experiencing frame drops or appears choppy, check your PC’s performance and resource usage. Close any unnecessary applications or processes running in the background to free up system resources. Reduce the video output resolution or adjust the bitrate settings to alleviate the strain on your system.
Audio distortion or static: If you’re experiencing audio distortion or static in your recordings or streams, consider the source of the issue. It could be caused by microphone interference, cable issues, or audio settings. Try using different cables or audio sources, ensuring proper grounding, and adjusting audio input levels, noise cancellation, or microphone placement to minimize distortion or static.
Software conflicts: In some cases, conflicts between the capture card software and other applications on your system may cause issues. Make sure that your capture card software is up to date. If conflicts persist, try closing other unnecessary applications or reinstalling the capture card software to eliminate any potential conflicts.
System compatibility issues: Ensure that your capture card is compatible with your PC’s operating system, hardware configuration, and other components. Check for any specific system requirements provided by the manufacturer. If compatibility issues persist, consider updating your PC’s firmware, drivers, or even upgrading components if necessary.
Internet stability for streaming: If you experience lag or buffering while streaming with a capture card, check your internet connection stability. Ensure that you have a strong and reliable internet connection with sufficient upload speed for streaming. Close any bandwidth-intensive applications or devices that may be causing network congestion.
Update capture card firmware and software: Regularly check for firmware and software updates provided by the capture card manufacturer. Updating to the latest firmware and software versions can help resolve compatibility issues, improve performance, and unlock new features.
If you encounter any other issues while using a capture card, consult the troubleshooting section of the capture card’s user manual or contact the support team of the capture card manufacturer for further assistance and guidance specific to your device.
By troubleshooting common issues and resolving them promptly, you can ensure a smooth and uninterrupted recording or streaming experience with your capture card.
Conclusion
Using a capture card for your PC opens up a world of possibilities for capturing high-quality audio and video content, recording gameplay, and streaming live to an audience. Whether you’re a gamer, content creator, or aspiring streamer, a capture card can elevate your PC experience and enhance your ability to share your passion with others.
In this guide, we’ve explored the importance of choosing the right capture card for your needs, preparing your PC for capture card installation, installing the capture card, setting up the capture card software, connecting your devices, configuring audio and video settings, recording gameplay, streaming, and troubleshooting common issues.
By carefully following the steps outlined in this guide and being mindful of the tips and considerations provided, you can maximize the functionality and performance of your capture card. Experiment with different settings, explore the features of your capture card software, and continuously strive for improvement to deliver the best possible audio and video content.
Remember that capturing and streaming with a capture card is not only about the technical aspects but also about your creativity and engagement with your audience. Focus on creating compelling and entertaining content, engage with your viewers, and build a supportive community around your passion.
Whether you’re recording your gaming achievements, sharing your creative endeavors, or connecting with viewers through live streaming, a capture card can be your gateway to capturing and sharing unforgettable moments. Embrace the possibilities, refine your skills, and enjoy the journey of creating and sharing high-quality content with the help of your trusted capture card.


