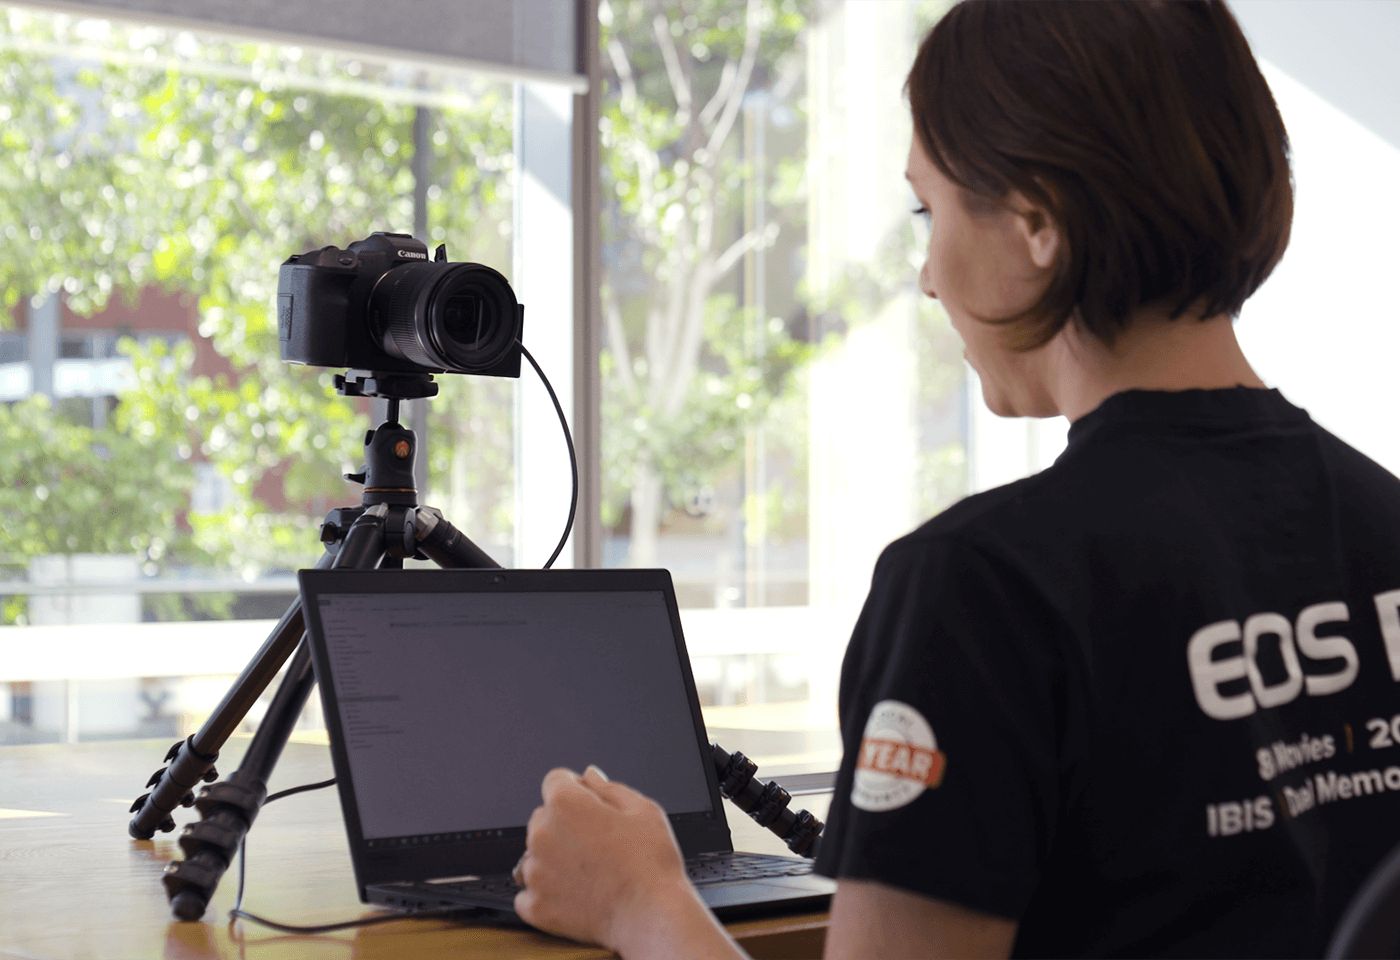
Selecting the Capture Card
When it comes to streaming on Discord, selecting the right capture card is crucial. A capture card is a hardware device that allows you to capture and record audio and video from an external source, such as a gaming console or a camera, and transmit it to your computer for streaming. With a wide range of capture cards available on the market, here are some factors to consider when choosing the one that best suits your needs.
1. Compatibility: Ensure that the capture card you choose is compatible with your gaming console or device. Different capture cards support different input and output connections, such as HDMI, RCA, or USB. Be sure to check the specifications and requirements of your capture card to ensure it is compatible with your setup.
2. Resolution and Frame Rate: If you want to stream in high definition, make sure the capture card supports the resolution and frame rate you desire. Most modern capture cards can handle resolutions up to 1080p at 60 frames per second (fps), but if you’re aiming for higher resolutions or frame rates, consider a capture card with advanced specifications.
3. Software Support: Look for capture cards that come with reliable and user-friendly software. The software should provide options for customizing your stream settings, adjusting audio and video output, and capturing and editing footage. Additionally, check if the capture card supports popular streaming software like OBS (Open Broadcaster Software) for a seamless streaming experience.
4. Budget: Consider your budget when selecting a capture card. Capture cards come in a wide range of prices, so it’s important to find one that fits within your budget while still meeting your streaming needs. Assess the features and specifications offered by different capture cards to determine the best value for your money.
5. Reviews and Recommendations: Research and read reviews from other streamers to get insights into their experiences with different capture cards. You can check online forums, social media groups, or consult with experienced streamers for recommendations. Their feedback can help you make an informed decision and avoid potential issues.
By taking these factors into account, you can select the capture card that is best suited for your streaming goals and device compatibility. Remember to compare different options, read reviews, and consider your budget to find the perfect capture card that will enhance your streaming experience on Discord.
Installing the Capture Card Drivers
Once you have selected a suitable capture card for your streaming needs, the next step is to install the necessary drivers onto your computer. The drivers facilitate communication between the capture card and your operating system, allowing it to function properly. Here is a step-by-step guide on how to install capture card drivers:
1. Check the Box: Before installing the drivers, make sure to check the box that came with your capture card. Look for any installation CDs or USB drives that contain the necessary drivers. If the drivers are not included, you can usually find them on the manufacturer’s website.
2. Download the Drivers: If the drivers are available online, navigate to the manufacturer’s website and search for the drivers specific to your capture card model. Download the drivers and save them to a location on your computer where you can easily access them.
3. Run the Installer: Once the drivers are downloaded, locate the file and double-click on it to run the installer. Follow the on-screen prompts to begin the installation process. Read any accompanying documentation or terms of service before proceeding.
4. Accept the Terms: During the installation process, you may be prompted to accept the terms and conditions of the driver software. Carefully read through the terms and click on the “Accept” or “Agree” button to continue.
5. Follow the Installation Wizard: The driver installation process will typically be guided by an installation wizard. Follow the instructions provided by the wizard, which may include selecting an installation location, choosing additional software components, or configuring settings specific to your capture card.
6. Complete the Installation: Once the installation process is complete, you may be prompted to restart your computer to ensure that the drivers are properly installed and functioning. Save any open work and proceed with the restart if required.
7. Test the Capture Card: After restarting your computer, you can test your capture card to ensure it is working correctly. Connect your external device or gaming console to the capture card, launch the software or streaming application you intend to use, and check if the capture card is recognized and functioning as expected.
By following these steps, you can successfully install the capture card drivers onto your computer. It’s essential to keep the drivers up to date by periodically checking for driver updates on the manufacturer’s website. Properly installed and updated drivers will ensure optimal performance and compatibility of your capture card while streaming on Discord.
Connecting the Capture Card to your Device
After installing the capture card drivers, the next step is to connect the capture card to your device. The connection process may vary depending on the specific capture card and devices involved. Follow these general steps to connect your capture card:
1. Identify the Connections: Take a look at the ports and cables included with your capture card. Common connections include HDMI, RCA, or USB. Identify the appropriate ports on both your capture card and your device (such as a gaming console or camera).
2. Connect the Video Source: Use the appropriate cable to connect the video output from your external device or gaming console (e.g., HDMI cable) to the corresponding input port on the capture card. Ensure a secure and proper connection between the two devices.
3. Connect the Audio Source: If your capture card supports audio input, connect the audio source to the capture card using the appropriate cable. This is necessary if you want to include audio in your stream. The audio input on the capture card may be a separate port or combined with the video input.
4. Connect the Capture Card to your Computer: Connect the capture card to your computer using the USB cable provided. Insert one end into the capture card and the other end into an available USB port on your computer.
5. Power On the Capture Card and Devices: Power on your external device or gaming console, as well as your computer. Ensure that all devices are powered and functioning correctly.
6. Configure the Settings: After connecting the capture card, you may need to configure the settings in your streaming software or capture card software. Adjust the input/output settings, resolution, frame rate, and any additional settings as per your requirements. Refer to the user manual or online documentation for instructions specific to your capture card and software.
7. Test the Connection: Once the connections and settings have been configured, launch your chosen streaming application or software and test the capture card’s connection. Monitor the video and audio feed to ensure that the capture card is correctly receiving and transmitting the content from your external device or gaming console.
By following these steps, you can successfully connect your capture card to your device and prepare it for streaming on Discord. Remember to consult the user manual or manufacturer’s website for any device-specific instructions or troubleshooting tips. With a properly connected capture card, you can now move on to configuring the streaming settings and starting your broadcast on Discord.
Configuring the Capture Card Settings
Once your capture card is connected to your device, the next step is to configure the settings to ensure optimal performance during your Discord streams. Here are some key settings to consider when configuring your capture card:
1. Resolution and Frame Rate: Determine the desired resolution and frame rate for your stream. Higher resolutions, such as 1080p or 4K, require more processing power and bandwidth. Ensure that your capture card and computer can handle the chosen resolution and frame rate.
2. Encoding Settings: Many capture card software or streaming applications allow you to adjust the encoding settings for your stream. These settings control the compression level and bitrate of the video and audio output. Experiment with different encoding settings to find the optimal balance between video quality and network bandwidth usage.
3. Audio Configuration: Configure the audio settings for your capture card to ensure that your stream includes audio from your external device or gaming console. Choose the audio input source and adjust the audio levels to avoid issues such as audio clipping or low volume levels.
4. Overlay and Graphics: Some capture card software or streaming applications offer the ability to add overlays, graphics, or text to your stream. Utilize these features to enhance the visual appeal of your stream, display information like chat messages or recent followers, or add branding elements to your broadcast.
5. Hotkeys and Shortcuts: Take advantage of hotkeys and shortcuts available in your capture card software or streaming application. These can streamline your streaming workflow and allow you to quickly perform tasks like starting or stopping the stream, switching scenes, adjusting audio levels, or muting the microphone.
6. Recording Options: In addition to streaming, many capture cards offer the option to record your gameplay or stream locally to your computer’s hard drive. Configure the recording options, such as the file format, quality, and storage location, based on your preferences and available disk space.
7. Test and Optimize: Once you have configured the settings, perform a test stream or recording to confirm that everything is working as expected. Monitor the quality of the video and audio, check for any dropped frames or sync issues, and make adjustments if necessary.
Remember that the specific steps and options for configuring your capture card settings will depend on the software or application you are using. Consult the user manual, online documentation, or support resources provided by the capture card manufacturer or software developer for detailed instructions and troubleshooting assistance.
By taking the time to configure your capture card settings, you can ensure that your Discord streams are of high quality and provide an enjoyable viewing experience for your audience.
Setting up Discord for Streaming
Discord provides a simple and convenient platform for streaming your gameplay or content to your audience. To ensure a smooth and seamless streaming experience on Discord, follow these steps to set up your streaming environment:
1. Create a Server or Join an Existing Server: If you don’t already have a server, create one on Discord or join an existing server dedicated to streaming. This will provide you with a community and audience to interact with while streaming.
2. Set Up Roles and Permissions: Depending on your needs, create or assign appropriate roles and permissions to users in your server. This allows you to control who can access certain channels, send messages, or participate in voice chats during your streams.
3. Configure Your Streamer Settings: In Discord, click on the gear icon at the bottom left corner to access User Settings. Navigate to the “Stream” tab and configure the streamer settings. Here, you can adjust the video quality, frame rate, and audio settings for your stream.
4. Select the Stream Channel: Choose a dedicated channel in your Discord server where you will stream your content. This helps keep your streams organized and easily accessible for your audience to join.
5. Enable Go Live: To start streaming on Discord, click on the “Go Live” button located in the voice channel or user status area. Select the specific application or screen you want to stream, and choose “Go Live” to begin broadcasting to your selected channel.
6. Interact with Your Audience: Engage with your viewers by turning on the chat overlay while streaming. This allows you to monitor and respond to messages from your audience in real-time, enhancing the interactive experience for both you and your viewers.
7. Manage Stream Quality: Monitor the performance and quality of your stream by keeping an eye on the Discord streamer settings. Adjust the settings as needed to optimize the stream quality, taking into consideration factors such as your internet connection speed and system resources.
8. Invite Viewers: Share the stream link with your audience to invite them to join your stream. You can distribute the link via social media, your website, or within your Discord server. Utilize Discord’s features like channel announcements or @mentions to notify your server members when you go live.
9. Collaborate with Others: Discord also allows you to collaborate with other streamers or friends by inviting them to join your stream or hosting their streams on your server. This creates opportunities for cross-promotion and collaborative streaming sessions.
As you stream on Discord, make sure to engage with your audience, encourage participation, and create a welcoming environment. This will foster a sense of community and keep viewers coming back for more.
Remember to familiarize yourself with Discord’s guidelines and terms of service to ensure that your streams comply with their policies. Enjoy the streaming experience on Discord and have fun interacting with your audience!
Enabling the Stream on Discord
Enabling the stream on Discord allows you to broadcast your content to your desired channel and engage with your audience in real-time. Here’s how you can enable the stream feature on Discord:
1. Open Discord and Launch the Application: Ensure that you have Discord installed on your computer or mobile device. Launch the application and log in to your Discord account.
2. Start a Voice Channel: To enable the stream feature, you need to start a voice channel in your Discord server. Click on the “Voice Channels” section in your server and select a voice channel to enter.
3. Check Your Permissions: Before proceeding, make sure you have the necessary permissions to enable the stream feature. A server admin or a role with appropriate permissions can grant you the required privileges.
4. Go Live: In the voice channel, look for the “Screen” or “Application” sharing options. Click on the “Go Live” button next to the screen or application you want to stream. You can choose to stream a specific application window or your entire screen.
5. Configure Stream Settings: After clicking “Go Live”, a pop-up window will appear where you can configure your stream settings. You can choose to enable or disable camera, microphone, and audio sharing options based on your preferences. Adjust the stream quality, frame rate, and audio input settings as desired.
6. Start Streaming: Once you’ve configured the settings, click on the “Go Live” button to start your stream. Discord will send a notification to the selected channel, alerting members that you’re live.
7. Interact with Your Audience: As you stream, your viewers can join the voice channel to watch and hear your content. Encourage viewers to participate in the chat and respond to their messages or questions to create a dynamic and engaging streaming experience.
8. Manage Stream Quality: Monitor the health of your stream by keeping an eye on Discord’s streamer settings. Adjust the settings as needed to optimize the stream quality based on your internet connection speed and system resources.
9. End the Stream: Once you’re ready to end the stream, click on the “Stop Streaming” button. Discord will notify everyone in the voice channel that the stream has ended and switch the channel back to regular voice communication.
Remember to respect Discord’s guidelines and terms of service while streaming. This includes adhering to copyright laws, avoiding inappropriate content, and maintaining a respectful environment for your viewers.
By enabling the stream feature on Discord, you can share your content, interact with your audience, and create memorable streaming experiences for all participants.
Troubleshooting Tips
While streaming on Discord, you may encounter various issues that can disrupt your streaming experience. Here are some troubleshooting tips to help you resolve common problems and ensure smooth streaming:
1. Check Your Internet Connection: Poor internet connection can cause lag, buffering, or dropped frames during your stream. Ensure that you’re connected to a stable and reliable internet network, preferably through an Ethernet connection if possible.
2. Update Capture Card Drivers and Software: Outdated drivers or software for your capture card can lead to compatibility issues or performance problems. Regularly check for driver updates on the manufacturer’s website and install any available updates to ensure optimal performance.
3. Adjust Stream Bitrate and Quality Settings: If your stream quality is suffering, consider reducing the bitrate or adjusting the quality settings in your streaming software. Lowering the settings can help alleviate buffering or lag caused by insufficient upload bandwidth.
4. Check Computer Specifications: Ensure that your computer meets the minimum system requirements for streaming and running both Discord and your streaming software simultaneously. Insufficient processing power or memory can lead to performance issues and impact your stream quality.
5. Disable Background Applications: Close any unnecessary background applications that may be consuming system resources, potentially impacting your stream performance. This includes resource-intensive programs, browser tabs, and downloads that may compete for bandwidth.
6. Test Different Discord Servers and Regions: If you’re experiencing latency or connection issues, try connecting to a different Discord server or switch to a server in a different region. This can help improve your network connection and reduce lag.
7. Troubleshoot Audio Issues: If you’re experiencing audio problems during your stream, ensure that your audio input and output devices are properly connected and configured. Check the settings in your streaming software and Discord to ensure the correct audio devices are selected.
8. Monitor Stream Health: Keep an eye on the stream health indicators provided by your streaming software or Discord. These indicators can provide insights into the stream’s performance, such as dropped frames or latency issues.
9. Seek Community Support: If you’re unable to resolve the issue on your own, reach out to the Discord community or online forums for assistance. Other streamers and users may have encountered similar issues and can offer valuable advice or troubleshooting steps.
10. Contact Technical Support: If all else fails, don’t hesitate to contact the technical support of your capture card manufacturer, streaming software developer, or Discord support. They can provide specific guidance and assistance to help resolve complex issues.
By following these troubleshooting tips, you can overcome common streaming issues and ensure a smoother streaming experience on Discord. Remember to stay patient, experiment with different settings, and seek help when needed to optimize your stream quality.
Conclusion
Streaming on Discord can be an exciting way to share your gameplay, content, or creative endeavors with a dedicated audience. By selecting the right capture card, installing the necessary drivers, connecting your devices, configuring the settings, and enabling the stream on Discord, you can create an immersive and interactive streaming experience.
Remember to consider factors such as compatibility, resolution, frame rate, and budget when choosing a capture card. Installing the correct drivers and ensuring proper connections between your devices are essential for seamless streaming. Take the time to configure the capture card settings, including resolution, encoding, audio, and overlay options, to optimize the stream quality.
Discord provides a user-friendly platform for streaming, allowing you to set up roles, create or join servers, and interact with your audience. Engage with your viewers, encourage participation, and create a welcoming environment to foster a sense of community during your streams.
If you encounter any issues during your streaming journey, utilize troubleshooting tips such as checking your internet connection, updating drivers, adjusting settings, and seeking community or technical support. These steps can help resolve common problems and ensure a smoother streaming experience on Discord.
Streaming on Discord is a dynamic and evolving process, so don’t be afraid to experiment, learn from other streamers, and adapt your techniques to improve your streams. With the right equipment, settings, and community support, you can showcase your content to a wide audience and build a dedicated fan base.
So, get ready to unleash your creativity, connect with like-minded individuals, and share your passion through streaming on Discord. Embrace the journey and enjoy the wonderful world of online streaming!


