Introduction
Welcome to the exciting world of VR streaming on Discord! Streaming VR to your friends and followers can create a truly immersive experience and allow them to join in on the excitement. Discord, the popular communication platform, provides a convenient way to share your VR adventures with others in real-time. In this guide, we will take you through the steps to stream VR on Discord, so you can showcase your virtual reality experiences with ease.
Streaming VR on Discord opens up a whole new level of interaction and engagement with your audience. Whether you’re into gaming, exploring virtual worlds, or creating VR content, Discord provides a platform that allows you to connect with like-minded individuals and share your VR escapades.
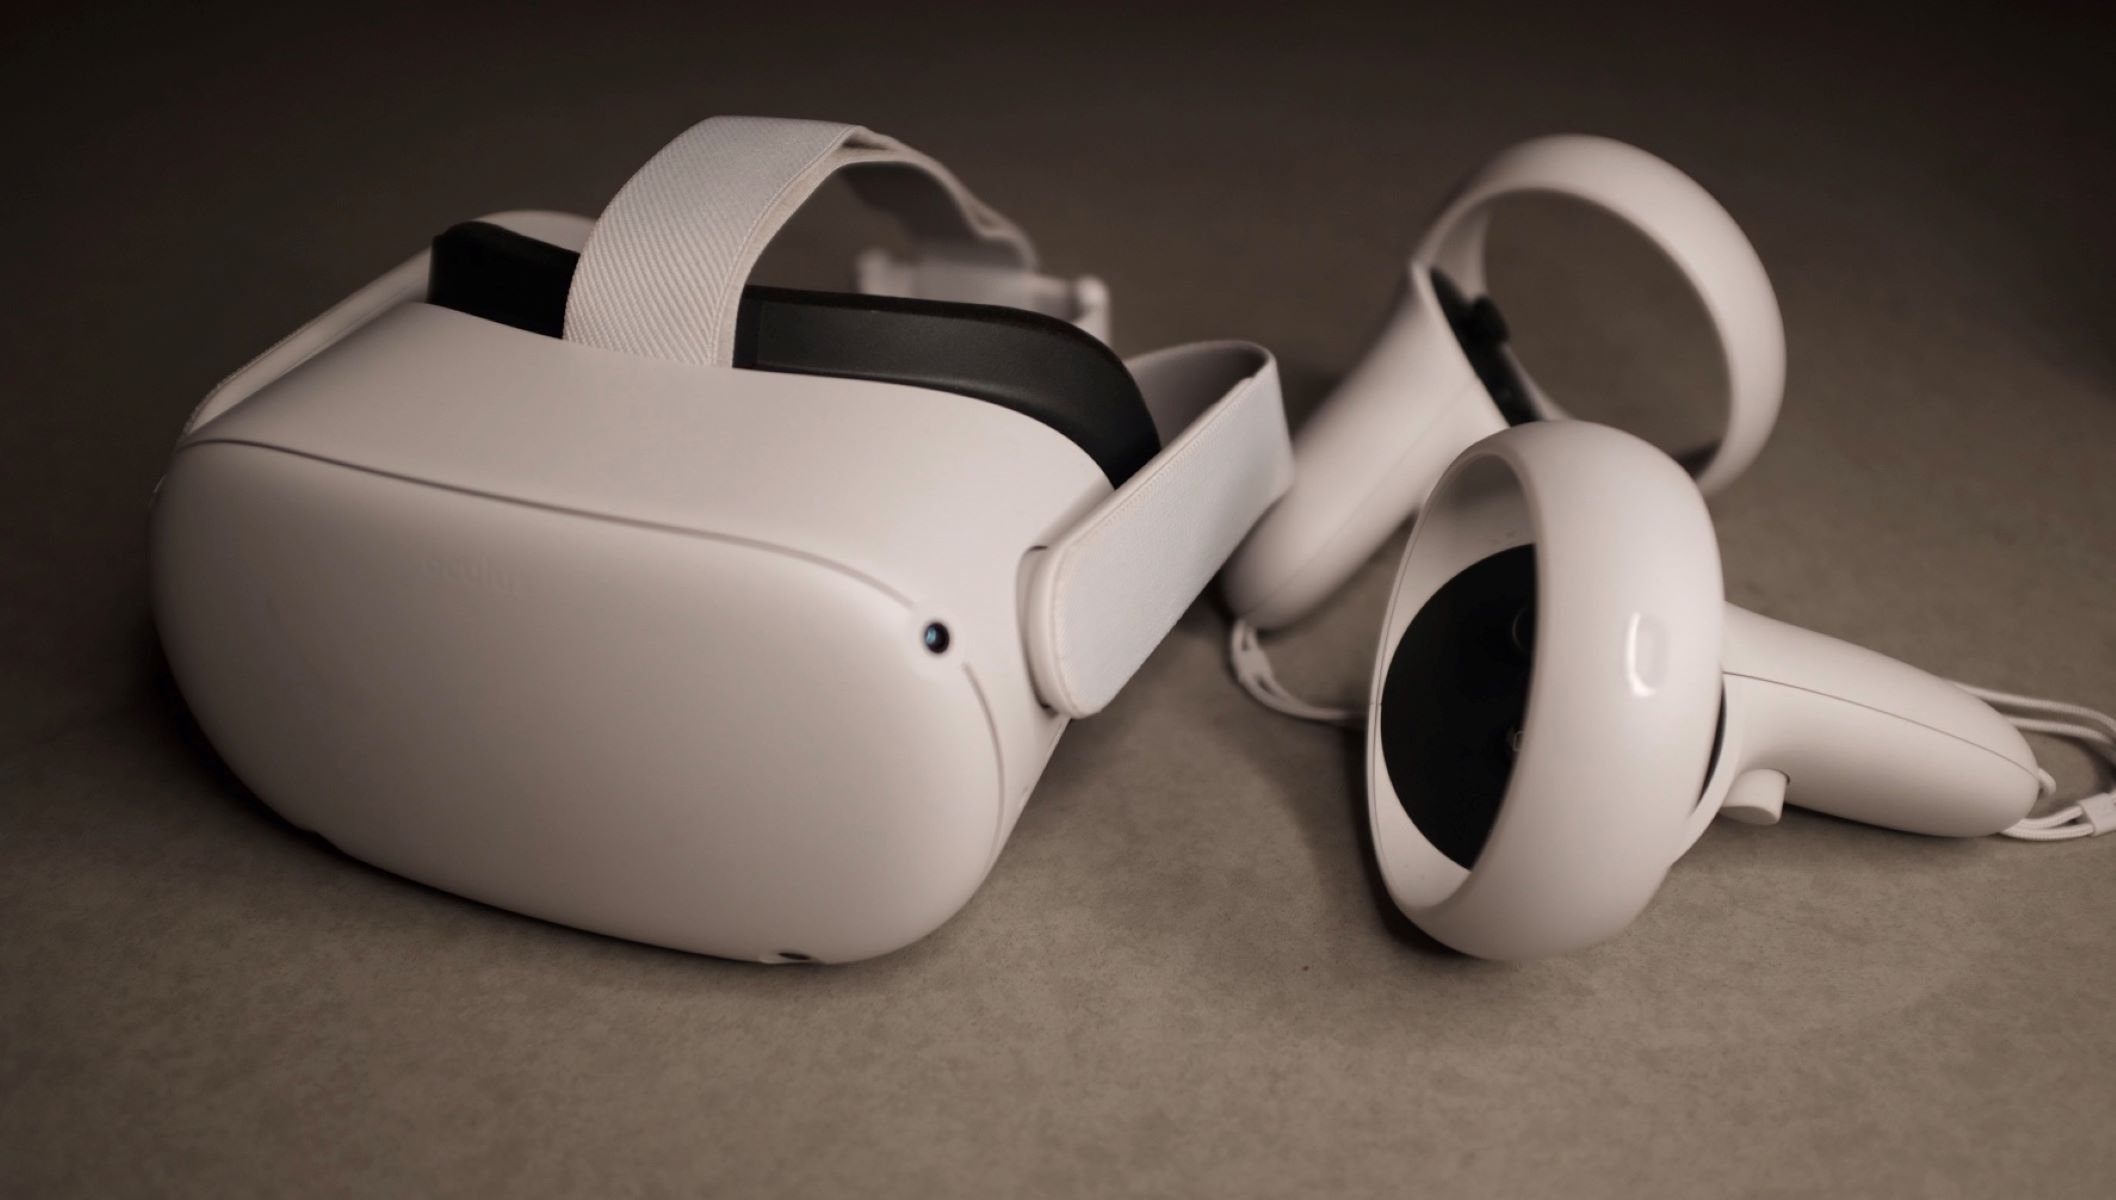
Before we dive into the steps, it’s important to note that streaming VR on Discord requires a few key components. You’ll need a compatible VR device, such as an Oculus Rift, HTC Vive, or Valve Index, along with a powerful computer to handle the demanding graphics. Additionally, you’ll need to install OBS Studio, a popular broadcasting software, to capture and stream your VR gameplay or content. Lastly, make sure you have Discord installed on your computer, as it will serve as the platform to share your VR stream with others.
In the following sections, we will guide you through the necessary setup and configuration steps to start streaming VR on Discord. So, grab your VR headset, put it on, and let’s get started!
What You’ll Need
Before you can start streaming VR on Discord, it’s important to gather the necessary equipment and software. Here’s a list of what you’ll need:
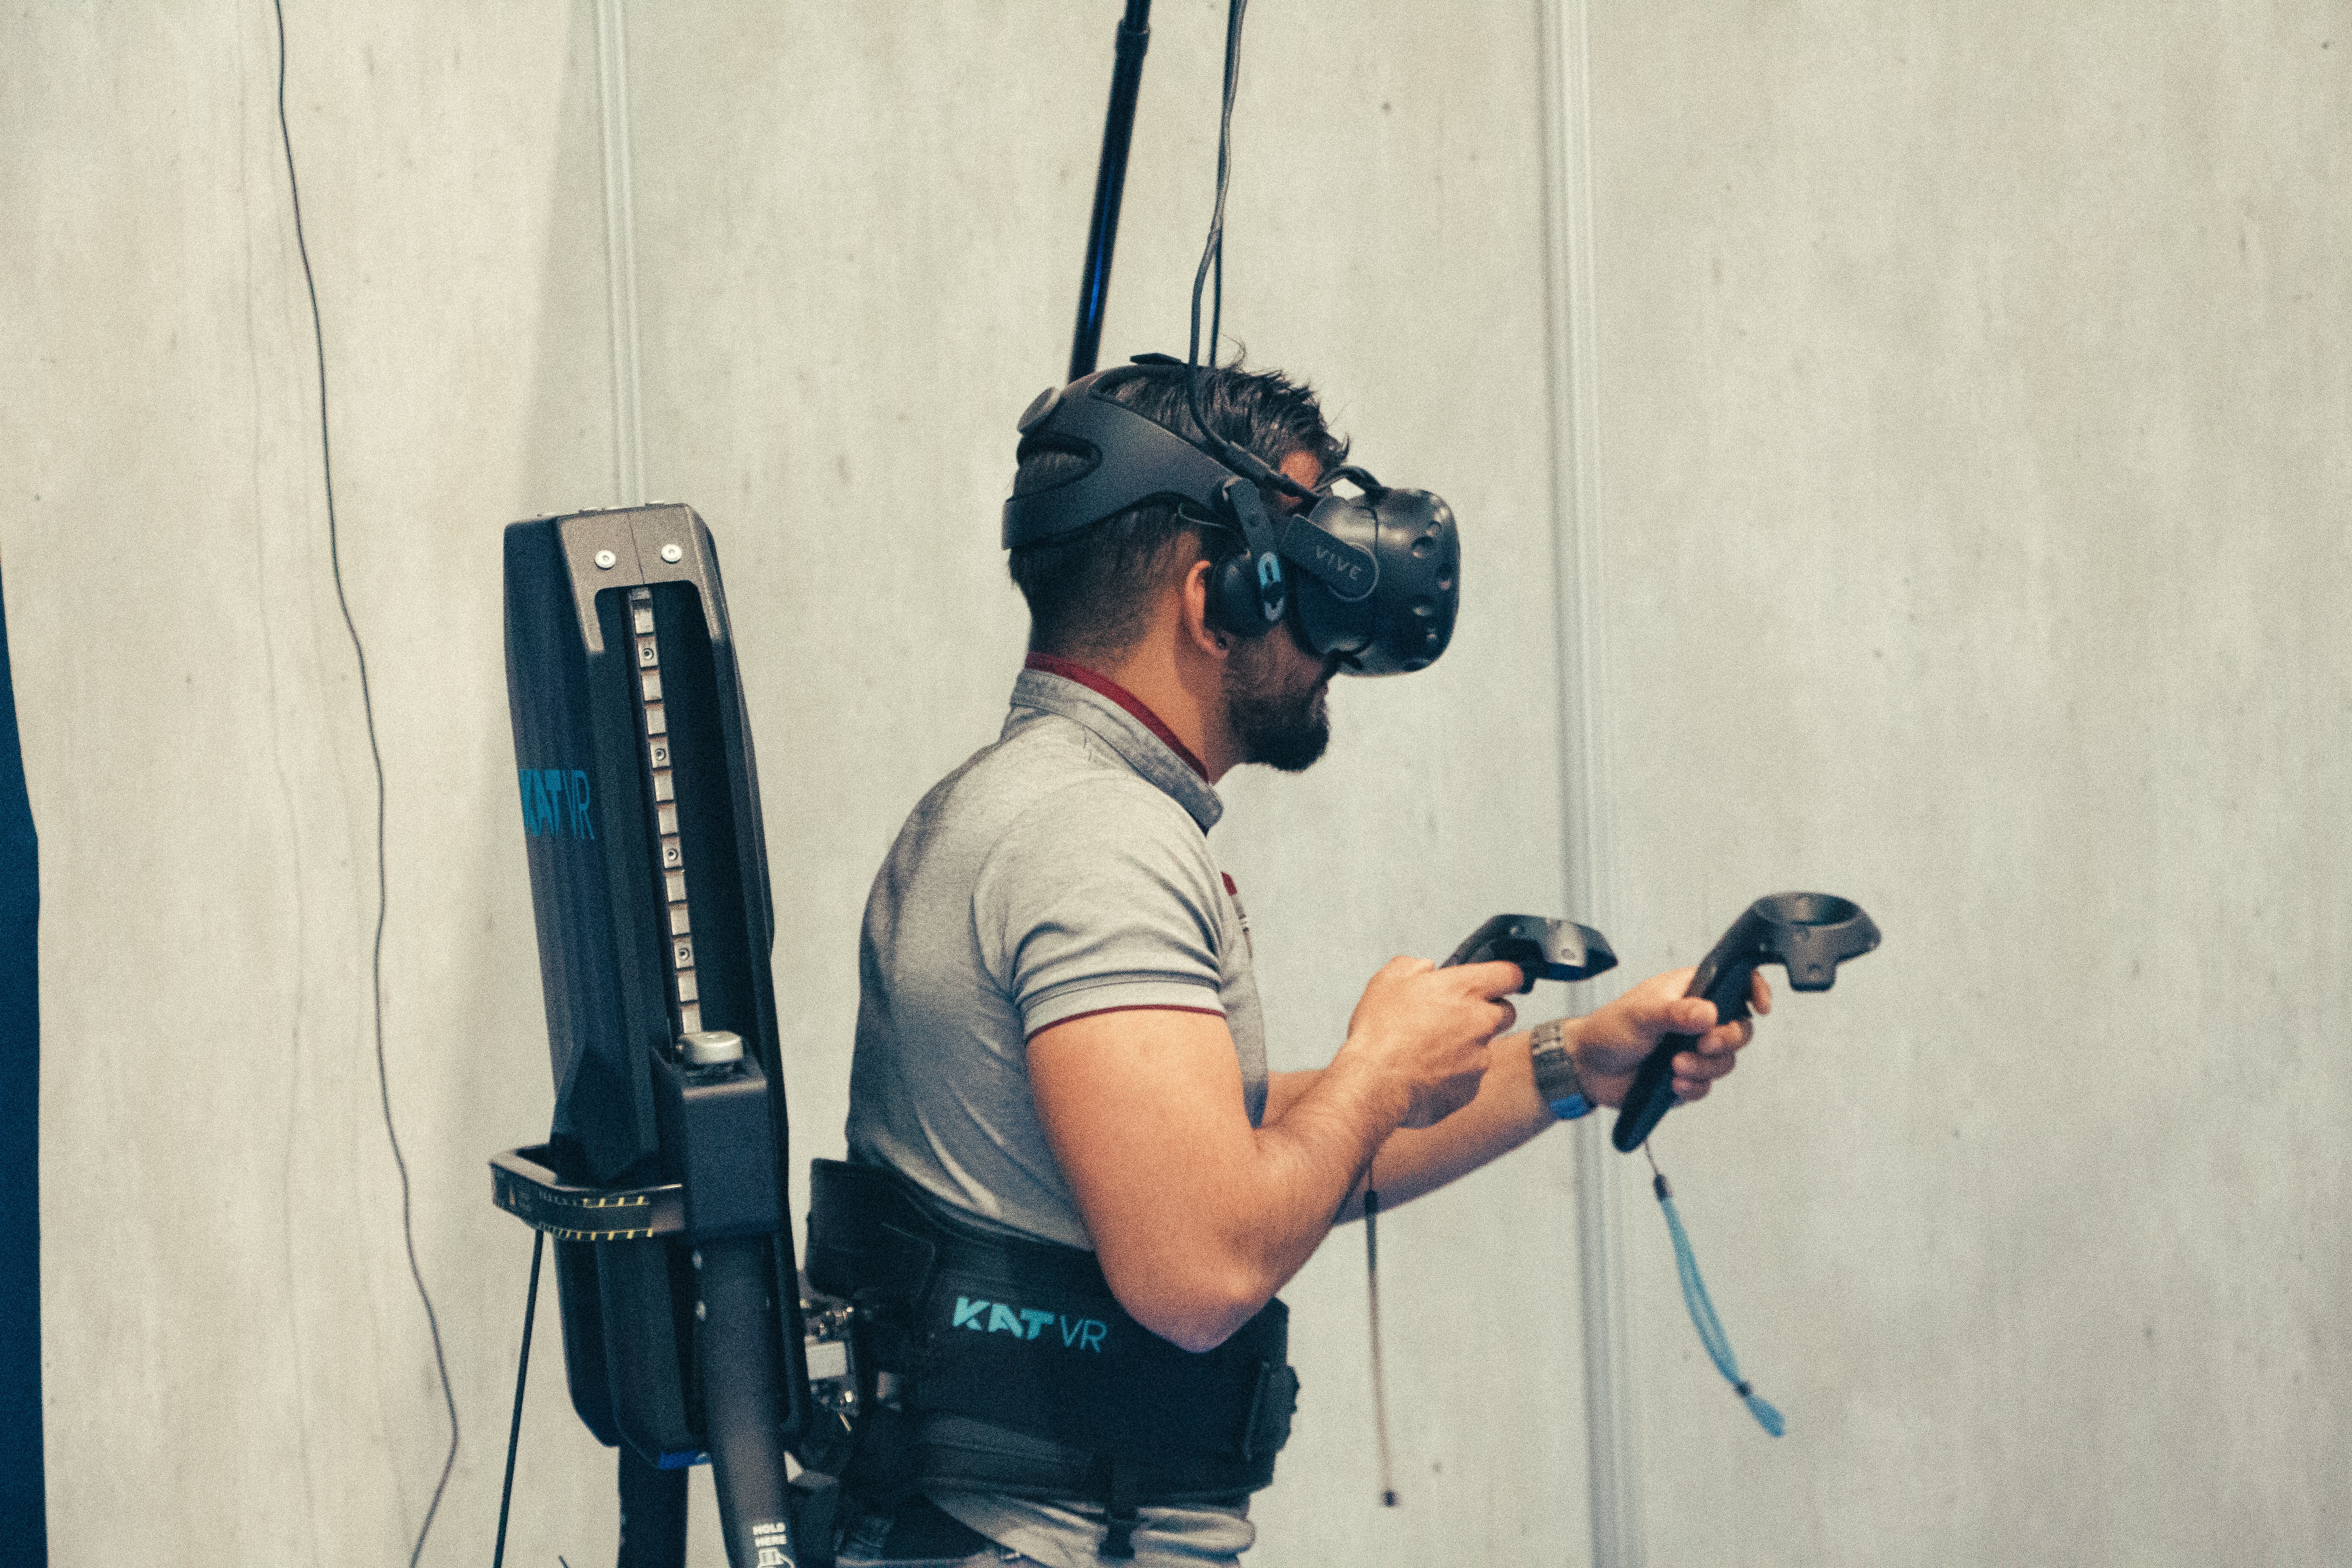
- VR Device: You’ll need a compatible VR device, such as the Oculus Rift, HTC Vive, or Valve Index. Make sure your device is properly set up and connected to your computer.
- Powerful Computer: VR requires a computer with strong processing power and a capable graphics card. Make sure your computer meets the system requirements of the VR device you are using.
- OBS Studio: OBS Studio is a free and popular broadcasting software that allows you to capture and stream your VR gameplay or content. Download and install OBS Studio from the official website.
- Discord: Discord is a communication platform that enables you to chat, voice call, and share your screen with others. Install Discord on your computer if you haven’t already.
- Stable Internet Connection: Streaming VR requires a stable and reliable internet connection. Make sure you have a high-speed internet connection to ensure smooth streaming.
- Microphone and Webcam (Optional): If you want to provide live commentary or include your webcam feed in your VR stream, you’ll need a microphone and webcam. Ensure they are properly connected to your computer.
By having these essential components in place, you’ll be ready to embark on your journey of streaming VR on Discord. Take the time to ensure that everything is set up properly and that your VR device is functioning smoothly before moving on to the next steps. Once you have everything ready, we can proceed to the configuration process and get you started with streaming VR on Discord!
Step 1: Set Up Your VR Device
The first step in streaming VR on Discord is to make sure your VR device is properly set up and connected to your computer. Follow these steps to get started:
- Connect the VR Device: Connect your VR device to your computer using the provided cables. Make sure all the connections are secure.
- Install VR Software: Depending on the VR device you’re using, you may need to install the respective software. Visit the manufacturer’s website and download the required software.
- Set Up Tracking: Follow the instructions provided by the VR device manufacturer to set up the tracking system. This ensures accurate head and hand movements during your VR experience.
- Check for Updates: Before starting the VR streaming process, check for any firmware or software updates for your VR device. Keeping the device up to date ensures a smooth and optimal experience.
- Calibrate Settings: Launch the VR software and navigate to the settings. Calibrate the VR device by following the on-screen instructions. This step is crucial for accurate tracking and immersive gameplay.
Once you have completed these steps, your VR device should be ready to use. Ensure that your VR headset is comfortable and properly adjusted on your head for the best experience. Take the time to familiarize yourself with the VR controls and test them out to ensure they are functioning correctly.
With your VR device set up and ready, you can now move on to the next step: installing and configuring OBS Studio, the broadcasting software that will capture and stream your VR content.
Step 2: Install OBS Studio
OBS Studio is a powerful and free broadcasting software that allows you to capture and stream your VR gameplay or content. Follow these steps to install OBS Studio:
- Download OBS Studio: Visit the official website of OBS Studio at obsproject.com and click on the “Download” button to get the latest version of the software.
- Choose the Right Version: OBS Studio is available for Windows, Mac, and Linux. Make sure to select the version that is compatible with your operating system.
- Run the Installer: Once the download is complete, run the installer file and follow the on-screen instructions to install OBS Studio on your computer.
- Configure OBS Studio: After the installation process, launch OBS Studio. You will be greeted with the Auto-Configuration Wizard. It is recommended to choose the “Optimize just for recording” option for streaming VR. This will ensure the best performance and quality for your VR stream.
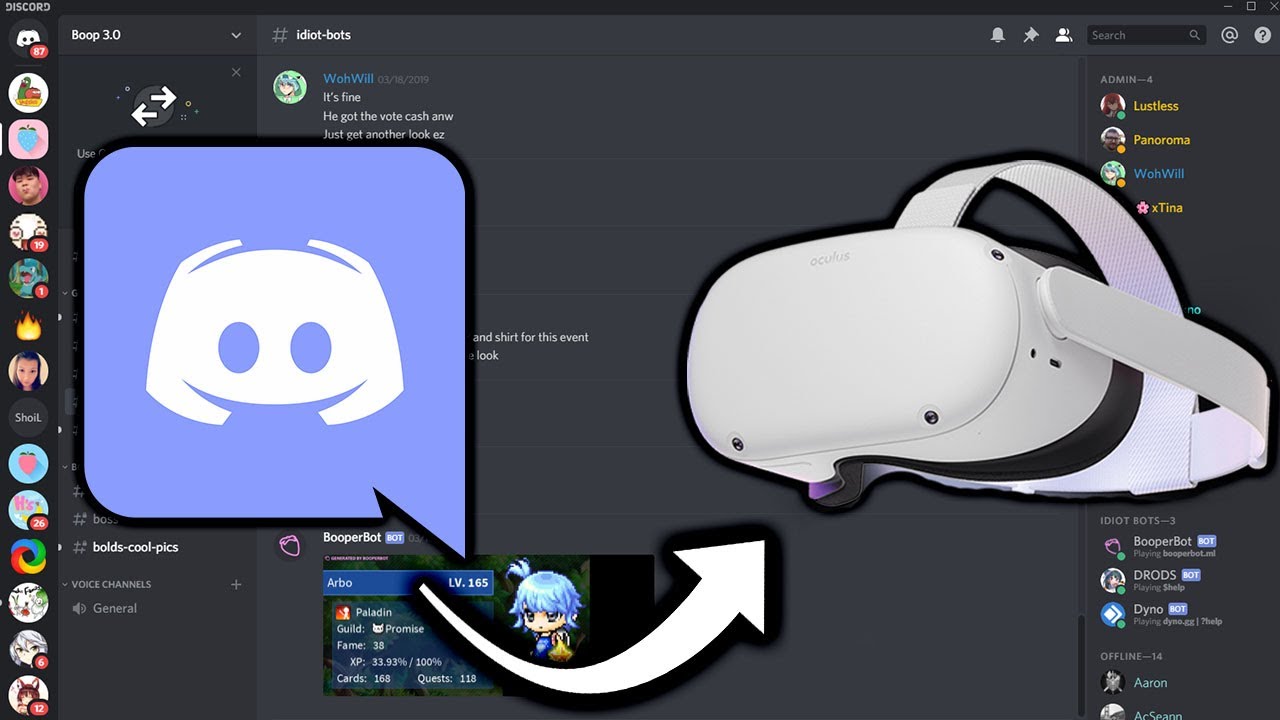
- Connect OBS Studio to Discord: To stream your VR content on Discord, you need to connect OBS Studio to Discord. Open Discord and go to “User Settings” by clicking on the gear icon. Navigate to the “Connections” tab and click on the OBS Studio icon. Follow the prompts to authorize OBS Studio to connect with Discord.
By installing OBS Studio, you will now have a powerful tool at your disposal to capture and stream your VR experiences. OBS Studio offers a wide range of customization options and settings that allow you to fine-tune your stream according to your preferences.
In the next step, we will guide you through the process of configuring OBS Studio for optimal VR streaming performance. So, let’s move on to step 3!
Step 3: Configure OBS Studio
Now that you have OBS Studio installed, it’s time to configure the settings to ensure smooth and high-quality VR streaming on Discord. Follow these steps to configure OBS Studio:
- Add a Scene: In OBS Studio, a “scene” is a collection of sources. Click on the “+” button in the “Scenes” section to create a new scene and give it a descriptive name.
- Add a Source: Next, add a source to your scene by clicking on the “+” button in the “Sources” section. Select the appropriate source based on your VR device, such as “Game Capture” or “Window Capture”.
- Configure Source Settings: After adding the source, configure its settings. Choose your VR game or application from the drop-down menu. If the VR game or application does not appear in the list, select “Window” and choose the specific window that displays the VR content.
- Adjust Audio Settings: To capture audio along with your VR stream, click on the gear icon next to the audio mixer in OBS Studio. In the “Advanced Audio Properties” window, make sure the audio sources for both desktop and microphone are set to “Monitor and Output” or “Monitor Only”.
- Set Stream Settings: Click on the “Settings” button in OBS Studio to access the settings menu. Under the “Stream” tab, select the appropriate streaming service, such as Discord, and enter your stream key if necessary.
- Configure Video Settings: In the same settings menu, navigate to the “Video” tab. Set the base canvas resolution to match your VR headset’s display resolution. It’s recommended to use a 16:9 aspect ratio (e.g., 1920×1080) for optimal viewing quality.
- Configure Output Settings: Under the “Output” tab, select the desired video bitrate and encoder settings. Higher bitrate values will result in better video quality but require more bandwidth. Experiment with different settings to find the right balance for your stream.
Once you have configured these settings, OBS Studio is ready to capture and stream your VR content. Take the time to familiarize yourself with OBS Studio’s controls and settings, as it allows you to further customize and enhance your VR stream.
In the next step, we will guide you through setting up Discord to start streaming your VR content. So, let’s move on to step 4!
Step 4: Set Up Discord
Now that OBS Studio is configured, it’s time to set up Discord to start streaming your VR content. Here’s how you can do it:
- Open Discord: Launch the Discord application on your computer. If you don’t have Discord installed, you can download it from the official website and create an account.
- Create or Join a Server: Discord operates on servers. You can create your own server or join an existing one. Creating a server allows you to have full control over your VR streaming experience.
- Set Server Permissions: Once you have created or joined a server, you need to configure the server permissions to allow you to stream your VR content. Right-click on the server name and select “Server Settings” from the drop-down menu. Navigate to the “Roles” tab and ensure that your role has the necessary permissions for streaming, such as “Manage Channels” and “Go Live”.
- Create a Text Channel: In the server, create a text channel specifically for your VR stream. This channel will serve as the platform to announce your stream, interact with viewers, and share updates.
- Announce Your Stream: Once you are ready to start streaming, use the text channel to announce your stream. Provide a brief description of your stream, the VR game or application you’re playing, and any other relevant information. This will help attract viewers and inform them about your VR stream.
- Go Live: In Discord, click the “Go Live” button located in the voice channel section. Select OBS Studio as the application to stream and choose the scene that captures your VR content. Click “Go Live” to start streaming your VR gameplay or content to the text channel.
With Discord set up, you now have a platform to share your VR stream with others. Take the time to interact with your viewers, answer questions, and engage in conversations during your VR streaming sessions.
Now that everything is set up, it’s time to move on to the final step of streaming VR on Discord: starting your VR stream! So, let’s proceed to step 5.
Step 5: Start Streaming VR on Discord
Now that you have completed the setup process, it’s time to start streaming your VR content on Discord. Follow these steps to begin your VR stream:
- Put on Your VR Headset: Make sure your VR headset is properly positioned and adjusted on your head. Ensure that all the necessary cables are connected securely.
- Launch Your VR Game or Application: Start the VR game or application you want to stream. Make sure it is running smoothly and displaying in your VR headset.
- Open OBS Studio: Launch OBS Studio on your computer. Verify that OBS Studio is capturing and displaying your VR content correctly.
- Go Live on Discord: In Discord, navigate to the voice channel section and click on the “Go Live” button. Select OBS Studio as the application to stream and choose the scene that captures your VR content. Click “Go Live” to start streaming your VR gameplay or content.
- Interact with Viewers: As your VR stream is live on Discord, interact with your viewers through the text channel. Answer their questions, provide insights about your VR experience, and create an engaging and interactive environment.
- Enjoy Your VR Stream: Once your VR stream is up and running, enjoy sharing your VR adventures with others. Make sure to focus on the game or VR experience, provide commentary, and entertain your viewers.
During your VR stream, always monitor the stream quality and adjust settings if needed. Keep an eye on your audience’s feedback and incorporate their suggestions to enhance your VR streaming experience.
Remember, streaming VR on Discord is not just about showcasing your VR gameplay or content, but also about building a community and connecting with like-minded individuals. Enjoy the experience and make the most out of your VR stream on Discord!
Conclusion
Streaming VR on Discord provides a fantastic avenue to share your virtual reality experiences with others. By following the steps outlined in this guide, you can set up your VR device, install OBS Studio, configure the necessary settings, and start streaming your VR content on Discord. This allows you to engage with your audience, build a community, and create memorable moments together.
Throughout the process, it’s crucial to ensure that your VR device is properly set up, your computer meets the system requirements, and OBS Studio is configured appropriately. Additionally, establishing the right server permissions and creating a text channel dedicated to your VR stream in Discord adds an extra layer of organization to your broadcasting efforts.
As you embark on your VR streaming journey, remember to interact with your viewers, answer their questions, and provide insights into your VR experiences. Engaging with your audience not only fosters a sense of community but also makes your stream more enjoyable and interactive.
Always pay attention to the quality of your stream and make adjustments as needed. Keep an eye on viewer feedback and incorporate their suggestions to continually enhance your VR streaming experience.
Now that you have the knowledge and tools to stream VR on Discord, it’s time to put them into action. Get out there, immerse yourself in virtual worlds, and share your VR adventures with the world!