Introduction
Welcome to the world of immersive gaming with Oculus Quest 2! With its powerful hardware and extensive library of virtual reality (VR) games and experiences, the Oculus Quest 2 offers a truly unique gaming experience. However, wouldn’t it be great if you could share your gameplay with friends on Discord and let them join in on the fun?
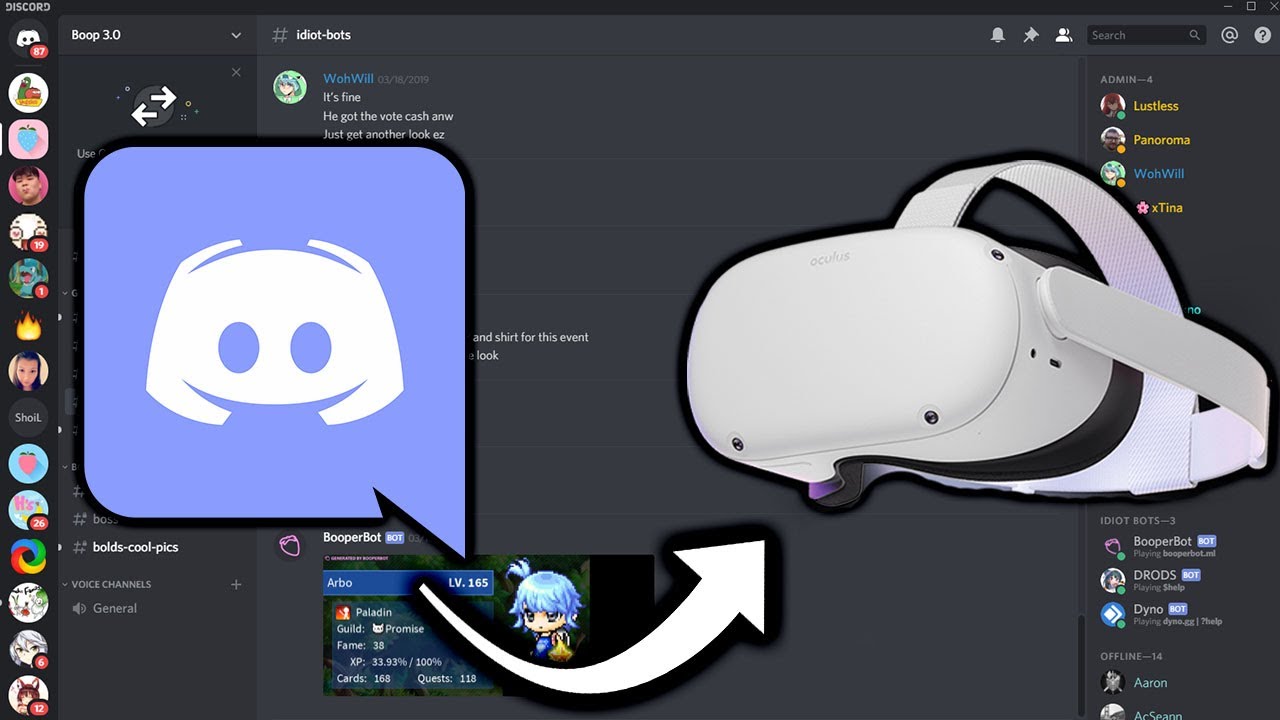
In this article, we will guide you through the steps on how to stream your Oculus Quest 2 to Discord, allowing you to showcase your VR adventures, engage with friends, and even receive real-time feedback. Whether you’re a casual gamer or a VR enthusiast, streaming your Oculus Quest 2 to Discord can open up a whole new level of excitement and social interaction.
To achieve this, we’ll be utilizing a combination of software tools and settings to ensure a seamless streaming experience. By following these steps, you’ll be able to share your gameplay, show off your skills, and connect with fellow gamers in no time.
Before we dive into the technical aspects, make sure you have a few key requirements met. Firstly, you’ll need an Oculus Quest 2 headset with the latest firmware installed. Additionally, you’ll need a compatible computer running Windows or MacOS. Lastly, make sure you have a good quality USB-C cable to connect your Oculus Quest 2 to your computer.
Now that we have the essentials covered, let’s get started on enabling developer mode on your Oculus Quest 2, which will be the first step in the process.
Requirements
Before you begin the process of streaming your Oculus Quest 2 to Discord, there are a few key requirements that you need to meet. Ensuring that you have the necessary hardware and software will help ensure a smooth and successful streaming experience.
Here’s a list of the requirements you’ll need:
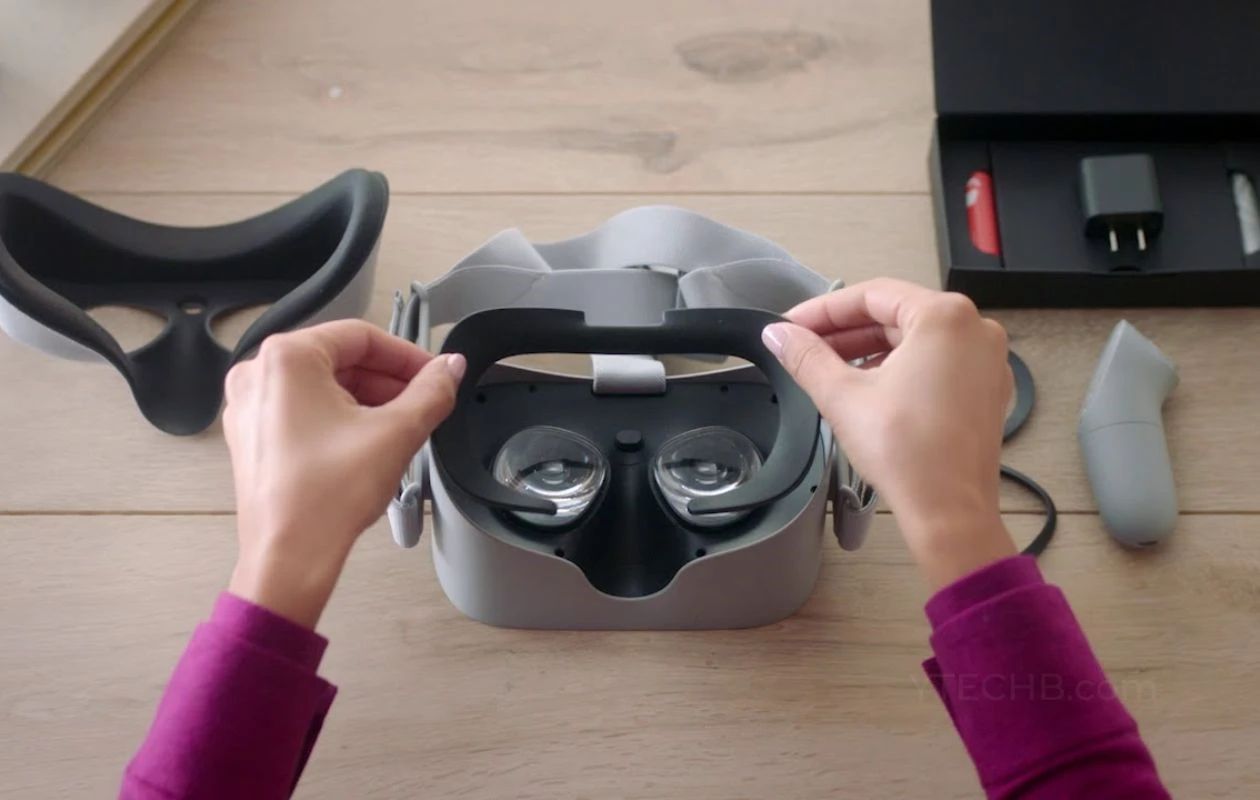
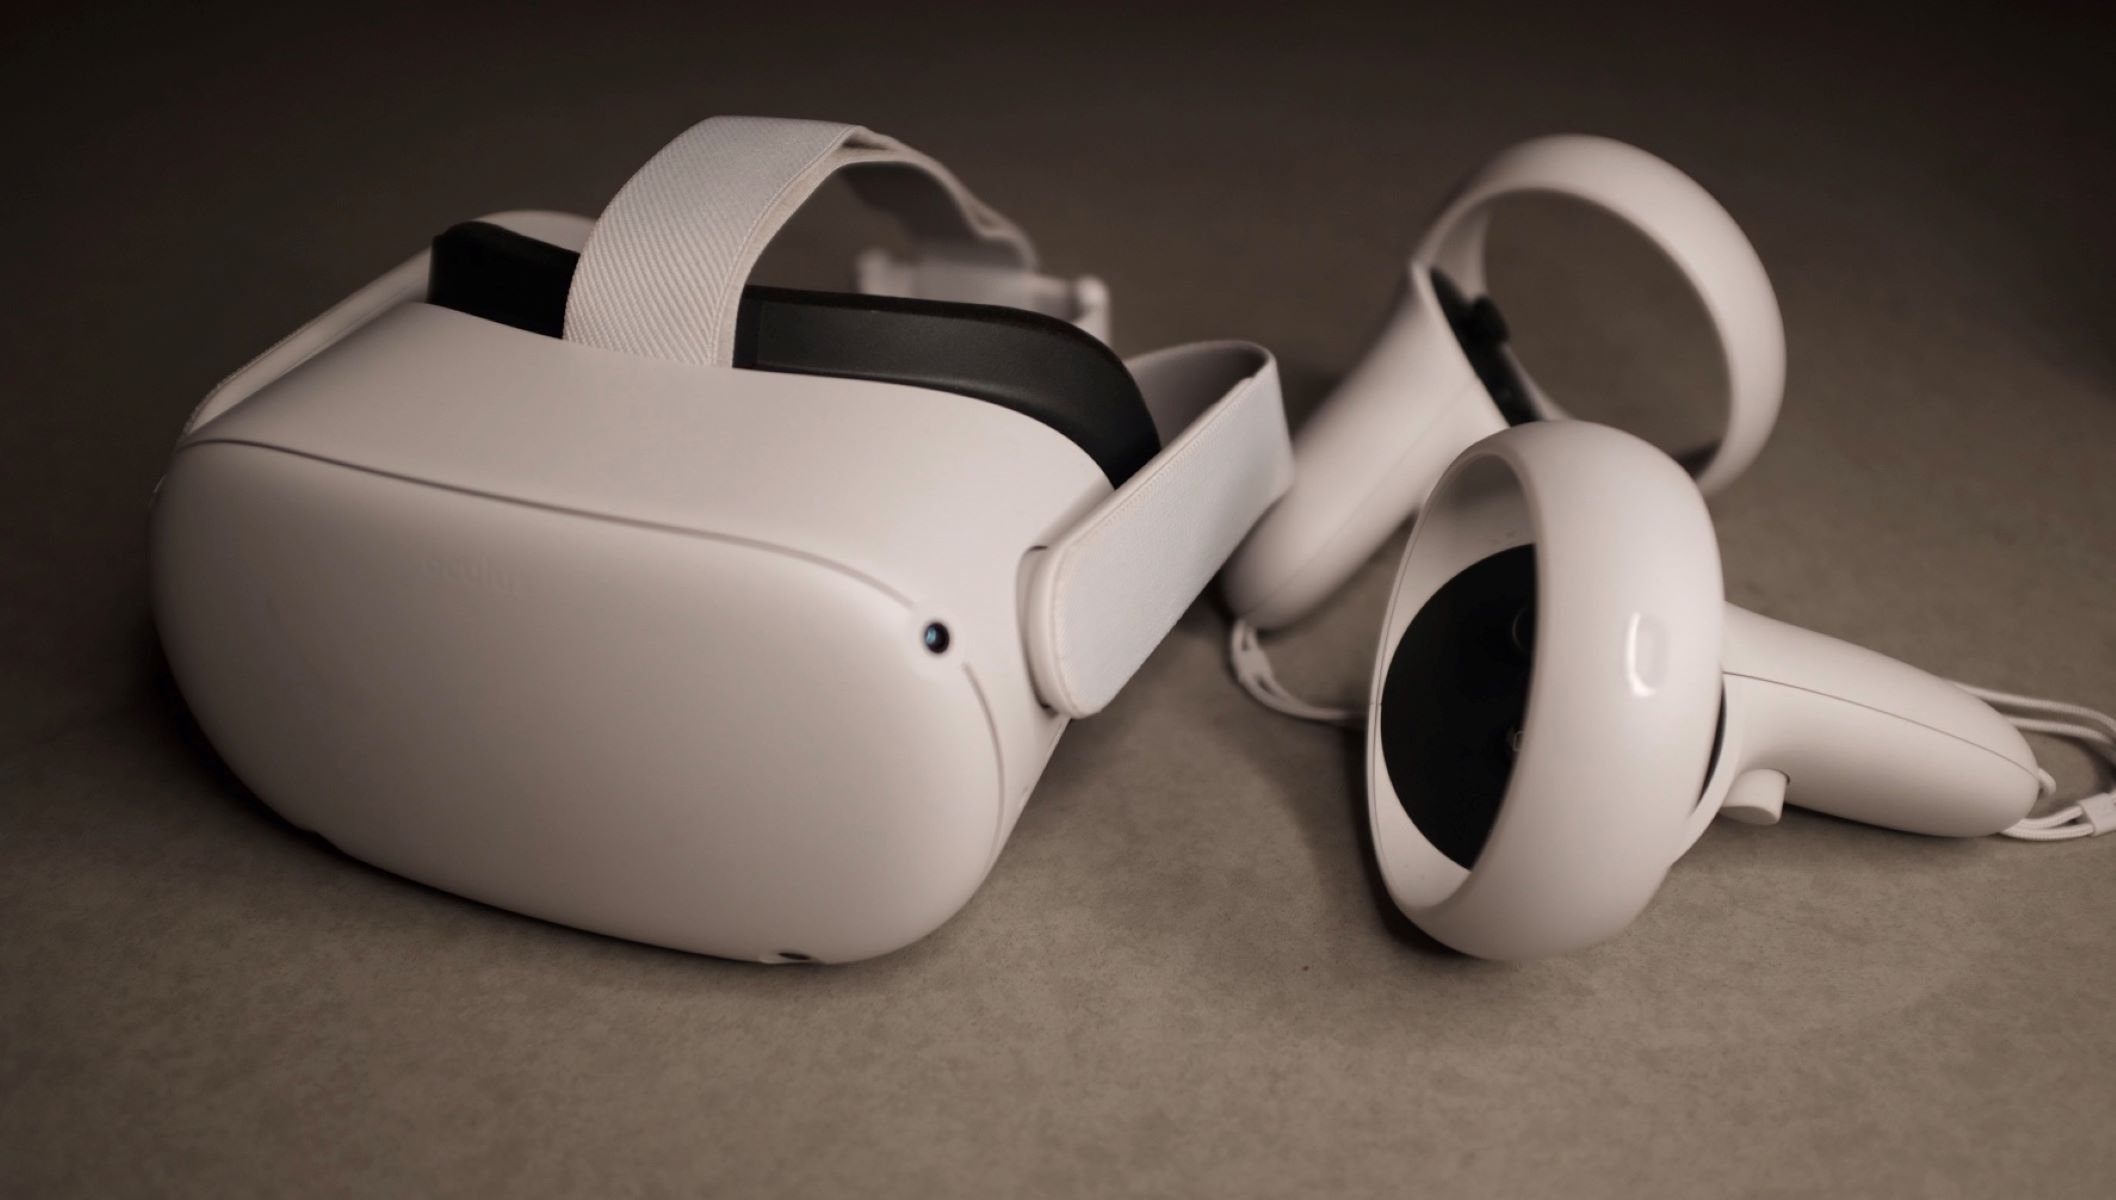
- An Oculus Quest 2 headset with the latest firmware installed. The Oculus Quest 2 is a standalone VR headset that offers a wireless VR gaming experience.
- A compatible computer running either Windows or MacOS. This computer will act as the bridge between your Oculus Quest 2 and Discord, allowing for the streaming of gameplay.
- A high-quality USB-C cable to connect your Oculus Quest 2 to your computer. The cable should support data transfer and be capable of delivering power to the headset during gameplay.
- Oculus Link software installed on your computer. This software enables the connection between your Oculus Quest 2 and your computer, allowing for the streaming of VR gameplay.
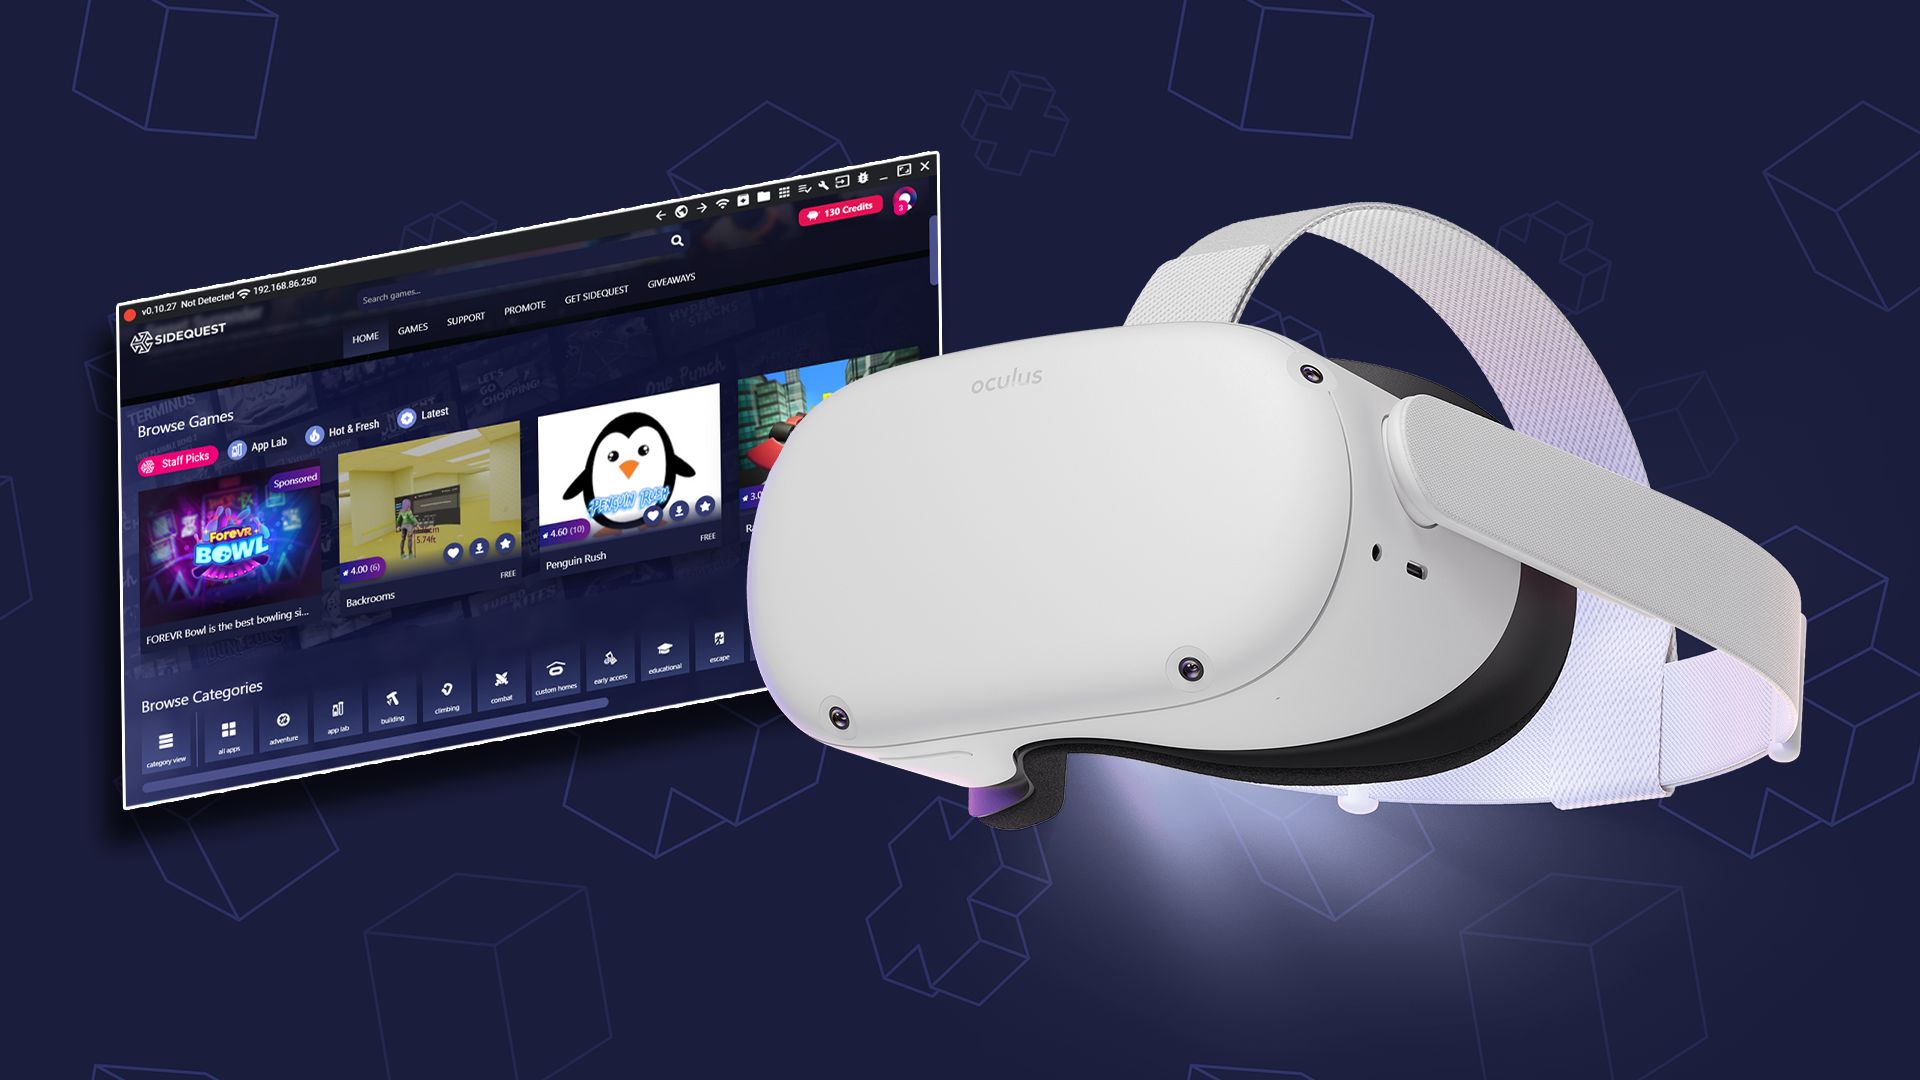
- The SideQuest application installed on your computer. SideQuest is a platform that allows you to install and manage third-party VR applications and mods on your Oculus Quest 2.
- Discord application installed on your computer. Discord is a popular communication platform widely used by gamers, allowing for voice, video, and text chat.
- Virtual Audio Cable software installed on your computer. This software will be used to route the audio from your Oculus Quest 2 to Discord, ensuring that your friends can hear the game audio during the stream.
- OBS Studio software installed on your computer. OBS Studio is a versatile and powerful open-source software for video recording and live streaming. We will be using OBS Studio to capture the VR gameplay and broadcast it to Discord.
Ensuring that you have these requirements met before proceeding with the streaming setup will help streamline the process and ensure a successful live streaming experience. Now that we have the requirements covered, let’s move on to the first step, which is enabling developer mode on your Oculus Quest 2.
Step 1: Enabling Developer Mode on Oculus Quest 2
Before you can begin streaming your Oculus Quest 2 to Discord, you’ll need to enable developer mode on your headset. Enabling developer mode allows you to access additional settings and features that are necessary for the streaming process.
Follow these steps to enable developer mode on your Oculus Quest 2:
- Launch the Oculus app on your smartphone and ensure it is connected to your Oculus Quest 2.
- In the Oculus app, tap on “Settings” in the bottom menu.
- Select your Oculus Quest 2 headset under “Devices”.
- Scroll down and find “Developer Mode”.
- Toggle the switch next to “Developer Mode” to enable it.
- You may be prompted to create or sign in with an Oculus developer account. Follow the on-screen instructions to complete this process.
Once you have successfully enabled developer mode on your Oculus Quest 2, you will have access to additional settings and features that are necessary for streaming to Discord.
Enabling developer mode is an essential step as it allows you to sideload applications like SideQuest, which will be used later in the streaming setup process. With developer mode enabled, you can customize and optimize your Oculus Quest 2 for the best streaming experience.
Now that you have developer mode enabled on your Oculus Quest 2, it’s time to move on to the next step, which is installing SideQuest on your computer.
Step 2: Installing SideQuest on Your Computer
In order to install and manage third-party VR applications and mods on your Oculus Quest 2, you’ll need to install SideQuest on your computer. SideQuest is a platform that provides access to a wide range of VR content and tools, making it an essential tool for the streaming process.
Follow these steps to install SideQuest on your computer:
- Open your preferred web browser and go to the SideQuest official website (https://sidequestvr.com).
- Click on the “Download” button to download the SideQuest installer for your operating system (Windows, MacOS, or Linux).
- Once the installer is downloaded, run the installer file to begin the installation process.
- Follow the on-screen instructions to complete the installation of SideQuest.
- After the installation is complete, launch the SideQuest application on your computer.
- Connect your Oculus Quest 2 to your computer using the USB-C cable.
- On your Oculus Quest 2, put on the headset and grant permission for the computer to access your device.
- In the SideQuest application, you should see your Oculus Quest 2 listed as connected.
With SideQuest installed and your Oculus Quest 2 connected to your computer, you now have a platform to install and manage third-party applications and mods for your VR headset. This will come in handy later in the streaming setup process as we utilize certain applications to enhance the streaming experience.
Now that you have successfully installed SideQuest, it’s time to move on to the next step, which is downloading and installing the Oculus Link software on your computer.
Step 3: Downloading and Installing Oculus Link Software
In order to establish a connection between your Oculus Quest 2 headset and your computer for streaming purposes, you’ll need to download and install the Oculus Link software. This software enables the transmission of VR content from your Oculus Quest 2 to your computer.
Follow these steps to download and install the Oculus Link software:
- Open your web browser and navigate to the official Oculus website (https://www.oculus.com/).
- Click on the “Download Oculus Link” button or navigate to the Oculus Link page to find the download link.
- Select the appropriate version of the Oculus Link software for your operating system (Windows or MacOS).
- Once the download is complete, locate the installer file and run it.
- Follow the on-screen instructions to install the Oculus Link software on your computer.
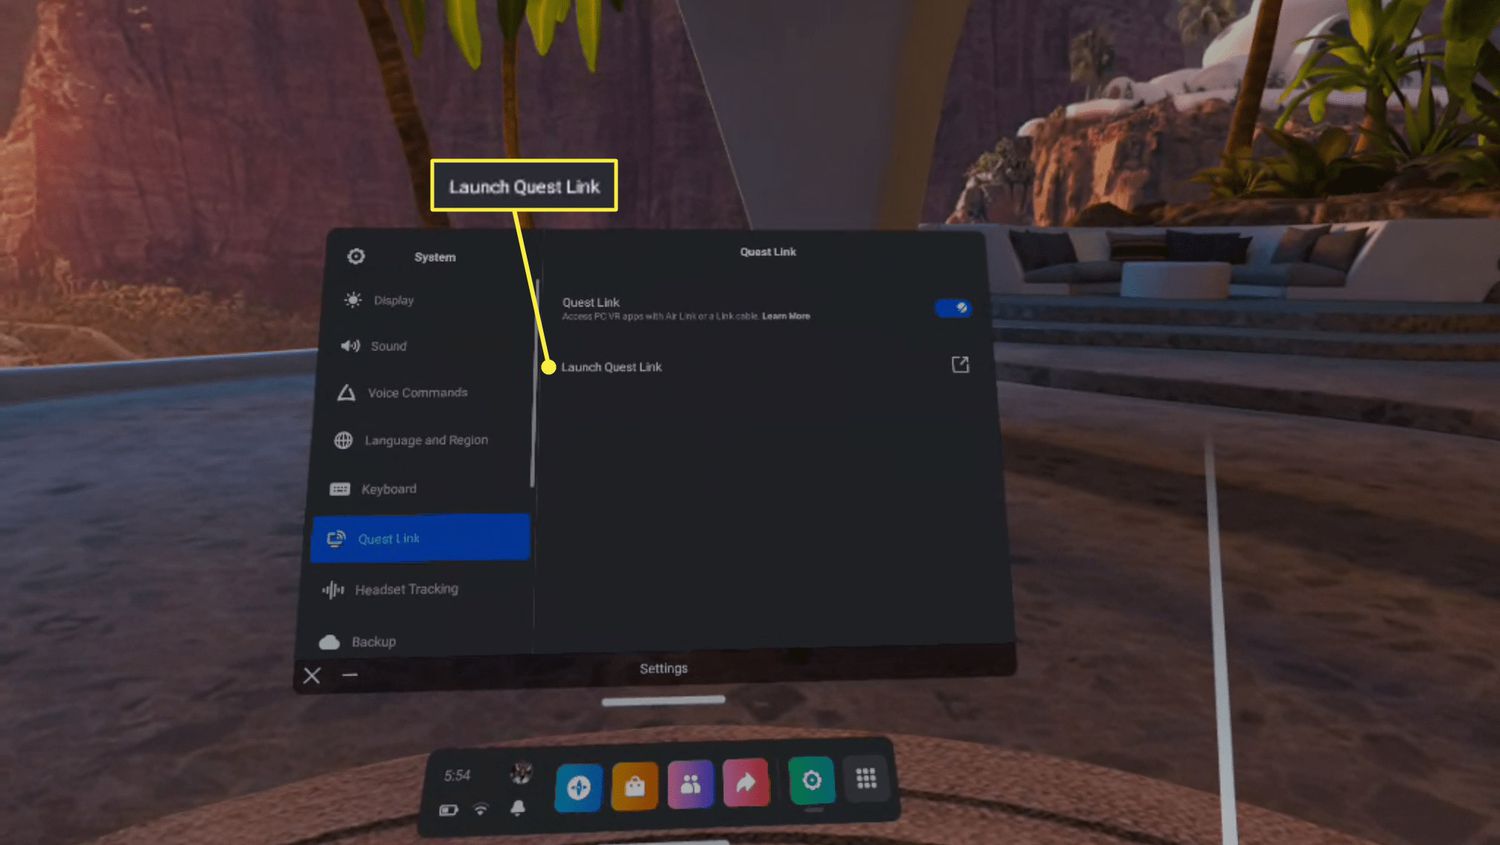
- Once the installation is complete, launch the Oculus Link software.
- Connect your Oculus Quest 2 to your computer using the USB-C cable.
- If prompted, grant permission on your Oculus Quest 2 for the computer to access your device.
- Wait for the Oculus Link software to recognize your Oculus Quest 2 headset. This may take a few moments.
With the Oculus Link software installed and your Oculus Quest 2 connected to your computer, you are now ready to establish a connection between your headset and your computer. This connection will enable the streaming of VR content from your headset to your computer.
Now that you have successfully downloaded and installed the Oculus Link software, it’s time to move on to the next step, which is connecting your Oculus Quest 2 to your computer via the USB-C cable.
Step 4: Connecting Oculus Quest 2 to Your Computer via USB-C Cable
In order to establish a connection between your Oculus Quest 2 headset and your computer for streaming purposes, you’ll need to physically connect them using a USB-C cable. This connection allows for the transfer of data and power between the two devices.
Follow these steps to connect your Oculus Quest 2 to your computer via the USB-C cable:
- Ensure that your Oculus Quest 2 is powered on and in the Oculus Home interface.
- Take the USB-C cable that came with your Oculus Quest 2 and connect one end to the USB-C port on your headset.
- Take the other end of the USB-C cable and connect it to a USB port on your computer. If your computer has a USB-C port, you can use that for a direct connection. Otherwise, you can use an adapter to connect to a USB-A port.
- Once the cable is connected, you should see a prompt on your Oculus Quest 2 headset asking for permission to allow access to your computer. Put on your headset and grant permission for the computer to access your device.
- After granting permission, your computer should recognize the Oculus Quest 2 and install any necessary drivers or software.
- Wait for the connection to be established. This may take a few moments as the devices communicate with each other.
- Once the connection is established, you will be able to see your Oculus Quest 2 display mirrored on your computer screen.
With your Oculus Quest 2 successfully connected to your computer via the USB-C cable, you now have a direct connection that allows for the streaming of VR content. This connection ensures that the gameplay from your Oculus Quest 2 is transmitted to your computer and can be further shared through Discord.
Now that your Oculus Quest 2 is connected to your computer, it’s time to move on to the next step, which is setting up Discord for the stream.
Step 5: Setting Up Discord for Stream
Now that your Oculus Quest 2 is connected to your computer, it’s time to set up Discord for the stream. Discord is a popular communication platform used by gamers, and it offers features that allow for voice, video, and text chat. By configuring Discord correctly, you can ensure that your friends can see and hear your VR gameplay during the stream.
Follow these steps to set up Discord for the stream:
- Open the Discord application on your computer.
- If you don’t have Discord installed, you can download it from the official website (https://discord.com/).
- Make sure you are logged in to your Discord account or create a new account if you don’t have one.
- Create a new server or select an existing server where you want to stream your Oculus Quest 2 gameplay.
- Set up a voice channel in the server where you and your friends will join to voice chat during the stream. You may also create a separate text channel for chat interaction during the stream.
- Open the settings in Discord by clicking on the gear icon next to your username.
- In the settings, go to the “Voice & Video” tab.
- Under the “Output Device” section, make sure you select the appropriate audio device that will be used for the stream (e.g., speakers or headphones connected to your computer).
- Under the “Input Device” section, make sure you select the appropriate audio device that will be used for your microphone input during the stream.
- Enable the “Quality of Service (QoS)” feature in Discord to ensure a stable and smooth voice chat experience during the stream.
By configuring Discord with the correct audio settings, you can ensure that your friends can hear your voice and the game audio during the stream. It is essential to select the appropriate output and input devices to ensure proper audio transmission.
Now that you have set up Discord for the stream, it’s time to move on to the next step, which is configuring Virtual Audio Cable.
Step 6: Configuring Virtual Audio Cable
Configuring Virtual Audio Cable is an important step in streaming your Oculus Quest 2 to Discord. Virtual Audio Cable is a software tool that allows you to redirect audio signals between applications, enabling you to route the game audio from your Oculus Quest 2 to Discord for your friends to hear during the stream.
Follow these steps to configure Virtual Audio Cable:
- Download and install Virtual Audio Cable on your computer. You can find various versions of Virtual Audio Cable online.
- Launch the Virtual Audio Cable software.
- In the Virtual Audio Cable control panel, set the number of virtual cables to two (one for the Oculus Quest 2 audio and one for Discord).
- Set the default playback device of your computer to one of the virtual cables in the audio settings. This will route the audio from the Oculus Quest 2 to Virtual Audio Cable.
- Open the Windows Sound settings by right-clicking on the volume icon in the system tray and selecting “Open Sound settings”.
- Under the “Output” section, select the virtual cable you just set as the default playback device.
- Configure the audio settings in Discord to use the other virtual audio cable as the input device.
- Open the Discord settings and go to the “Voice & Video” tab.
- Under the “Input Device” section, select the other virtual cable as the audio input device.
- Ensure that the output device in Discord matches the desired audio output device you will use to listen to the game audio.
By configuring Virtual Audio Cable and directing the audio signals from your Oculus Quest 2 to Discord, you ensure that your friends can hear the game audio during the stream. This step is crucial in creating an immersive and engaging experience for both you and your audience.
Now that you have Virtual Audio Cable configured, it’s time to move on to the next step, which is configuring OBS Studio for the stream.
Step 7: Configuring OBS Studio for Stream
Configuring OBS Studio is an essential step in streaming your Oculus Quest 2 gameplay to Discord. OBS Studio is a versatile and powerful open-source software for video recording and live streaming. By properly configuring OBS Studio, you can capture your VR gameplay and broadcast it to Discord for your friends to see.
Follow these steps to configure OBS Studio for the stream:
- Download and install OBS Studio on your computer. You can find the latest version of OBS Studio on the official website (https://obsproject.com/).
- Launch OBS Studio.
- In the main OBS Studio window, click on “Settings” in the bottom-right corner.
- In the Settings menu, click on the “Video” tab.
- Set the Base (Canvas) Resolution to match your monitor’s resolution. This ensures that the stream will be displayed at the correct resolution.
- Under the Output (Scaled) Resolution, you can choose a lower resolution if desired to reduce the strain on your computer during the stream.
- In the OBS Studio settings, click on the “Audio” tab.
- Ensure that the audio settings match your desired setup, such as using the default audio devices or selecting specific audio sources.
- Click on the “OK” button to save the settings and close the settings menu.
- Add a new scene in OBS Studio by clicking on the “+” button under the “Scenes” section.
- Add a new source to the scene by clicking on the “+” button under the “Sources” section. Select “Display Capture” if you want to capture your entire monitor, or choose “Window Capture” if you want to capture a specific window.
- Select the appropriate display or window to capture from the dropdown menu.
- Position and resize the capture window as desired to frame your Oculus Quest 2 gameplay.
By configuring OBS Studio properly, you can capture and broadcast your Oculus Quest 2 gameplay to Discord. OBS Studio allows you to customize various settings and capture options, enabling you to create a polished and professional stream.
Now that you have OBS Studio configured, it’s time to move on to the next step, which is configuring Discord for the stream.
Step 8: Configuring Discord for Stream
Now that you have configured OBS Studio to capture and broadcast your Oculus Quest 2 gameplay, it’s time to configure Discord to ensure that your stream is visible to your friends and followers. Discord offers several settings that you can optimize for a seamless streaming experience.
Follow these steps to configure Discord for the stream:
- Launch Discord on your computer.
- Navigate to the server where you want to stream your Oculus Quest 2 gameplay.
- Ensure that your server permissions are set up correctly to allow streaming to the desired voice channel. Make sure that members have permission to listen to the stream and participate in the chat.
- Enter the voice channel where you and your friends will join for the stream.
- Click on the “Go Live” button at the bottom of the voice channel.
- Enter a title for your stream to let your friends know what you’ll be playing or doing.
- Choose the OBS Studio window or display capture as the source for your stream.
- Adjust the stream quality settings according to your preferences and the capabilities of your internet connection.
- Click on the “Go Live” button to start streaming your Oculus Quest 2 gameplay to Discord.
- Monitor the stream preview to ensure that your gameplay is properly captured and broadcasted.
- Engage with your friends and viewers in the voice channel chat or through text chat to enhance the interactive experience.
- Click on the “Stop Streaming” button when you’re ready to end the stream.
By configuring Discord correctly, you can ensure that your friends can see your Oculus Quest 2 gameplay and interact with you during the stream. Discord provides a platform for real-time communication and engagement, enhancing the overall streaming experience.
Now that you have configured Discord for the stream, it’s time to move on to the final step, which is streaming your Oculus Quest 2 gameplay to Discord.
Step 9: Streaming Oculus Quest 2 to Discord
Now that you have everything set up and configured, it’s time to start streaming your Oculus Quest 2 gameplay to Discord. By following these steps, you’ll be able to share your gaming adventures with your friends and viewers in real-time.
Follow these steps to stream your Oculus Quest 2 gameplay to Discord:
- Put on your Oculus Quest 2 headset and ensure it is powered on.
- Connect your Oculus Quest 2 to your computer using the USB-C cable.
- Launch OBS Studio on your computer.
- Configure OBS Studio to capture and broadcast your Oculus Quest 2 gameplay.
- Open Discord on your computer.
- Enter the voice channel in the server where you want to stream your gameplay.
- Click on the “Go Live” button at the bottom of the voice channel.
- Choose the OBS Studio window or display capture as the source for your stream.
- Adjust the stream quality settings according to your preferences.
- Click on the “Go Live” button to start streaming.
- Engage with your friends and viewers in the voice channel chat or through text chat.
- Enjoy sharing your Oculus Quest 2 gameplay and have fun!
- Click on the “Stop Streaming” button when you’re ready to end the stream.
By following these steps, you can seamlessly stream your Oculus Quest 2 gameplay to Discord, allowing your friends and viewers to join in on the excitement. Make sure to interact with your audience, answer their questions, and create a lively and engaging atmosphere!
Remember to regularly check the stream preview to ensure that your VR gameplay is properly captured and broadcasted. It’s also a good idea to test your stream settings and audio beforehand to ensure a smooth streaming experience.
With your Oculus Quest 2 streamed to Discord, you can now showcase your gaming skills, share thrilling moments, and connect with fellow gamers in real-time. Have a great time exploring the virtual worlds and streaming your adventures!
Conclusion
Congratulations! You have successfully learned how to stream your Oculus Quest 2 gameplay to Discord. By following the steps outlined in this guide, you have unlocked the ability to share your immersive VR experiences with your friends and viewers.
Setting up and configuring your Oculus Quest 2, SideQuest, Oculus Link software, Discord, Virtual Audio Cable, and OBS Studio may have seemed like a complex process, but now you have the necessary tools and knowledge to stream your gameplay seamlessly.
Remember to ensure that you have met the requirements, such as having the latest firmware installed on your Oculus Quest 2 and a compatible computer with a good USB-C cable. These prerequisites ensure optimal performance and compatibility.
Throughout the setup, you enabled developer mode on your Oculus Quest 2, installed SideQuest for access to third-party apps, set up Oculus Link software for a connection to your computer, and configured Discord, Virtual Audio Cable, and OBS Studio for a smooth streaming experience.
Now, you can engage with your friends and viewers, who can listen to your game audio, watch your gameplay, and chat in real-time. Make sure to interact with them, answer their questions, and create a vibrant and enjoyable atmosphere during the stream.
Feel free to experiment with different settings and features to personalize your streaming experience. You can adjust resolution and stream quality, explore additional features in OBS Studio, and even invite guests to join your gameplay sessions for collaborative adventures.
Streaming your Oculus Quest 2 gameplay to Discord opens doors to new opportunities for connecting, sharing, and entertaining. Enjoy the thrill of sharing your virtual adventures, showcasing your skills, and building a community of like-minded gamers.
Remember to have fun, explore new games and experiences, and continue to improve your streaming setup as you gain more experience. The world of VR gaming is yours to share, and Discord provides the platform to make it happen.
Go ahead and start streaming your Oculus Quest 2 gameplay to Discord. Embark on this incredible journey and create memorable moments with your friends and viewers. Happy streaming!