Introduction
Welcome to the world of virtual reality gaming with the Oculus Quest 2! This cutting-edge headset offers an immersive experience like no other, allowing you to step into virtual worlds and enjoy games and experiences in a whole new way. But what if you want to share this incredible experience with others? Can you stream your Oculus Quest 2 to your TV without the need for a Chromecast?
The answer is yes! In this guide, we will walk you through the steps to stream your Oculus Quest 2 to your TV without the need for a Chromecast. Whether you want to showcase your gaming skills to your friends and family, or simply enjoy a larger display for your virtual adventures, we’ve got you covered. So let’s dive in!
Before we begin, it’s important to note that not all TVs are compatible with streaming from the Oculus Quest 2. While most modern TVs should work, it’s a good idea to check your TV’s specifications to ensure compatibility. Additionally, make sure you have an HDMI cable on hand, as this will be used to connect your Oculus Quest 2 to the TV.
Now that we’ve covered the basics, let’s move on to the step-by-step process of streaming your Oculus Quest 2 to your TV without a Chromecast. Get ready to share the virtual reality experience with your loved ones!
Step 1: Check your TV’s compatibility
Before you begin the process of streaming your Oculus Quest 2 to your TV, it’s essential to check if your TV is compatible with this feature. While most modern TVs support HDMI input, which is required for connecting your Oculus Quest 2, it’s still a good idea to verify the compatibility to avoid any disappointment or frustration.
To determine if your TV is compatible, start by checking the available ports on the back or side of your television. Look for an HDMI port, which is typically labeled “HDMI” or features the HDMI logo. If you have multiple HDMI ports, ensure that you choose one that is not already in use by another device.
Once you have confirmed the presence of an HDMI port, check if your TV supports the required HDMI version. The Oculus Quest 2 requires HDMI 1.4 or higher for optimal streaming performance. Most TVs manufactured in the past few years should meet this requirement, but it’s always a good idea to consult your TV’s user manual or visit the manufacturer’s website to double-check.
Additionally, consider the resolution and refresh rate capabilities of your TV. The Oculus Quest 2 supports a resolution of 1832 x 1920 pixels per eye, so your TV should be capable of displaying this resolution for a truly immersive experience. Similarly, check if your TV can handle a refresh rate of 72 Hz, as this is the native refresh rate of the Oculus Quest 2.
If your TV meets the necessary requirements, you’re ready to move on to the next step. However, if your TV falls short in any aspect, don’t worry! There are alternative options available, such as using an HDMI adapter or connecting your Oculus Quest 2 to a computer monitor that meets the required specifications.
Now that you’ve ensured your TV’s compatibility, it’s time to gather the necessary equipment and move on to connecting your Oculus Quest 2 to the TV. Get ready for an exciting virtual reality experience on the big screen!
Step 2: Use a HDMI cable
Now that you have confirmed the compatibility of your TV, it’s time to gather the required equipment to connect your Oculus Quest 2. The key component you will need is a high-quality HDMI cable. This cable will allow you to transmit both video and audio signals from your Oculus Quest 2 to your TV.
When choosing an HDMI cable, it’s important to select one that is capable of handling the resolution and refresh rate of the Oculus Quest 2 for the best possible experience. Look for an HDMI cable that supports HDMI 1.4 or higher to ensure seamless streaming without any loss in quality.
You may already have an HDMI cable lying around the house, but make sure it meets the necessary specifications. If you’re unsure about the capabilities of your existing cable, it’s recommended to invest in a high-quality HDMI cable that is specifically optimized for transmitting high-resolution video and audio signals.
Additionally, consider the length of the HDMI cable based on your setup. Measure the distance between your Oculus Quest 2 and the TV to determine the appropriate length. It’s essential to choose a cable that is long enough to comfortably reach from your headset to the TV while allowing freedom of movement.
Once you have obtained a suitable HDMI cable, you’re one step closer to streaming your Oculus Quest 2 to your TV. Make sure to keep the cable tangle-free and avoid any sharp bends or twists that could damage the cable. Proper cable management will not only prevent potential hazards but also ensure a clean and organized setup.
With your HDMI cable ready, it’s time to move on to the next step: connecting your Oculus Quest 2 to the TV using the HDMI cable. Get ready to enjoy an immersive virtual reality experience on a larger screen!
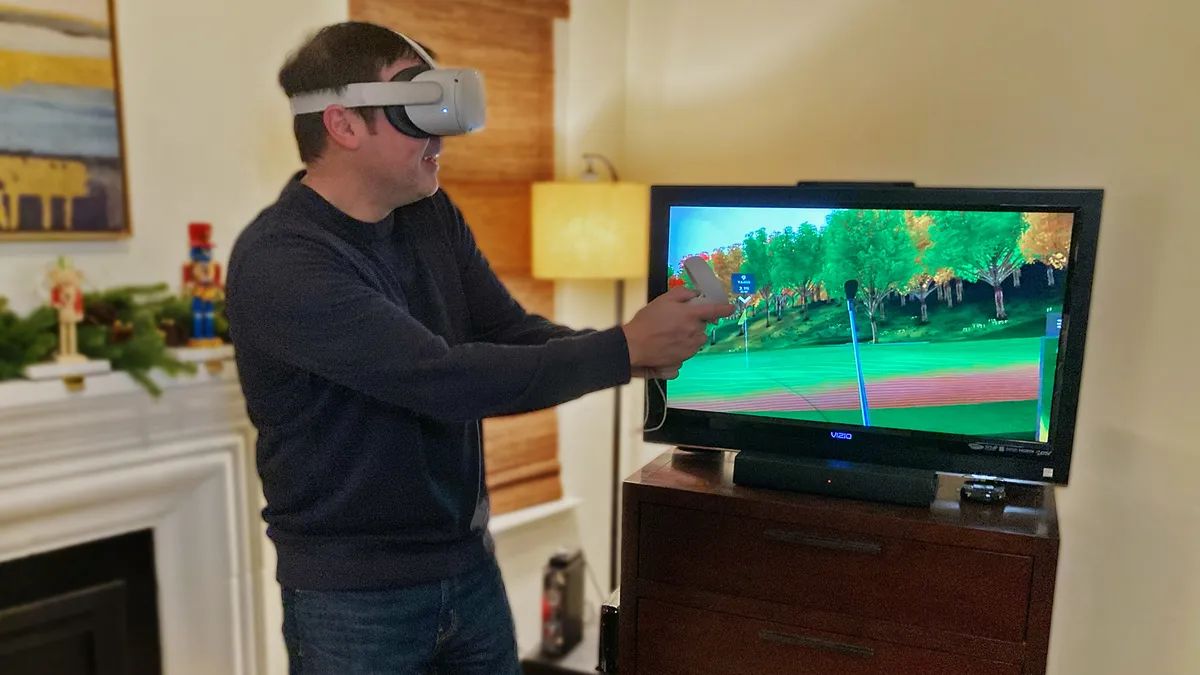
Step 3: Connect the Oculus Quest 2 to the TV using the HDMI cable
With your HDMI cable in hand, it’s time to connect your Oculus Quest 2 to the TV. Follow these simple steps to establish a connection:
- Locate the HDMI port on your TV. It is usually labeled as “HDMI” or designated with an HDMI logo.
- Take one end of the HDMI cable and insert it firmly into the HDMI port on your TV. Make sure it is securely connected.
- Now, locate the USB-C port on your Oculus Quest 2 headset. It is located on the side of the device, near the top.
- Take the other end of the HDMI cable and connect it to an appropriate HDMI-to-USB-C adapter.
- Insert the USB-C end of the adapter into the USB-C port on your Oculus Quest 2 headset. Ensure it is securely connected.
- Now that both ends of the HDMI cable are connected, turn on your Oculus Quest 2 headset and your TV.
- Use the TV’s input/source button to select the HDMI input that you connected your Oculus Quest 2 to. This will display the output from your headset on the TV screen.
Once the connection is established, you should see the Oculus Quest 2 home screen or any content running on your headset displayed on the TV. Now you can enjoy your virtual reality experience on a larger screen and share it with others.
It’s important to note that the audio output will also be transmitted through the HDMI connection. If you prefer to use external speakers or headphones for audio, make sure to connect them to your TV or the audio output of your choice.
If you encounter any issues with the connection, ensure that all cables are securely connected and try adjusting the TV’s input settings or restarting both the Oculus Quest 2 and the TV. If the problem persists, check the compatibility of your cables and adapters, and consider consulting the device’s manuals or manufacturer’s support resources for further assistance.
Now that your Oculus Quest 2 is successfully connected to your TV, it’s time to move on to the next step and adjust the display settings for optimal viewing. Get ready to enhance your virtual reality experience!
Step 4: Adjust the display settings on the Oculus Quest 2
Now that you have successfully connected your Oculus Quest 2 to your TV, it’s time to fine-tune the display settings for the best viewing experience. Follow these steps to adjust the display settings:
- Put on your Oculus Quest 2 headset and navigate to the home screen.
- Using the Oculus Touch controller, select the Devices menu located at the bottom right of the screen.
- Scroll to the right and select the option labeled “Oculus Quest 2”.
- In the Oculus Quest 2 settings, select the option for “Graphics”.
- Here, you can adjust various display settings such as brightness, contrast, and color saturation according to your preferences.
- Experiment with different settings to find the optimal balance for your TV and personal preference.
- Once you are satisfied with the display settings, exit the Oculus Quest 2 settings by using the back button or selecting the home icon.
By adjusting the display settings on your Oculus Quest 2, you can enhance the visuals and ensure a more engaging virtual reality experience on the TV screen.
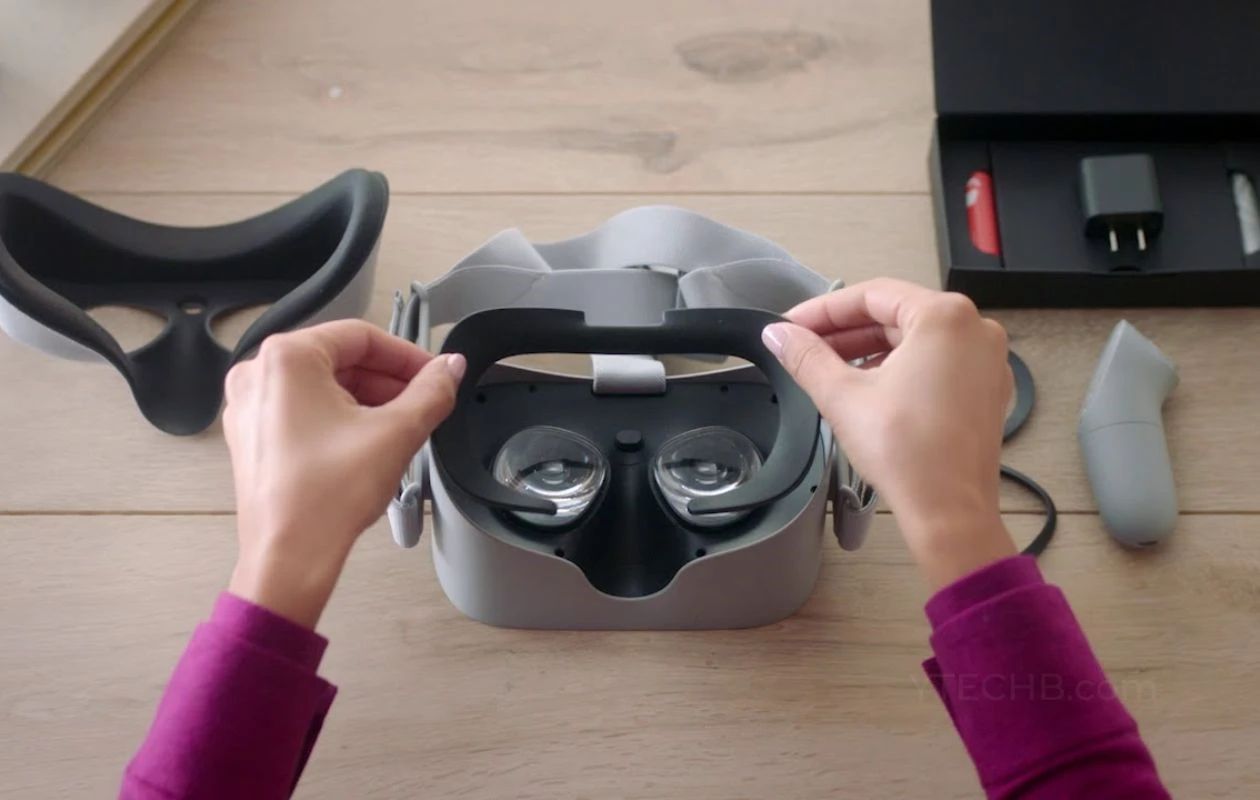
Additionally, make sure to adjust the IPD (Interpupillary Distance) settings on your Oculus Quest 2 headset. The IPD is the distance between the centers of your eyes and can vary from person to person. For a clear and comfortable viewing experience, set the IPD to match your personal measurements. To adjust the IPD, follow the instructions provided by Oculus or refer to the user manual.
Remember to take breaks to rest your eyes and prevent any discomfort or fatigue during prolonged virtual reality sessions. Follow the recommended guidelines provided by Oculus for a safe and enjoyable experience.
Now that you have adjusted the display settings on your Oculus Quest 2, you are ready to immerse yourself in the world of virtual reality on your TV. Get ready to embark on thrilling adventures and engage in exciting gameplay on the big screen!
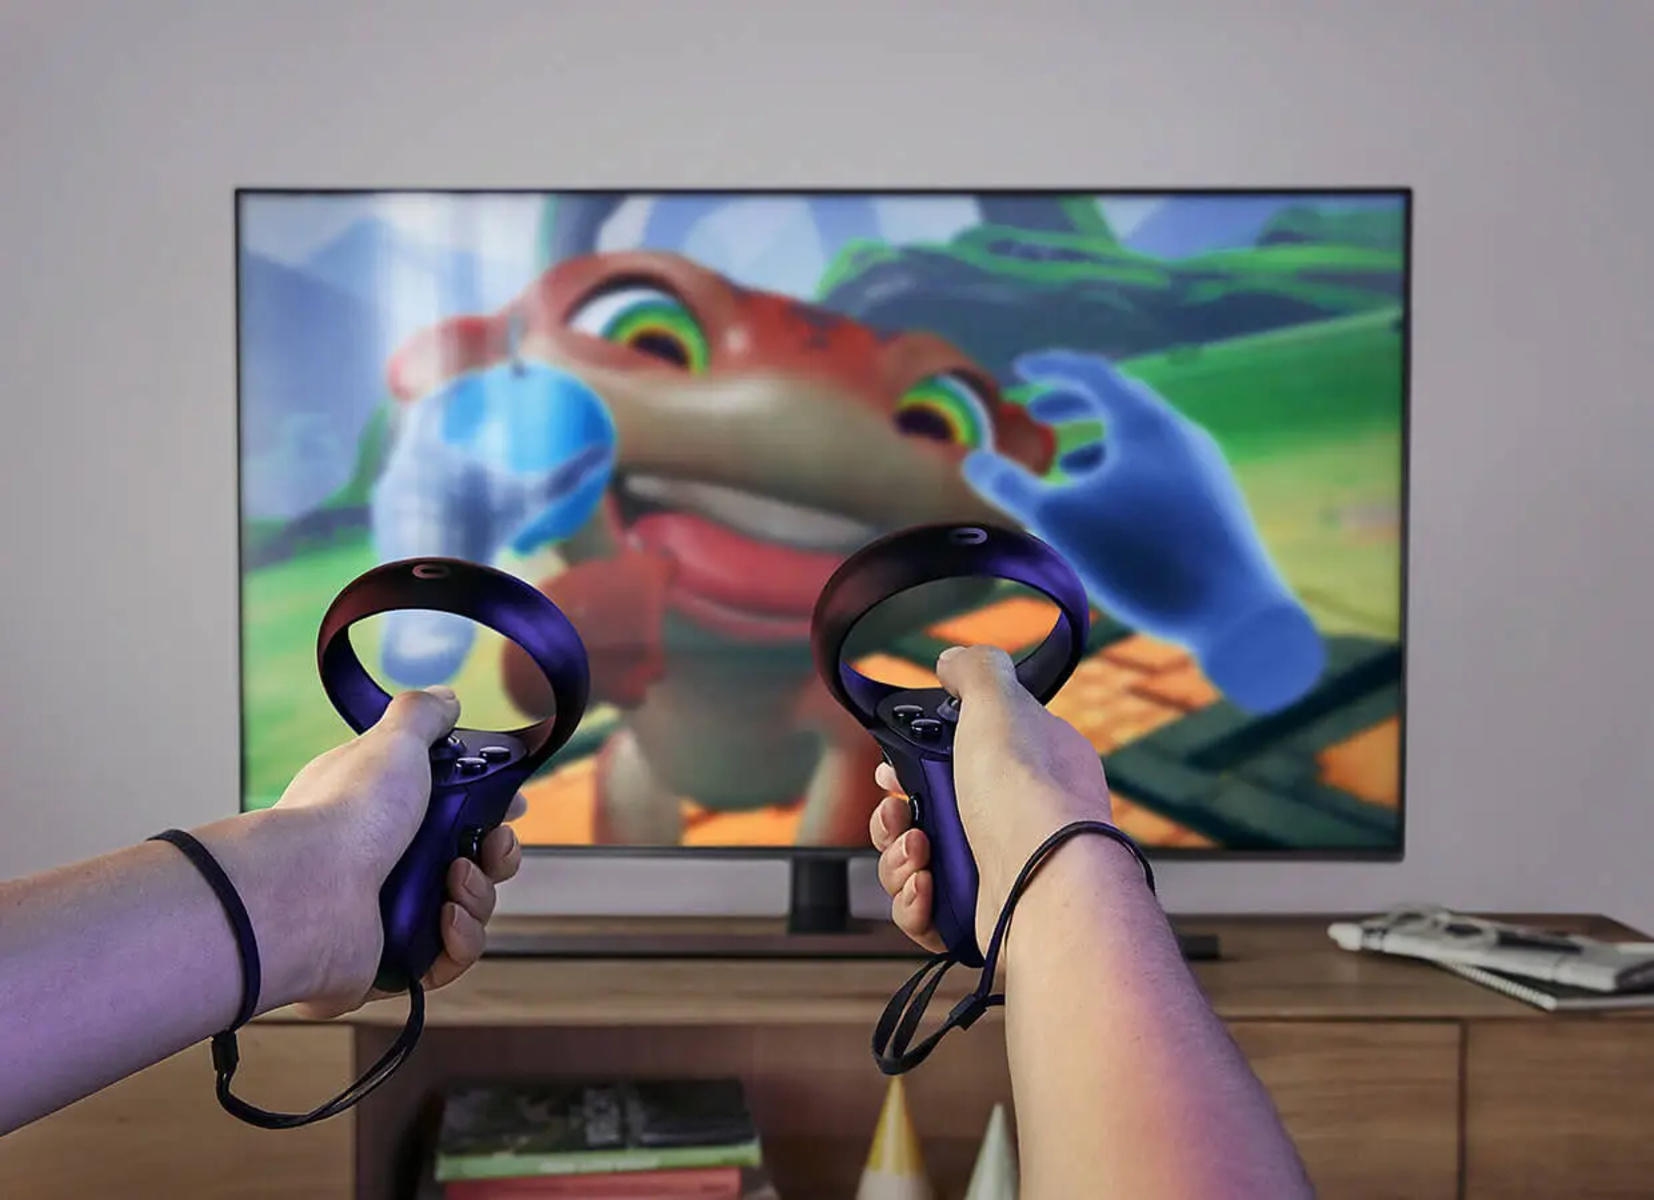
Step 5: Enjoy streaming Oculus Quest 2 on your TV
Now that you have successfully connected and adjusted the display settings of your Oculus Quest 2, it’s time to sit back, relax, and enjoy streaming your virtual reality experience on the big screen of your TV. Here are a few tips to maximize your enjoyment:
- Choose the right games and experiences: With the vast library of games and experiences available for the Oculus Quest 2, select the ones that are specifically optimized for VR and provide an immersive experience on the TV screen. Look for games with captivating visuals and engaging gameplay that will showcase the full potential of virtual reality.
- Consider multiplayer and party games: Streaming your Oculus Quest 2 on the TV opens up the opportunity to involve friends and family in multiplayer experiences. Explore multiplayer or party games where everyone can join in and have a great time together.
- Optimize your play area: Ensure you have enough space around you to comfortably move and play while wearing the Oculus Quest 2. Clear any obstacles or objects that may hinder your movements and ensure a safe and unobstructed play area.
- Experiment with different viewing angles: Adjust the TV positioning and viewing angle to find the most comfortable and immersive perspective. A mounting bracket or a TV stand with adjustable height and tilt can help you achieve the optimal viewing position.
- Utilize the virtual reality features: Take advantage of the unique features offered by the Oculus Quest 2. Use hand-tracking, voice commands, and intuitive gestures to interact with the virtual world and enhance your gameplay experience.
- Share the experience: Streaming your Oculus Quest 2 on the TV allows you to share the excitement with others. Invite friends or family members to join you in virtual reality adventures and witness their reactions as they experience this incredible technology.
Remember to take breaks and give your eyes and mind some rest during longer play sessions. It’s important to maintain a balance between enjoying virtual reality and taking care of your well-being.
With these tips in mind, you’re ready to immerse yourself in the captivating world of virtual reality on your TV using the Oculus Quest 2. Explore breathtaking environments, engage in thrilling gameplay, and share unforgettable moments with others as you embark on virtual adventures like never before.
Conclusion
Congratulations! You have successfully learned how to stream your Oculus Quest 2 to your TV without the need for a Chromecast. By following the steps outlined in this guide, you can now enjoy an immersive virtual reality experience on the big screen, sharing the excitement with friends and family.
Remember to check the compatibility of your TV, gather a high-quality HDMI cable, and connect your Oculus Quest 2 to the TV using the HDMI cable and appropriate adapters if needed. Adjust the display settings and ensure a comfortable play area for maximum enjoyment.
Streaming your Oculus Quest 2 to the TV expands the possibilities of virtual reality gaming and experiences. Whether you’re exploring breathtaking worlds, engaging in multiplayer adventures, or simply enjoying the immersive visuals, sharing the experience with others adds an extra level of excitement and enjoyment.
As technology continues to evolve, virtual reality is becoming more accessible and immersive. The Oculus Quest 2 offers a remarkable experience, and streaming it to your TV allows you to take full advantage of its capabilities. So gather your friends, set up your equipment, and get ready for an incredible journey into virtual reality entertainment!
Remember to follow safety guidelines, take breaks, and adjust the settings to ensure a comfortable and enjoyable experience for everyone. The world of virtual reality gaming awaits you!