Introduction
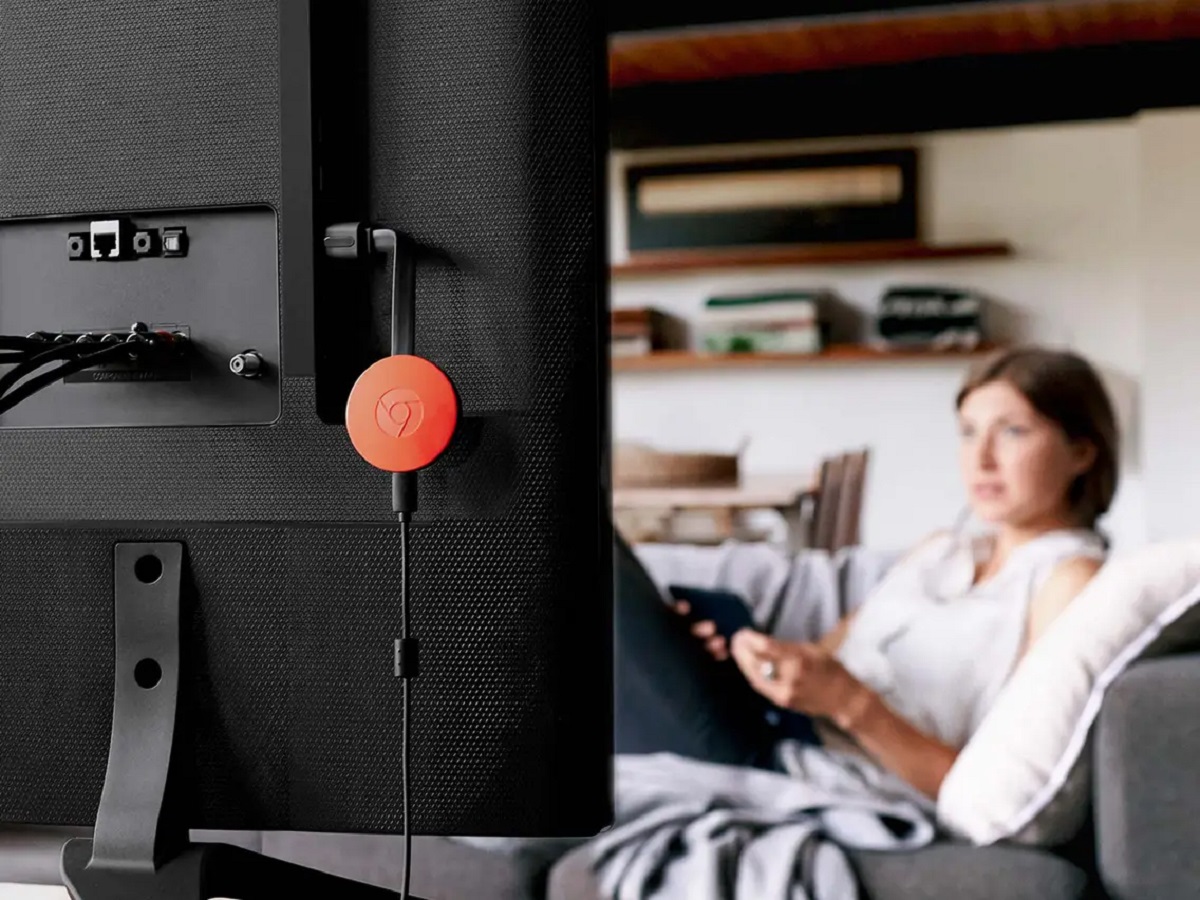
Chromecast is a versatile streaming device that allows you to cast various types of media from your PC or mobile device to your TV. One of the great features of Chromecast is the ability to cast pictures from your PC directly to your TV screen. Whether you want to share vacation photos with family and friends or showcase your photography skills, Chromecast makes it easy to display images on a larger screen.
By following a few simple steps, you can stream your pictures stored on your PC to your TV using Chromecast. In this guide, we will walk you through the process of setting up and casting pictures from your PC to Chromecast, allowing you to enjoy a slideshow of your favorite memories on the big screen.
Before getting started, ensure that you have a compatible Chromecast device and have set it up following the manufacturer’s instructions. Additionally, make sure that your PC and Chromecast are connected to the same Wi-Fi network, as this is crucial for the casting process.
Without further ado, let’s dive into the steps needed to cast pictures from your PC to Chromecast.
Step 1: Set Up Chromecast
Before you can start casting pictures from your PC to Chromecast, you need to ensure that your Chromecast device is set up and ready to use. If you have already completed the setup process, feel free to skip this step and move on to the next section.
To set up your Chromecast, follow these steps:
- Plug your Chromecast into an HDMI port on your TV.
- Connect the Chromecast’s USB power cable to a power source, such as a USB port on your TV.
- Turn on your TV and switch the input to the HDMI port where your Chromecast is connected.
- Follow the on-screen setup instructions. This usually involves downloading the Google Home app on your mobile device and using it to connect your Chromecast to your Wi-Fi network.
- Once your Chromecast is successfully set up, you can proceed to the next step.
It’s worth noting that the specific setup process may vary slightly depending on the model of Chromecast you have. However, the general steps mentioned above should apply to most Chromecast devices.
Once your Chromecast is set up, it will be ready to receive casted content from your PC. Now, let’s move on to the next step to learn how to connect your PC to Chromecast.
Step 2: Connect your PC to Chromecast
Once you have set up your Chromecast, the next step is to connect your PC to the Chromecast device. By establishing this connection, you will be able to cast pictures from your PC to your TV using Chromecast.
Here’s how you can connect your PC to Chromecast:
- Ensure that your PC is connected to the same Wi-Fi network as your Chromecast device. This is crucial for establishing a smooth connection between the two devices.
- Launch the Google Chrome browser on your PC. Chrome is the recommended browser for Chromecast casting.
- In the top-right corner of the browser window, click on the three-dot menu icon to open the Chrome menu.
- From the menu, hover over the “Cast” option and click on “Cast devices” to access the casting settings.
- A new tab will open, displaying the available Chromecast devices on your network. Locate and select your Chromecast device from the list.
- Your PC will now be connected to the Chromecast device, allowing you to cast content from your PC to your TV.
Once the connection between your PC and Chromecast is established, you are ready to cast pictures from your PC to your TV. In the upcoming steps, we will guide you on how to cast pictures using the Google Chrome browser and customize the picture settings for an optimal viewing experience.
Step 3: Open Google Chrome browser
After connecting your PC to the Chromecast device, the next step is to open the Google Chrome browser, which is the recommended browser for casting pictures to Chromecast. Ensure that you have Google Chrome installed on your PC before proceeding. If you don’t have it installed, you can easily download and install it from the official Google Chrome website.
Once you have Google Chrome installed, follow these steps to open the browser:
- Locate the Google Chrome icon on your desktop or in your Windows Start menu, then double-click on it to open the browser.
- If Chrome is already open on your PC, ensure that you have the most recent version by clicking on the menu button (three dots) in the top-right corner of the browser window, then hover over “Help” and click on “About Google Chrome”.
- If an update is available, Chrome will automatically download and install it. It’s essential to have the latest version of Chrome to ensure compatibility and access to all the necessary features.
After opening Google Chrome and confirming that you are running the latest version, you are ready to proceed to the next step, which is enabling the Cast feature in Chrome. This will allow you to cast pictures from your PC to your Chromecast device.
Step 4: Enable Cast feature in Chrome
Before you can start casting pictures from your PC to Chromecast, you need to enable the Cast feature in the Google Chrome browser. Enabling this feature will allow you to send the content from your PC to your Chromecast device for display on your TV.
Here’s how you can enable the Cast feature in Chrome:
- Open the Google Chrome browser on your PC if it’s not already open.
- Click on the menu button (three dots) located in the top-right corner of the browser window.
- From the drop-down menu, hover over the “Cast” option.
- In the submenu that appears, click on “Cast to” to access the casting settings.
- A Cast tab will open, showing the available devices on your network. Make sure your Chromecast device is listed and selected.
- Click on the “Sources” dropdown menu to choose what you want to cast. Select “Cast tab” if you only want to cast a specific tab or window, or choose “Cast desktop” if you want to cast your entire desktop screen.
- After selecting the desired casting option, Chrome will initiate the casting process to your Chromecast device, and the content will be displayed on your TV.
Once the Cast feature is enabled in Chrome and your Chromecast device is selected, you are all set to cast pictures from your PC to your TV. In the following step, we will guide you through the process of casting pictures using the Chrome browser.
Step 5: Cast pictures from PC to Chromecast
With the Cast feature enabled in Google Chrome and your Chromecast device selected, you are now ready to cast pictures from your PC to your TV. Follow these steps to cast pictures using the Chrome browser:
- Open Google Chrome on your PC if it’s not already open.
- Navigate to the web page or image you want to cast as a picture slideshow.
- Once the webpage or image is loaded, click on the Cast icon located in the top-right corner of the browser window. The icon looks like a rectangle with Wi-Fi-like waves in the bottom-left corner.
- A prompt will appear, asking you to choose the device you want to cast to. Make sure your Chromecast device is selected.
- Click on the “Share entire screen” option if you want to cast your entire desktop screen, or select the specific tab containing the picture you want to cast.
- After selecting the desired casting option, click on the “Share” button to initiate the casting process.
- The content on your PC screen will now be displayed on your TV connected to the Chromecast device. You can navigate to the next picture by using the controls within the web page or image viewer on your PC.
By following these steps, you can cast pictures from your PC to your TV using the Google Chrome browser and Chromecast. Enjoy showcasing your favorite images on the big screen and share memorable moments with friends and family.
Step 6: Customize picture settings
Once you have successfully cast pictures from your PC to Chromecast, you can further enhance your viewing experience by customizing the picture settings. Adjusting these settings allows you to optimize the display of your pictures on the TV screen.
Here are some options for customizing your picture settings:
- Full-screen mode: If you want to view your pictures in full-screen mode, simply click on the full-screen icon within the browser window or image viewer on your PC. This will expand the picture to fill the entire TV screen.
- Slideshow settings: Most image viewers or webpages offer options to control the slideshow settings. You can typically customize the duration between each picture, transition effects, and other display options. Look for these settings within the image viewer or webpage you are using and adjust them according to your preferences.
- Zoom and rotate: Some image viewers or webpages offer zoom and rotation features. You can zoom in or out on a specific part of a picture or rotate it to the desired orientation. These options can be handy when browsing through pictures in a slideshow.
- Display quality: When casting pictures, the clarity and quality of the images can be affected by factors such as the resolution of the original picture, the internet connection, and the capabilities of your Chromecast device. If you notice any degradation in picture quality, consider optimizing the resolution of the pictures, ensuring a stable internet connection, or upgrading to a more advanced Chromecast model.
By personalizing the picture settings, you can create a tailored viewing experience for yourself and your audience. Experiment with different options to achieve the best display quality and visual impact.
With these customization options, you can cast and present your pictures in a visually appealing and personalized manner, bringing your memories to life on the big screen.
Conclusion
Casting pictures from your PC to Chromecast allows you to showcase your favorite memories and images on the big screen for everyone to enjoy. By following the step-by-step guide outlined in this article, you can easily set up and cast pictures from your PC to your TV using Chromecast.
We began by ensuring that your Chromecast device was set up and ready to use. Then, we walked you through the process of connecting your PC to Chromecast and opening the Google Chrome browser. Enabling the Cast feature in Chrome was the next step, which allowed you to initiate the casting process.
Once connected and enabled, you were able to cast pictures from your PC to Chromecast effortlessly. The customization options provided in the article allowed you to enhance your picture viewing experience by adjusting settings such as full-screen mode, slideshow settings, zoom and rotate, and display quality.
Now, you can share your vacation photos, family portraits, or any other picture collection with friends and family by simply casting them to your TV using Chromecast. Remember to have the latest version of Google Chrome installed and a stable Wi-Fi connection for the best performance.
Enjoy the convenience and visual impact of casting pictures from your PC to Chromecast, and create memorable and immersive slideshows that captivate your audience. Let your cherished images come to life on the big screen, and relive those special moments in a whole new way.