Introduction
When it comes to storing large amounts of data or creating backups of important files, utilizing an external hard drive is a smart choice. Mac users have the advantage of being able to easily save files to an external hard drive, providing a convenient and secure way to store and access their data.
Whether you want to free up space on your Mac’s internal storage or have a reliable backup solution, this guide will walk you through the steps to save files to an external hard drive on your Mac. With a few simple steps, you’ll be able to transfer your documents, photos, videos, and other files to an external storage device, ensuring their safety and accessibility without putting a strain on your Mac’s limited storage capacity.
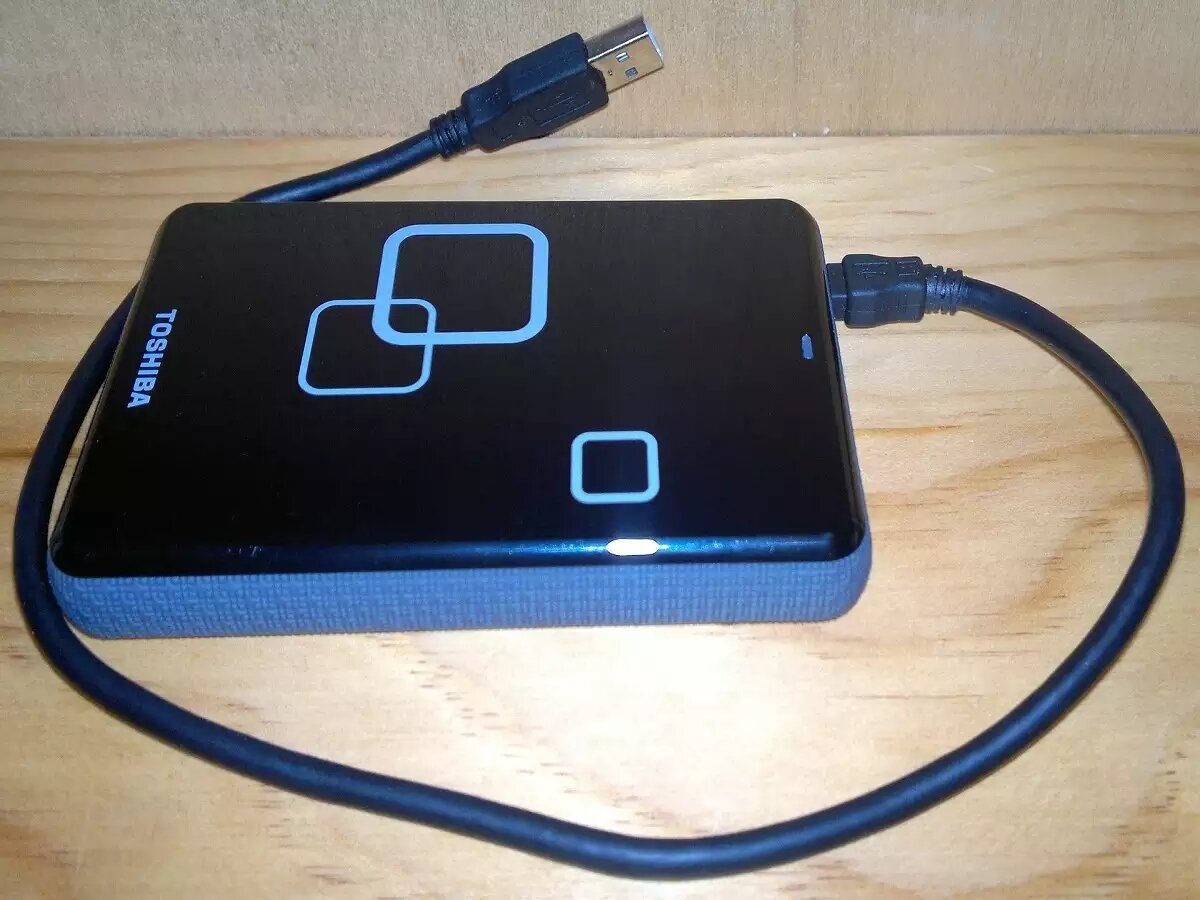
Before diving into the steps, it’s important to note that you need to have an external hard drive that is compatible with your Mac. Make sure to check the compatibility requirements and format the external hard drive if necessary before proceeding. Once you have a compatible external hard drive ready, you’re all set to start saving your files and keeping your digital life organized and secure.
In this guide, we’ll outline the steps to save files to an external hard drive on your Mac. From formatting the external hard drive to safely ejecting it, we will cover everything you need to know to successfully transfer your files and ensure their integrity. Let’s get started with step one: formatting the external hard drive.
Step 1: Format the external hard drive
The first step in saving files to an external hard drive on your Mac is to format the device. This is necessary to ensure compatibility between the external hard drive and your Mac. Formatting will erase all existing data on the external hard drive, so it’s important to back up any important files before proceeding.
To format the external hard drive, follow these steps:
- Connect the external hard drive to your Mac using the appropriate cable or connector.
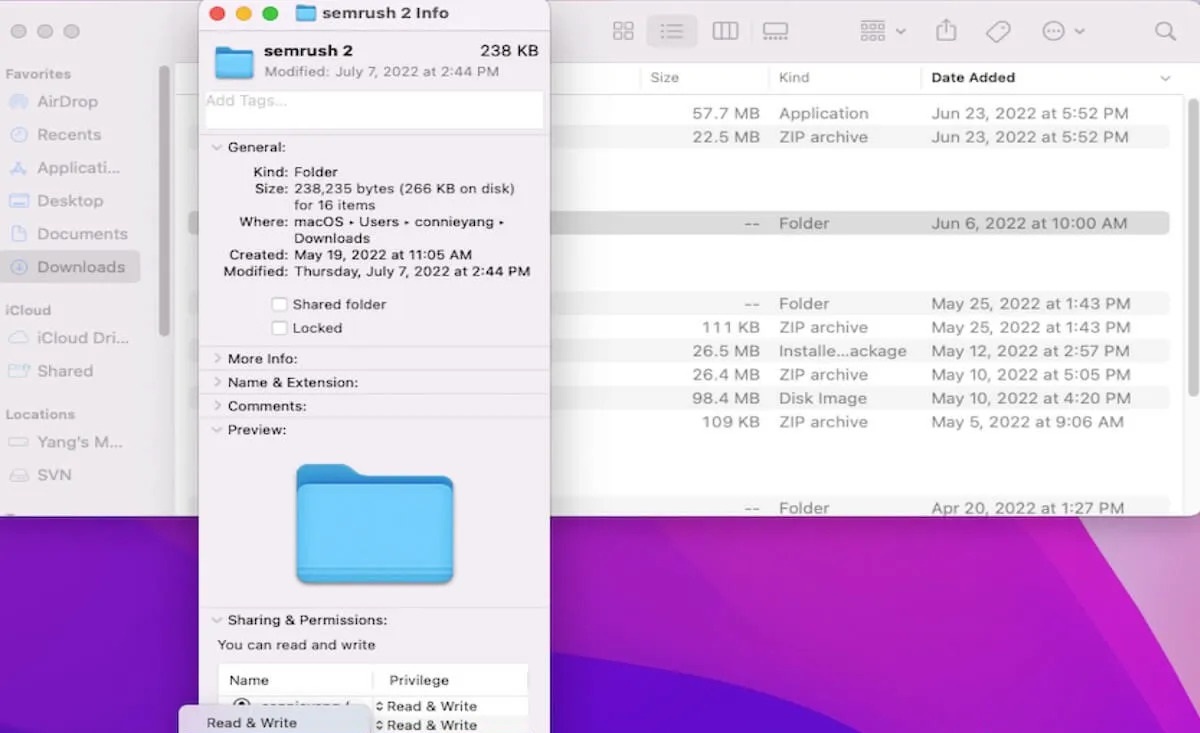
- Open “Finder” from your Mac’s dock or by clicking the magnifying glass icon in the top-right corner of the screen and typing “Finder”.
- In the sidebar of the Finder window, locate and select the external hard drive. It will typically show up under the “Devices” section.
- Click on the “Finder” menu at the top of the screen and select “Preferences”.
- In the “General” tab, make sure the “External disks” checkbox is selected. This will ensure that external disks, including your connected hard drive, are displayed on your desktop and in Finder.
- Once the external hard drive is selected, click on the “Erase” button.
- A popup window will appear asking you to confirm the erasure. Make sure you have backed up any important files, as erasing the drive will permanently delete all data on it.
- Choose the desired format for the external hard drive. For maximum compatibility, choose “Mac OS Extended (Journaled)”. If you plan to use the hard drive with other operating systems such as Windows, you may need to select a different format.
- Enter a name for the external hard drive in the “Name” field. Choose a descriptive name that will help you easily identify the hard drive.
- Click on the “Erase” button to start the formatting process. This may take a few minutes.
- Once the formatting is complete, you will see a confirmation message. Your external hard drive is now ready to be used with your Mac.
Now that you have formatted the external hard drive, you can proceed to the next step: connecting the drive to your Mac.
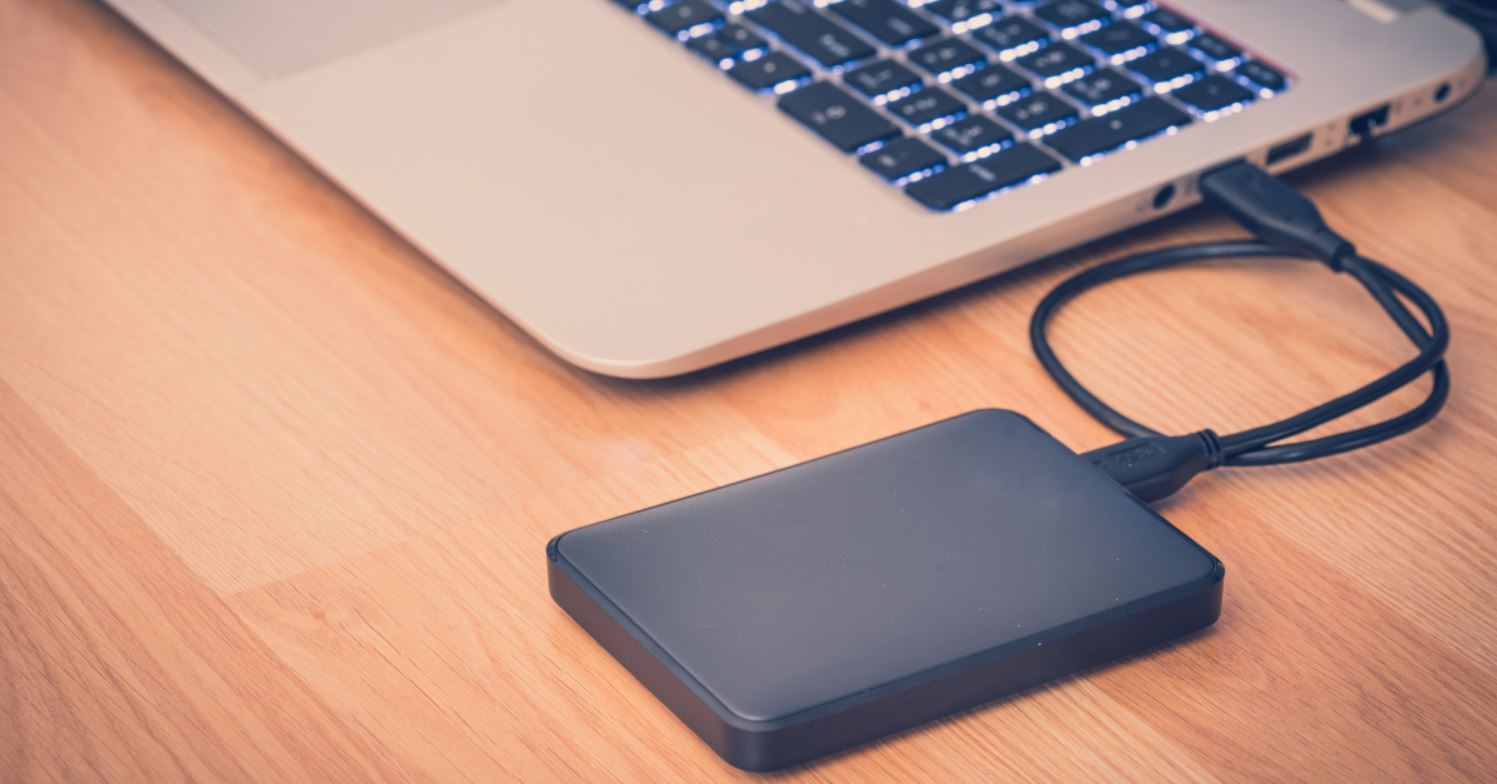
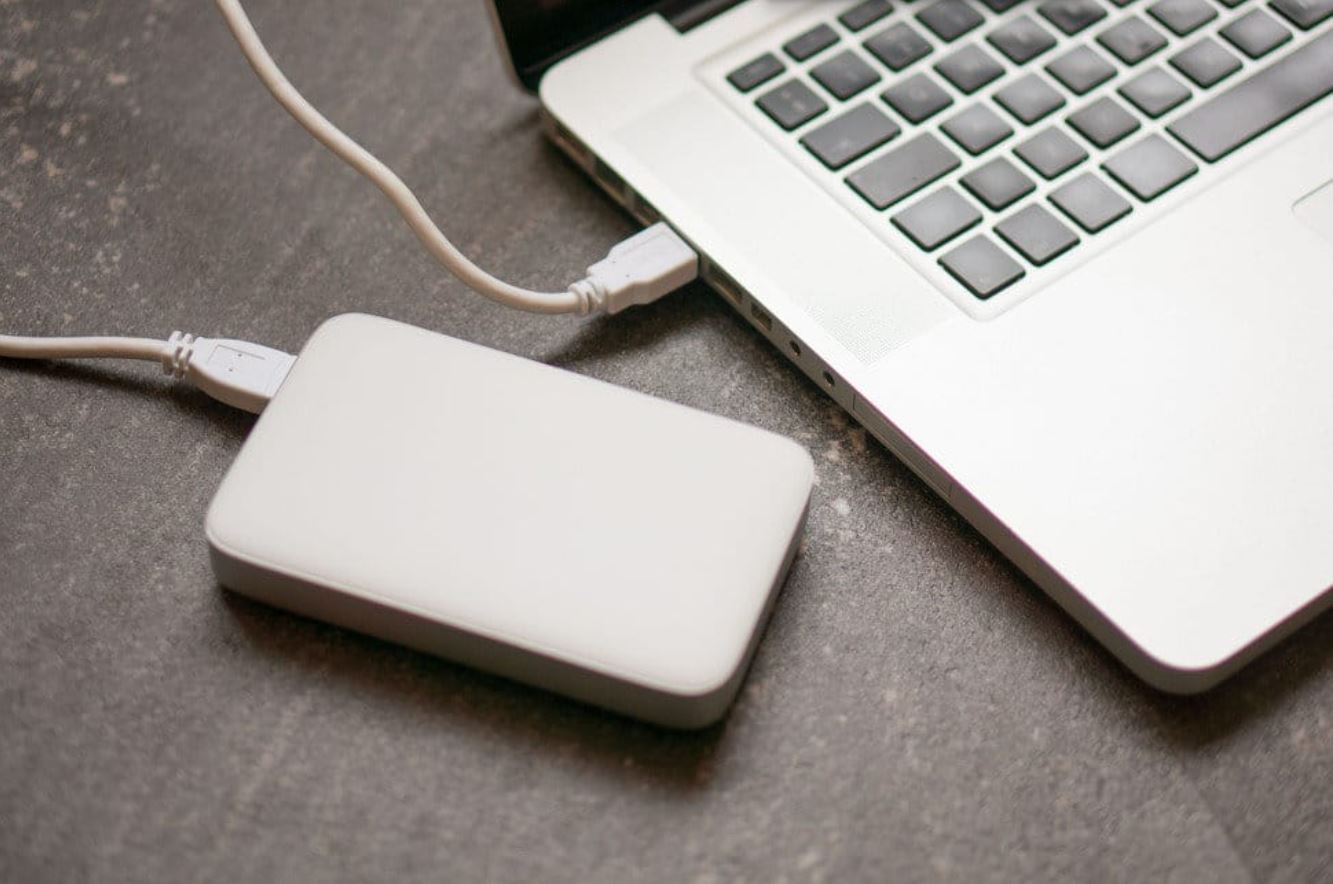
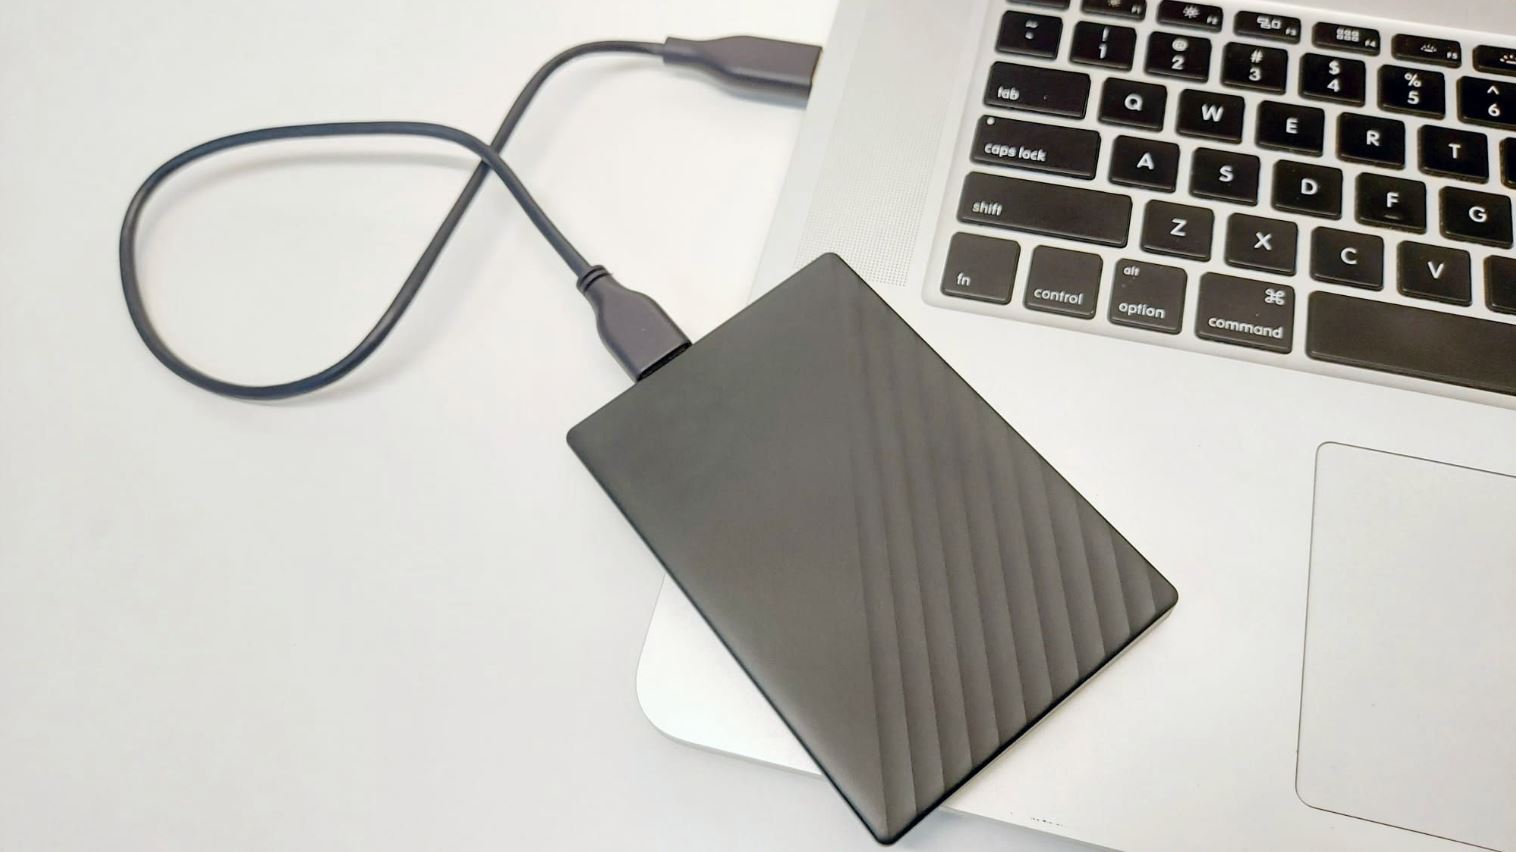
Step 2: Connect the external hard drive to your Mac
Now that you have formatted the external hard drive, it’s time to connect it to your Mac. Follow these simple steps to establish the connection:
- Locate the appropriate cable or connector that came with your external hard drive. The type of cable will depend on the specific model and connection type of your external hard drive.
- Plug one end of the cable into the appropriate port on your external hard drive.
- Connect the other end of the cable to an available USB, Thunderbolt, or FireWire port on your Mac.
- Ensure that both ends of the cable are securely connected.
- Once the connection is established, your Mac will typically recognize the external hard drive and display it on the desktop or in the Finder sidebar.
It’s important to note that some external hard drives require a separate power source. If this is the case for your device, make sure to connect the power source as well.
Once the external hard drive is connected to your Mac, you’re ready to move on to the next step: opening Finder and locating the file you want to save.
Step 3: Open Finder and locate the file you want to save
With the external hard drive connected to your Mac, it’s time to open Finder and locate the file that you wish to save. Follow these steps:
- Click on the Finder icon in the dock, or use the keyboard shortcut Command + N to open a new Finder window.
- In the left sidebar of the Finder window, select the location where the file you want to save is currently stored. This could be the Documents folder, Downloads folder, or any other location on your Mac’s internal storage.
- Once you have selected the location, a list of files and folders will be displayed in the main area of the Finder window.
- Scroll through the list or use the Search bar at the top-right corner of the window to quickly locate the specific file you want to save to the external hard drive.
- Once you have found the file, click and hold the file, and then drag it to the external hard drive in the Finder sidebar.
- Continue holding the file over the external hard drive until a green plus icon appears. This indicates that the file will be copied to the external hard drive when you release the mouse button.
- Release the mouse button to initiate the file transfer.
The file will now be copied to the external hard drive. The time it takes to complete the transfer will depend on the file size and the speed of your external hard drive connection. To check the progress of the transfer, you can look at the progress bar or status displayed by your Mac.
Repeat these steps for any additional files or folders that you want to save to the external hard drive.
With the file successfully transferred, you’re ready to move on to the next step: safely ejecting the external hard drive from your Mac.
Step 4: Drag and drop the file to the external hard drive
Now that you have located the file you want to save in Finder, it’s time to transfer it to the external hard drive using a simple drag-and-drop method. Follow these steps:
- Ensure that the external hard drive is connected to your Mac and recognized by Finder.
- In Finder, navigate to the folder or location where the file is currently stored.
- Click and hold the file that you want to save, then drag it to the external hard drive icon in the Finder sidebar.
- Continue holding the file over the external hard drive icon until a green plus icon appears. This indicates that the file will be copied to the external hard drive when you release the mouse button.
- Release the mouse button to initiate the file transfer. A progress bar will indicate the status of the transfer.
Note that you can also drag and drop multiple files and folders to the external hard drive in the same manner. Simply select multiple files or folders before dragging them to the external hard drive icon. This allows you to transfer multiple files simultaneously, saving time and effort.
During the transfer, make sure not to disconnect the external hard drive or shut down your Mac. Interrupting the transfer process prematurely can result in data corruption or incomplete file transfers.
Once the transfer is complete, you can verify the presence of the file in the external hard drive by navigating to the drive and checking the file’s location.
Now that you have successfully transferred the file using drag and drop, you are ready to proceed to the final step: safely ejecting the external hard drive from your Mac.
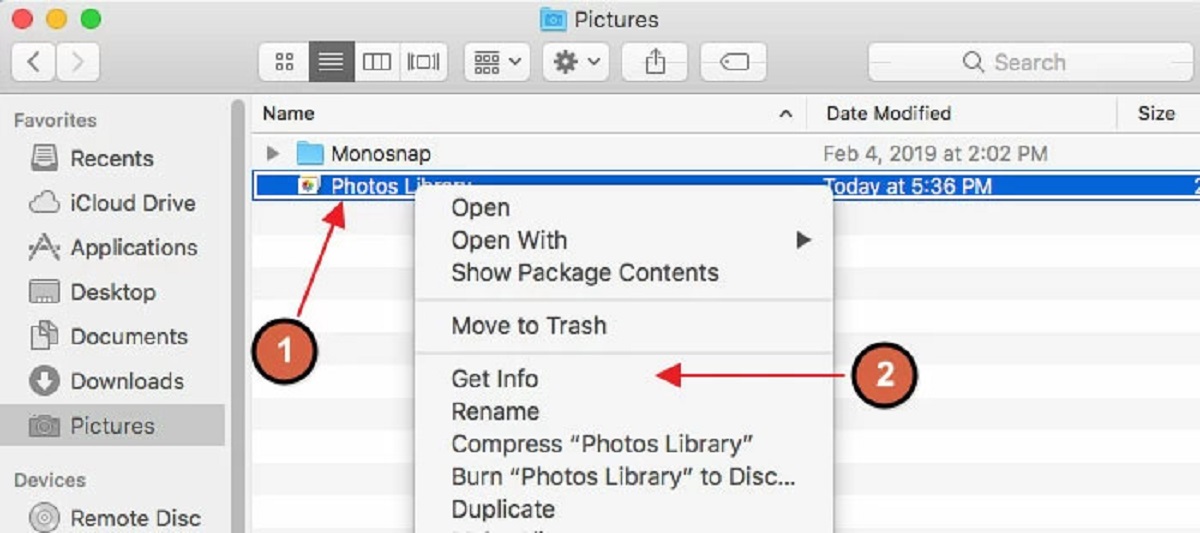
Step 5: Safely eject the external hard drive
After successfully transferring your files to the external hard drive, it’s important to follow the proper procedure to safely eject the device from your Mac. This helps to prevent data loss or damage to the files and ensures the integrity of your external hard drive. Follow these steps to safely eject the external hard drive:
- Locate the external hard drive icon on your desktop or in the Finder sidebar.
- Click on the external hard drive icon to select it.
- Right-click on the selected external hard drive icon and choose the “Eject” option from the drop-down menu. Alternatively, you can press Command + E on your keyboard.
- Wait for a few moments while your Mac finalizes any pending read or write operations on the external hard drive.
- Once the external hard drive icon disappears from your desktop or the Finder sidebar, it is safe to unplug the device from your Mac.
- Carefully disconnect the cable or connector that connects the external hard drive to your Mac.
Safely ejecting the external hard drive ensures that all data has been written and saved properly, reducing the risk of data corruption or file loss. It also prevents any potential damage to the external hard drive due to an abrupt disconnection.
It’s important to note that if you are using a Time Machine backup on the external hard drive, you should wait until the backup process is complete before ejecting the drive. Time Machine will notify you when the backup is finished and it is safe to eject the drive.
By following these steps, you can ensure the safe removal of your external hard drive from your Mac, preserving the integrity of your files and the external storage device itself.
With the external hard drive safely ejected, you have successfully completed the process of saving files to the external hard drive on your Mac. You can now disconnect the device and enjoy the additional storage space or the peace of mind knowing that your files are securely backed up.
Conclusion
Saving files to an external hard drive on your Mac is a straightforward process that provides numerous benefits. By following the steps outlined in this guide, you can easily transfer your files to an external storage device, freeing up space on your Mac’s internal storage and ensuring the safety and accessibility of your important data.
We started by formatting the external hard drive to ensure compatibility with your Mac. Then, we discussed the steps to connect the external hard drive to your Mac, allowing for seamless data transfer. Next, we explored how to open Finder and locate the files you want to save, making it easy to find and organize your data.
We then covered the method of dragging and dropping files to the external hard drive, a quick and efficient way to transfer your files. Finally, we emphasized the importance of safely ejecting the external hard drive from your Mac to protect the integrity of your files and the external storage device.
Remember to regularly back up your files to the external hard drive to ensure data preservation and prevent loss. Additionally, it’s a good practice to keep multiple copies of your important files in case of any unforeseen events.
Whether you’re saving photos, videos, documents, or any other type of file, using an external hard drive on your Mac provides a reliable and convenient storage solution. It offers the flexibility to expand your storage capacity and safeguard your data. With the knowledge gained from this guide, you can confidently save files to an external hard drive on your Mac and streamline your digital storage management.
So, go ahead and take advantage of the benefits of an external hard drive for your Mac. Start decluttering your internal storage, backing up your important files, and enjoying the peace of mind that comes with having your data securely stored on an external device.