Introduction
The installation of VMware Workstation is a crucial step for those seeking to create and manage virtual machines on their computer. However, like any software, issues can occasionally arise during the installation process or while using the program. If you are facing problems with your VMware Workstation installation, fear not! This guide will provide you with some valuable insights on how to repair and troubleshoot common issues.
Whether you experience a failure during the installation process, encounter errors while starting the program, or encounter issues with virtual machine functionality, this article will guide you through the necessary steps to get your VMware Workstation installation back on track.
Repairing VMware Workstation can often resolve many glitches and errors that occur during installation, helping you to achieve a stable and fully functional virtual machine environment. This guide will walk you through the repair process, ensuring that your Workstation installation is optimized and working smoothly.
Even if your VMware Workstation installation is functioning well, it is essential to stay up-to-date with the latest software updates. This article will also provide guidance on how to update VMware Workstation to ensure you have all the latest features and bug fixes.
If you are facing specific issues with VMware Workstation, troubleshooting steps can help identify and resolve the problem. From networking issues to display problems, this guide will help you isolate and troubleshoot the root cause, providing solutions to get your VMware Workstation installation back on track.
By following the instructions in this guide, you will be able to effectively repair, update, and troubleshoot your VMware Workstation installation, enabling you to make the most out of this powerful virtual machine software. Let’s dive in and get your VMware Workstation installation running smoothly!
Common Issues with VMware Workstation Installation
While VMware Workstation is a reliable and widely used virtual machine software, there are some common issues that users may encounter during the installation process. Understanding these issues can help troubleshoot and resolve problems effectively. Here are some of the most common issues:
- Installation Errors: During the installation process, you may encounter errors that prevent VMware Workstation from being installed successfully. These errors can range from compatibility issues with your operating system to conflicts with other software on your computer.
- Missing DLL Files: Sometimes, the installation may fail due to missing or corrupted dynamic link library (DLL) files. These files are essential for the proper functioning of VMware Workstation, and their absence can lead to installation errors.
- License Key Activation: Activating the license key for VMware Workstation is a crucial step. If you encounter issues with license key activation, such as invalid or expired keys, it can prevent you from using the software fully.
- Hardware Compatibility: VMware Workstation relies on hardware virtualization technology, such as Intel’s VT-x or AMD’s AMD-V, to function correctly. If your computer’s hardware does not support these virtualization technologies, you may face installation errors or compatibility issues.
- Insufficient System Requirements: VMware Workstation has specific system requirements in terms of CPU, memory, disk space, and graphics capabilities. If your computer does not meet these requirements, it can lead to installation issues or poor performance.
These are just some of the common issues that users may encounter when installing VMware Workstation. The good news is that most of these problems can be resolved through proper troubleshooting and repair methods, which will be discussed in the subsequent sections of this guide.
Reinstalling VMware Workstation
If you are facing persistent issues with your VMware Workstation installation, reinstalling the software can often resolve the problem. Reinstalling VMware Workstation involves uninstalling the existing version and then installing a fresh copy of the software. Here is a step-by-step guide on how to reinstall VMware Workstation:
- Uninstall VMware Workstation: Begin by uninstalling the existing VMware Workstation from your computer. To do this, go to “Control Panel” and select “Uninstall a program” (or “Add or Remove Programs” in older Windows versions). Find VMware Workstation in the list of installed programs, right-click on it, and select “Uninstall”. Follow the on-screen instructions to complete the uninstallation process.
- Clean Up Residual Files: After uninstalling VMware Workstation, it is important to remove any residual files or registry entries that may still remain on your system. You can use a third-party uninstaller program or manually delete any leftover files and folders related to VMware Workstation from the installation directory and registry.
- Download the Latest Version: Visit the official VMware website and download the latest version of VMware Workstation. Make sure to download the appropriate version based on your operating system.
- Install VMware Workstation: Once the installation file is downloaded, run it and follow the on-screen instructions to install VMware Workstation on your computer. Make sure to review and choose the desired installation options as per your requirements.
- Activate License Key: If you have a license key for VMware Workstation, you will be prompted to enter it during the installation process. Ensure that you enter the correct license key to activate the software. If you don’t have a license key, you can choose the 30-day trial version or the free version of VMware Workstation.
- Configure Preferences: Once the installation is complete, launch VMware Workstation and configure preferences such as default virtual machine location, network settings, and display options according to your needs.
Reinstalling VMware Workstation can often fix installation-related issues and provide a fresh start for the software. If you were facing errors or glitches previously, they are likely to be resolved after a successful reinstallation. However, if the problems persist even after reinstalling, further troubleshooting steps may be required, which we will discuss in the next sections.
Repairing VMware Workstation
If your VMware Workstation is experiencing issues or not functioning correctly, repairing the installation can often resolve the problem. Repairing VMware Workstation involves fixing any corrupted or damaged files within the software. Here is a step-by-step guide on how to repair VMware Workstation:
- Close VMware Workstation: Before proceeding with the repair process, ensure that VMware Workstation is closed and not running in the background.
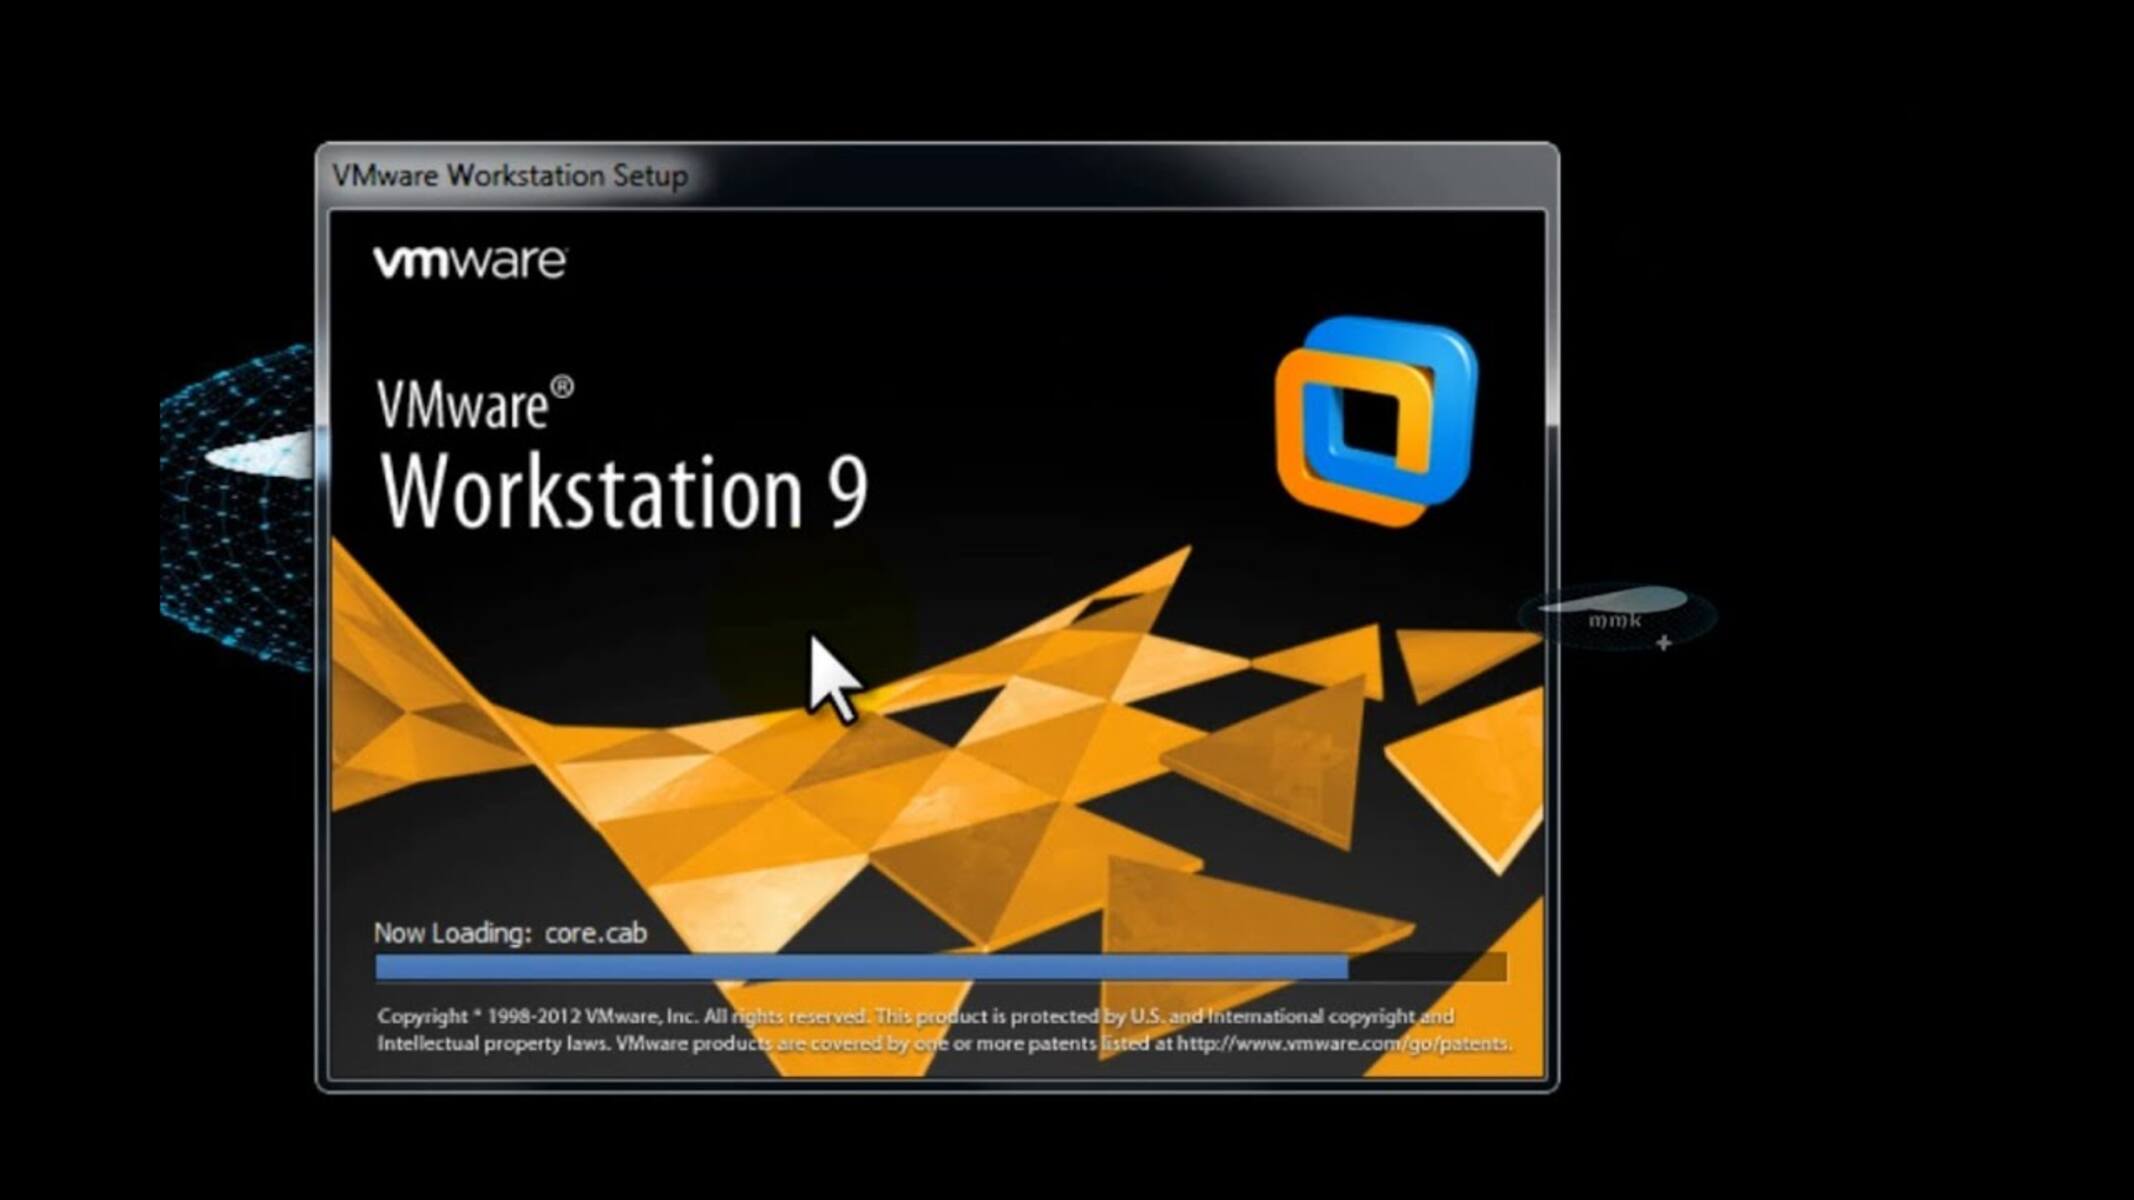
- Run the Installer: Locate the installer file of VMware Workstation on your computer. Double-click on the installer to run it.
- Choose Repair Option: Once the installer launches, you will be presented with several options. Select the “Repair” option to initiate the repair process.
- Follow the On-Screen Instructions: The repair process will begin, and you will be guided through a series of prompts. Follow the on-screen instructions to complete the repair process. This may include agreeing to the license agreement and choosing the desired repair settings.
- Wait for Completion: Allow the repair process to complete. It may take a few minutes depending on your system’s speed and the complexity of the repairs required.
- Restart Your Computer: Once the repair process is finished, it is recommended to restart your computer to ensure that all changes are applied correctly.
After restarting your computer, launch VMware Workstation and check if the issues you were experiencing have been resolved. In most cases, the repair process fixes any corrupted files or settings, allowing VMware Workstation to function smoothly again.
If the issues persist after performing the repair, it may be necessary to further troubleshoot the problem, which we will discuss in the next sections of this guide.
Updating VMware Workstation
Updating your VMware Workstation software is essential to ensure you have access to the latest features, bug fixes, and security enhancements. VMware periodically releases updates to improve the functionality and performance of the software. Here is a step-by-step guide on how to update VMware Workstation:
- Check for Updates: Launch VMware Workstation and navigate to the “Help” menu. From the dropdown menu, select “Check for Updates”. This will prompt VMware Workstation to check for any available updates.
- Download the Latest Version: If an update is available, you will be provided with the option to download the latest version. Click on the download button to initiate the download process.
- Run the Installer: Once the download is complete, locate the downloaded installer file and double-click on it to run the installer.
- Follow the On-Screen Instructions: The installer will guide you through the update process. Follow the on-screen instructions, including reviewing and accepting the license agreement and choosing the desired update settings.
- Wait for Completion: Allow the update process to complete. This may take a few minutes depending on your system’s speed and the size of the update.
- Restart VMware Workstation: Once the update process is finished, restart VMware Workstation to ensure that the changes are applied correctly.
After restarting VMware Workstation, you will now have the latest version installed on your computer. It is recommended to periodically check for updates and install them to keep your VMware Workstation software up to date.
Updating VMware Workstation not only ensures that you have access to new features and improvements but also helps in addressing any known issues or security vulnerabilities. By keeping your software updated, you can enjoy a more stable and optimized virtual machine experience.
If you encounter any issues during the update process or face difficulties after updating, you may need to perform troubleshooting steps, which will be covered in the later sections of this guide.
Troubleshooting VMware Workstation
While VMware Workstation is a robust and reliable virtual machine software, you may encounter certain issues or errors while using it. Troubleshooting these problems can help you identify the root cause and find solutions to get your VMware Workstation installation back on track. Here are some common issues and troubleshooting steps:
- Networking Issues: If you are experiencing networking problems with VMware Workstation, start by checking the network settings of your virtual machine. Ensure that the network adapter is configured correctly and that the necessary network services are running on your host operating system. You can also try toggling the networking settings within VMware Workstation, such as using bridged or NAT connections.
- Display Issues: If you are encountering display issues, such as a black screen or incorrect resolution, check the virtual machine settings. Ensure that the display settings are configured correctly, including the screen resolution and graphics settings. Updating your graphics card drivers on the host operating system can also help resolve display-related issues.
- Performance Problems: If you are experiencing slow performance or lag in VMware Workstation, consider checking the system resources allocated to your virtual machine. Increase the allocated CPU cores, memory, or disk space if necessary. Additionally, ensure that your physical computer meets the system requirements to run VMware Workstation smoothly.
- Compatibility Issues: Some compatibility issues may arise if your virtual machine is running an older version of the guest operating system or if the installed VMware Tools are outdated. Update the guest operating system and VMware Tools to the latest versions to address any compatibility issues.
- Error Messages and System Crashes: If you encounter error messages or system crashes while using VMware Workstation, it is recommended to note down the error message or code. Search for the specific error message in the VMware knowledge base or online forums to find potential solutions or workarounds.
If the troubleshooting steps above do not resolve the issues you are facing, consider visiting the VMware official support website or contacting their customer support for further assistance. They can provide specific guidance and solutions based on your unique situation.
Conclusion
Having a properly functioning VMware Workstation installation is crucial for creating and managing virtual machines effectively. Throughout this guide, we have covered various aspects of repairing, updating, and troubleshooting VMware Workstation to help you overcome common issues that may arise during the installation or usage of the software.
We discussed the common issues users may encounter during the installation process, such as errors, missing DLL files, and hardware compatibility problems. We also provided steps on how to reinstall VMware Workstation to resolve these issues.
Furthermore, we explored the repair process for VMware Workstation, which can help fix any corrupted files or settings that may affect the software’s functionality. Updating VMware Workstation regularly ensures that you have access to new features, bug fixes, and security enhancements.
In addition, we provided troubleshooting steps for common issues like networking problems, display issues, performance concerns, compatibility issues, and error messages. Following these steps can help identify and resolve the root causes of these problems, allowing you to have a smooth VMware Workstation experience.
If you have exhausted all troubleshooting options and are still experiencing issues, it is recommended to reach out to VMware’s support resources for further assistance specific to your situation.
By following the information and steps outlined in this guide, you will be equipped with the knowledge and tools to repair, update, and troubleshoot your VMware Workstation installation effectively. This will enable you to maximize the benefits of this powerful virtual machine software and ensure a seamless virtualization experience.


