Introduction
Welcome to the world of ASUS Ultrabooks, sleek and powerful devices designed for users who demand performance and elegance in one package. The ASUS Ultrabook series has gained popularity for its innovative features and cutting-edge technology. One of the key components of any laptop is the microphone, which enables users to communicate effectively, record audio, and participate in online meetings or video conferences.
In this article, we will explore the various methods of locating the microphone on an ASUS Ultrabook and offer helpful tips for using it effectively. Whether you’re a student attending virtual classes, a professional conducting business meetings remotely, or a content creator recording podcasts, understanding the microphone capabilities of your Ultrabook is essential.
Before we dive into the different methods of utilizing the microphone on an ASUS Ultrabook, it’s important to note that the specific location may vary depending on the model. ASUS incorporates microphones in different ways to optimize audio capture and minimize background noise. Therefore, it’s crucial to consult the user manual or visit the ASUS support website for your particular Ultrabook model to ensure accurate location information.
Let’s embark on the journey of discovering how to find and utilize the microphone on your ASUS Ultrabook, whether it’s an internal microphone, an external one, or using a headset or USB microphone. We’ll also provide some best practices for enhancing your audio experience and troubleshoot common microphone issues that you may encounter along the way.
Locating the microphone on ASUS Ultrabook
The microphone on an ASUS Ultrabook can be located in various positions depending on the model and design. Here are some common locations where you can find the microphone on your ASUS Ultrabook:
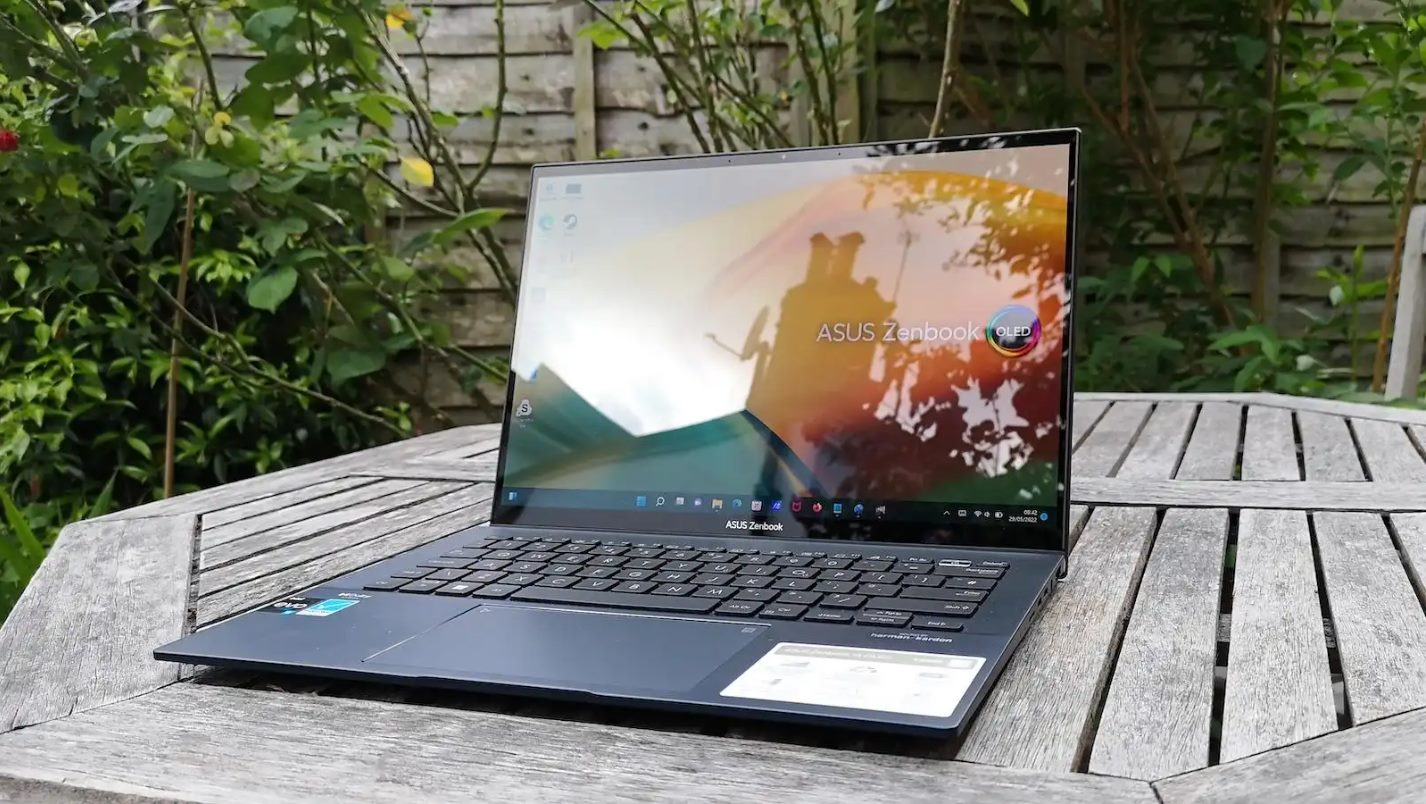
- Top bezel: In many ASUS Ultrabooks, the microphone is positioned at the top bezel, above the screen. It is usually a small pinhole that blends seamlessly into the laptop’s design. This placement offers optimal audio capture during video calls and recordings while minimizing interference from the keyboard or other components.
- Keyboard area: Some ASUS Ultrabooks have the microphone located near the keyboard area, often below the function keys or near the trackpad. This positioning allows for convenient audio capture while typing or participating in online meetings. Look for a small microphone icon or a dedicated microphone symbol on the keyboard to help you locate it.
- Side or front: In a few ASUS Ultrabook models, the microphone may be situated on the side or front of the laptop. This placement ensures a clear path for sound waves and allows for optimal audio capture from a variety of angles. Look for a small opening or a microphone symbol on the sides or front of the laptop.
Remember, these are general locations, and the microphone’s exact positioning can vary between Ultrabooks. To determine the precise location for your specific model, refer to the user manual or visit the ASUS support website for detailed information.
Next, let’s explore the different methods of utilizing the microphone on your ASUS Ultrabook, including using the internal microphone, external microphone, headset with a built-in microphone, and even installing a USB microphone for enhanced audio quality.
Method 1: Internal microphone
The internal microphone is the built-in microphone integrated within your ASUS Ultrabook. It offers convenience and ease of use since you don’t have to connect any external devices. Here’s how to use the internal microphone on your ASUS Ultrabook:
- Open the sound settings: Click on the speaker icon located on the taskbar and select “Open Sound Settings.” Alternatively, you can access the sound settings by going to the Control Panel or Settings menu, depending on your operating system.
- Select the input device: Once in the sound settings, navigate to the “Input” tab. Here, you should see a list of available input devices, including the internal microphone. If the internal microphone is not selected by default, click on it to set it as the input device.
- Adjust the microphone settings: To optimize the audio quality and ensure proper functioning, make sure to adjust the microphone settings. You can adjust the microphone volume to your preferred level and also enable or disable features like noise reduction or echo cancellation, depending on your requirements.
- Test the microphone: Before you start using the internal microphone, it’s a good idea to test it to ensure it’s functioning correctly. Most operating systems offer a microphone testing feature where you can record a short audio clip and listen to the playback. This allows you to check the audio quality and make any necessary adjustments.
By following these steps, you can effectively use the internal microphone on your ASUS Ultrabook for various purposes such as voice recording, online meetings, or engaging in video chats. However, keep in mind that the audio quality of internal microphones may not be as high as dedicated external microphones. If you require professional-grade audio or have specific audio recording needs, you may prefer to explore the option of using an external microphone, which we will discuss next.
Method 2: External microphone
If you need higher audio quality or specific recording capabilities, using an external microphone with your ASUS Ultrabook can be a great option. Here’s how to set up and use an external microphone:
- Choose the right external microphone: There are various types of external microphones available, including USB microphones, XLR microphones, and lavalier microphones. Consider your requirements, budget, and intended usage to select the most suitable external microphone for your needs.
- Connect the external microphone: Depending on the type of external microphone you have chosen, you may need to connect it to your ASUS Ultrabook. USB microphones can be directly plugged into an available USB port, while other types of microphones may require an audio interface or adapter to connect to your Ultrabook.
- Configure the microphone settings: Once you have connected the external microphone, access the sound settings on your ASUS Ultrabook. Navigate to the “Input” tab and select the external microphone as the input device. Adjust the microphone settings, such as volume and any additional features, according to your preferences.
- Test the microphone: It’s crucial to test the external microphone before using it for any important purposes. Use the microphone testing feature in your operating system to record a short audio clip and playback to ensure the audio quality and make any necessary adjustments.
An external microphone can provide superior audio quality and better control over sound capture, making it ideal for professional recording, podcasting, voice-over work, or any situation where high-quality audio is essential. It also allows you to place the microphone closer to the sound source, eliminating background noise and enhancing overall recording quality.
Keep in mind that different external microphones may have specific requirements or recommended settings for optimal performance. Consult the user manual or the manufacturer’s website for detailed instructions and any additional software or drivers that may need to be installed.
Now that you know how to set up and use an external microphone, let’s explore another method of utilizing the microphone on your ASUS Ultrabook – using a headset with a built-in microphone.
Method 3: Using a headset with a built-in microphone
A headset with a built-in microphone offers a convenient and versatile option for using the microphone on your ASUS Ultrabook. Whether you’re engaging in online gaming, participating in video conferences, or simply enjoying multimedia content, a headset provides both audio output and input capabilities. Here’s how to use a headset with a built-in microphone:
- Connect the headset: Plug the headset’s audio jack into the corresponding audio output port on your ASUS Ultrabook. Most Ultrabooks have a combined audio jack that supports both audio output and input. Alternatively, if your headset has a USB connector, simply plug it into an available USB port on your laptop.
- Configure the headset settings: Once the headset is connected, access the sound settings on your ASUS Ultrabook. In the “Input” tab, select the headset’s built-in microphone as the input device. Adjust the microphone volume and any additional settings according to your preferences.
- Test the microphone: To ensure proper functioning, test the headset’s microphone using the testing feature available in your operating system. Record a short audio clip and listen to the playback to check the audio quality and make any necessary adjustments.
- Adjust the headphone volume: Depending on your preferences and the specific headset you are using, you may need to adjust the headphone volume separately. Look for volume controls on the headset itself or use the volume adjustment settings on your ASUS Ultrabook to fine-tune the audio output.
Using a headset with a built-in microphone offers the advantage of hands-free communication and an immersive audio experience. The built-in microphone ensures clear and reliable audio capture, while the headphones provide high-quality audio output, allowing you to enjoy your favorite music, movies, or games with enhanced sound.
If you encounter any issues with your headset or microphone, such as low volume, poor audio quality, or unrecognized device, refer to the troubleshooting section later in this article for tips on resolving common microphone issues.
Next, let’s explore another method to enhance your audio experience on your ASUS Ultrabook – installing a USB microphone.
Method 4: Installing a USB microphone
Installing a USB microphone is an excellent option for users looking for professional-grade audio quality and more advanced recording capabilities on their ASUS Ultrabook. USB microphones are easy to set up and offer enhanced sound capture for activities such as podcasting, music production, or voice-over work. Here’s how to install a USB microphone:
- Choose the right USB microphone: There is a wide variety of USB microphones available, ranging from basic models to high-end professional options. Consider your specific needs, budget, and intended use to select the most suitable USB microphone for your ASUS Ultrabook.
- Connect the USB microphone: Plug the USB connector of the microphone into an available USB port on your ASUS Ultrabook. Unlike other types of microphones, USB microphones do not require additional audio interfaces or adapters. The Ultrabook will recognize the microphone automatically.
- Configure the microphone settings: Access the sound settings on your ASUS Ultrabook and navigate to the “Input” tab. Select the USB microphone as the input device and adjust the microphone volume, sensitivity, and any other settings according to your preferences and recording needs.
- Test the microphone: Before using the USB microphone for important tasks, perform a test recording to ensure proper functioning. Use the microphone testing feature available in your operating system to record a short sample and listen to the playback. This allows you to assess the audio quality and make any necessary adjustments.
USB microphones are versatile and offer excellent sound quality, making them a popular choice among content creators, musicians, and professionals. They eliminate the need for complex audio setups and provide a straightforward solution for capturing high-fidelity audio.
Keep in mind that some USB microphones may require specific drivers or software to unlock advanced features or adjust settings. Refer to the user manual or the manufacturer’s website for any additional instructions or software downloads that may be necessary for your USB microphone.
Now that we have explored the various methods of utilizing the microphone on your ASUS Ultrabook, including the internal microphone, external microphone, headset with a built-in microphone, and USB microphone, let’s move on to discussing some best practices for using the microphone effectively.
Best practices for using the microphone on ASUS Ultrabook
To ensure optimal audio quality and a pleasant user experience while using the microphone on your ASUS Ultrabook, consider the following best practices:
- Positioning: When using the internal microphone or a headset microphone, position yourself close to the microphone for clear and distortion-free audio. Avoid covering or obstructing the microphone with your hands or any objects, as this can affect audio quality.
- Avoid background noise: Minimize background noise as much as possible, especially when participating in video conferences or recording audio. Use a quiet environment and consider using noise-cancelling headphones or a microphone with noise reduction features to improve the clarity of your recordings and communications.
- Microphone sensitivity: Adjust the microphone sensitivity settings according to your requirements. If you are in a quiet environment, you can increase the sensitivity for better audio pick-up. In noisy environments, reducing the sensitivity can help reduce background noise.
- Plosives and sibilance: Be cautious of plosives (bursts of air sound during pronunciation) and sibilance (excessive hissing during speech). To minimize these issues, position the microphone slightly off-center from your mouth and use a pop filter or windscreen to reduce the impact of plosives.
- Monitor your audio: Use headphones or speakers to monitor your audio while recording or participating in audio communications. This allows you to detect any issues or distortions in real-time and make necessary adjustments to the microphone settings or your position relative to the microphone.
- Regular maintenance: Keep your microphone clean and free from dust or debris that may affect its performance. Wipe the microphone with a soft, dry cloth regularly and avoid touching the microphone directly with your hands to prevent smudges or moisture build-up.
By following these best practices, you can optimize the audio performance and ensure that your microphone captures clear and high-quality sound on your ASUS Ultrabook.
In the next section, we will discuss some common microphone issues that users may encounter and provide troubleshooting tips to resolve them.
Troubleshooting common microphone issues on ASUS Ultrabook
While using the microphone on your ASUS Ultrabook, you may encounter some common issues that can affect the audio quality or functioning of the microphone. Here are some troubleshooting tips to help you address these issues:
- No sound or low volume: Check the microphone volume settings on your Ultrabook and ensure that it is not muted or set too low. Also, verify that the microphone is selected as the input device in the sound settings. Additionally, ensure that the microphone is connected properly if using an external device.
- Poor audio quality or distorted sound: If you experience poor audio quality or distortion, check for any physical obstructions or debris on the microphone. Clean the microphone with a soft cloth and ensure there are no objects covering or blocking the microphone. Adjusting the microphone sensitivity, volume, or applying noise reduction features in the sound settings can also help improve audio quality.
- Background noise or echo: In cases of background noise or echo during audio communication, check the microphone settings to ensure background noise reduction or echo cancellation features are enabled. Consider using a headset with a built-in microphone or a USB microphone with noise-cancellation capabilities to minimize unwanted noise.
- Microphone not recognized: If your ASUS Ultrabook does not detect the microphone, try disconnecting and reconnecting the microphone. Ensure that the microphone drivers are up-to-date by checking the manufacturer’s website for any available updates. If using an external microphone, verify that it is compatible with your Ultrabook.
- Interference or static noise: Interference or static noise can be caused by nearby electronic devices or poor connections. Keep your microphone away from other electronic devices, such as smartphones or routers, which may cause interference. Check the connections of your microphone and ensure they are secure and free from any loose connections.
If you have tried the troubleshooting tips but are still experiencing microphone issues, it may be helpful to consult the user manual or visit the ASUS support website for further assistance. They can provide specific guidance based on your ASUS Ultrabook model and help you resolve any persistent microphone problems.
Now that we have covered troubleshooting common microphone issues, we can conclude this guide with a summary of the key points discussed.
Conclusion
In this guide, we explored the different methods of locating and utilizing the microphone on your ASUS Ultrabook. Whether it’s using the internal microphone, connecting an external microphone, using a headset with a built-in microphone, or installing a USB microphone, each method offers its own advantages and caters to specific audio requirements.
By following best practices such as positioning yourself correctly, minimizing background noise, adjusting microphone settings, and regular maintenance, you can enhance the audio quality and optimize your microphone usage on your ASUS Ultrabook.
If you encounter any issues with your microphone, refer to the troubleshooting tips provided to address common problems such as low volume, poor audio quality, or unrecognized devices. Remember to check for driver updates and consult the ASUS support website for further assistance if needed.
Understanding the microphone capabilities of your ASUS Ultrabook is vital for seamless communication, engaging in online meetings, recording audio, or pursuing creative endeavors. Whether you’re a student, professional, content creator, or simply someone who enjoys high-quality audio experiences, mastering the use of the microphone on your ASUS Ultrabook will enhance your overall computing experience.
Make sure to consult the user manual or visit the ASUS support website for your specific Ultrabook model to find detailed instructions and tailored information about the microphone’s location and usage on your device.
Now, armed with the knowledge and strategies outlined in this guide, you can confidently navigate and utilize the microphone features of your ASUS Ultrabook to their fullest potential.