Introduction
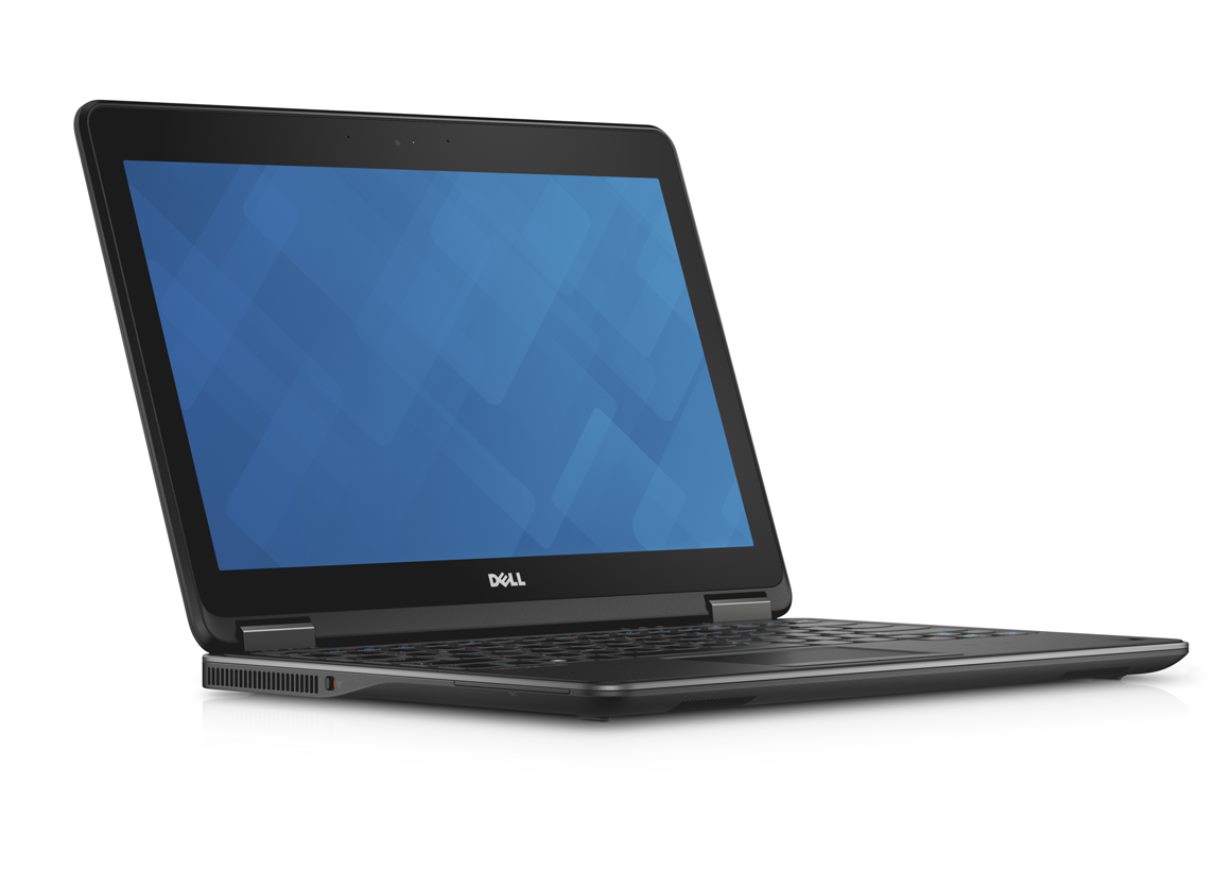
Enabling WiFi on a Dell Latitude 12 7000 Series Ultrabook is essential for connecting to the internet and accessing online resources. Whether you’re using the device at home, in the office, or on the go, having a working WiFi connection allows for seamless communication and productivity.
In this guide, we will walk you through the necessary steps to enable WiFi on your Dell Latitude 12 7000 Series Ultrabook. We will cover various methods, including checking the WiFi card, using the keyboard shortcut, adjusting the Windows settings, and updating WiFi drivers if needed.
It is important to note that the exact steps may vary slightly depending on the specific model and operating system of your Dell Latitude 12 7000 Series Ultrabook. However, the general principles discussed in this article should apply to most devices in the series.
Whether you’re a first-time user or someone experiencing WiFi connectivity issues, this guide will help you troubleshoot and get your WiFi up and running in no time. So, let’s dive into the steps required to enable WiFi on your Dell Latitude 12 7000 Series Ultrabook.
Step 1: Checking the WiFi Card
Before proceeding with the WiFi setup, it’s crucial to ensure that your Dell Latitude 12 7000 Series Ultrabook is equipped with a WiFi card. Most models come with built-in WiFi capabilities, but double-checking will save you time troubleshooting unnecessary issues.
To check if your device has a WiFi card, follow these simple steps:
- Power on your Dell Latitude 12 7000 Series Ultrabook and log in to your account.
- Locate the system tray in the bottom-right corner of the screen. It contains various icons representing different system functions.
- Look for the WiFi icon, which resembles a traditional antenna or radiating waves. If you see the WiFi icon, it means your device is equipped with a WiFi card.
- If you can’t find the WiFi icon, right-click on the system tray area and select “Customize notification icons.” This will open a menu where you can customize which icons appear in the system tray.
- Scroll through the list and ensure that the WiFi or network-related option is set to “Show icon and notifications.” Apply the changes if necessary.
If you still don’t see the WiFi icon in the system tray after following these steps, it’s possible that your device does not have a built-in WiFi card. In this case, you will need to consider alternative methods of connecting to the internet, such as using an Ethernet cable or a USB WiFi adapter.
Checking the WiFi card is the first step in enabling WiFi on your Dell Latitude 12 7000 Series Ultrabook. It ensures that you have the necessary hardware for wireless connectivity. Once confirmed, you can proceed to the next step and enable WiFi through the keyboard shortcut.
Step 2: Enabling WiFi through the Keyboard Shortcut
Enabling WiFi on your Dell Latitude 12 7000 Series Ultrabook can be accomplished quickly and conveniently using the keyboard shortcut. This method allows you to toggle the WiFi on or off with just a few key presses. Follow these steps to enable WiFi through the keyboard:
- Make sure your Dell Latitude 12 7000 Series Ultrabook is powered on and logged in to your account.
- Locate the “Fn” key on your keyboard, usually located in the bottom-left corner, and hold it down.
- While still holding the “Fn” key, locate the corresponding key with the WiFi icon. It is usually one of the function keys (F1-F12) and may be labeled with “WiFi” or have an image of an antenna.
- Press the WiFi key once while holding down the “Fn” key to enable or disable WiFi. A notification or on-screen display may appear indicating the change in WiFi status.
After following these steps, your WiFi should be enabled, and you can connect to available networks in your vicinity. If the WiFi key does not work, or if you encounter any issues, proceed to the next step to enable WiFi through Windows Settings.
Using the keyboard shortcut is a convenient and efficient way to enable WiFi on your Dell Latitude 12 7000 Series Ultrabook. It allows for quick toggling of the wireless connection without the need to navigate through multiple menus or settings. Once WiFi is enabled, you can move on to connecting to a specific network.
Step 3: Enabling WiFi through Windows Settings
If the keyboard shortcut method did not work or you prefer a different approach, you can enable WiFi on your Dell Latitude 12 7000 Series Ultrabook through the Windows Settings. Follow these steps:
- Click on the “Start” button located at the bottom-left corner of the screen to open the Start Menu.
- Click on the “Settings” icon, which resembles a gear or cogwheel. This will open the Windows Settings.
- In the Windows Settings, click on the “Network & Internet” option.
- In the left-hand sidebar, select the “WiFi” tab.
- On the right-hand side, toggle the switch next to “WiFi” to the ON position.
Enabling the WiFi through Windows Settings will turn on the wireless functionality of your Dell Latitude 12 7000 Series Ultrabook. Once enabled, your device will search for available WiFi networks in the vicinity, allowing you to connect to the desired network.
If you encounter any issues enabling WiFi through Windows Settings, ensure that your device’s WiFi drivers are up to date. Outdated drivers can sometimes cause connectivity problems. Proceed to step 4 to learn how to update WiFi drivers on your Dell Latitude 12 7000 Series Ultrabook.
Enabling WiFi through Windows Settings provides an alternative method to toggle your device’s wireless connection. It allows for more control and fine-tuning of network settings, ensuring a stable and reliable WiFi connection on your Dell Latitude 12 7000 Series Ultrabook.
Step 4: Updating WiFi Drivers
If you are experiencing issues with your WiFi connectivity on your Dell Latitude 12 7000 Series Ultrabook, it is possible that outdated or incompatible WiFi drivers may be the culprit. Updating the drivers can help resolve these issues and ensure optimal performance. Here’s how you can update your WiFi drivers:
- Open the “Device Manager” by right-clicking on the “Start” button and selecting “Device Manager” from the menu that appears.
- In the Device Manager window, expand the “Network adapters” category by clicking on the arrow next to it.
- Locate the WiFi adapter in the list. It typically has “WiFi” or “Wireless” in its name.
- Right-click on the WiFi adapter and select “Update driver” from the context menu.
- Choose the option to automatically search for updated driver software. Windows will then search online for the latest driver updates and install them if available.
- Follow the on-screen instructions to complete the driver update process.
Once the driver update is complete, restart your Dell Latitude 12 7000 Series Ultrabook to apply the changes. After the restart, check if your WiFi connectivity has improved.
If Windows fails to find updated drivers or you encounter any issues during the update process, you can visit the Dell support website and search for the latest drivers specific to your Dell Latitude 12 7000 Series Ultrabook model. Download the appropriate drivers and follow the provided instructions to install them.
Updating WiFi drivers ensures that your Dell Latitude 12 7000 Series Ultrabook is equipped with the latest software enhancements and bug fixes, improving the stability and performance of your WiFi connection. It is a proactive step in troubleshooting and resolving WiFi connectivity issues.
Conclusion
Enabling WiFi on your Dell Latitude 12 7000 Series Ultrabook is essential for seamless internet connectivity and productivity. In this guide, we have walked you through the necessary steps to enable WiFi on your device, including checking the WiFi card, using the keyboard shortcut, adjusting the Windows settings, and updating WiFi drivers if needed.
By checking the WiFi card, you can ensure that your Dell Latitude 12 7000 Series Ultrabook is equipped with the necessary hardware for wireless connectivity. Using the keyboard shortcut provides a quick and convenient way to toggle WiFi on or off, while adjusting the Windows settings offers more control and customization options.
If you encounter any issues with connectivity, updating the WiFi drivers can help resolve compatibility and performance problems. It is always recommended to keep your drivers up to date to ensure optimal functionality.
By following these steps, you can now enjoy a reliable and stable WiFi connection on your Dell Latitude 12 7000 Series Ultrabook. Whether you’re at home, in the office, or on the go, staying connected has never been easier.
We hope this guide has been helpful in enabling WiFi on your device. If you have any further questions or concerns, feel free to consult the official Dell support website or reach out to their customer support representatives for assistance.
Stay connected and enjoy the benefits of WiFi on your Dell Latitude 12 7000 Series Ultrabook!