Introduction
Welcome to our guide on how to get VMware Workstation 9 for free. VMware Workstation is a powerful virtualization software that allows you to run multiple operating systems on a single computer. It offers a wide range of features and functionalities, making it a popular choice among developers, IT professionals, and enthusiasts.
VMware Workstation 9 comes with numerous improvements and enhancements compared to its previous versions. It provides better performance, increased compatibility, and advanced capabilities for virtualization. However, obtaining the software can sometimes be expensive, especially for those who are on a tight budget.
In this article, we will walk you through the process of downloading, installing, and activating VMware Workstation 9 for free. By following these steps, you will be able to enjoy the benefits of this powerful software without any cost.
Note that while we will guide you through obtaining VMware Workstation 9 for free, it’s important to abide by the software’s licensing terms and conditions. We do not encourage or endorse any illegal activities. It is your responsibility to ensure that you are using the software in a legal and ethical manner.
Now that we’ve set the stage, let’s dive into the step-by-step process of acquiring VMware Workstation 9 without spending a dime.
Step 1: Downloading VMware Workstation 9
Before you can start using VMware Workstation 9 for free, you need to first download the software onto your computer. Here’s how you can do it:
- Visit the official VMware website by typing “www.vmware.com” into your web browser’s address bar and hit Enter.
- Navigate to the VMware Workstation 9 product page. You can do this by either searching for “VMware Workstation” in the website’s search bar or by navigating to the “Products” section and selecting “Workstation” from the list.
- On the product page, you will find a “Download Now” button. Click on it to initiate the download process.
- You will be prompted to log in or create a new VMware account. If you already have an account, simply enter your credentials and log in. If not, follow the on-screen instructions to create a new account.
- After logging in, you will be directed to the VMware Workstation 9 download page. Here, you can select the appropriate version of the software based on your operating system. Make sure to choose the version that is compatible with your computer.
- Once you have selected the version, click on the “Download Now” button again to start the download. The software package may be quite large, so it may take some time depending on your internet connection speed.
- Once the download is complete, navigate to the location on your computer where the installer file has been saved. The file will typically have a .exe or .dmg extension.
- Double-click on the installer file to launch the installation wizard. Follow the prompts to proceed with the installation process. Make sure to review and accept the terms and conditions before proceeding.
Once the installation is complete, you are ready to move on to the next step: activating VMware Workstation 9. Just remember that downloading VMware Workstation 9 for free does not grant you a valid license, so you will need to activate the software to use it legally.
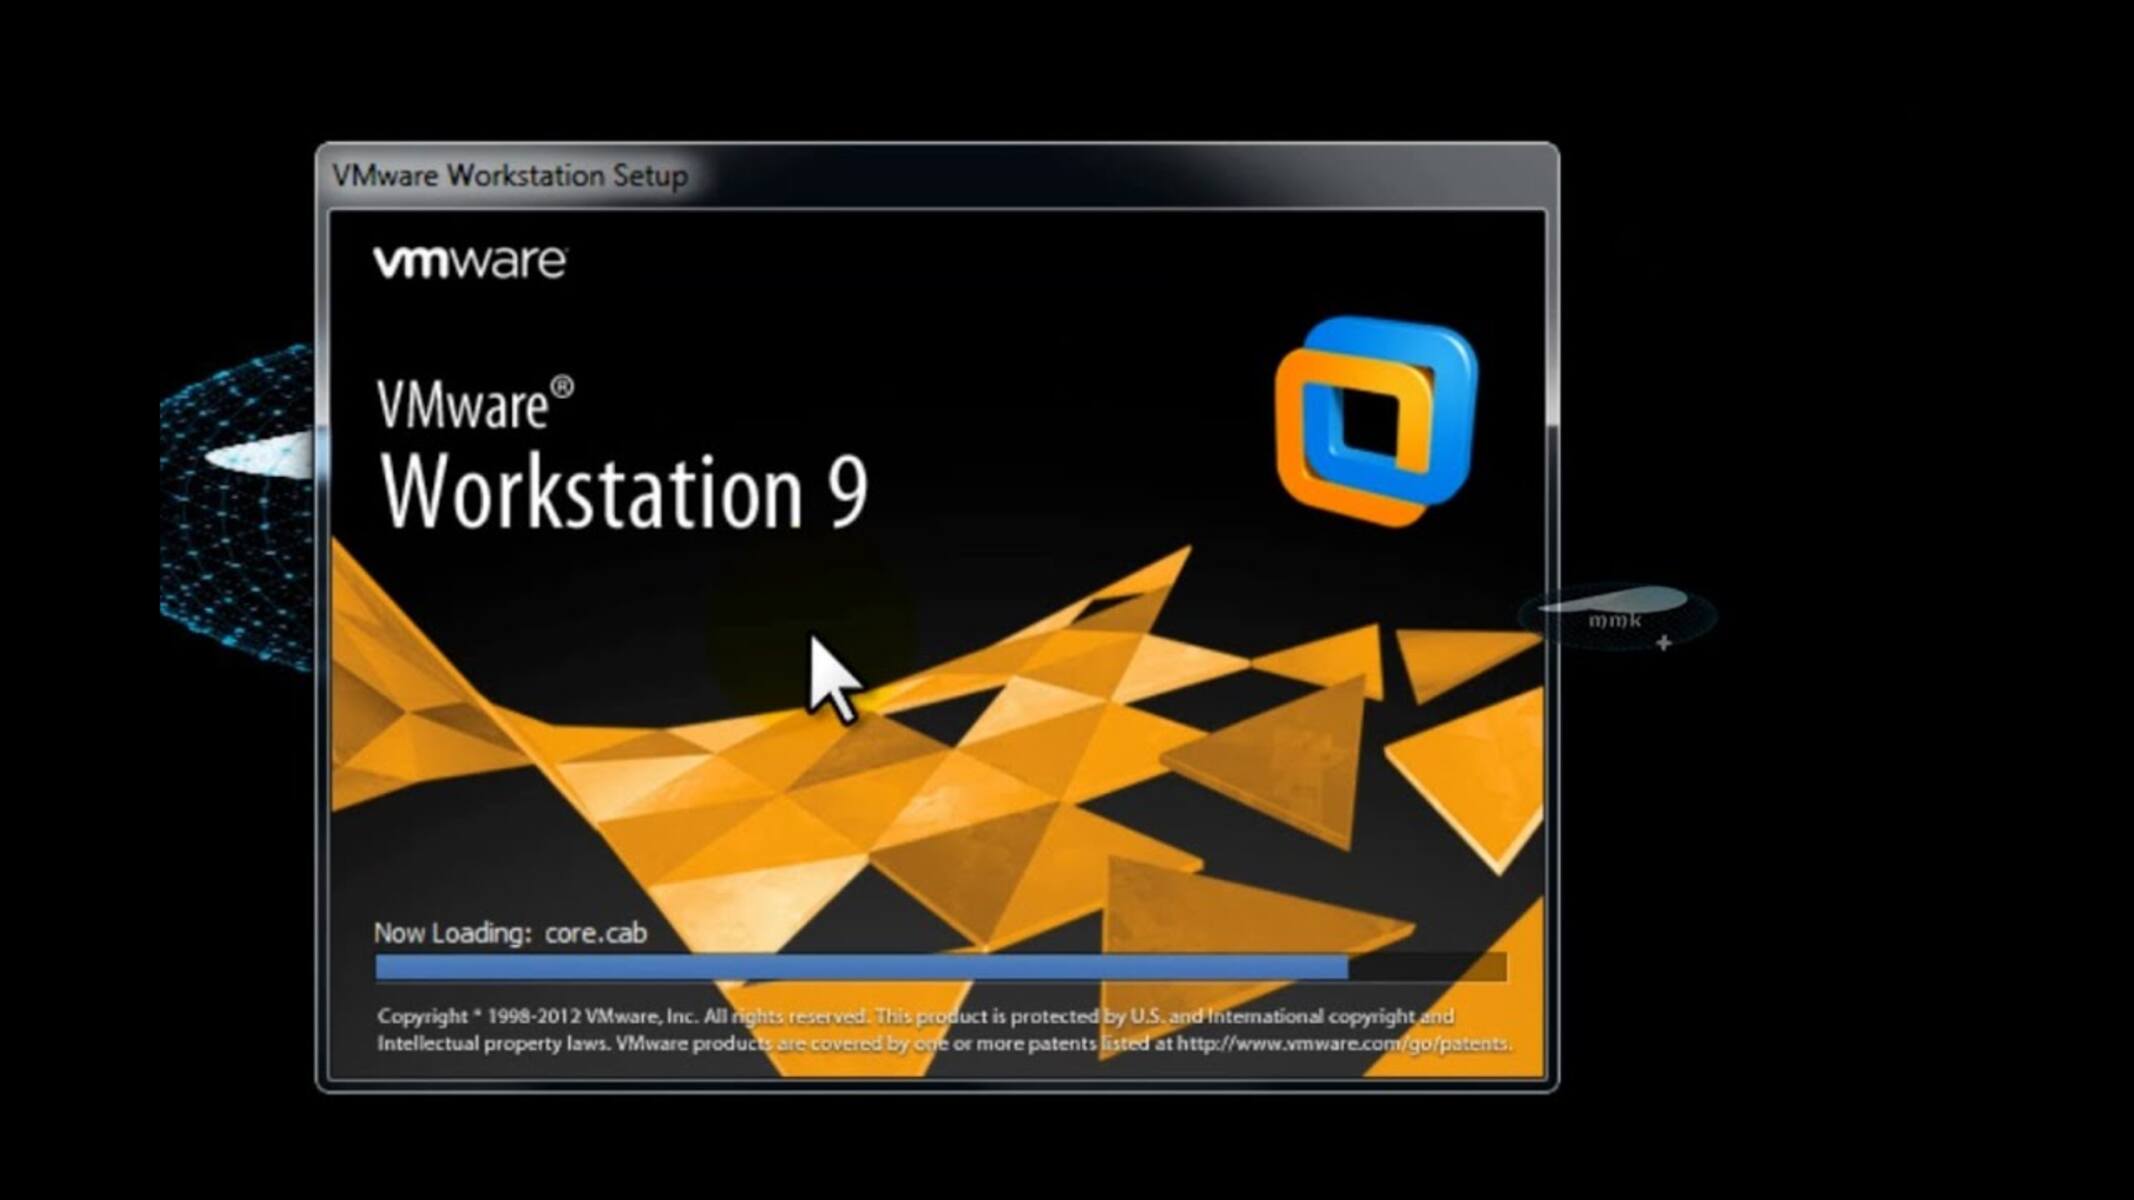
Step 2: Installing VMware Workstation 9
Now that you have successfully downloaded the VMware Workstation 9 installer, it’s time to proceed with the installation process. Follow these steps to install VMware Workstation 9 on your computer:
- Locate the installer file that you downloaded in the previous step. Double-click on the file to launch the installation wizard.
- The installation wizard will guide you through the process. Click on “Next” to proceed.
- Read and accept the End User License Agreement (EULA) by selecting the checkbox and clicking on “Next”.
- Choose the destination folder where you want to install VMware Workstation 9. You can either accept the default location or select a different folder by clicking on “Browse”. Once you have chosen the folder, click on “Next” to continue.
- On the next screen, you will be prompted to select the features you want to install. By default, all features will be selected. If you want to customize the installation, you can uncheck the features you don’t need. Click on “Next” to proceed.
- Configure any additional options or settings as per your preference. You can choose to install VMware Workstation 9 for all users or only the current user. You can also select whether you want to check for updates automatically. Once you have made your selections, click on “Next”.
- Review the summary of the installation settings and click on “Install” to start the installation process.
- Wait for the installation to complete. This may take a few minutes depending on your system’s performance. Once the installation is finished, click on “Finish” to exit the installation wizard.
Now that VMware Workstation 9 is successfully installed on your computer, you are one step closer to using it for free. However, keep in mind that you still need to activate the software to legally use its features and capabilities. Proceed to the next step to learn how to activate VMware Workstation 9.
Step 3: Activating VMware Workstation 9
After installing VMware Workstation 9, the next step is to activate the software. Activation is necessary to validate your license and enable all the features and functionalities of VMware Workstation 9. Here’s how you can activate VMware Workstation 9:
- Launch VMware Workstation 9 by double-clicking on the application icon on your desktop or by searching for it in your computer’s start menu.
- When the software opens, you will be greeted with the VMware Workstation Activation Wizard. Select the option to “Enter a License Key” and click on “Next”.
- In the next screen, you will be prompted to enter your license key. If you have a license key, enter it in the provided field and click on “Next”.
- If you don’t have a license key, click on the option to “Use a Free Trial” and click on “Next”. This will allow you to use the software on a trial basis for a limited period of time.
- Follow the prompts to complete the activation process. If you entered a valid license key, the software will be activated, and you can start using all the features of VMware Workstation 9. If you chose the free trial option, you will have access to the software’s full functionality for the trial period.
Once VMware Workstation 9 is activated, you can start creating virtual machines, running different operating systems, and exploring the various features and capabilities it offers.
It is important to note that activating VMware Workstation 9 using a valid license key or through the free trial option ensures that you are using the software legally and in compliance with VMware’s licensing terms and conditions.
Congratulations! You have now successfully activated VMware Workstation 9, and you are ready to make the most out of this powerful virtualization software.
Step 4: Using VMware Workstation 9 for Free
Now that you have VMware Workstation 9 installed and activated, it’s time to learn how to make the most out of this powerful software. Here are some tips on using VMware Workstation 9 for free:
- Create Virtual Machines: VMware Workstation 9 allows you to create and run multiple virtual machines on your computer. This means you can install and use different operating systems like Windows, Linux, or macOS within VMware Workstation. To create a virtual machine, simply click on the “Create a New Virtual Machine” option and follow the intuitive wizard.
- Customize Virtual Machine Settings: VMware Workstation 9 offers a wide range of customizable settings for your virtual machines. You can adjust the amount of RAM, allocate CPU resources, configure network options, and manage storage settings. Take advantage of these settings to optimize the performance and functionality of your virtual machines.
- Take Snapshots: One of the useful features of VMware Workstation 9 is the ability to take snapshots of your virtual machines. Snapshots allow you to capture the current state of a virtual machine and revert back to it if needed. This is particularly useful when experimenting with different software configurations or testing unstable applications.
- Share Virtual Machines: VMware Workstation 9 allows you to share your virtual machines with others. You can package a virtual machine as an OVA (Open Virtualization Format) file and distribute it to colleagues or clients. This makes it easy to collaborate on projects or share software demos without the need for physical hardware.
- Explore Advanced Features: VMware Workstation 9 offers a range of advanced features that can enhance your virtualization experience. These include Unity mode, which allows you to run applications from a virtual machine directly on your host operating system, and the ability to connect to remote VMware vSphere or ESXi servers. Take the time to explore and experiment with these features to unlock the full potential of VMware Workstation 9.
Using VMware Workstation 9 for free gives you the flexibility to explore different operating systems, test new software, or create virtual environments for development and testing purposes. It provides a convenient and cost-effective solution for running multiple operating systems on a single machine.
Keep in mind that while you can use VMware Workstation 9 for free, it’s important to respect the licensing terms and conditions set by VMware. Ensure that you use the software responsibly and in compliance with the applicable laws and regulations.
Now that you are familiar with the basics of using VMware Workstation 9, it’s time to put your newfound knowledge into practice and enjoy all the benefits this powerful virtualization software has to offer.
Conclusion
Throughout this guide, we have provided step-by-step instructions on how to obtain, install, activate, and use VMware Workstation 9 for free. By following these steps, you can enjoy the benefits of this powerful virtualization software without incurring any costs.
VMware Workstation 9 offers a wide range of features and functionalities that allow you to run multiple operating systems on a single computer. Whether you are a developer, IT professional, or simply an enthusiast, this software provides a convenient and efficient way to test, experiment, and work with different operating systems and applications.
Remember, while you can download and use VMware Workstation 9 for free, it’s essential to abide by the software’s licensing terms and conditions. Ensure that you use the software responsibly and in compliance with the applicable laws and regulations.
With VMware Workstation 9, you can create virtual machines, customize settings, take snapshots, share virtual machines, and explore advanced features. This software empowers you to expand your horizons, tackle new projects, and unleash your creativity.
We hope that this guide has been helpful in providing you with the necessary knowledge and steps to acquire and utilize VMware Workstation 9. Now, it’s time for you to dive in, harness the power of virtualization, and embark on your virtual machine journey.
Enjoy the seamless experience of working with multiple operating systems seamlessly and efficiently with VMware Workstation 9!