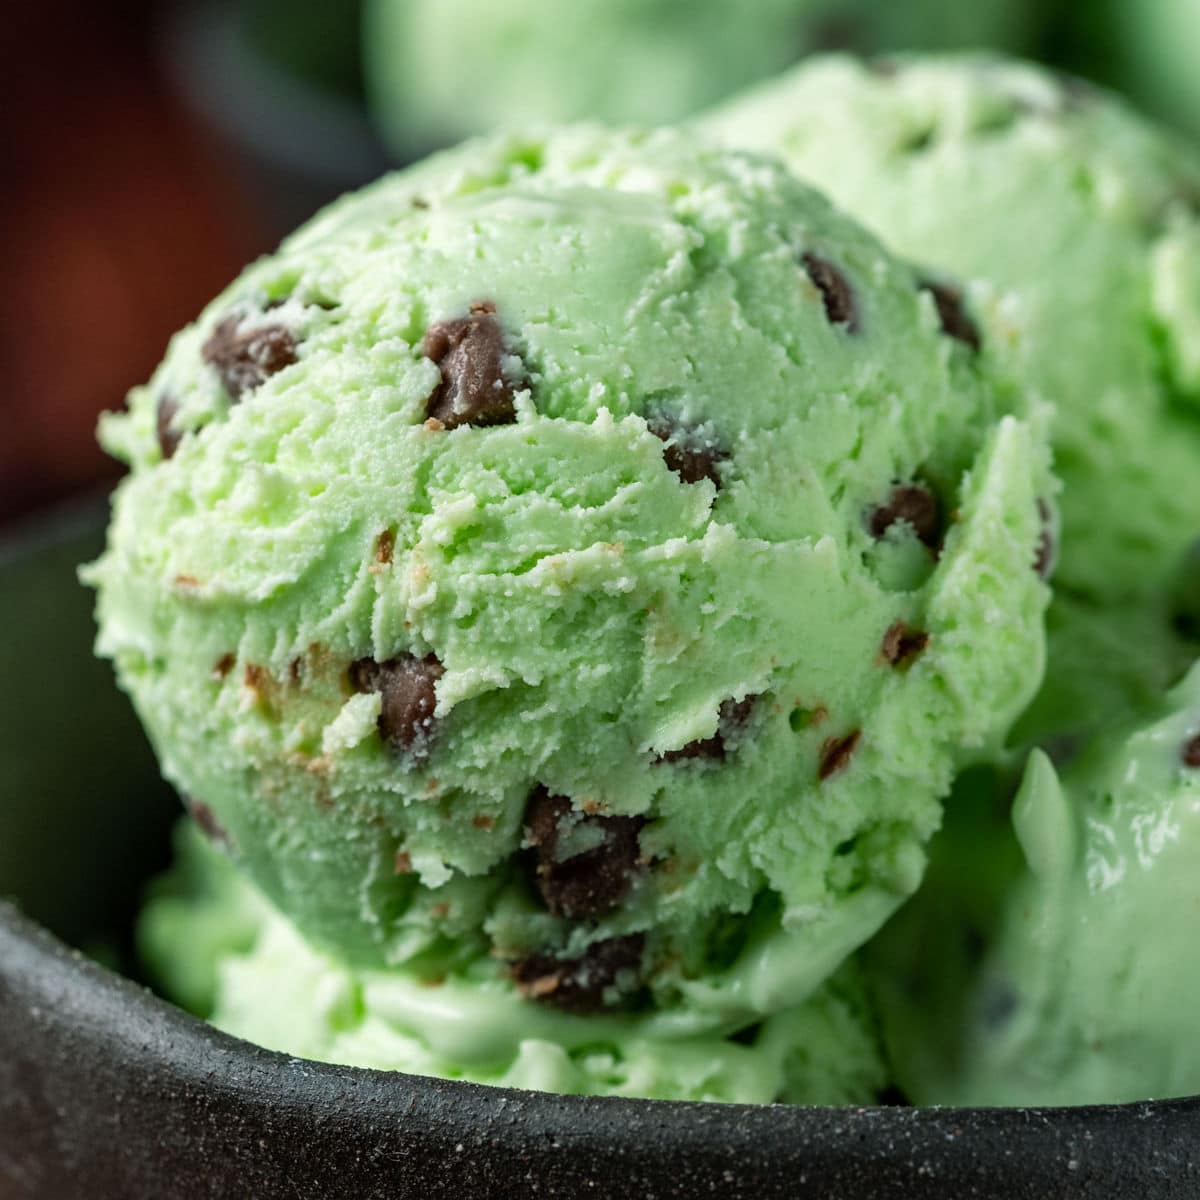
Introduction
Who can resist a delicious bowl of homemade ice cream? If you’re a fan of the classic combination of chocolate and mint, this recipe is a must-try. With the help of an ice cream maker, you can whip up a velvety smooth and refreshing chocolate mint chip ice cream, paired with a creamy vanilla base. The result? A delectable treat that will satisfy your sweet tooth and leave you craving for more.
Making ice cream at home might sound intimidating, but with the right ingredients and equipment, it’s easier than you think. Plus, with an ice cream maker, you can achieve that perfect creamy texture that you usually find in your favorite ice cream shops. So, dust off your ice cream maker and get ready to embark on a homemade ice cream adventure!
In this step-by-step guide, we’ll walk you through the process of making chocolate mint chip and vanilla ice cream using your ice cream maker. From preparing the ice cream maker to churning the ice cream base and adding the perfect amount of chocolate chips, we’ll cover every detail to ensure you get the most delicious results.
Whether you want to surprise your family with a delightful dessert or impress your friends at a summer gathering, this homemade chocolate mint chip vanilla ice cream will surely delight everyone’s taste buds. So, let’s grab our ingredients and get ready to make this irresistible frozen treat!
Ingredients
To make this delightful chocolate mint chip vanilla ice cream, you’ll need the following ingredients:
- 2 cups heavy cream
- 1 cup whole milk
- 3/4 cup granulated sugar
- 1/4 teaspoon salt
- 4 large egg yolks
- 1 teaspoon vanilla extract
- 1 teaspoon mint extract
- 1 cup chocolate chips
- Optional: mint leaves for garnish
These simple ingredients can be easily found in your local grocery store. Make sure to use high-quality chocolate chips for the best flavor. You can also experiment with different types of mint extracts or add some crushed mint leaves for an extra burst of freshness.
If you prefer a lighter version of this ice cream, you can use half-and-half instead of heavy cream. However, keep in mind that it might affect the creaminess and richness of the final product.
Now that you have all the ingredients ready, it’s time to gather the necessary equipment and start making your chocolate mint chip vanilla ice cream.
Equipment Needed
Before you begin making your delicious chocolate mint chip vanilla ice cream, make sure you have the following equipment on hand:
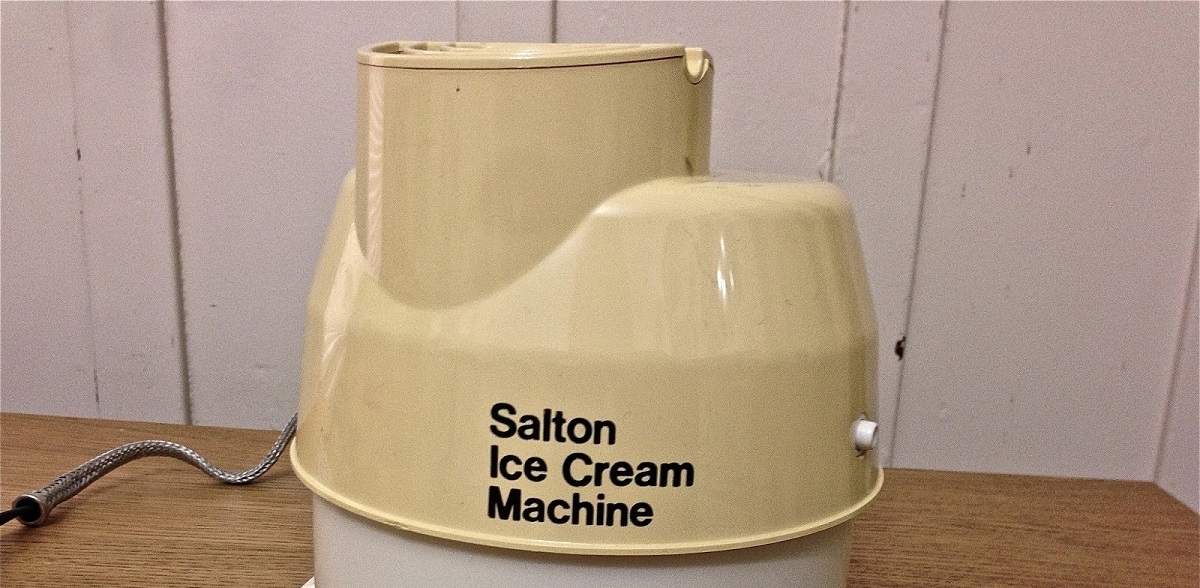
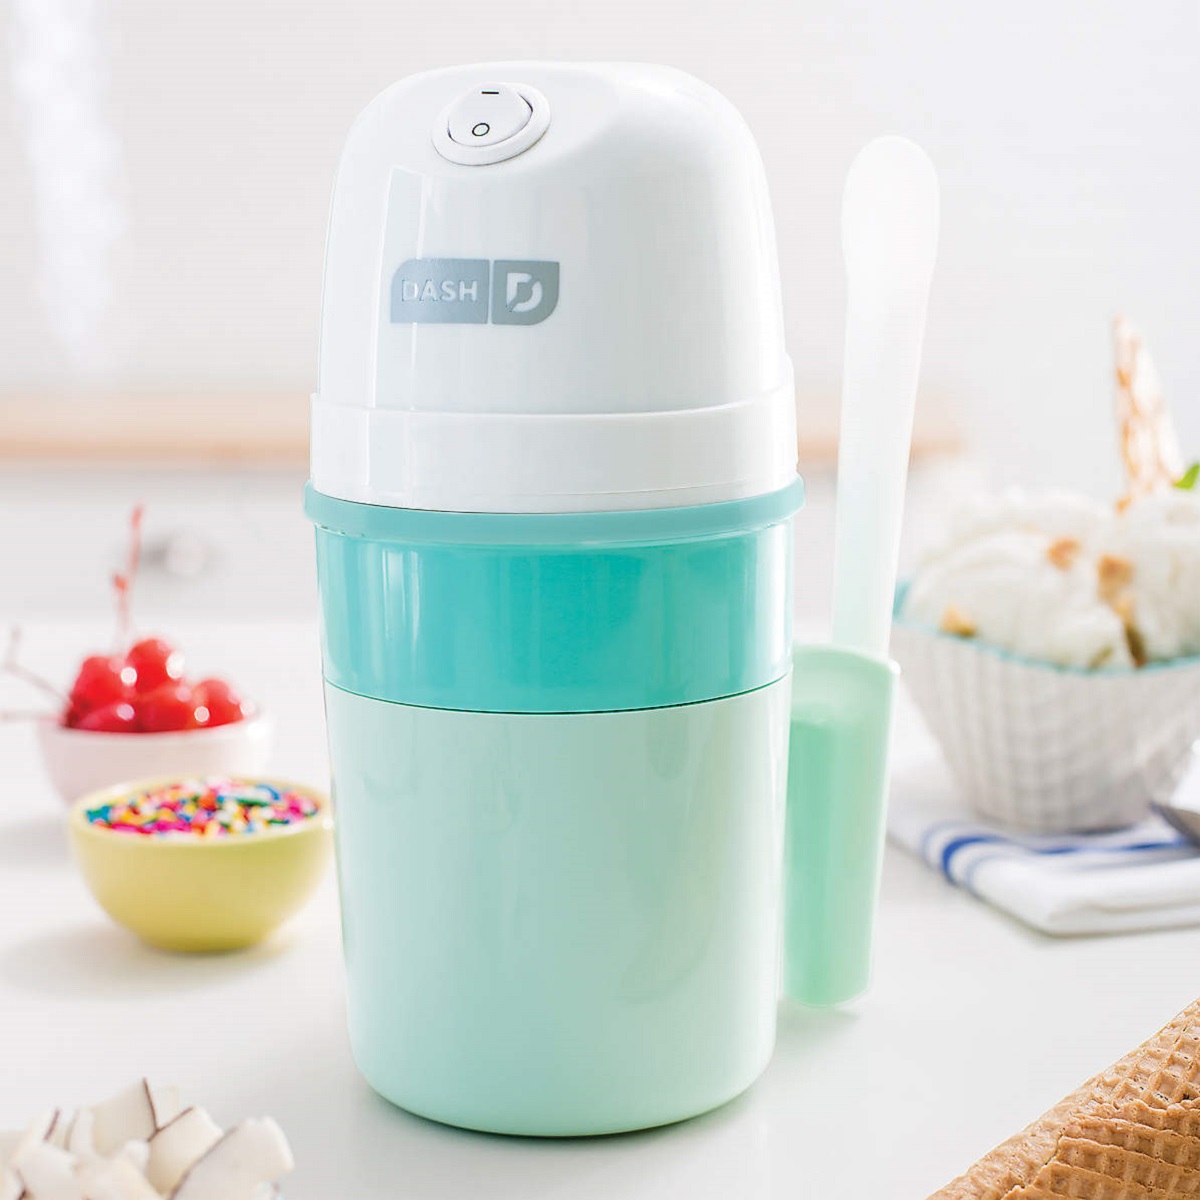
- Ice cream maker: This is the key tool you’ll need to churn and freeze your ice cream mixture. There are different types of ice cream makers available, such as electric and manual ones. Choose the one that suits your preference and budget.
- Mixing bowls: You’ll need at least two mixing bowls – one for the ice cream base and another for whipping the egg yolks.
- Whisk or electric mixer: To ensure all the ingredients are well combined, a whisk or electric mixer will come in handy. It will help you achieve a smooth and creamy ice cream base.
- Saucepan: A medium-sized saucepan will be used for heating the milk, cream, sugar, and salt to make the ice cream base.
- Measuring cups and spoons: Accurate measurements are crucial for the success of your ice cream. Use measuring cups and spoons to measure the ingredients precisely.
- Spatula or wooden spoon: To mix and scrape the ice cream base while it’s cooking, a spatula or wooden spoon will be necessary.
- Freezer-safe container: After the ice cream is churned, you’ll need a container to store it in the freezer. Choose a container that can hold at least two quarts of ice cream.
Having these equipment items ready before you start will ensure a smooth and stress-free ice cream making process. Remember to clean and thoroughly dry your equipment before use to maintain hygiene and prevent any unwanted flavors.
Now that you’re equipped with the necessary tools and ingredients, it’s time to dive into the step-by-step process of making your chocolate mint chip vanilla ice cream.
Step 1: Prepare the Ice Cream Maker
Before you can start making your chocolate mint chip vanilla ice cream, it’s important to prepare your ice cream maker. Follow these steps to ensure it’s ready for use:
- Place the bowl of your ice cream maker in the freezer at least 24 hours prior to making the ice cream. This will ensure that the bowl is frozen and ready to churn the ice cream base.
- Check the manufacturer’s instructions for your specific ice cream maker model to familiarize yourself with its features and settings. Different ice cream makers may have different operating instructions and freezer bowl sizes, so it’s important to follow the guidelines provided by the manufacturer.
- Once the bowl is frozen, remove it from the freezer and ensure it’s completely dry. Condensation or moisture can prevent proper freezing and result in a less creamy texture.
- Attach the paddle or churn blade to the ice cream maker according to the instructions. Make sure it’s securely in place before moving on to the next step.
Once you’ve completed these preparation steps, your ice cream maker is ready to go. It’s important to note that if you’re using an electric ice cream maker, you may need to ensure it’s properly plugged in and turned on before adding the ice cream base. Check the manufacturer’s instructions for specific details.
The preparation step may seem simple, but it’s essential for the success of your homemade ice cream. Taking the time to properly prepare your ice cream maker will ensure that you achieve the perfect consistency and texture in your chocolate mint chip vanilla ice cream.
Now that your ice cream maker is prepared, let’s move on to the next step: creating the chocolate ice cream base.
Step 2: Make the Chocolate Ice Cream Base
Now that your ice cream maker is ready, it’s time to start preparing the delicious chocolate ice cream base for your chocolate mint chip vanilla ice cream. Follow these steps to create the base:
- In a medium-sized saucepan, combine the heavy cream, whole milk, granulated sugar, and salt over medium heat.
- Stir the mixture continuously until the sugar has completely dissolved and the mixture is hot but not boiling.
- In a separate bowl, whisk the egg yolks until they are smooth and creamy.
- Slowly pour about 1/2 cup of the hot cream mixture into the bowl with the whisked egg yolks, whisking constantly to temper the eggs. This step will prevent the eggs from cooking and turning into scrambled eggs when added to the hot cream.
- Pour the egg mixture back into the saucepan with the remaining cream mixture, stirring constantly.
- Cook the mixture over medium heat, stirring continuously, until it thickens and coats the back of a spoon. This usually takes about 5-7 minutes.
- Remove the saucepan from heat and stir in the vanilla extract. This will enhance the flavor of the chocolate ice cream.
You have now successfully created the rich and creamy chocolate ice cream base. The next step is to add a refreshing twist with the mint extract.
Optional: If you prefer a smoother ice cream texture, strain the mixture through a fine-mesh sieve to remove any lumps or solids.
In the next step, we’ll learn how to incorporate the mint extract into the chocolate ice cream base to give it that delightful minty flavor.
Step 3: Add Mint Extract
To create the refreshing mint flavor in your chocolate mint chip vanilla ice cream, it’s time to add the mint extract to the chocolate ice cream base you prepared in the previous step. Follow these instructions to infuse your ice cream with a burst of minty goodness:
- Add the mint extract directly to the warm chocolate ice cream base in the saucepan.
- Start with 1 teaspoon of mint extract and give it a taste. If you prefer a stronger mint flavor, you can add an additional 1/2 teaspoon. Adjust the amount according to your preference. Be careful not to add too much, as it can overpower the chocolate flavor.
- Stir the chocolate and mint mixture thoroughly to ensure the mint extract is evenly distributed.
The addition of mint extract will not only create a refreshing taste but also bring a delightful aroma to your homemade ice cream. A little goes a long way, so it’s important to start with a small amount and adjust according to your preference.
Once you’ve added the mint extract and incorporated it into the chocolate ice cream base, the next step is to churn the mixture in your ice cream maker to achieve that creamy and smooth texture.
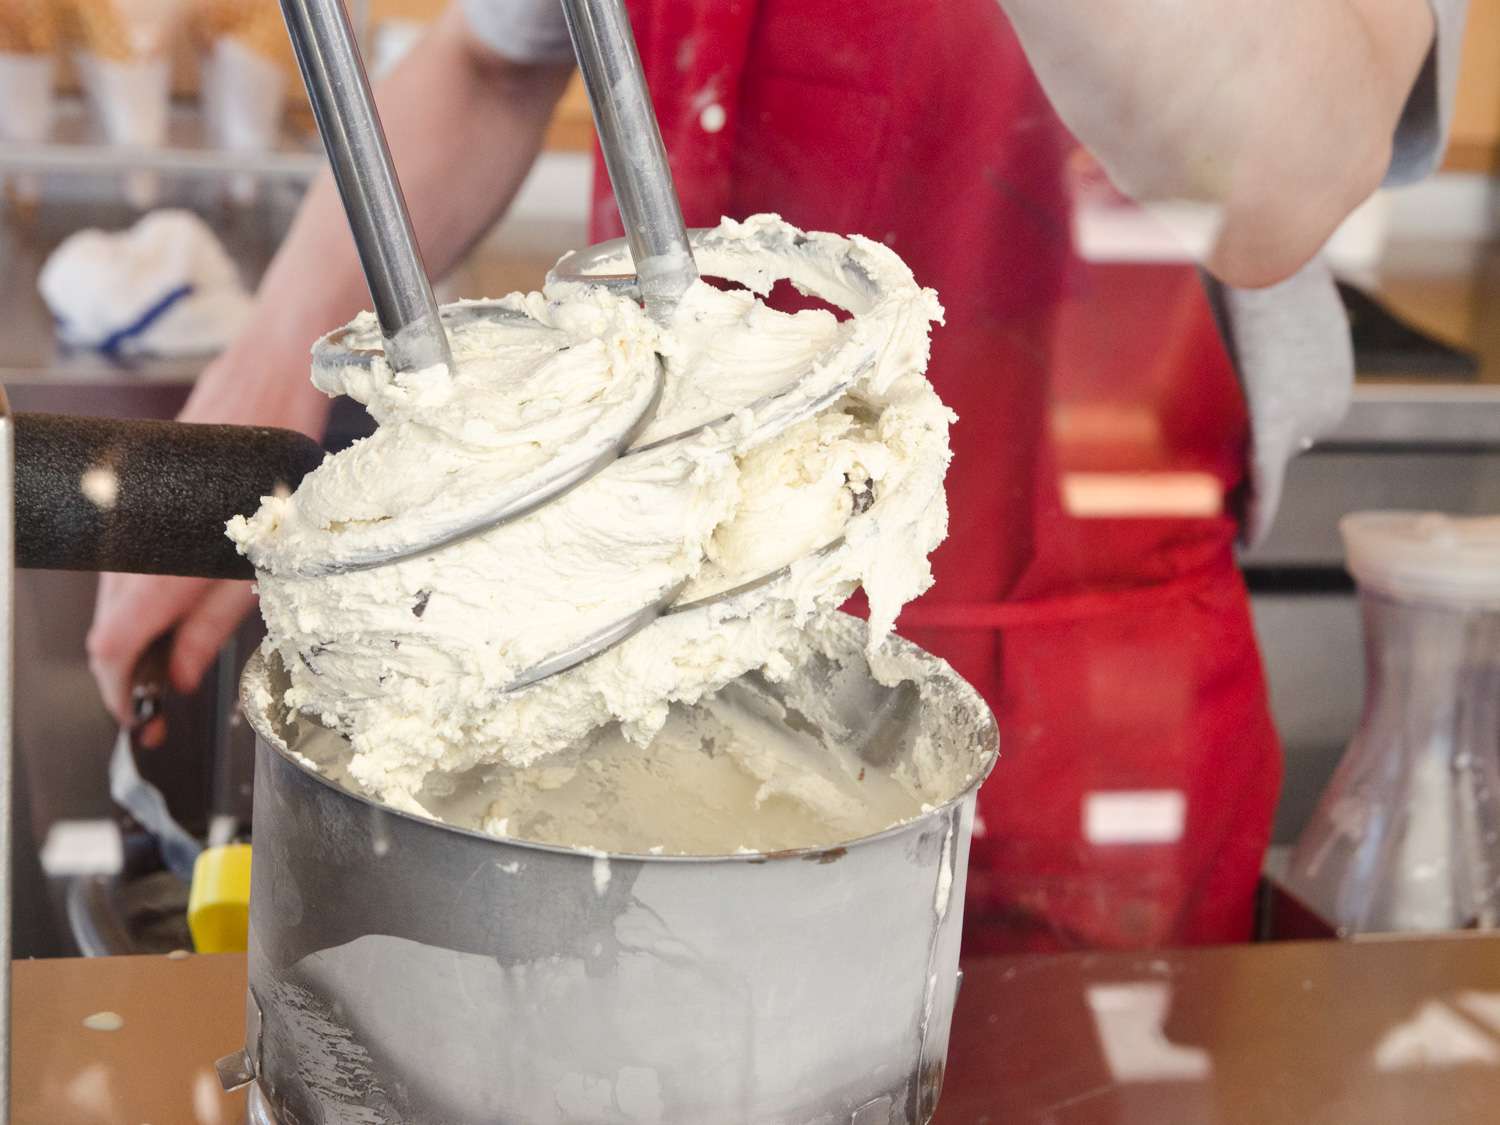
Step 4: Churn the Ice Cream Base
Now that your chocolate mint ice cream base is ready, it’s time to transfer it to the ice cream maker and start churning. Follow these steps to achieve that creamy and velvety texture:
- Make sure your ice cream maker is assembled and the frozen bowl is inserted. Turn on the machine to start the churning process.
- Pour the chocolate mint ice cream base into the ice cream maker’s bowl. Make sure not to overfill it, as the mixture will expand as it churns.
- Follow the manufacturer’s instructions for your specific ice cream maker on how long to churn the ice cream. Typically, it takes around 20-30 minutes for the mixture to thicken and reach a soft-serve consistency.
- While the ice cream is churning, check the ice cream maker periodically to ensure that the mixture is freezing properly and not overflowing. Adjust the settings or stop the machine if necessary.
- As the ice cream churns, the magic happens – the mixture will transform from a liquid to a creamy frozen dessert.
The churning process helps incorporate air into the mixture, giving the ice cream a lighter and smoother texture. The exact churning time may vary depending on your ice cream maker, so it’s important to closely monitor the consistency and texture of the ice cream as it churns.
While the ice cream is churning, you’ll have the perfect opportunity to prepare the chocolate chips that will add a delightful crunch and burst of chocolate flavor to your ice cream. In the next step, we’ll learn how to incorporate them into the chocolate mint ice cream base.
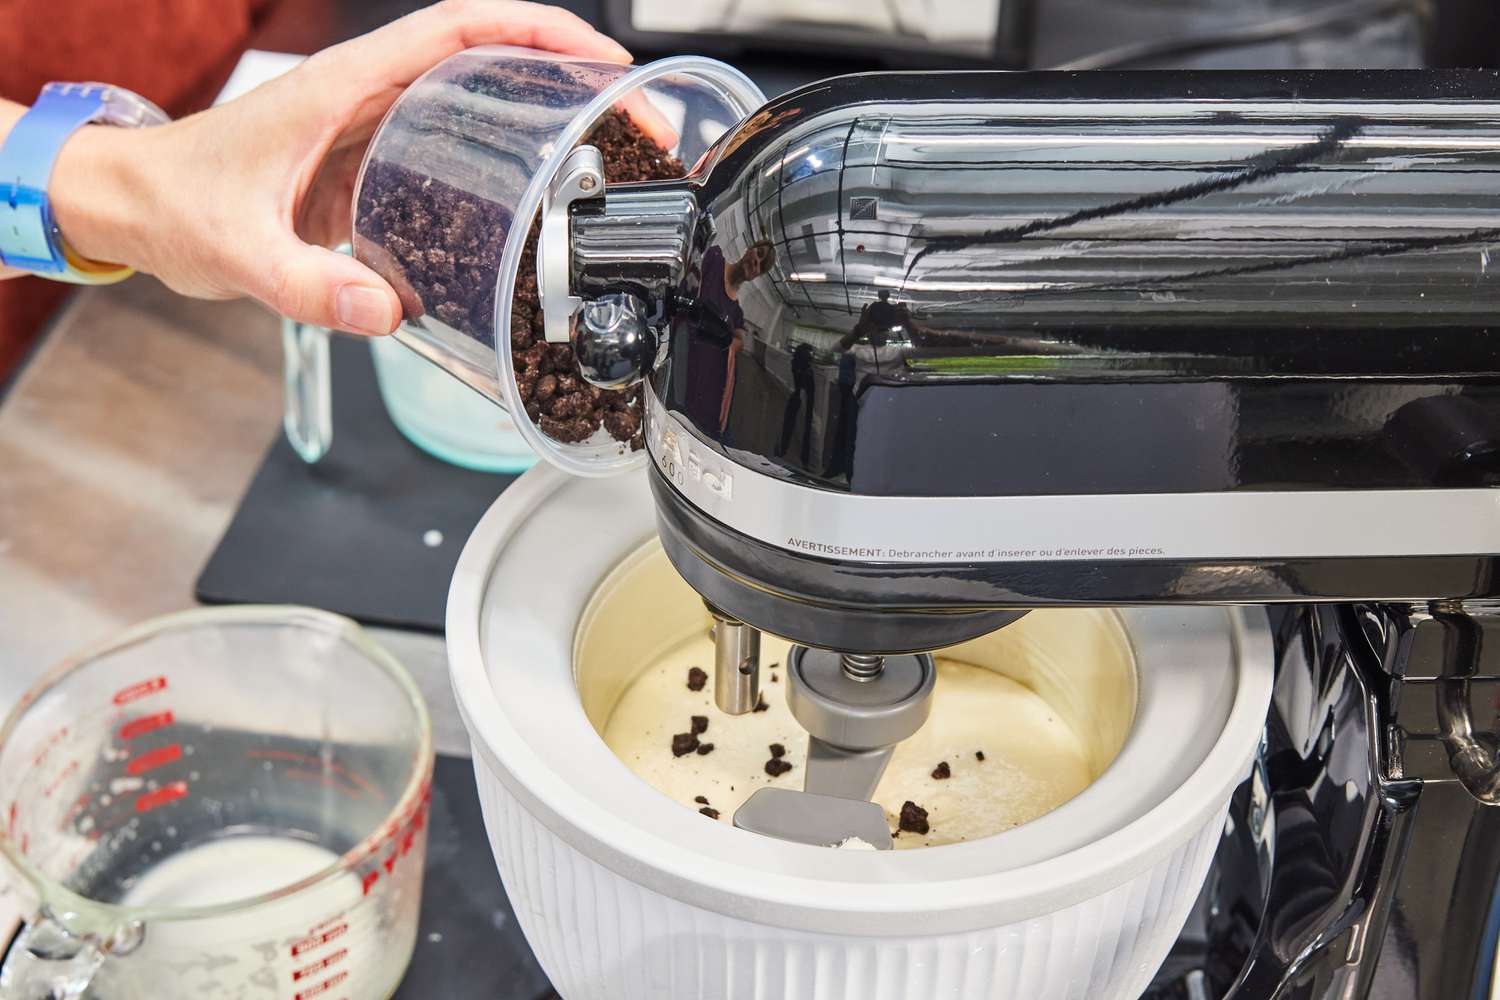
Step 5: Add Chocolate Chips
Now that your chocolate mint ice cream base has reached a creamy soft-serve consistency, it’s time to add the delightful surprise of chocolate chips. Follow these steps to incorporate the chocolate chips into your ice cream:
- Remove the churned ice cream from the ice cream maker and transfer it to a freezer-safe container.
- Sprinkle the chocolate chips evenly over the ice cream base.
- Using a spatula or spoon, gently fold the chocolate chips into the ice cream mixture to ensure they are evenly distributed. Be careful not to overmix.
Adding the chocolate chips at this stage allows them to be evenly distributed throughout the ice cream while providing a delightful crunch in every bite. The chocolate chips will add an extra dimension of flavor and texture to your chocolate mint chip vanilla ice cream.
Once the chocolate chips are incorporated, it’s time to return the ice cream to the freezer for it to fully harden before moving on to the next step. This process ensures that your ice cream is ready to be combined with the vanilla ice cream in the later steps.
In the next step, we’ll learn how to prepare the vanilla ice cream base from scratch, creating the perfect counterpart to the rich chocolate mint chip ice cream.
Step 6: Return to Freezer to Harden
After adding the chocolate chips to your delectable chocolate mint chip ice cream, it’s time to allow it to fully harden in the freezer. This step will ensure that your ice cream reaches the perfect texture and consistency. Follow these instructions to complete this crucial step:
- Cover the container containing the chocolate mint chip ice cream with a lid or plastic wrap to prevent freezer burn and maintain the quality of the ice cream.
- Place the container in the freezer and let it harden for at least 4-6 hours, or until it reaches your desired consistency.
- During this time, the ice cream will firm up and develop a smoother texture, making it easier to combine with the vanilla ice cream later on.
It’s important to note that the exact freezing time can vary depending on the temperature of your freezer and the size of your ice cream container. To check if the ice cream is ready, gently press a spoon or finger into the surface. It should feel solid and hold its shape.
Once the ice cream has hardened, it’s time to move on to the next step: preparing the vanilla ice cream base. This creamy and classic flavor will perfectly complement the rich and refreshing chocolate mint chip ice cream.
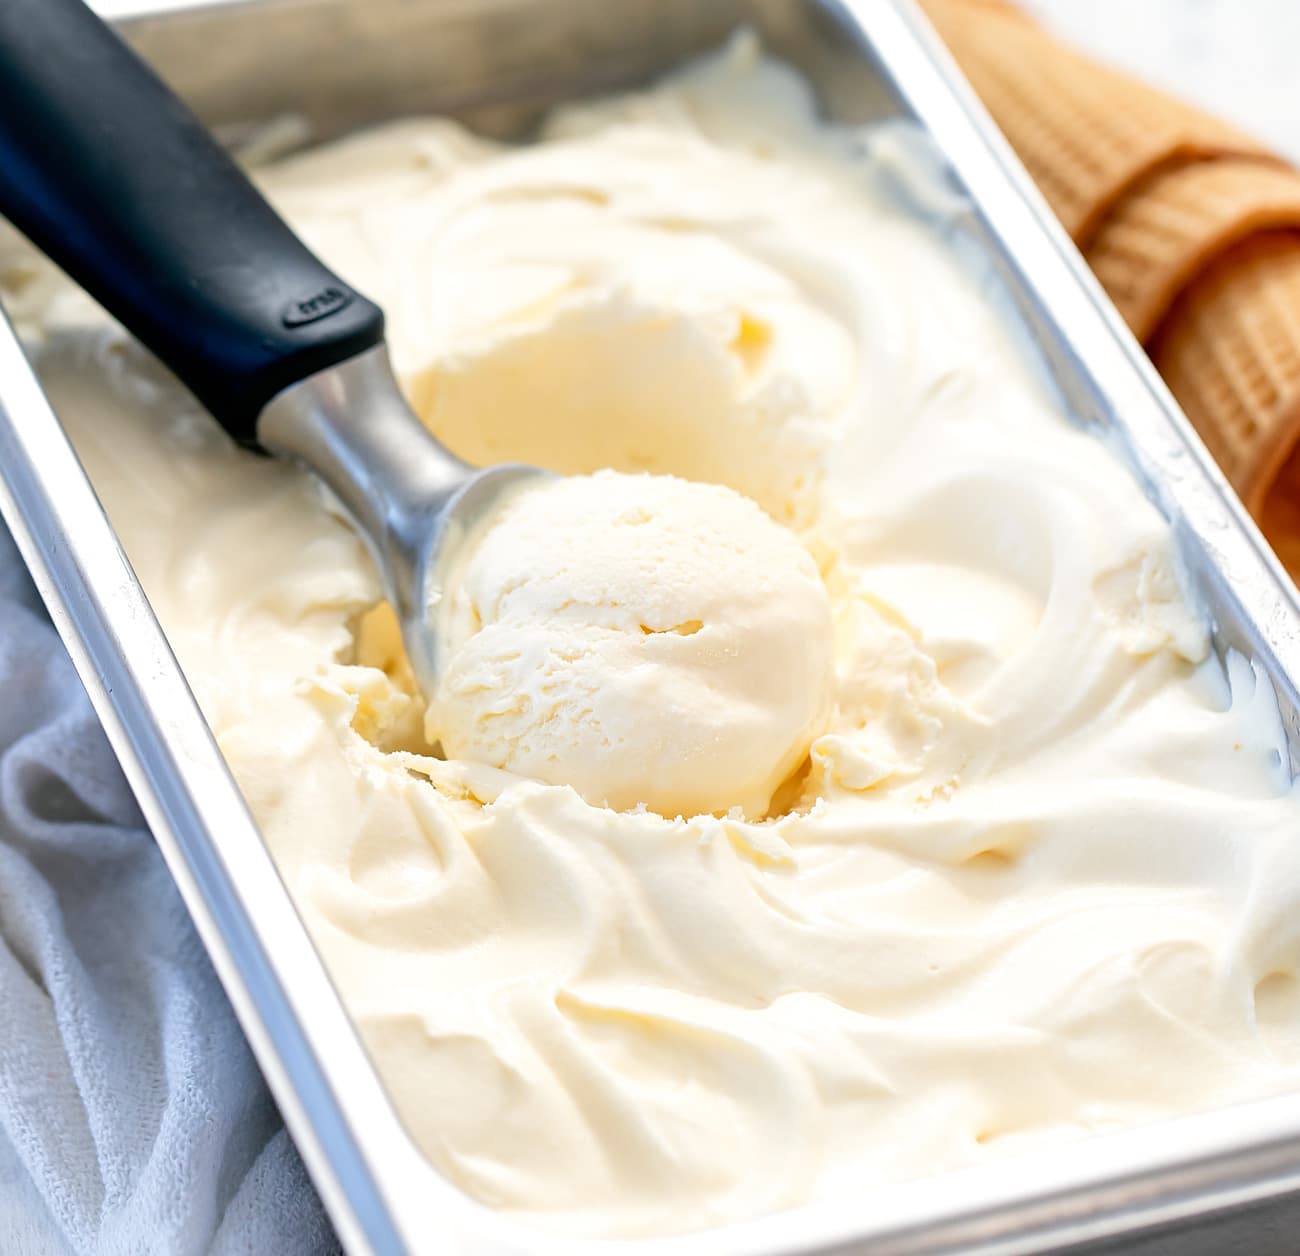
Step 7: Make the Vanilla Ice Cream Base
Now that your chocolate mint chip ice cream has hardened in the freezer, it’s time to prepare the delicious vanilla ice cream base that will complement it perfectly. Follow these steps to create the smooth and creamy vanilla base:
- In a medium-sized saucepan, combine the heavy cream, whole milk, granulated sugar, and salt over medium heat.
- Stir the mixture continuously until the sugar has completely dissolved and the mixture is hot but not boiling.
- In a separate bowl, whisk the egg yolks until they are smooth and creamy.
- Gradually pour about 1/2 cup of the hot cream mixture into the bowl with the whisked egg yolks, whisking constantly to temper the eggs.
- Pour the egg mixture back into the saucepan with the remaining cream mixture, stirring constantly.
- Cook the mixture over medium heat, stirring continuously, until it thickens and coats the back of a spoon, similar to the chocolate ice cream base. This usually takes about 5-7 minutes.
- Remove the saucepan from heat and stir in the vanilla extract.
The vanilla ice cream base provides a smooth and creamy backdrop to highlight the flavors of the chocolate mint chip ice cream. The addition of the vanilla extract lends a classic and comforting taste that pairs well with a variety of toppings and mix-ins.
Once you’ve prepared the vanilla ice cream base, it’s time to churn it in the ice cream maker to achieve that perfect texture and blend it with the chocolate mint chip ice cream in the later steps.
Step 8: Churn the Vanilla Ice Cream Base
With the vanilla ice cream base prepared, it’s time to churn it into a smooth and creamy delight. Follow these steps to achieve the perfect texture for your vanilla ice cream:
- Ensure that your ice cream maker is clean and the frozen bowl is still cold from being in the freezer. Assemble your ice cream maker according to the manufacturer’s instructions.
- Pour the prepared vanilla ice cream base into the ice cream maker’s bowl.
- Turn on the machine and let it churn for about 20-30 minutes or according to the manufacturer’s instructions. The ice cream will gradually thicken and take on a creamy consistency.
- Periodically check on the ice cream during the churning process to ensure it’s not overflowing and that it’s freezing properly. Adjust the settings or stop the machine if needed.
- Once the vanilla ice cream has thickened and reached a soft-serve consistency, it’s ready to be combined with the chocolate mint chip ice cream.
Churning the vanilla ice cream will incorporate air, creating a light and fluffy texture. The process also helps to evenly distribute ingredients throughout the ice cream, resulting in a consistent and delicious end product.
With the vanilla ice cream churned to perfection, it’s time to add the finishing touch – more chocolate chips! In the next step, we’ll learn how to incorporate the extra chocolate chips into the vanilla ice cream to elevate its flavor and presentation.
Step 9: Add More Chocolate Chips
Now that your vanilla ice cream has been churned to a creamy and velvety consistency, it’s time to take it to the next level by adding more chocolate chips. Follow these steps to incorporate the additional chocolate chips into your vanilla ice cream:
- Remove the churned vanilla ice cream from the ice cream maker and transfer it to a freezer-safe container.
- Sprinkle an additional amount of chocolate chips over the vanilla ice cream.
- Gently fold the chocolate chips into the ice cream using a spatula or spoon. Ensure that the chocolate chips are evenly distributed throughout the mixture.
Adding more chocolate chips at this stage will create a delightful contrast of texture and flavor in your vanilla ice cream. As you savor each spoonful, you’ll come across bursts of rich chocolate that perfectly complement the smooth and creamy vanilla base.
Once the chocolate chips are incorporated, it’s time to proceed with the final step – combining the chocolate mint chip ice cream and vanilla ice cream to create a delectable swirl of flavors in the freezer.
Step 10: Combine Chocolate Mint Chip and Vanilla Ice Cream
Now comes the exciting step of combining the delicious chocolate mint chip and vanilla ice cream to create a swirl of flavors in your frozen treat. Follow these steps to achieve the perfect combination:
- Remove both the hardened chocolate mint chip ice cream and vanilla ice cream from the freezer.
- Take a large spoon or ice cream scoop and alternate scooping portions of the chocolate mint chip and vanilla ice cream into the same freezer-safe container.
- Once all the ice cream is in the container, use a spoon or spatula to gently swirl the two flavors together. Be careful not to overmix; you want to create distinct ribbons of chocolate mint and vanilla.
Combining the two flavors creates a delectable and visually appealing dessert that balances the refreshing coolness of the mint and the classic sweetness of vanilla. The contrasting flavors and textures of the chocolate mint chip and vanilla ice cream come together harmoniously for an unforgettable experience.
After swirling the ice creams together, cover the container and return it to the freezer for a final hardening period. This will allow the flavors to meld together and for the ice cream to fully set.
In the next step, we’ll discuss how to store your homemade chocolate mint chip vanilla ice cream to keep it fresh and delicious until it’s time to enjoy.
Step 11: Return to Freezer to Fully Harden
After combining the chocolate mint chip and vanilla ice creams, it’s time to let the flavors meld and the ice cream fully set. Following this final step will ensure that your homemade treat is perfectly frozen and ready to be enjoyed. Here’s what you need to do:
- Cover the container containing the swirled chocolate mint chip and vanilla ice cream with a tight-fitting lid or plastic wrap.
- Place the container back in the freezer for at least 4-6 hours, or overnight if possible.
- Allowing sufficient time for the ice cream to fully harden will result in a creamy and firm texture, making it easier to scoop and enjoy.
During this resting period, the ice cream will firm up, melding the flavors of the chocolate mint chip and vanilla and creating a delightful frozen dessert. It’s important to give it enough time to fully harden for the best eating experience.
Once the ice cream has hardened, it’s ready to be scooped into bowls or cones, shared with loved ones, or enjoyed all by yourself. The combination of rich chocolate mint chip and creamy vanilla in every bite will surely satisfy your cravings and leave you wanting more.
Remember to keep the container covered tightly each time you return it to the freezer to prevent ice crystal formation and maintain the best quality and flavor.
Congratulations! You’ve successfully gone through all the steps to create your homemade chocolate mint chip vanilla ice cream. Now, it’s time to indulge in this luscious frozen treat and share the joy with family and friends.
Conclusion
Congratulations on making your own delectable chocolate mint chip vanilla ice cream! By following the step-by-step guide, you’ve created a frozen treat that combines the refreshing flavors of mint with the classic sweetness of vanilla. Each scoop will delight your taste buds with the perfect balance of creamy textures and bursts of chocolate chips.
Creating homemade ice cream allows you to customize the flavors, adjust the sweetness to your liking, and experiment with different mix-ins and toppings. The process may seem intimidating at first, but with practice and the right tools, you’ll become a master ice cream maker in no time.
From preparing the ice cream maker to churning the ice cream bases and incorporating the flavors, each step was designed to ensure that your final creation is a delectable masterpiece. Remember to savor the journey as much as the end result, and don’t be afraid to get creative and put your own unique twist on the recipe.
Now that you have the skills and knowledge to make homemade ice cream, the possibilities are endless. You can experiment with different flavor combinations, explore new mix-ins, or even create your own signature ice cream flavors. Get creative, have fun, and enjoy the delightful experience of making and sharing homemade ice cream with your loved ones.
So, grab a scoop, sit back, and relish the sweet rewards of your hard work. Whether you enjoy it on a hot summer day or as a comforting dessert year-round, your homemade chocolate mint chip vanilla ice cream is sure to bring smiles and joy to everyone who tastes it.
Thank you for embarking on this ice cream-making journey with us. We hope you thoroughly enjoyed the process and the end result. Keep exploring and delighting in the world of homemade treats. Happy ice cream making!