Introduction
Welcome to this guide on how to install a new motherboard in your computer. Whether you’re upgrading your system or replacing a faulty motherboard, this step-by-step tutorial will walk you through the process and help ensure a successful installation.
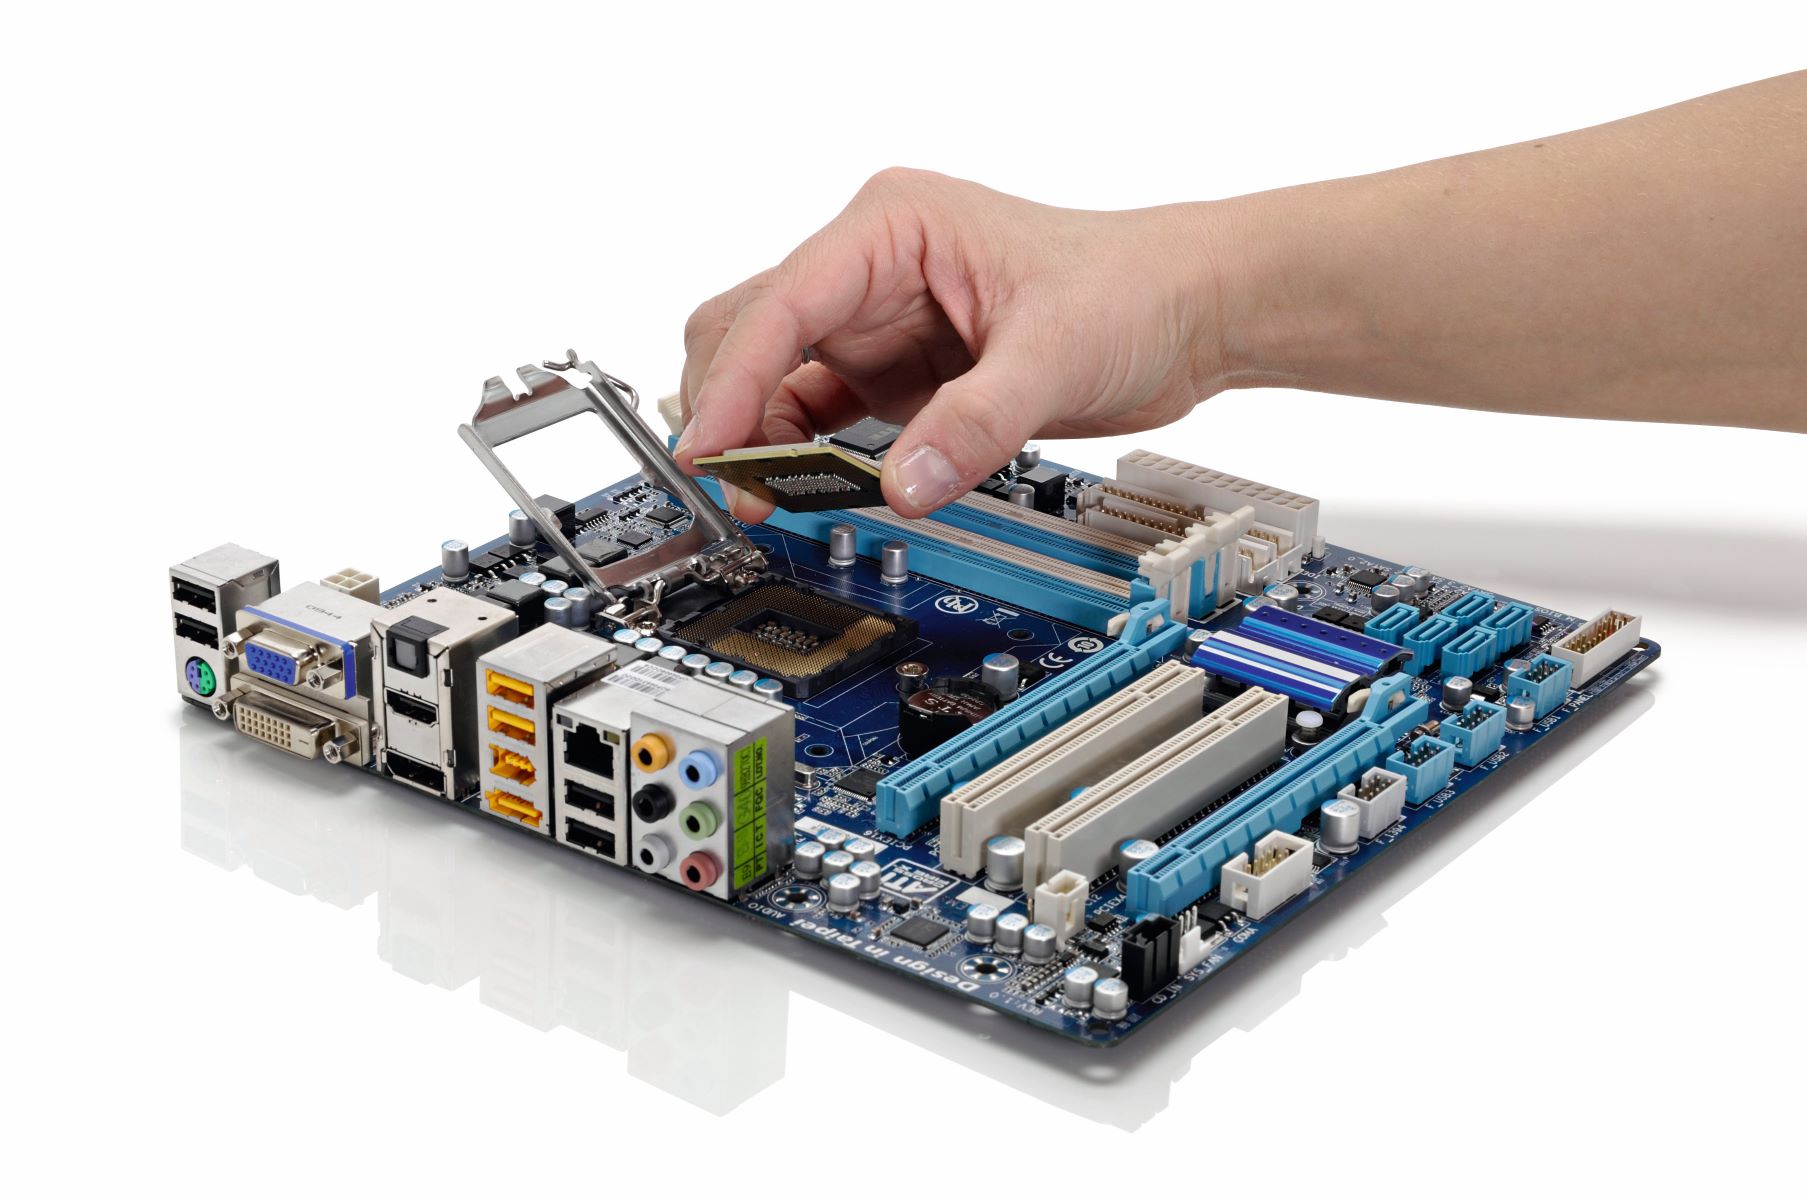
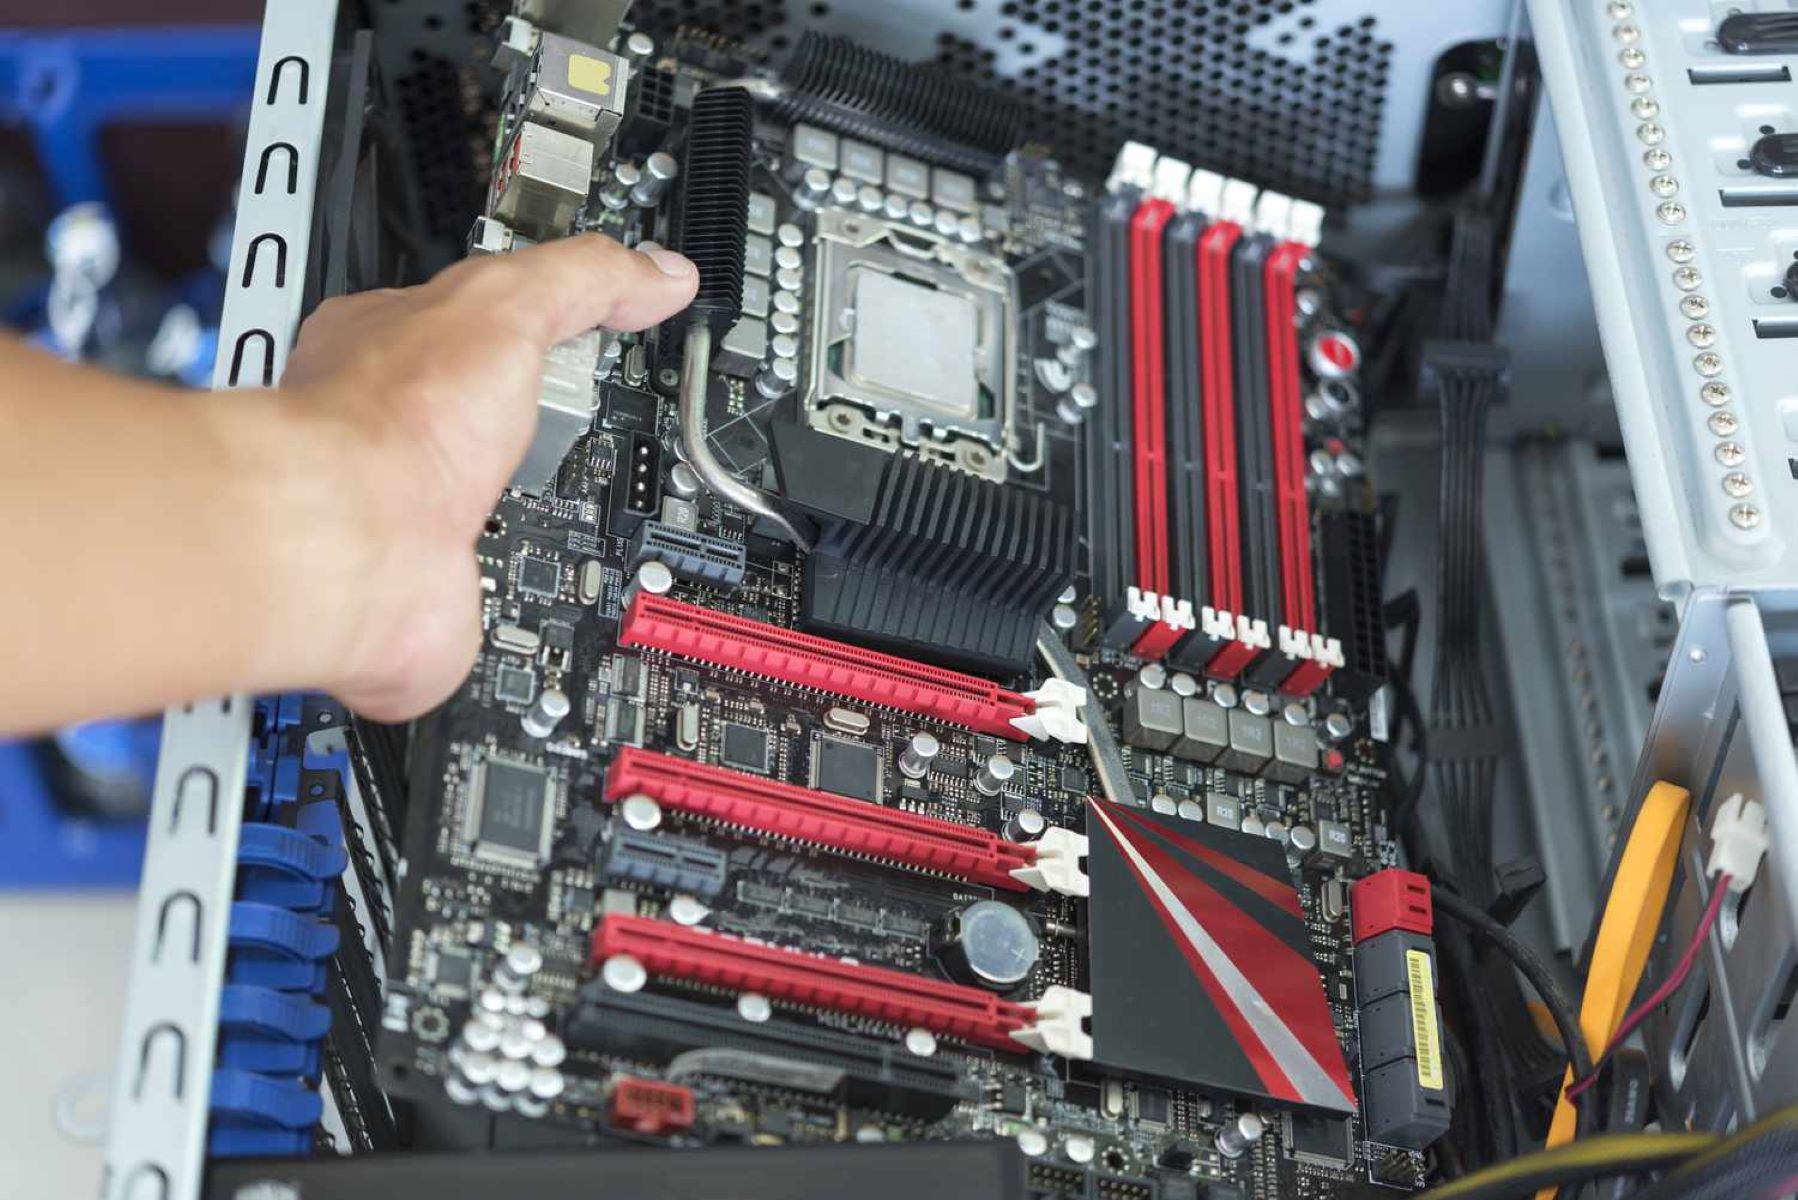
The motherboard is a crucial component of your computer as it houses the CPU, RAM, and other essential hardware. Upgrading to a new motherboard can bring improved performance, additional features, and compatibility with newer hardware components.
However, installing a new motherboard can be a slightly challenging task, especially if you’re new to computer hardware. But don’t worry, this guide will break down the process into easy-to-follow steps, making it accessible to both beginners and more experienced users.
Before we dive into the installation process, it’s important to mention that every computer system is unique, and there may be variations in the installation process depending on your specific hardware configuration. It’s always a good idea to consult your motherboard’s manual for any specific instructions or additional steps.
Additionally, it’s crucial to take proper precautions while working with computer hardware. Make sure to ground yourself properly and avoid static electricity to prevent damage to sensitive components.
In the upcoming sections, we’ll discuss the tools and materials you’ll need, how to prepare your system for installation, step-by-step instructions for removing the old motherboard and installing the new one, connecting cables and components, and finally, testing and troubleshooting the new motherboard.
So, without further ado, let’s jump in and start exploring the process of installing a new motherboard in your computer!
Step 1: Gather the necessary tools and materials
Before you begin the installation process, it’s essential to gather all the necessary tools and materials. Having everything ready will help streamline the installation and prevent any unnecessary delays or interruptions. Here’s a list of items you’ll need:
- Screwdriver: You’ll need a Phillips screwdriver to remove screws and secure the new motherboard in place. Ensure it’s the correct size for your system’s screws.
- Thermal paste: If your new motherboard doesn’t include a pre-applied thermal paste, you’ll need to have some on hand. Thermal paste helps in transferring heat from the CPU to the heatsink.
- Anti-static wrist strap: It’s important to protect your sensitive computer components from static electricity. An anti-static wrist strap will help ground you and prevent any unwanted static discharge.
- Cable ties: These are handy for organizing and securing cables, ensuring good airflow and a neater appearance inside the computer case.
- Component compatibility checklist: Before purchasing a new motherboard, make sure it is compatible with your CPU, RAM, and other hardware components. Having a checklist to refer to during the installation process will help ensure compatibility.
- Cleaning materials: It’s recommended to have some compressed air or a soft brush to clean any dust or debris that may have accumulated inside your computer case.
- Motherboard manual: While not a physical tool, having the motherboard manual accessible is crucial. It provides detailed instructions specific to your motherboard model, such as connector locations and configuration details.
Double-checking that you have all these tools and materials before starting the installation will save you time and frustration. It’s always better to be prepared and have everything on hand.
Once you have gathered all the necessary tools and materials, you’re now ready to move on to the next step: preparing your system for the motherboard installation.
Step 2: Prepare your system for installation
Before you begin installing the new motherboard, it’s crucial to properly prepare your system to ensure a smooth installation process. Here are the steps to follow:
- Power off the computer: Start by shutting down your computer completely. It’s important to disconnect the power source to prevent any potential damage during the installation.
- Unplug all cables: Disconnect all cables from the back of your computer, including the power cable, monitor cable, keyboard, mouse, and any other peripheral devices. This will make it easier to remove the old motherboard later.
- Note cable and component locations: Take a moment to make a mental or written note of where each cable and component is connected to the old motherboard. This will help during the reassembly process with the new motherboard.
- Ground yourself: Grounding yourself is an important step to prevent static electricity damage to sensitive components. Wear an anti-static wrist strap and connect it to a grounded object, such as a metal part of the computer case.
- Open the computer case: Remove the screws or use any latches or levers to open the computer case. Refer to your computer’s manual for specific instructions on how to open the case if needed.
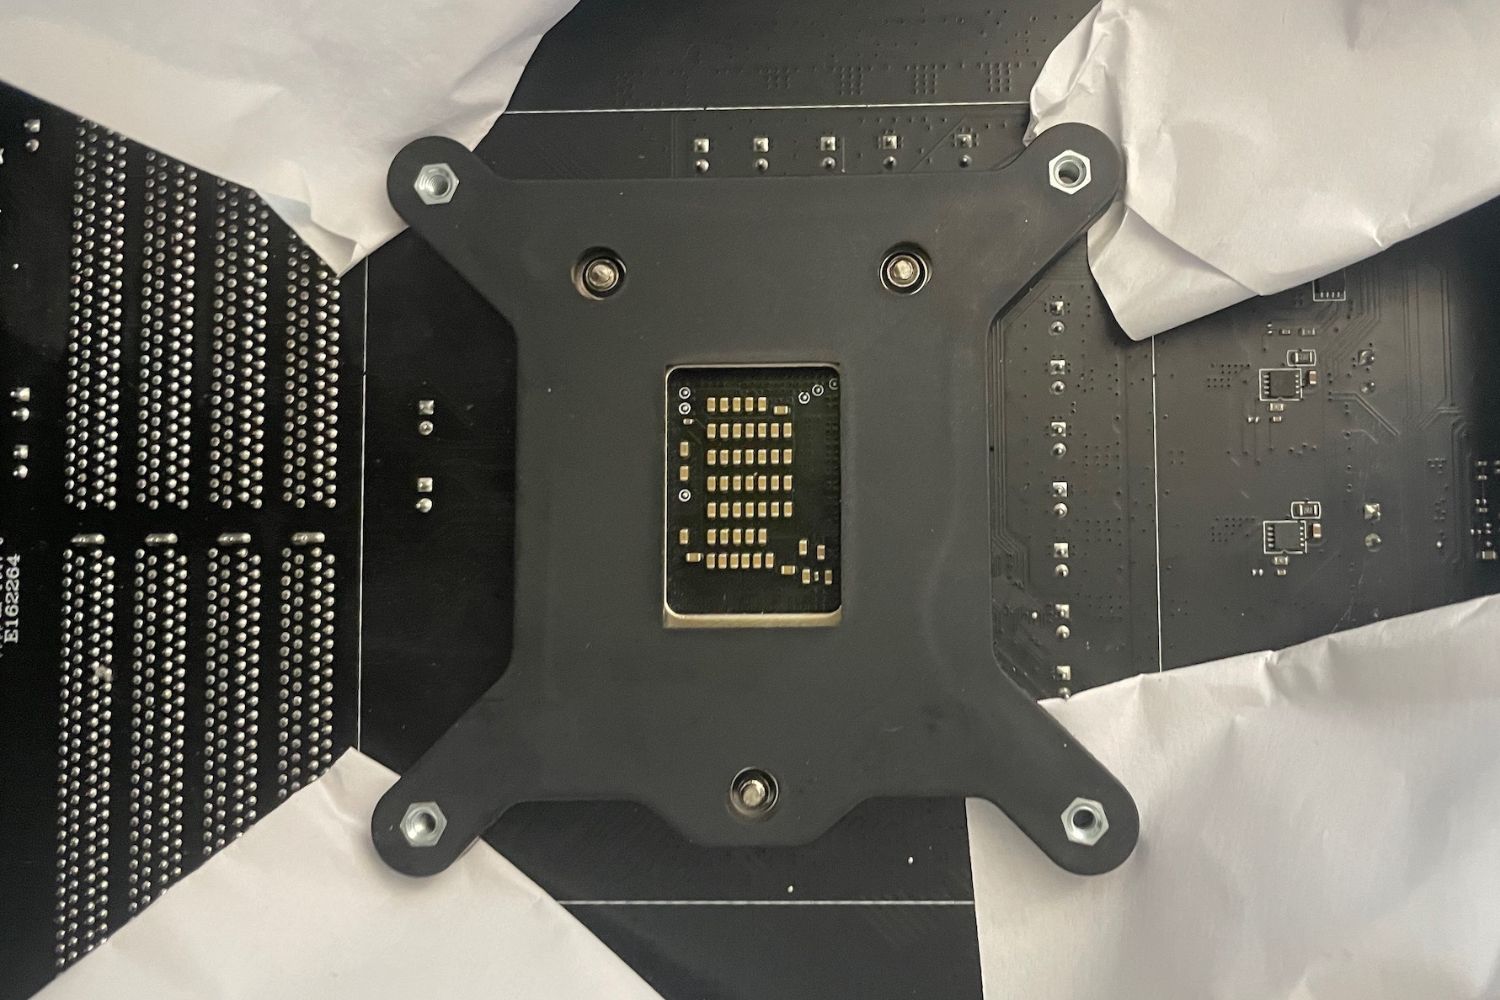
- Take caution with static-sensitive components: Be careful when handling static-sensitive components such as the CPU, RAM, and expansion cards. Hold them by their edges and avoid touching any of the gold contacts or pins.
- Clean the CPU socket: If you’re reusing the existing CPU, carefully remove the heatsink and clean the thermal paste from the CPU and heatsink using isopropyl alcohol and a lint-free cloth or coffee filter.
- Remove any storage drives or cables obstructing the motherboard: If there are any storage drives or cables obstructing the motherboard, gently disconnect and remove them. Take note of their connections for reassembly.
By following these steps, you’ll ensure that your system is properly prepared for the motherboard installation. This preparation will make it easier to remove the old motherboard and install the new one in the next steps.
Next, we’ll move on to Step 3: removing the old motherboard.
Step 3: Remove the old motherboard
Now that you have prepared your system for the installation of a new motherboard, it’s time to remove the old one. Follow these steps to safely remove the old motherboard:
- Disconnect all cables and components: Start by disconnecting all cables and components connected to the old motherboard. This includes the power cables, SATA cables, front panel connectors, and any other cables or components that are attached.
- Remove expansion cards: If there are any expansion cards such as graphics cards or sound cards installed, carefully remove them by releasing the securing bracket or screws and gently pulling them out of their slots.
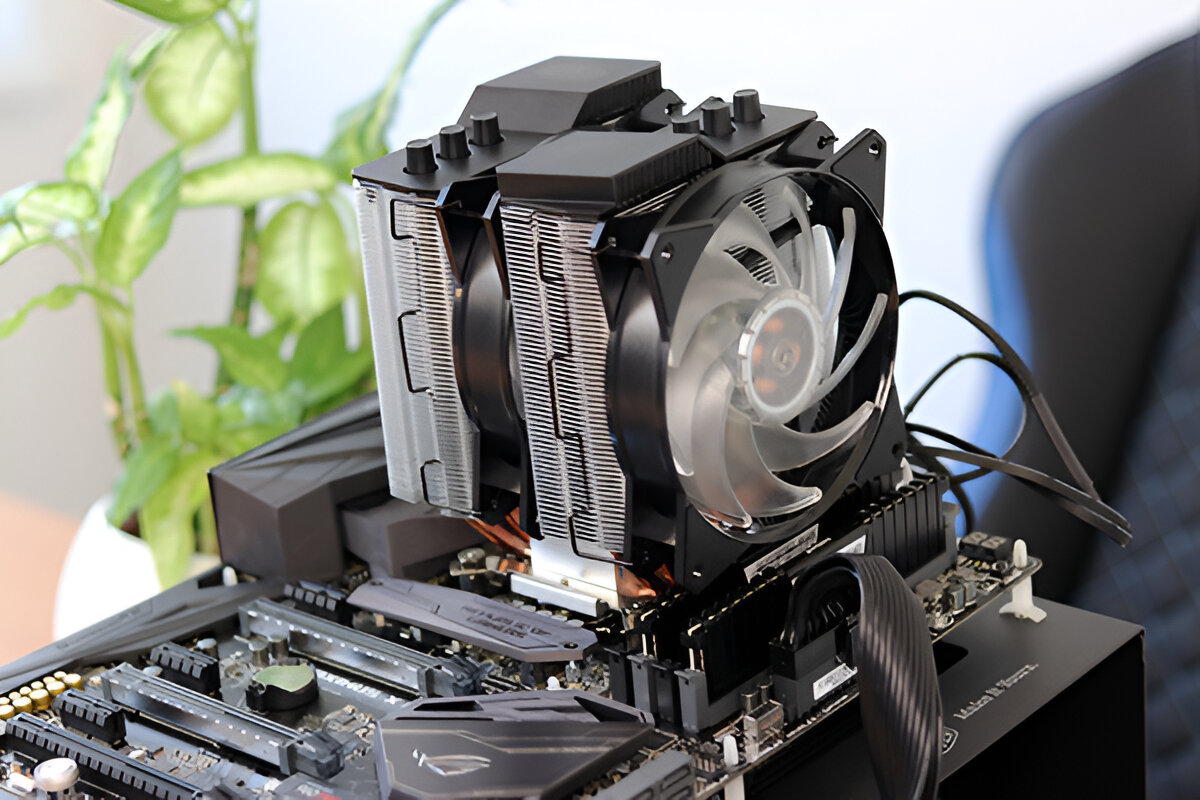
- Remove the CPU cooler: If you’re not planning to reuse the existing CPU cooler, remove it by unscrewing any mounting screws or clips. Gently twist the cooler from side to side to break the thermal bond and lift it off the CPU.
- Release the motherboard screws: Locate the screws securing the motherboard to the computer case. Typically, there are around six to nine screws placed around the edges of the motherboard. Use a screwdriver to remove these screws.
- Gently remove the motherboard: Once the screws have been removed, carefully lift the motherboard away from the case, taking care not to damage any surrounding components or cables.
- Place the old motherboard in an anti-static bag: To protect the old motherboard from static electricity, place it in an anti-static bag or on an anti-static surface. This will prevent any potential damage if you decide to keep it as a spare or need to return it.
With the old motherboard removed, you have cleared the way for the installation of your new motherboard. Take a moment to clean any dust or debris that may have accumulated inside the computer case, ensuring a clean and optimal environment for the installation of the new motherboard.
Now, let’s move on to Step 4: installing the new motherboard.
Step 4: Install the new motherboard
With the old motherboard safely removed, it’s time to install the new motherboard into your computer case. Follow these steps to ensure a successful installation:
- Align the new motherboard: Carefully align the screw holes on the new motherboard with the standoffs in the computer case. Double-check that the I/O shield on the back of the case matches up with the ports on the motherboard.
- Secure the motherboard: Once aligned, gently lower the motherboard into the case. Make sure it sits flush with the standoffs. Then, insert and tighten the screws into each screw hole to secure the motherboard in place. Be careful not to overtighten the screws, as it may damage the motherboard.
- Connect the power supply: Locate the main power connector on the motherboard and connect the corresponding power supply plug. It usually has a large 24-pin or 20+4-pin connector. Ensure it is firmly seated into the socket.
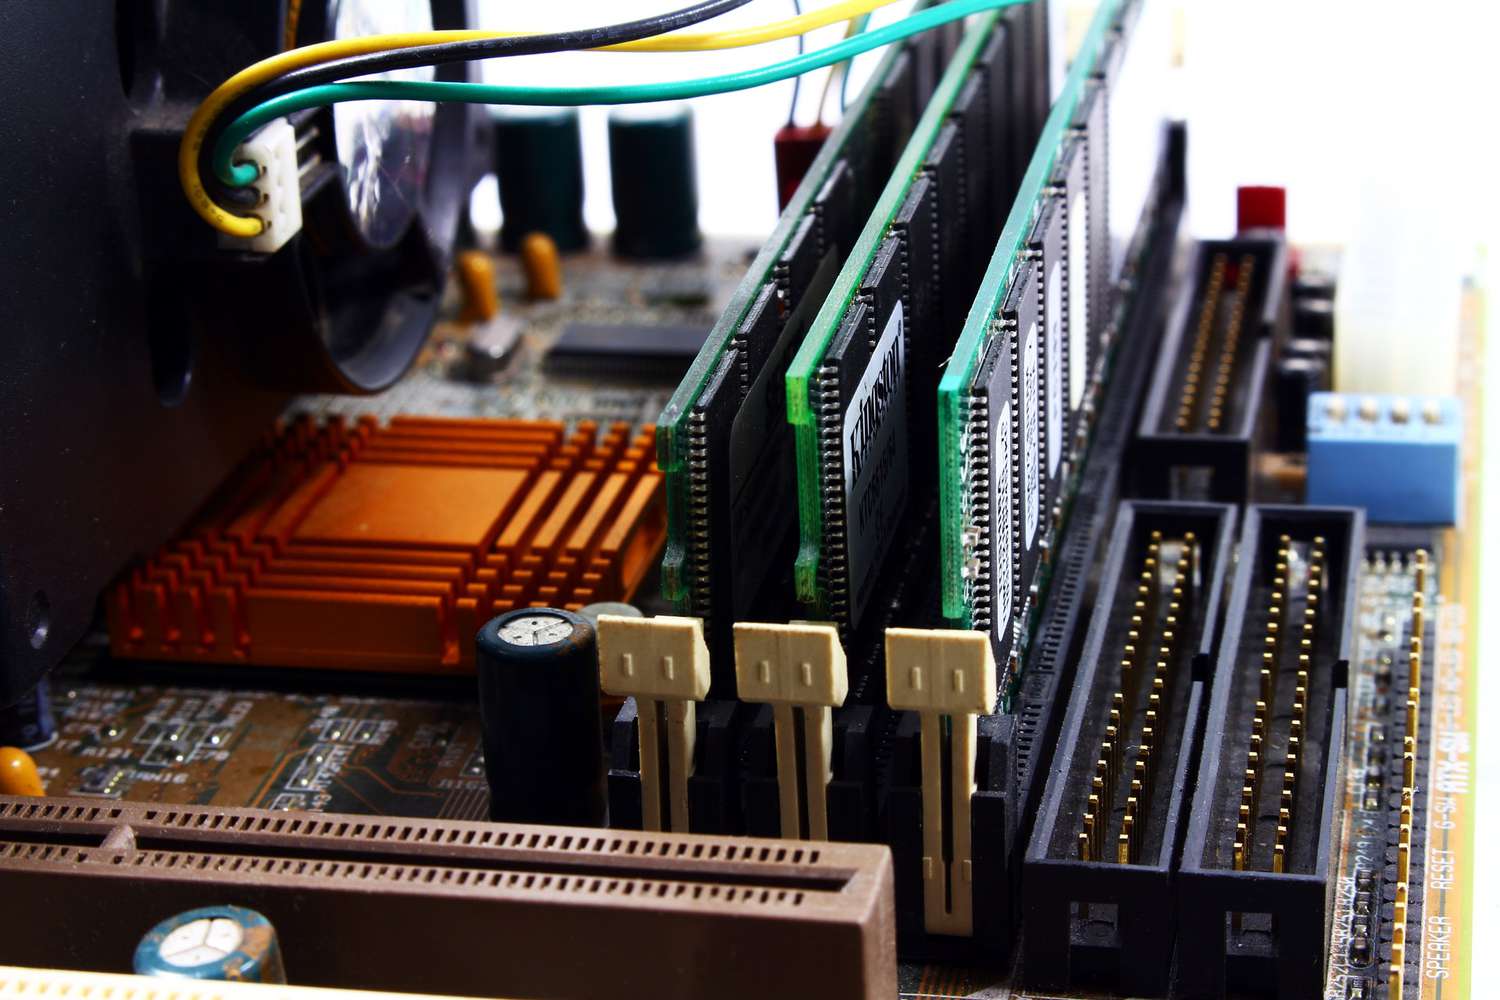
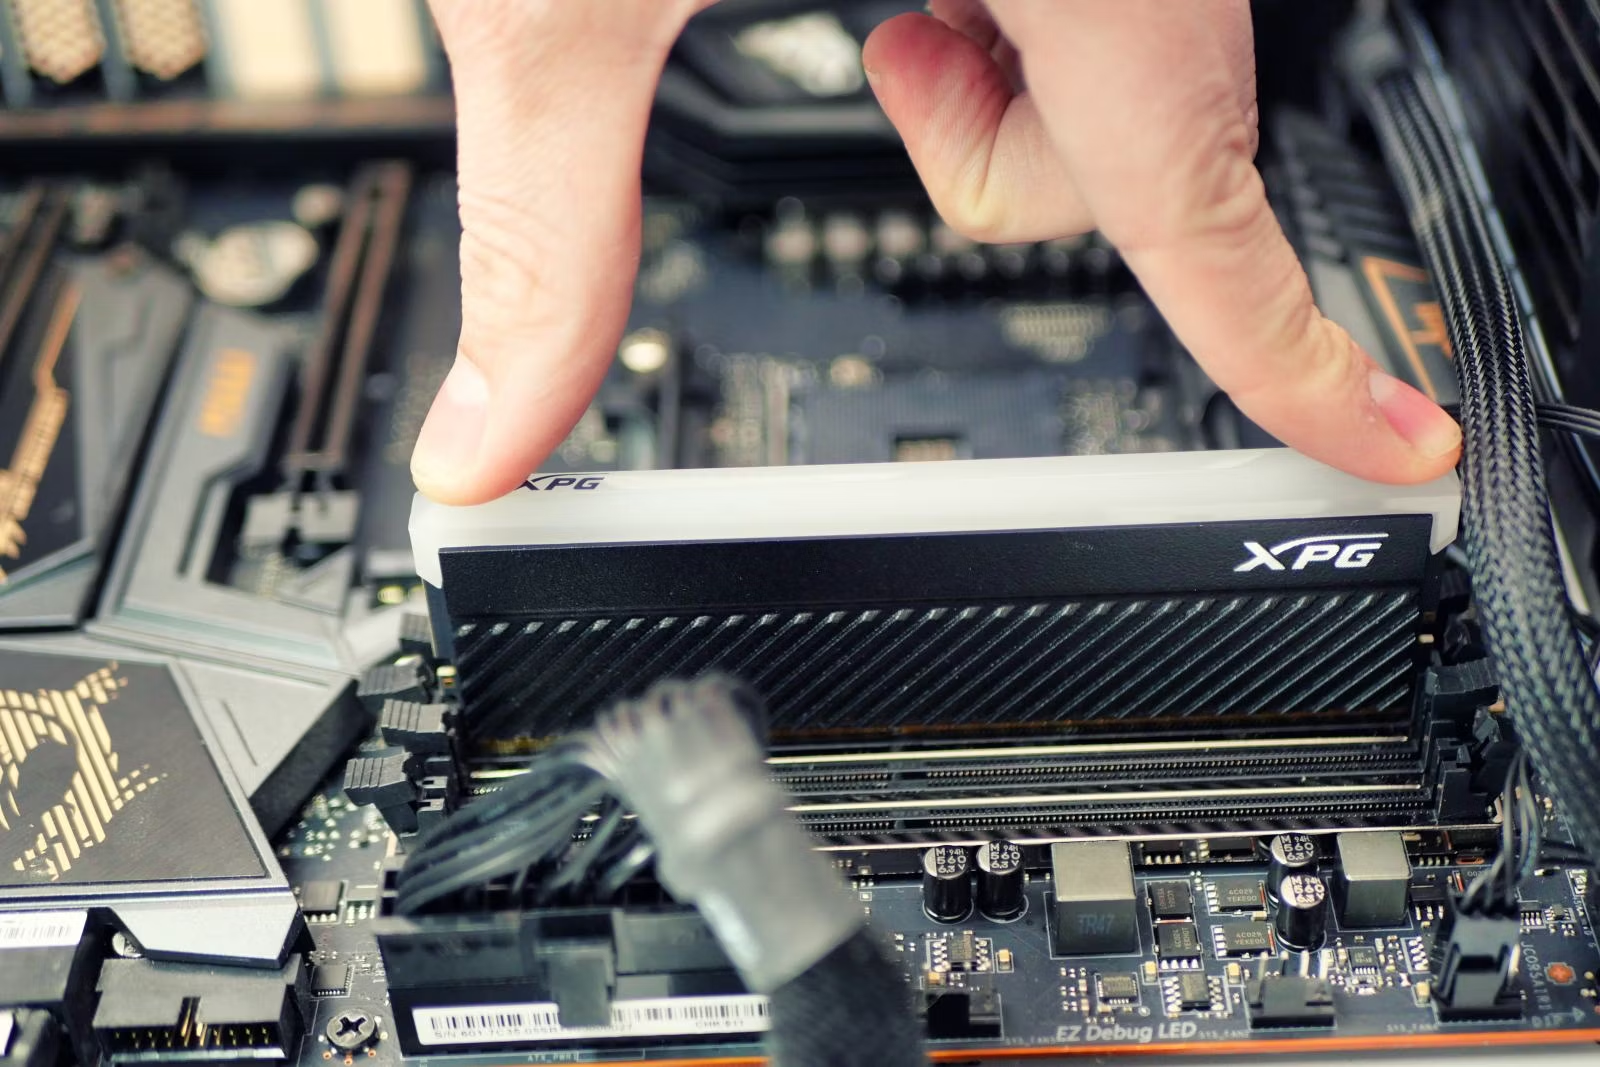
- Install the CPU and RAM: If you’re not reusing the old components, it is time to install the CPU and RAM onto the new motherboard. Follow the instructions in the motherboard manual to correctly install these components. Take extra care to align the CPU properly and secure it with the CPU socket lever.
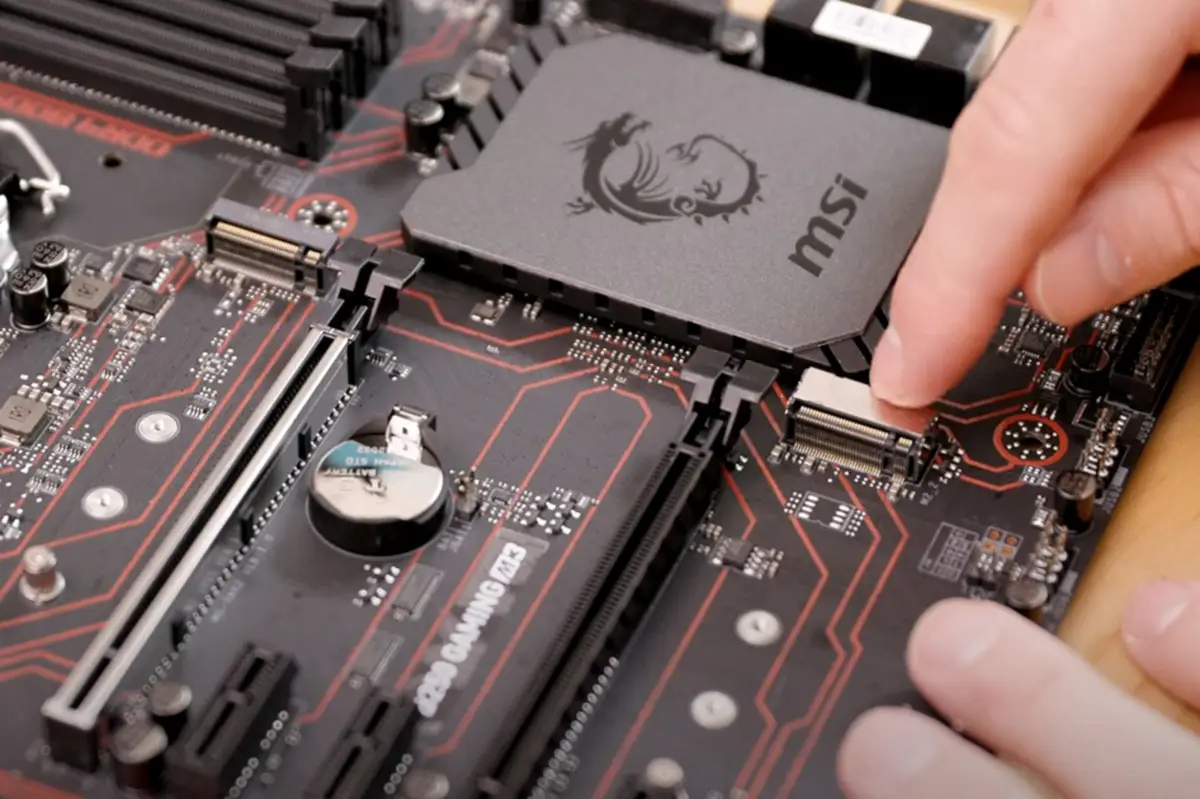
- Connect the SATA cables: Connect the SATA data cables from your storage devices, such as hard drives and SSDs, to the SATA ports on the motherboard. Ensure a secure connection by firmly pressing the connectors into place.
- Connect other components: Reconnect the cables and components that were disconnected from the old motherboard. This includes the front panel connectors, USB headers, audio connectors, and any other necessary cables or components.
- Install expansion cards: If you have any expansion cards, such as a graphics card or sound card, carefully insert them into their respective slots on the motherboard. Secure them with the screws or clips provided.
Once you have completed these steps, double-check all connections and ensure that everything is securely in place. Take the opportunity to tidy up any loose cables using cable ties to improve airflow and maintain a clean and organized system.
Congratulations! You have successfully installed the new motherboard into your computer. Now, let’s move on to Step 5: connecting the necessary cables and components.
Step 5: Connect the necessary cables and components
Now that the new motherboard is installed in your computer case, it’s time to connect the necessary cables and components to ensure proper functionality. Follow these steps to complete this crucial step:
- Connect the power cables: Locate the various power connectors on the motherboard, including the CPU power connector (usually located near the CPU socket), the ATX power connector (usually a 24-pin or 20+4-pin connector), and any additional power connectors specific to your motherboard or components. Connect the corresponding power cables from the power supply to these connectors.
- Connect the front panel connectors: Connect the front panel cables from your computer case to the appropriate pins on the motherboard. These include the power button, reset button, power LED, HDD LED, and any other front panel connectors. Refer to your motherboard manual for the exact pinout and connector locations.
- Connect the USB and audio connectors: If your motherboard has additional USB headers or audio connectors, connect the corresponding cables from the front panel of your computer case to these headers. This will enable USB ports and audio functionality on the front of your case.
- Connect the SATA data cables and power cables: Connect the SATA data cables from your storage devices, such as hard drives and SSDs, to the SATA ports on the motherboard. Additionally, connect the SATA power cables from the power supply to the SATA devices to provide power.
- Connect other necessary cables: Depending on your system’s configuration, there may be additional cables to connect. These may include fans, RGB lighting, Wi-Fi antennas, or any other peripherals or components. Follow the instructions in your motherboard manual or any specific component manuals to make the necessary connections.
- Check all connections: Once all the cables and components are connected, double-check each connection to ensure they are securely in place. A loose or improperly connected cable could cause issues with the system’s functionality or performance.
By following these steps and ensuring all connections are properly made, you have completed the crucial task of connecting the necessary cables and components to your new motherboard.
Next, we will move on to Step 6: testing and troubleshooting the new motherboard to ensure it functions correctly.
Step 6: Test and troubleshoot the new motherboard
After installing and connecting all the necessary cables and components, it’s important to test and troubleshoot the new motherboard to ensure it functions correctly. Follow these steps to complete this crucial final step:
- Check power connection: Confirm that all power connections are secure and properly connected, including the main power connector and the CPU power connector. Ensure that the power switch on the power supply is turned on.
- Power on the computer: Connect the power cable to the power supply and turn on the computer by pressing the power button. Observe if the system powers on, and listen for any abnormal noises. Verify that the fans are running and the motherboard LEDs light up.
- Check the display: Connect your monitor to the appropriate graphics output on the motherboard or graphics card. If you have integrated graphics, use the motherboard’s video output. If you have a dedicated graphics card, use the graphics card’s video output. Power on the monitor and check if you get a picture.
- Perform a POST test: When you power on the system, it will undergo a Power-On Self-Test (POST) to check for any hardware errors. Pay attention to any error messages or beeps that may indicate an issue. Consult your motherboard’s manual for details about the POST codes or beeps and their meanings.
- Enter BIOS/UEFI: During the boot process, repeatedly press the designated key (usually Del, F2, or F12) to enter the BIOS/UEFI settings. Ensure that all hardware components are correctly detected, and verify that the date, time, and boot device order are set correctly.
- Test functionality: After entering the BIOS/UEFI, navigate through the menus and verify that all hardware components — CPU, RAM, storage devices, and other peripherals — are recognized and functioning correctly. Use any built-in diagnostics or test utilities provided by the motherboard manufacturer.
- Update motherboard firmware: If necessary, update the motherboard’s firmware (BIOS/UEFI) to the latest version. Visit the manufacturer’s website and follow their instructions to download and install any updated firmware. Always ensure you follow the correct procedure and take all necessary precautions during the update process.
- Troubleshoot any issues: If you encounter any problems during the testing process, refer to your motherboard’s manual, manufacturer’s support website, or online forums for troubleshooting tips. Common issues include RAM compatibility, improper connections, or hardware conflicts.
By following these steps to test and troubleshoot your new motherboard, you can identify any potential issues and ensure that your system is functioning correctly.
Remember, if you encounter any difficulties or are unsure about any step, it’s always a good idea to consult the motherboard’s manual or seek assistance from an experienced professional.
Congratulations! You have successfully tested and troubleshooted your new motherboard. Now you can enjoy the enhanced performance and features that it brings to your computer system.
Conclusion
Installing a new motherboard in your computer can be a daunting task, but with the right tools, preparation, and knowledge, it is achievable for both beginners and experienced users. By following the steps outlined in this guide, you can successfully install a new motherboard and unlock the benefits of improved performance, compatibility with newer hardware, and additional features.
Remember to always gather the necessary tools and materials before starting the installation process. Taking the time to properly prepare your system, remove the old motherboard, install the new one, and connect all the necessary cables and components ensures a smooth and successful installation.
After the installation is complete, it is crucial to test and troubleshoot the new motherboard to ensure everything is functioning correctly. Performing a power-on test, checking the display, entering the BIOS/UEFI, and testing the functionality of all hardware components are important steps to validate the installation’s success.
If any issues arise during the testing process, consult your motherboard’s manual, manufacturer’s support website, or seek assistance from knowledgeable professionals. They can provide guidance and solutions to troubleshoot and resolve any problems you encounter.
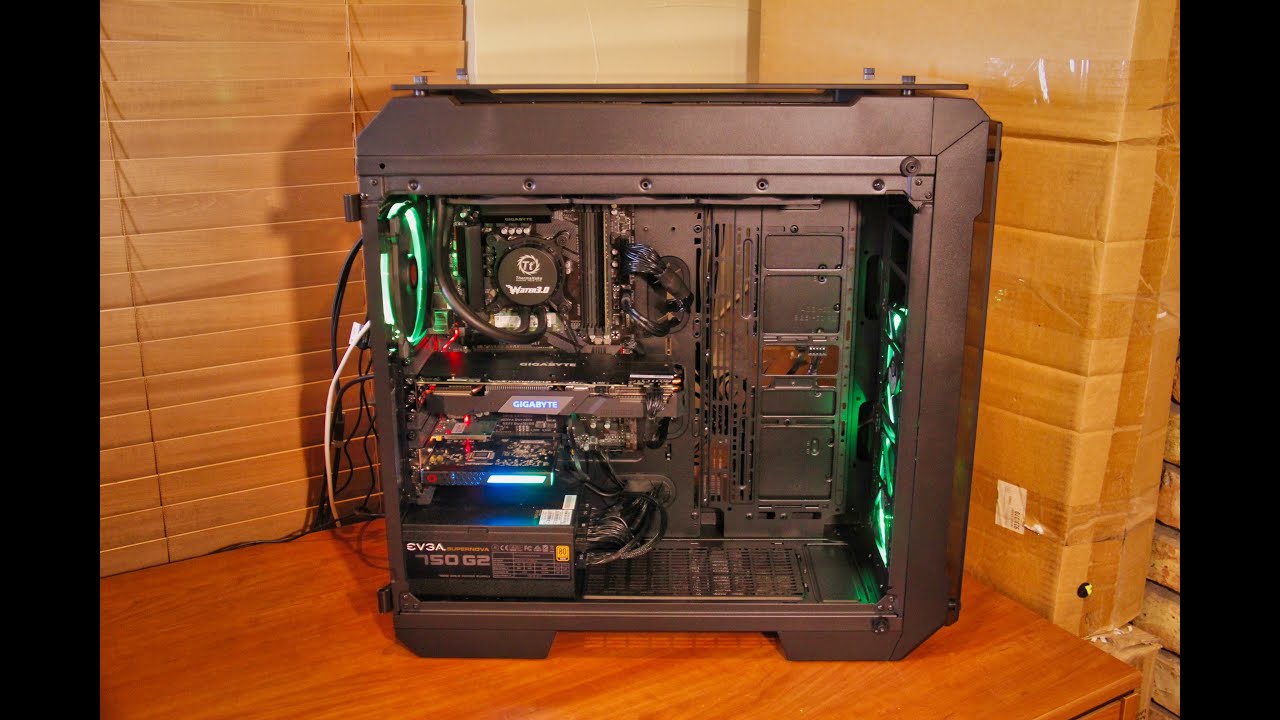
Now that you have completed the installation and testing of your new motherboard, you can enjoy the benefits and potential of an upgraded system. Whether it’s for gaming, content creation, or everyday tasks, a new motherboard can enhance your overall computing experience.
Remember, each computer system is unique, and there may be variations in the installation process depending on your specific hardware configuration. Always consult your motherboard’s manual and follow the manufacturer’s instructions for specific guidance.
Thank you for following this guide on how to install a new motherboard. We hope this information has been helpful, and we wish you success in your computer upgrade journey!