Introduction
Welcome to our guide on how to find out a Wi-Fi password through an Ethernet cable. If you find yourself in a situation where you need to connect to a Wi-Fi network but don’t know the password, using an Ethernet cable can be a convenient and effective solution. Whether you’ve forgotten your Wi-Fi password or you’re trying to connect a device that doesn’t support wireless connections, this method will help you access the Wi-Fi network with ease.
Understanding the basics of how Wi-Fi networks and Ethernet cables work is essential for successfully finding out the Wi-Fi password through an Ethernet connection. Wi-Fi technology allows devices to connect to a network wirelessly, while Ethernet cables provide a physical connection between devices and the router. By leveraging the Ethernet cable, we can directly access the router’s configuration page and retrieve the Wi-Fi password.
In this step-by-step guide, we will walk you through the process of finding out the Wi-Fi password using an Ethernet cable. We will explain how to connect your device to the router, access the router’s configuration page, locate the Wi-Fi password on the admin console, and finally, connect to the Wi-Fi network using the retrieved password.
So, if you’re ready to regain access to your Wi-Fi network or need assistance in connecting a device without Wi-Fi capability, keep reading to learn how to find out a Wi-Fi password through an Ethernet cable.
Understanding the basics
Before delving into the process of finding out a Wi-Fi password through an Ethernet cable, it’s essential to have a clear understanding of the basic concepts involved. Wi-Fi, short for Wireless Fidelity, is a wireless networking technology that allows devices to connect to a local area network (LAN) wirelessly. It provides convenience and flexibility, enabling devices such as computers, smartphones, and tablets to access the internet without the need for physical cables.
In contrast, Ethernet is a wired networking technology that uses cables to establish a connection between devices. Ethernet cables are typically used to connect devices to a router or modem to access the internet. By connecting a device to the router using an Ethernet cable, it is possible to establish a stable and reliable connection, particularly useful for tasks that require a high-speed and low-latency network connection.
When connecting to a Wi-Fi network, devices exchange information with the router using a pre-shared key (PSK) or a Wi-Fi password. This password is necessary to authenticate and establish a secure connection to the network. While it is relatively easy to enter the Wi-Fi password on devices with a graphical user interface (GUI), it can be a challenge when connecting devices without a user-friendly interface, such as gaming consoles, smart TVs, or IoT devices.
By using an Ethernet cable, we can bridge the gap between devices without Wi-Fi capability and the router’s admin console. The admin console is a web-based interface provided by the router manufacturer that allows users to access and configure various settings of the router, including network security settings and Wi-Fi passwords.
Now that we have a solid understanding of the basics, we can proceed with the step-by-step process of finding out a Wi-Fi password using an Ethernet cable. The next section will guide you through the process of connecting your device to the router via an Ethernet cable.
Step 1: Connecting your device to the router via Ethernet cable
The first step in finding out a Wi-Fi password through an Ethernet cable is to establish a physical connection between your device and the router. This can be done by connecting an Ethernet cable from your device to one of the Ethernet ports on the router.
Here are the detailed steps:
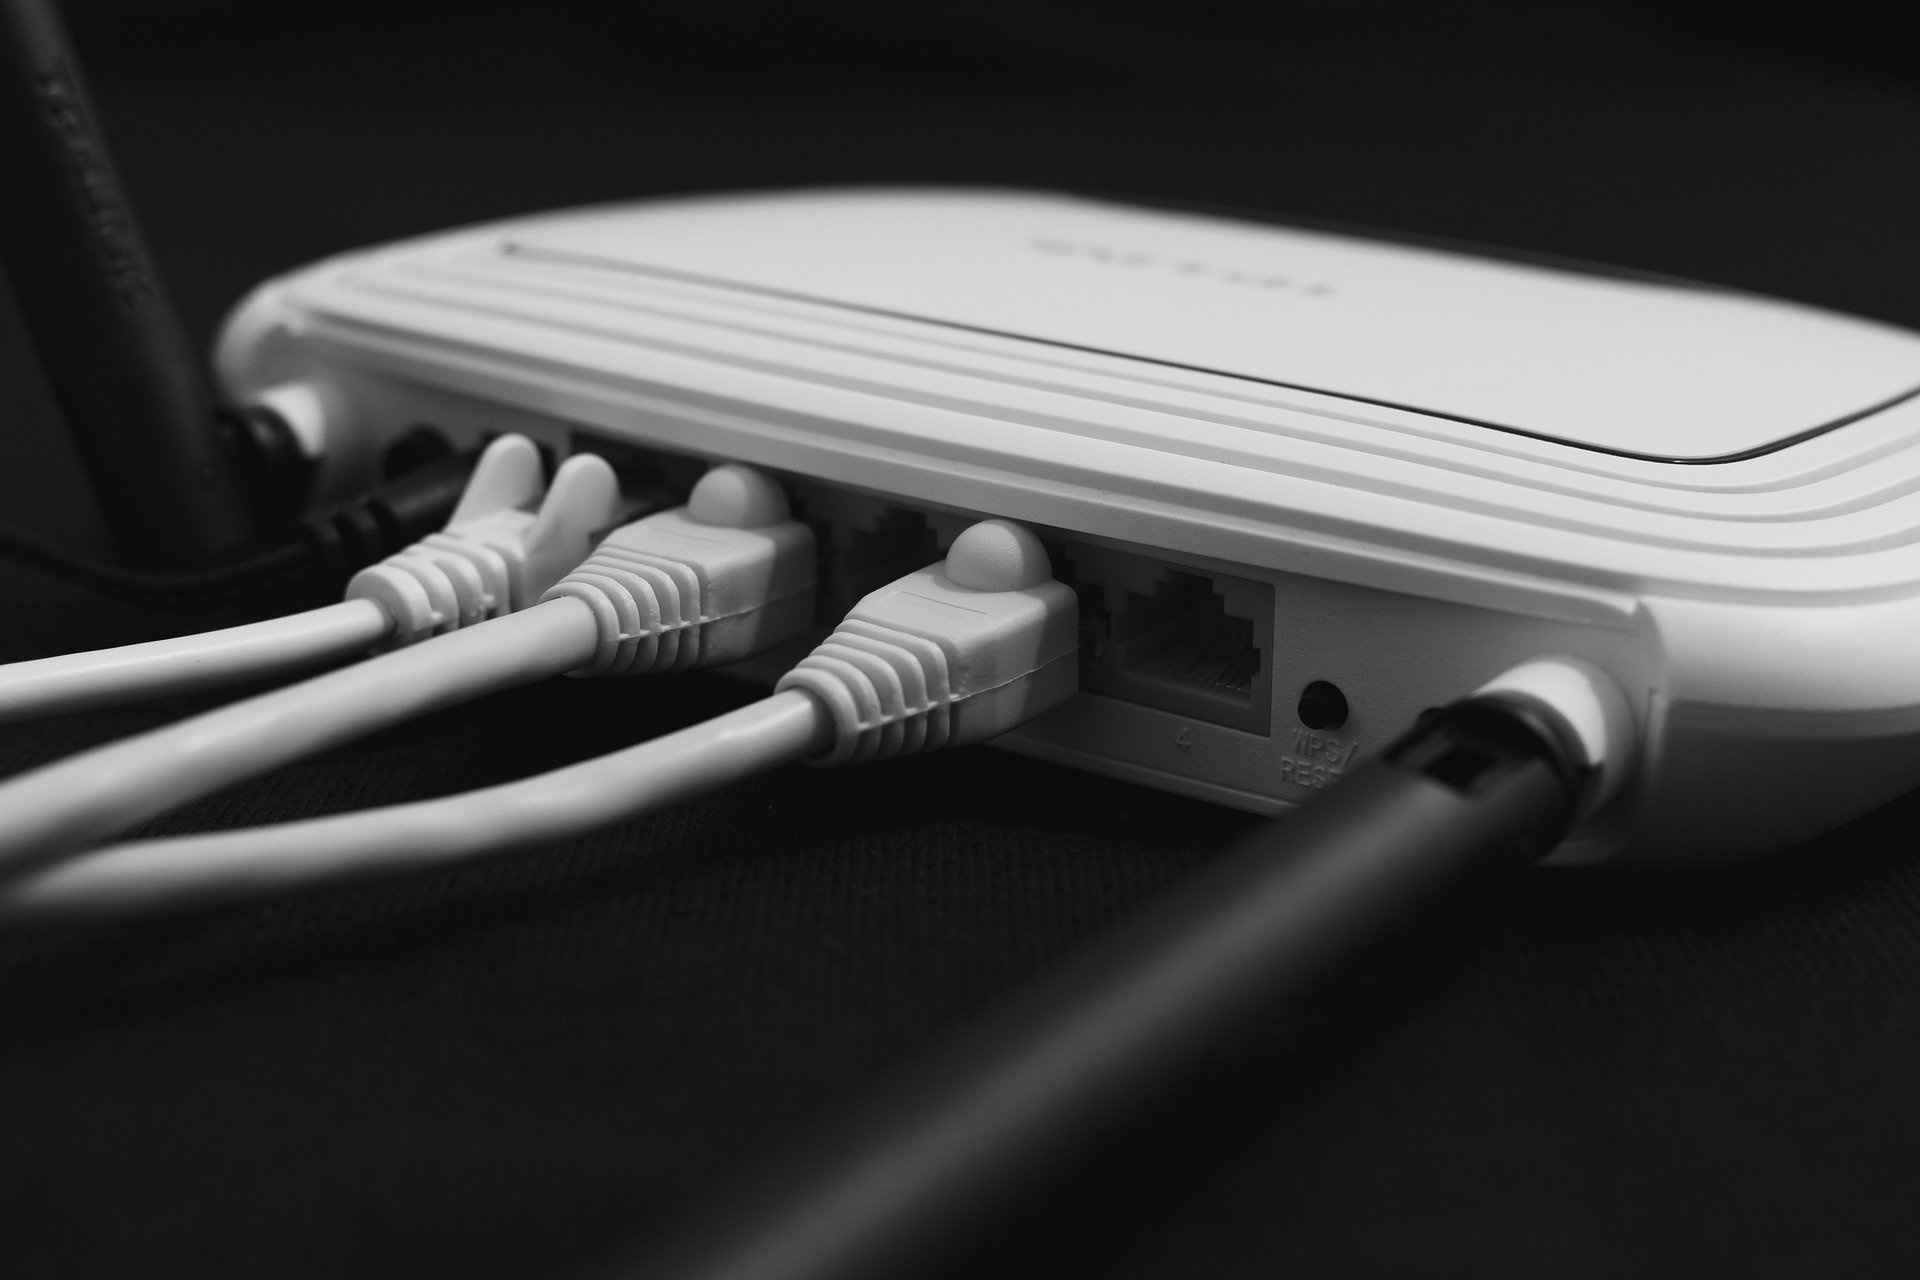
- Locate an available Ethernet port on your router. These ports are usually labeled with numbers or icons and are often located on the back or side of the router.
- Take one end of the Ethernet cable and insert it into the Ethernet port on your device. This could be a computer, laptop, gaming console, smart TV, or any other device without Wi-Fi capability.
- Take the other end of the Ethernet cable and securely insert it into the Ethernet port on the router. Ensure that it is firmly plugged in to establish a stable connection.
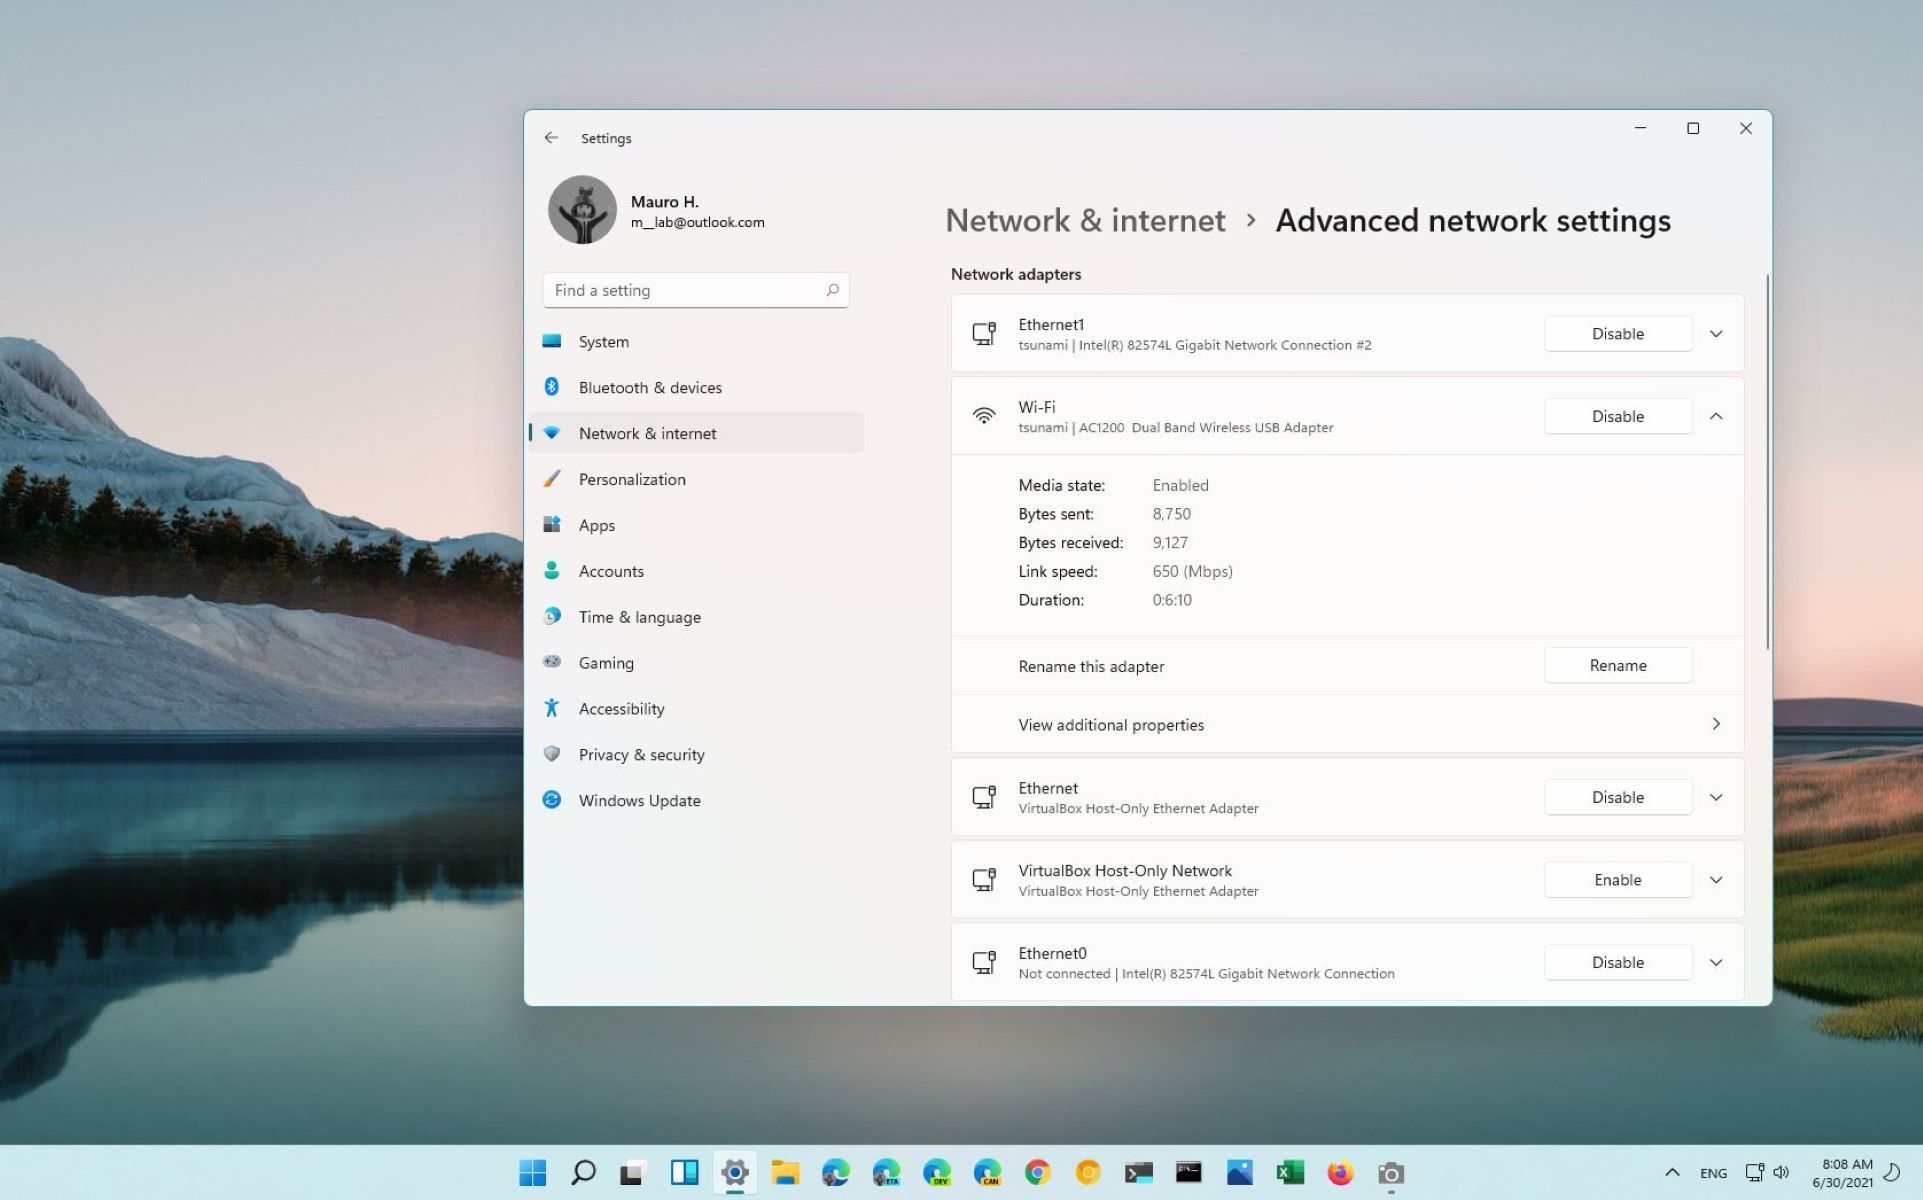
- Once connected, check the Ethernet status on your device. Most operating systems will automatically detect the Ethernet connection and display the connection status in the system tray or network settings. It may take a few moments for the connection to initialize.
By completing these steps, you have successfully connected your device to the router using an Ethernet cable. This physical connection will allow you to access the router’s configuration page and retrieve the Wi-Fi password, which will be covered in the next step.
Step 2: Accessing the router’s configuration page
Once you have established a physical connection between your device and the router through an Ethernet cable, the next step is to access the router’s configuration page. This web-based interface provided by the router manufacturer allows you to access and modify various settings, including the Wi-Fi password.
Here are the detailed steps to access the router’s configuration page:
- Open a web browser on your device that is connected to the router via the Ethernet cable.
- In the address bar of the web browser, type the default gateway IP address of your router. The default gateway IP address is typically mentioned in the router’s user manual or can be found by checking the network settings on your device.
- Press Enter or click on the Go button. This will direct your web browser to the router’s configuration page.
- If prompted, enter the router’s administrator username and password. This information is usually mentioned on the router itself or in the user manual. If you have previously changed the login credentials, use the modified ones.
- Once you have successfully logged in, you will be redirected to the router’s admin console interface, which provides access to various settings and configurations.
It’s important to note that the exact steps to access the router’s configuration page may vary depending on the router manufacturer and model. However, most routers follow a similar process, so the general steps outlined above should work for most situations.
Now that you have accessed the router’s configuration page, you are ready to move on to the next step: locating the Wi-Fi password on the admin console.
Step 3: Locating the Wi-Fi password on the router’s admin console
Now that you have successfully accessed the router’s configuration page, it’s time to locate the Wi-Fi password on the admin console. The Wi-Fi password is typically stored in the wireless settings section of the admin console. Here’s how you can find it:
- Look for a tab or section labeled “Wireless” or “Wi-Fi” in the admin console. The naming may vary depending on your router model.
- Within the wireless settings section, there should be an option called “Security” or “Wireless Security.” Click on this option to access the Wi-Fi security settings.
- On the security settings page, you should see a field labeled “Password” or “Passphrase.” This is where the Wi-Fi password is displayed.
- Take note of the Wi-Fi password displayed on the admin console. You may have the option to view the password or have it masked for security reasons.
Some router models might have a different layout or terminology for their admin console, so it’s important to explore different tabs or sections within the interface to locate the wireless settings and Wi-Fi password. If you’re having trouble finding the password, you can refer to the router’s user manual or visit the manufacturer’s support website for specific instructions.
Once you have successfully located the Wi-Fi password on the admin console, you are ready to proceed to the final step: connecting to the Wi-Fi network using the retrieved password.
Step 4: Connecting to the Wi-Fi network using the password
Now that you have retrieved the Wi-Fi password from the router’s admin console, it’s time to connect to the Wi-Fi network using the password.
Here are the steps to connect to the Wi-Fi network:
- Disconnect the Ethernet cable from your device and the router. This step is necessary as you will be switching to a wireless connection.
- Open the Wi-Fi settings on your device. This can usually be done by clicking on the Wi-Fi icon in the system tray or accessing the network settings in the device’s settings menu.
- Look for the name of your Wi-Fi network in the list of available networks. It should match the SSID (network name) mentioned in the router’s admin console.
- Select your Wi-Fi network and click on “Connect” or enter the password manually if prompted.
- Enter the Wi-Fi password that you retrieved from the router’s admin console.
- Click on “Connect” or “Join” to establish a connection to the Wi-Fi network.
- Wait for your device to establish a connection to the Wi-Fi network. Once connected, you will be able to access the internet.
It’s important to ensure that you have entered the correct Wi-Fi password. Pay attention to uppercase and lowercase letters, as they are case-sensitive. If you encounter any issues connecting to the Wi-Fi network, double-check that the password is entered correctly.
Congratulations! You have successfully connected to the Wi-Fi network using the password retrieved from the router’s admin console. You can now enjoy wireless internet connectivity on your device.
It’s worth noting that if you need to connect additional devices to the Wi-Fi network, you will need to repeat these steps for each device. Make sure to use the correct Wi-Fi password to establish the connection.
Conclusion
Finding out a Wi-Fi password through an Ethernet cable can be a lifesaver in situations where you need to connect to a Wi-Fi network but don’t have the password or have devices without Wi-Fi capability. By following the step-by-step guide outlined in this article, you can easily retrieve the Wi-Fi password from the router’s admin console and connect to the network with ease.
Understanding the basics of Wi-Fi networks and Ethernet cables is crucial for successfully implementing this method. Wi-Fi technology enables wireless connectivity, while Ethernet cables provide a physical connection between devices and the router. Utilizing an Ethernet cable allows us to access the router’s admin console and retrieve the Wi-Fi password.
Each step in the process is important: connecting your device to the router via an Ethernet cable, accessing the router’s configuration page, locating the Wi-Fi password in the admin console, and finally, connecting to the Wi-Fi network using the password. Following these steps will ensure a seamless and successful connection.
Remember to keep the Wi-Fi password secure and only use this method when necessary. Make sure to disconnect the Ethernet cable after retrieving the password and connect wirelessly to the network. Additionally, ensure that the Wi-Fi password is entered correctly when connecting to the network on your devices.
We hope this guide has provided you with a clear understanding of how to find out a Wi-Fi password through an Ethernet cable. Whether you’re troubleshooting network connectivity issues or connecting devices without Wi-Fi capability, this method can be a valuable tool. Enjoy your wireless internet access and stay connected!


