Introduction
Welcome to the step-by-step guide on how to set up your Rockspace Wifi Extender. If you’re struggling with weak or unreliable Wi-Fi signals in certain areas of your home or office, a wifi extender can be a game-changer. Rockspace Wifi Extender is known for its exceptional performance and user-friendly setup process, making it an ideal choice for boosting your network coverage.
With this guide, you’ll learn how to unbox the Rockspace Wifi Extender, connect it to the power source, place it in the optimal location, establish a connection with your router, configure the settings, and ensure a seamless and stable connection.
Before we dive into the step-by-step process, it’s important to note that the instructions provided here are general guidelines. While they should work for most Rockspace Wifi Extender models, it’s always a good idea to refer to the user manual that came with your specific model for any model-specific instructions.
Now, let’s get started with the process of setting up your Rockspace Wifi Extender so you can enjoy improved speed and coverage throughout your space.
Step 1: Unboxing the Rockspace Wifi Extender
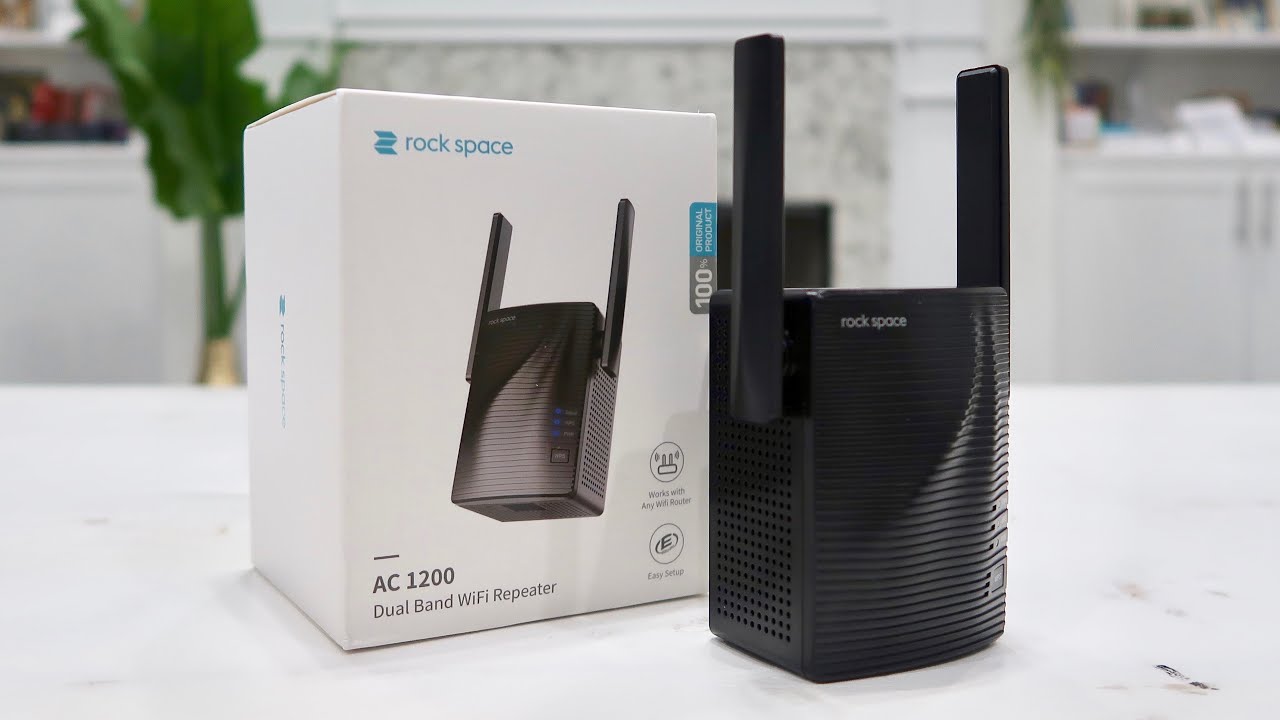
The first step in setting up your Rockspace Wifi Extender is to unbox it and familiarize yourself with its components. Here’s what you should find inside the box:
- Rockspace Wifi Extender unit
- Power adapter
- Ethernet cable (if applicable)
- User manual and setup guide
Once you have unboxed everything, take a moment to read through the user manual and setup guide. Understanding the product specifications and setup requirements will help ensure a smooth installation process.
Next, find an appropriate location to set up the Rockspace Wifi Extender. It should be placed within range of your existing router’s signal, but far enough away to extend the coverage to the desired area. Keep in mind that obstructions such as walls or furniture may affect the extender’s performance, so choose a location that minimizes these obstacles.
Remember to position the extender closer to the area where you experience weak Wi-Fi signals. This will allow the extender to amplify and distribute the signal more effectively.
Once you have chosen the ideal location, connect the Rockspace Wifi Extender to a power source using the provided power adapter. Make sure to use a reliable power outlet that is easily accessible and secure.
Now that you have successfully unboxed the Rockspace Wifi Extender and connected it to power, you’re ready to move on to the next step: connecting the extender to your router.
Step 2: Connecting the Rockspace Wifi Extender to the Power Source
Now that you have unboxed the Rockspace Wifi Extender and chosen the optimal location, it’s time to connect it to the power source. Follow these simple steps:
- Locate the power adapter that came with the Rockspace Wifi Extender.
- Plug one end of the power adapter into the designated port on the extender unit.
- Plug the other end of the power adapter into a nearby electrical outlet or power strip.
- Ensure that the power source is reliable and easily accessible.
When the extender is successfully connected to the power source, you should see the indicator lights on the front panel illuminate. These lights indicate that the extender is powered on and ready to be configured.
Keep in mind that it’s important to use the original power adapter provided with the Rockspace Wifi Extender for optimal performance. Using a different adapter may cause compatibility issues or even damage the device.
Once the extender is powered on and the indicator lights are lit, you’re ready for the next step: placing the Rockspace Wifi Extender in the optimal location to extend your network coverage.
Step 3: Placing the Rockspace Wifi Extender in the Optimal Location
Choosing the right location for your Rockspace Wifi Extender is crucial for maximizing its performance and extending the reach of your network. Follow these guidelines to ensure optimal placement:
- Find a suitable location within range of your existing router’s signal. The extender should be placed far enough to cover the areas with weak Wi-Fi signals.
- Avoid obstructions such as walls, furniture, or appliances that may hinder the extender’s ability to transmit and receive signals effectively. Clear any potential obstacles in the path between the extender and your devices.
- Position the extender at an elevated height, such as on a shelf or wall. This helps to improve the signal coverage by minimizing interference from surrounding objects.
- Consider the layout of your space and the direction of signal transmission. If you have multiple floors, placing the extender on the same floor as the devices you want to connect is generally more effective.
- Ensure that the extender is placed in a central location within the area you want to extend the Wi-Fi coverage to. This helps to distribute the amplified signal evenly and reach all corners of the space.
It may be helpful to test the signal strength in different areas using a smartphone or other mobile device to find the optimal placement for the extender. Look for the areas with the weakest signals and position the extender accordingly.
Once you have found the ideal location for the Rockspace Wifi Extender, move on to the next step: connecting the extender to your router to establish a strong and reliable connection.
Step 4: Connecting the Rockspace Wifi Extender to Your Router
Now that you have placed the Rockspace Wifi Extender in the optimal location, it’s time to establish a connection with your existing router. Follow these steps to connect the extender to your router:
- Locate the Ethernet cable that came with the Rockspace Wifi Extender (if applicable). If your extender supports a wireless connection, skip to the next step.
- Connect one end of the Ethernet cable to the Ethernet port on the back of your router.
- Connect the other end of the Ethernet cable to the Ethernet port on the Rockspace Wifi Extender. Ensure that both ends are securely plugged in.
- If your Rockspace Wifi Extender supports a wireless connection, skip the Ethernet cable step and go to the next step directly.
- Wait for the Rockspace Wifi Extender to establish a connection with your router. This may take a few moments, but the indicator lights on the extender should indicate a successful connection.
- Once the connection is established, your devices can now connect to the Rockspace Wifi Extender’s network. Look for the Rockspace network name (SSID) in your device’s list of available networks and select it.
- If prompted, enter the password for the Rockspace Wifi Extender network. This is usually provided on a sticker or included in the user manual.
- Once connected, your devices should now have access to the extended network coverage provided by the Rockspace Wifi Extender.
Keep in mind that the exact steps may vary slightly depending on the model of your Rockspace Wifi Extender. Refer to the user manual for any specific instructions related to your device.
With the Rockspace Wifi Extender successfully connected to your router, it’s time to move on to the next step: configuring the extender’s settings to optimize your network performance.
Step 5: Configuring the Rockspace Wifi Extender
After successfully connecting the Rockspace Wifi Extender to your router, it’s time to configure the extender’s settings to optimize your network performance. Follow these steps to configure the Rockspace Wifi Extender:
- Open a web browser on a device that is connected to the Rockspace Wifi Extender’s network.
- Type the default IP address of the extender into the address bar of the browser. The default IP address is usually provided in the user manual or on a sticker on the extender itself.
- Press Enter to access the login page of the extender’s configuration interface.
- Enter the default username and password. Again, these credentials are typically provided in the user manual or on the extender’s sticker.
- Once logged in, you will be directed to the extender’s settings page. Here, you can configure various settings such as network name (SSID), password, security settings, and more.
- Review the settings and make any desired changes to align with your preferences. Ensure that the network name and password are easy to remember and secure.
- Save the changes and wait for the extender to apply the new settings. This process may take a few moments.
- After the extender has finished applying the new settings, you may be prompted to reconnect your devices to the updated network. Follow the instructions provided on-screen to reconnect your devices.
It’s worth noting that the configuration options and settings may vary depending on the model of your Rockspace Wifi Extender. For more detailed instructions or advanced settings, refer to the user manual or the manufacturer’s website.
Once you have configured the Rockspace Wifi Extender to your preferences, it’s time to move on to the final step: testing the connection and ensuring connectivity throughout your space.
Step 6: Testing the Connection and Connectivity
After setting up and configuring the Rockspace Wifi Extender, it’s important to test the connection to ensure that it is working properly and providing the desired network coverage. Follow these steps to test the connection and ensure connectivity throughout your space:
- Open a web browser on one of your devices that is connected to the Rockspace Wifi Extender’s network.
- Visit a website or perform an internet speed test to check the network performance. Take note of the download and upload speeds to compare them with your expectations.
- Move around your space and test the Wi-Fi signal strength in different areas. Ensure that the signal remains strong and stable even in areas that previously had weak or no signal.
- If you encounter any areas with weak signal or connectivity issues, consider adjusting the placement of the Rockspace Wifi Extender to improve coverage in those areas.
- Test the connectivity of all your devices that are connected to the Rockspace Wifi Extender. Make sure they can access the internet and perform tasks without any interruptions.
- If you experience any difficulties or have issues with the Rockspace Wifi Extender’s performance, refer to the troubleshooting section in the user manual or contact the Rockspace support team for assistance.
By thoroughly testing the connection and connectivity, you can identify any potential issues and make necessary adjustments to ensure a seamless and reliable network experience throughout your space.
Congratulations! You have successfully set up the Rockspace Wifi Extender, connected it to your router, configured the settings, and tested the connection and connectivity. Enjoy the improved Wi-Fi coverage and enhanced network performance provided by the Rockspace Wifi Extender.
Conclusion
Setting up and configuring the Rockspace Wifi Extender can greatly improve your Wi-Fi coverage and network performance. By following the step-by-step guide in this article, you should now have a solid understanding of how to unbox the extender, connect it to the power source, place it in the optimal location, establish a connection with your router, configure the settings, and test the connection and connectivity.
Remember, the key to a successful setup is to carefully follow the instructions provided in the user manual and ensure that you have the necessary components and access to a reliable power source. Additionally, finding the right location for the extender and adjusting the settings to meet your preferences will help optimize the performance of your extended network.
If you encounter any difficulties during the setup process or experience any issues with the Rockspace Wifi Extender’s performance, don’t hesitate to consult the user manual or reach out to Rockspace’s support team for assistance. They are there to help you troubleshoot and resolve any problems you may face.
Now that you have successfully set up your Rockspace Wifi Extender, you can enjoy a stronger and more reliable Wi-Fi signal throughout your home or office. Say goodbye to dead zones and weak connections, and say hello to a seamless online experience.
So go ahead, connect your devices to the extended network, and enjoy the benefits of enhanced coverage and improved network performance provided by your Rockspace Wifi Extender.