Introduction
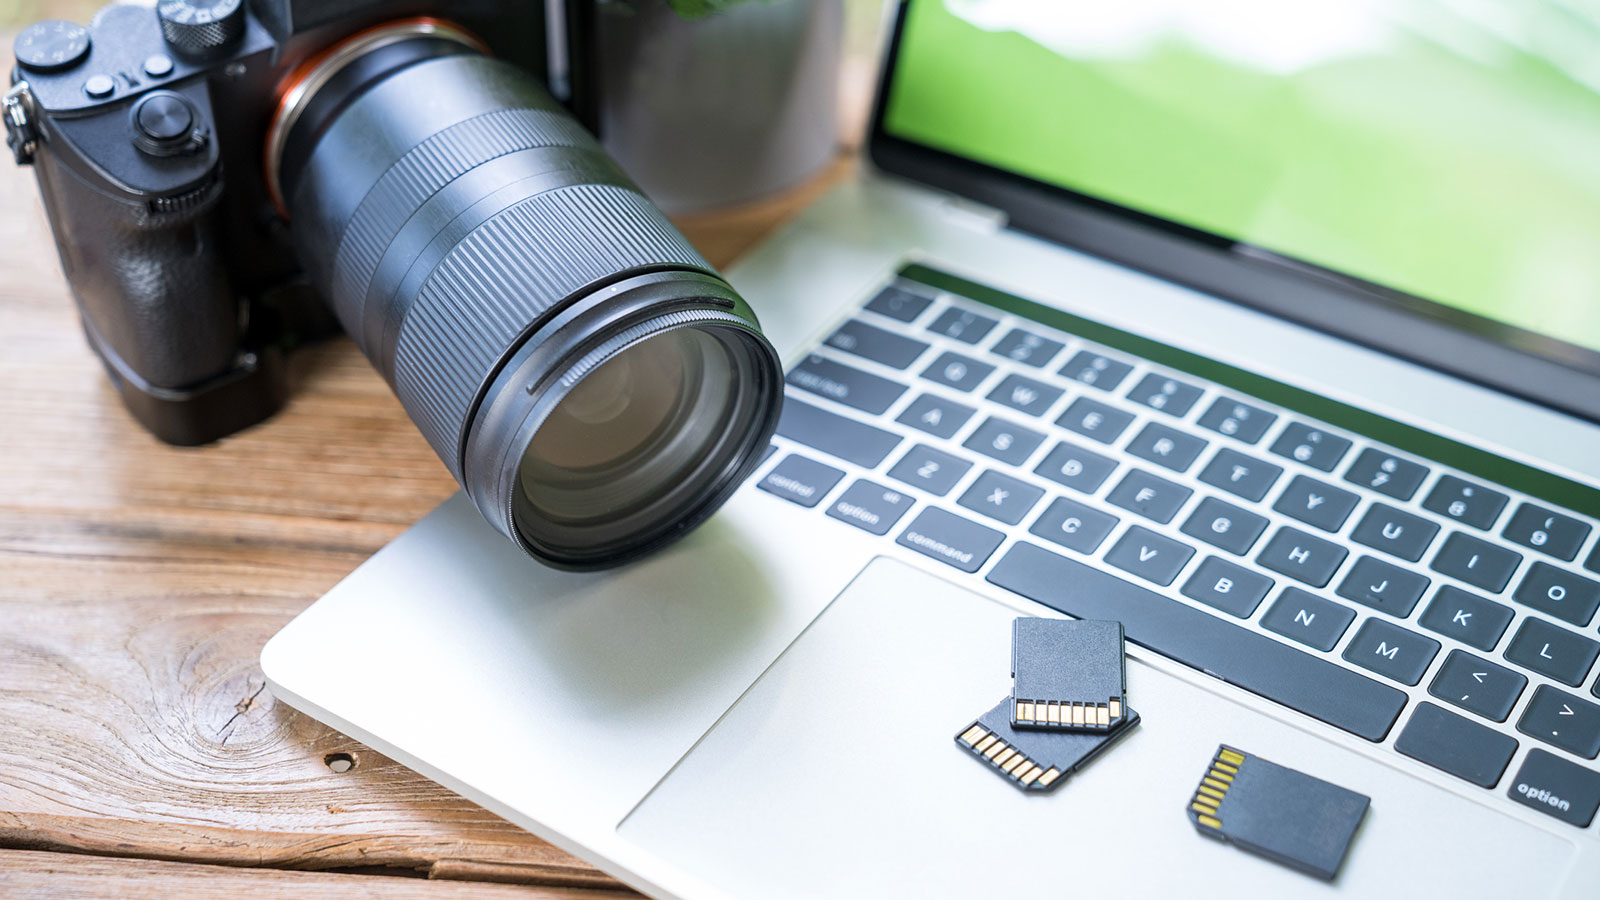
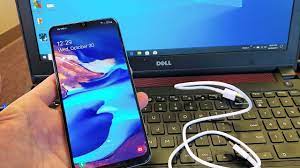
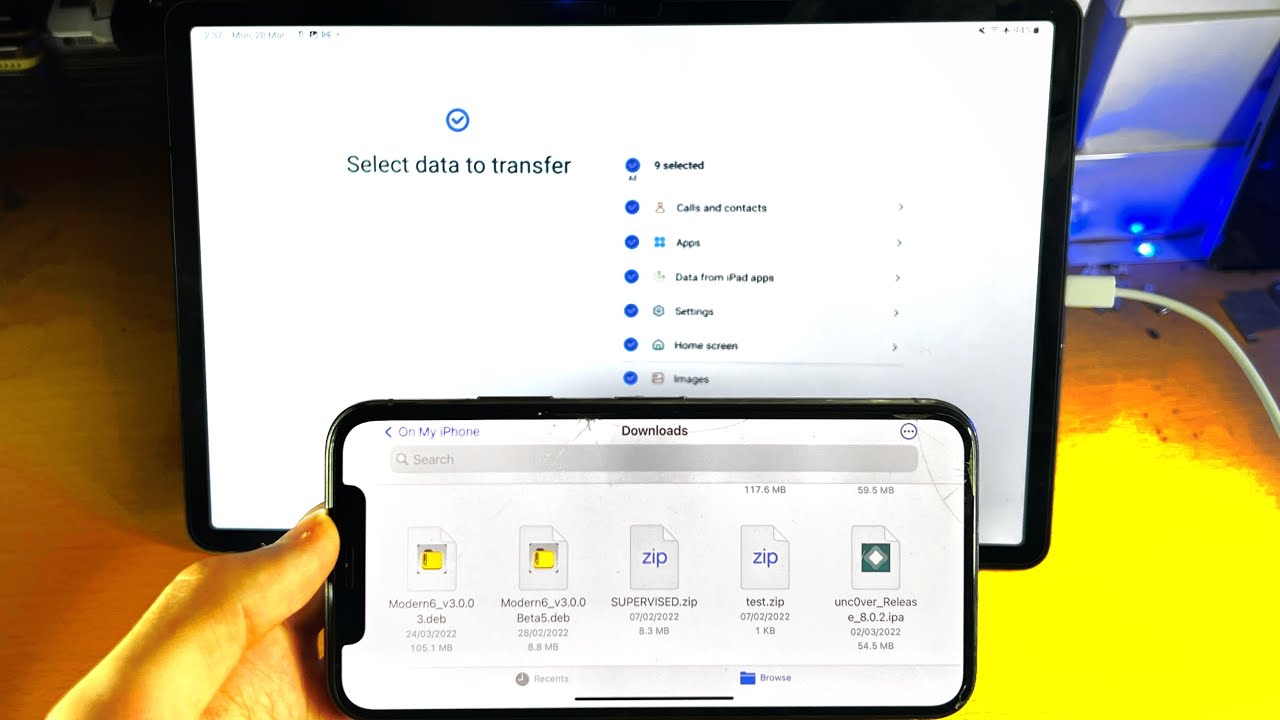
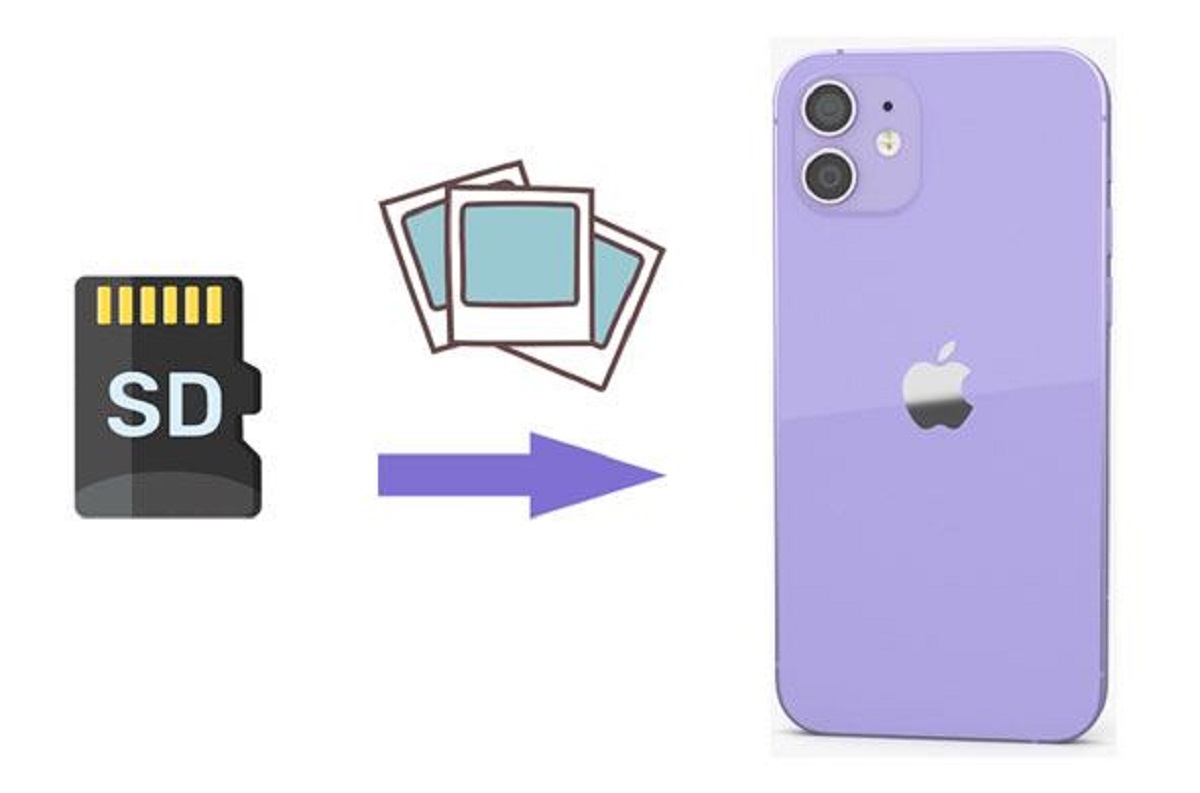
Welcome to the digital era where capturing moments and preserving memories has become effortless with digital cameras and smartphones. With the ability to store thousands of high-resolution images, SD cards have become a popular choice for photographers and casual users alike. However, there may come a time when you need to transfer those cherished pictures from your SD card to your computer for editing, printing, or storage purposes. In this article, we will guide you through the process of downloading pictures from an SD card to your computer.
Whether you are a professional photographer or a hobbyist, having a reliable method to transfer your images is essential. With the right knowledge and a few simple steps, you can quickly and easily move your pictures from your SD card to your computer, allowing you to organize, edit, and share your photos with ease.
In the following sections, we will outline the step-by-step process of downloading pictures from an SD card to a computer. We will assume that you are using a Windows operating system, as the process may vary slightly for other operating systems. However, the core steps remain the same, regardless of the platform.
Before we begin, make sure you have your SD card and the necessary cables handy. Also, ensure that your computer has an SD card reader or an adapter that can accommodate the SD card. Now, let’s dive into the process and learn how to transfer those precious moments from your SD card to your computer.
Step 1: Insert the SD Card into the Computer
The first step in downloading pictures from an SD card to your computer is to insert the SD card into the appropriate slot on your computer. Most modern laptops and desktop computers have built-in SD card slots. If your computer does not have a built-in card reader, you can use an external USB card reader. Simply insert the SD card into the corresponding slot or connect the card reader to an available USB port on your computer.
Once you have inserted the SD card, the computer will automatically recognize it as a removable storage device. You may hear a notification sound or see a pop-up window confirming the detection of the SD card. If this doesn’t happen, don’t worry. You can proceed to the next steps without any issues.
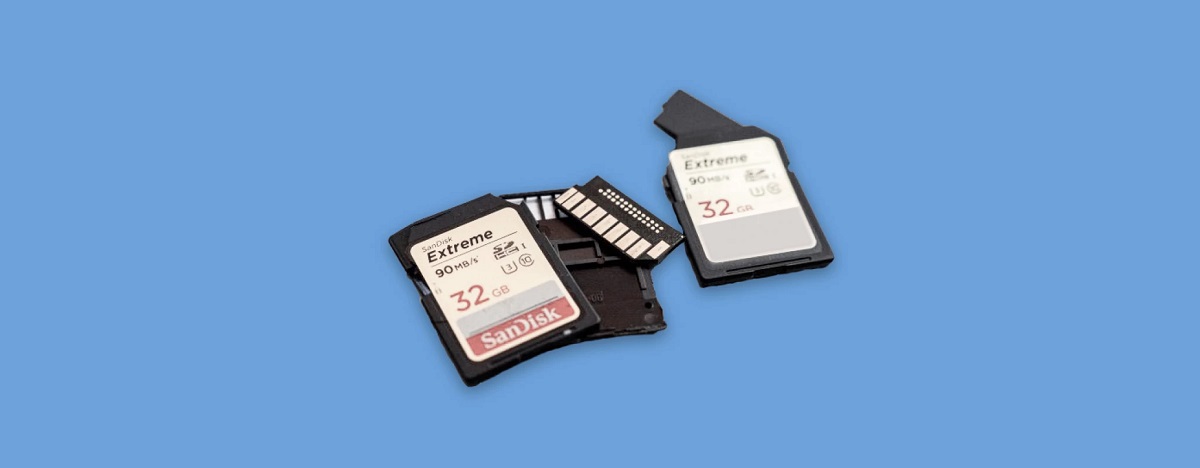
It’s worth noting that some computers may have multiple card slots or different types of card slots, such as SDHC or microSD. Ensure that you are inserting the SD card into the correct slot that matches its size and format.
Now that you have successfully connected your SD card to the computer, you can move on to the next step of the process – opening the file explorer to access the contents of the SD card.
Step 2: Open the File Explorer
After inserting the SD card into your computer, the next step is to open the File Explorer. The File Explorer is a built-in file management tool in Windows that allows you to browse and manage your files and folders.
To open the File Explorer, there are a few different methods you can use:
- Click on the File Explorer icon in the taskbar, typically located at the bottom of the screen. The icon resembles a folder.
- Press the Windows key + E on your keyboard. This keyboard shortcut opens the File Explorer directly.
- Click on the Start menu, located at the lower-left corner of the screen, and then click on “File Explorer” or simply type “File Explorer” in the search bar and click on the corresponding result.
Regardless of the method you choose, the File Explorer window will open, displaying the default set of folders such as “Documents,” “Pictures,” and “Music.” Along with these folders, you will also see a list of removable storage devices, including your SD card.
Look for the name or label of your SD card in the left-hand pane of the File Explorer window. It may be listed under the “This PC” or “Devices and drives” section. Click on the label of your SD card to access its contents.
Once you have successfully opened the File Explorer and located your SD card, you are now ready to proceed to the next step and start selecting the pictures you want to download.
Step 3: Locate the SD Card
Now that you have opened the File Explorer and accessed the main window, it’s time to locate your SD card within the list of drives and devices.
In the left-hand pane of the File Explorer window, you will see a section labeled “This PC” or “Devices and drives.” This section contains a list of all the storage devices connected to your computer, including the SD card.
Look for the name or label of your SD card within this section. It is usually displayed as a removable storage device. The label of your SD card may vary depending on your device or how it has been named.
If you cannot find your SD card in the “This PC” or “Devices and drives” section, don’t panic. Sometimes, it may take a moment for the computer to recognize and display the SD card. In such cases, try refreshing the File Explorer window by pressing the F5 key or clicking on the refresh icon in the toolbar.
Once you have located your SD card, click on its label to access the contents. The File Explorer will display the files and folders stored on the SD card in the main window.
Take a moment to familiarize yourself with the organization of your SD card. You may find one or more folders containing your pictures. These folders could be organized by date, event, or any other categorization you have established.
By locating your SD card within the File Explorer and accessing its contents, you are now ready to proceed to the next step and select the pictures you want to download.
Step 4: Select the Pictures You Want to Download
Now that you have located your SD card in the File Explorer and accessed its contents, it’s time to select the specific pictures that you want to download to your computer.
You will see a list of files and folders displayed in the main window of the File Explorer, representing the contents of your SD card. Navigate through the folders and subfolders to find the pictures you wish to download. You can click on each folder to view its contents and continue drilling down until you reach the desired pictures.
When you locate a picture that you want to download, click on it to select it. The selected picture will be highlighted or marked in some way to indicate that it has been chosen.
If you want to select multiple pictures at once, you can do so in a few different ways:
- Hold down the Ctrl key on your keyboard and click on each picture you want to select. This allows you to individually choose the specific pictures you want to download.
- Click and drag your mouse to create a selection box around a group of pictures. This selects all the pictures within that box.
- Hold down the Shift key on your keyboard and click on the first and last pictures of a group to select all the pictures in between. This is useful when selecting a consecutive range of pictures.
Continue selecting pictures until you have chosen all the ones you wish to download. Take your time, ensuring that you don’t miss any important pictures that you want to keep.
Once you have selected the pictures, you are ready to move on to the next step and copy them from the SD card to your computer.
Step 5: Copy the Pictures
After selecting the pictures you want to download from your SD card, the next step is to copy them from the SD card to your computer. This process ensures that you have a duplicate copy of the pictures on your computer while still keeping the original files on the SD card.
To copy the selected pictures, right-click on one of the selected images. A context menu will appear. From the menu, select the “Copy” option. Alternatively, you can use the keyboard shortcut Ctrl + C to copy the selected files.
Once you have copied the pictures, navigate to the desired folder or location on your computer where you want to save the downloaded images. This could be your desktop, a specific folder, or any other location of your choice.
Right-click within the desired folder or location and select the “Paste” option from the context menu. Alternatively, you can use the keyboard shortcut Ctrl + V to paste the copied pictures.
The selected pictures will then be copied from the SD card to the specified folder on your computer. Depending on the number and size of the pictures, the copying process may take a few moments. You will see a progress bar indicating the status of the file transfer.
It is important to note that while copying the pictures, the file names and folder structure of the original files will be preserved on your computer. This allows you to easily identify and manage your pictures later on.
Take your time and ensure that all the selected pictures have been successfully copied to your desired location on your computer. Double-check the destination folder to verify the presence of the downloaded images.
Once the copying process is complete, you are ready to move on to the next step and safely remove the SD card from your computer.
Step 6: Paste the Pictures into a Desired Folder on Your Computer
Having successfully copied the pictures from your SD card, the next step is to paste them into a desired folder on your computer. By choosing a specific folder, you can keep your downloaded pictures well-organized and easily accessible.
Navigate to the location on your computer where you want to create a new folder or paste the pictures. You may choose to paste them directly onto your desktop or within an existing folder.
Once you have reached the desired location, right-click within the folder or location and select the “Paste” option from the context menu. Alternatively, you can use the keyboard shortcut Ctrl + V to paste the copied pictures.
The selected pictures will then be pasted into the folder or location you have chosen. Depending on the number and size of the pictures, the pasting process may take a few moments. You will see a progress bar indicating the status of the file transfer.
Ensure that you have enough space on your computer’s storage device to accommodate the pasted pictures. If necessary, you may need to free up some disk space or specify an alternative location for the pictures.
Once the pasting process is complete, you can verify the successful transfer by checking the destination folder on your computer. You should see the downloaded pictures displayed within the folder, maintaining their original file names and formats.
At this point, you have successfully pasted the pictures from your SD card into the desired folder on your computer. Congratulations! You can now move on to the final step – safely removing the SD card from your computer.
Step 7: Safely Remove the SD Card from the Computer
After successfully transferring the pictures from your SD card to your computer, it is important to safely remove the SD card from your computer to avoid any potential data loss or damage to the card.
Here are the steps to safely remove the SD card:
- Ensure that all the file transfer processes involving the SD card have been completed and closed. Make sure that no programs or applications are currently accessing or using the SD card.
- Find the system tray, which is usually located at the bottom-right corner of the Windows taskbar. Look for an icon that represents removable devices or a USB port. It may resemble an eject symbol or a card reader.
- Click on the icon to display a list of currently connected devices. Locate your SD card in the list.
- Right-click on your SD card in the list and select the “Eject” or “Safely Remove” option. This action will notify your computer that you intend to remove the SD card, and it will prepare the card for safe removal.
- Wait for a moment until you receive a notification or message stating that it is safe to remove the SD card.
- Gently pull out the SD card from its slot or remove the card reader from the USB port, taking care not to apply excessive force or damage the card or the computer.
By following these steps, you will ensure that the data transfer between your computer and the SD card is completed, and there is no risk of data corruption or loss. Removing the SD card safely also helps extend the lifespan of the card and prevents potential hardware issues.
Once you have safely removed the SD card from your computer, you can store it in a safe place or use it again for your photography needs.
Congratulations! You have successfully completed the process of downloading pictures from an SD card to your computer and safely removing the SD card.
Conclusion
Downloading pictures from an SD card to your computer is a simple and essential task for anyone who wants to organize, edit, and preserve their digital photographs. By following the step-by-step guide outlined in this article, you can easily transfer your cherished memories from your SD card to your computer.
We started by inserting the SD card into the computer and opening the File Explorer to locate the card. Next, we selected the desired pictures and copied them from the SD card. Then, we pasted the pictures into a folder of our choice on the computer. Finally, we safely removed the SD card from the computer, completing the process.
Remember, it is crucial to handle the SD card with care and ensure that all file transfers are completed before removing the card to prevent data loss or damage. Always follow the recommended steps for safely removing the SD card to maintain its integrity and longevity.
With the pictures successfully downloaded to your computer, you can now organize them into folders, edit them using photo editing software, share them with others, or back them up to ensure their long-term preservation.
Whether you are a professional photographer, an amateur enthusiast, or simply someone who loves capturing special moments, mastering the process of downloading pictures from an SD card to your computer is a valuable skill. It allows you to take control of your digital photo collection and enjoy your memories for years to come.
So, the next time you need to transfer pictures from your SD card to your computer, you can rely on this guide to help you through the process smoothly and efficiently. Happy downloading!


