Introduction
Welcome to this guide on how to put in an SD card in your Galaxy S7. The Samsung Galaxy S7 is a popular smartphone that offers expandable storage through the use of an SD card. Adding an SD card to your device can significantly increase your available storage space, allowing you to store more photos, videos, apps, and documents.
Whether you are a tech novice or have experience with smartphones, this step-by-step guide will walk you through the process of inserting an SD card into your Galaxy S7. By following these instructions, you can easily expand your device’s storage capacity and ensure that you have ample space for all your media and files.
Before we dive into the steps, it’s important to note that the Galaxy S7 uses a microSD card, which is a smaller version of the standard SD card. Make sure you have a compatible microSD card readily available before proceeding. Now, let’s get started with inserting the SD card into your Galaxy S7!
Step 1: Locate the SD card slot
The first step in putting in an SD card in your Galaxy S7 is to locate the SD card slot. The SD card slot is located on the side of the device and is usually found near the SIM card tray. To access the SD card slot, you will need to use a SIM card removal tool or a small, pointed object like a paperclip.
Start by turning your phone over so that the back panel is facing up. On the right side of the device, you will find a small indentation or tray. This is the SIM card tray. Next to the SIM card tray, you will see another small opening. This is the SD card slot.
Using the SIM card removal tool or a paperclip, insert it into the small opening next to the SIM card tray and gently push until the slot pops out. Be careful not to apply too much pressure, as you don’t want to damage the device. Once the slot is ejected, you can proceed to the next step.
It’s important to note that different smartphone models may have slight variations in the location of the SD card slot. If you are unsure about the exact location of the slot, refer to your device’s user manual or check online resources specific to your model.
Step 2: Turn off your phone
Before inserting the SD card into your Galaxy S7, it is important to turn off your phone. Turning off your phone ensures that no data is being accessed or transferred during the process, reducing the risk of data loss or damage to the SD card or device.
To turn off your Galaxy S7, press and hold the power button located on the side of the device. After a few seconds, you will see the power options menu appear on the screen. Tap on the “Power off” or “Turn off” option to shut down the device.
Wait for your Galaxy S7 to fully power off before proceeding to the next step. This usually takes a few seconds. You can verify that the device is turned off by checking that the screen is blank and there are no indicator lights or vibrations.
It is essential to follow this step to avoid any potential damage to your device or SD card. Removing or inserting an SD card while the phone is powered on can cause data corruption or physical damage to the card or the card slot. So, take a moment to ensure your phone is completely turned off before moving on to the next step.
Step 3: Open the SIM card tray
Now that your Galaxy S7 is turned off, it’s time to open the SIM card tray, which also provides access to the SD card slot. The SIM card tray is located on the side of the device, usually near the top or bottom edge.
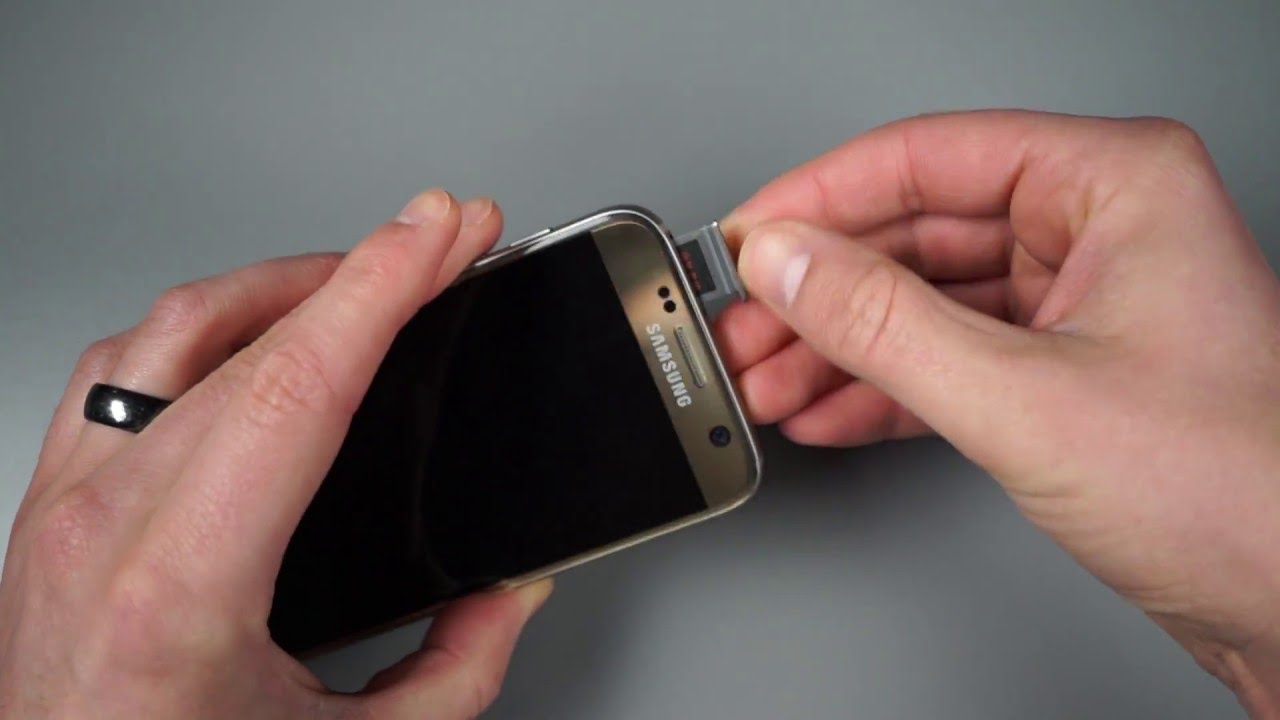
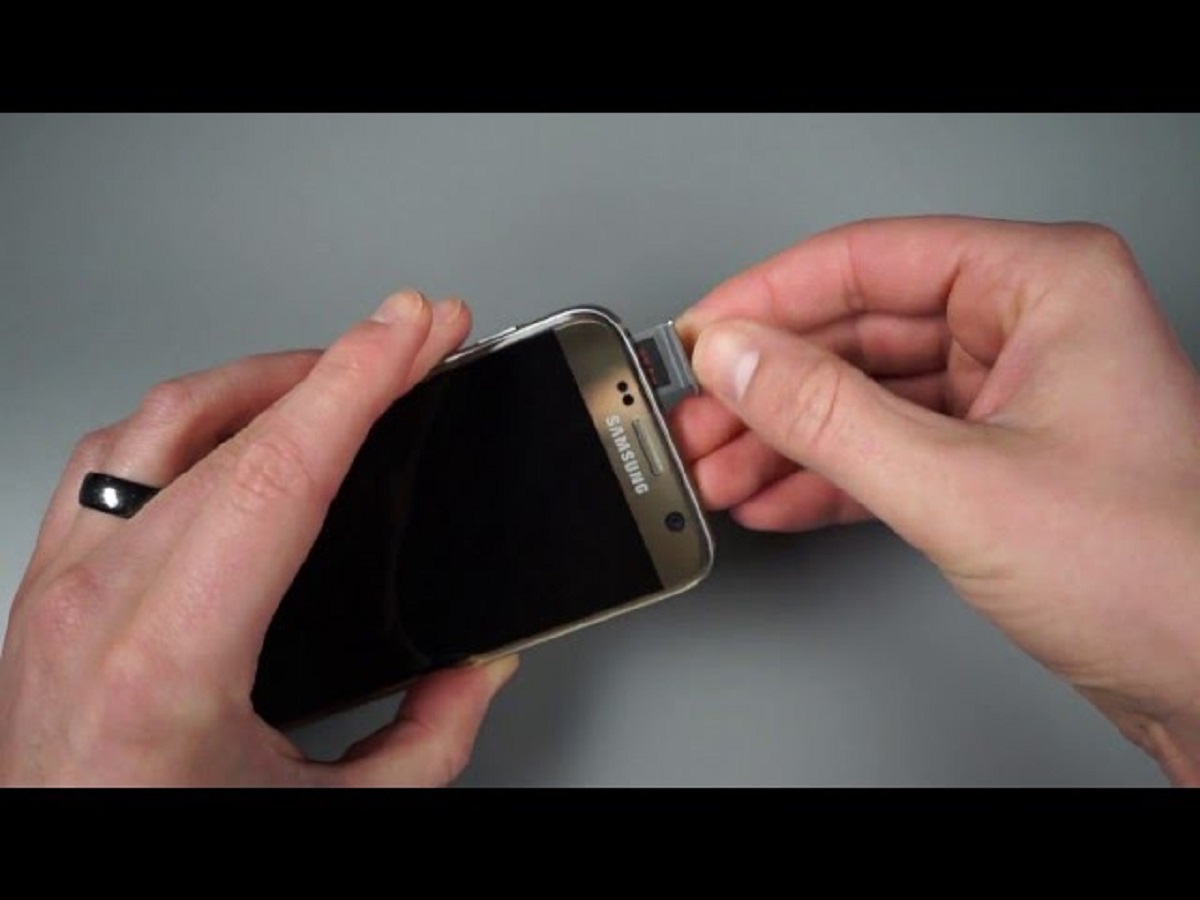
Take your SIM card removal tool or a small, pointed object like a paperclip. Insert the tool or paperclip into the small opening next to the SD card slot and gently push until the SIM card tray pops out. Be cautious not to apply too much force to prevent any damage to the device or the tray.
Once the SIM card tray is ejected, carefully pull it out using your fingers and set it aside. The tray has multiple slots, including one for the SIM card and one for the SD card.
It’s important to note that the SIM card and SD card slots are often labeled or color-coded for easy identification. Locate the slot specifically designated for the SD card. This slot is rectangular in shape and is usually located below or above the SIM card slot.
At this point, you are ready to insert the SD card into the SD card slot. Proceed to the next step for detailed instructions on how to properly insert the SD card in your Galaxy S7.
Step 4: Insert the SD card into the slot
Now that you have located the SD card slot in your Galaxy S7 and opened the SIM card tray, it’s time to insert the SD card. Follow these simple steps to ensure a successful insertion:
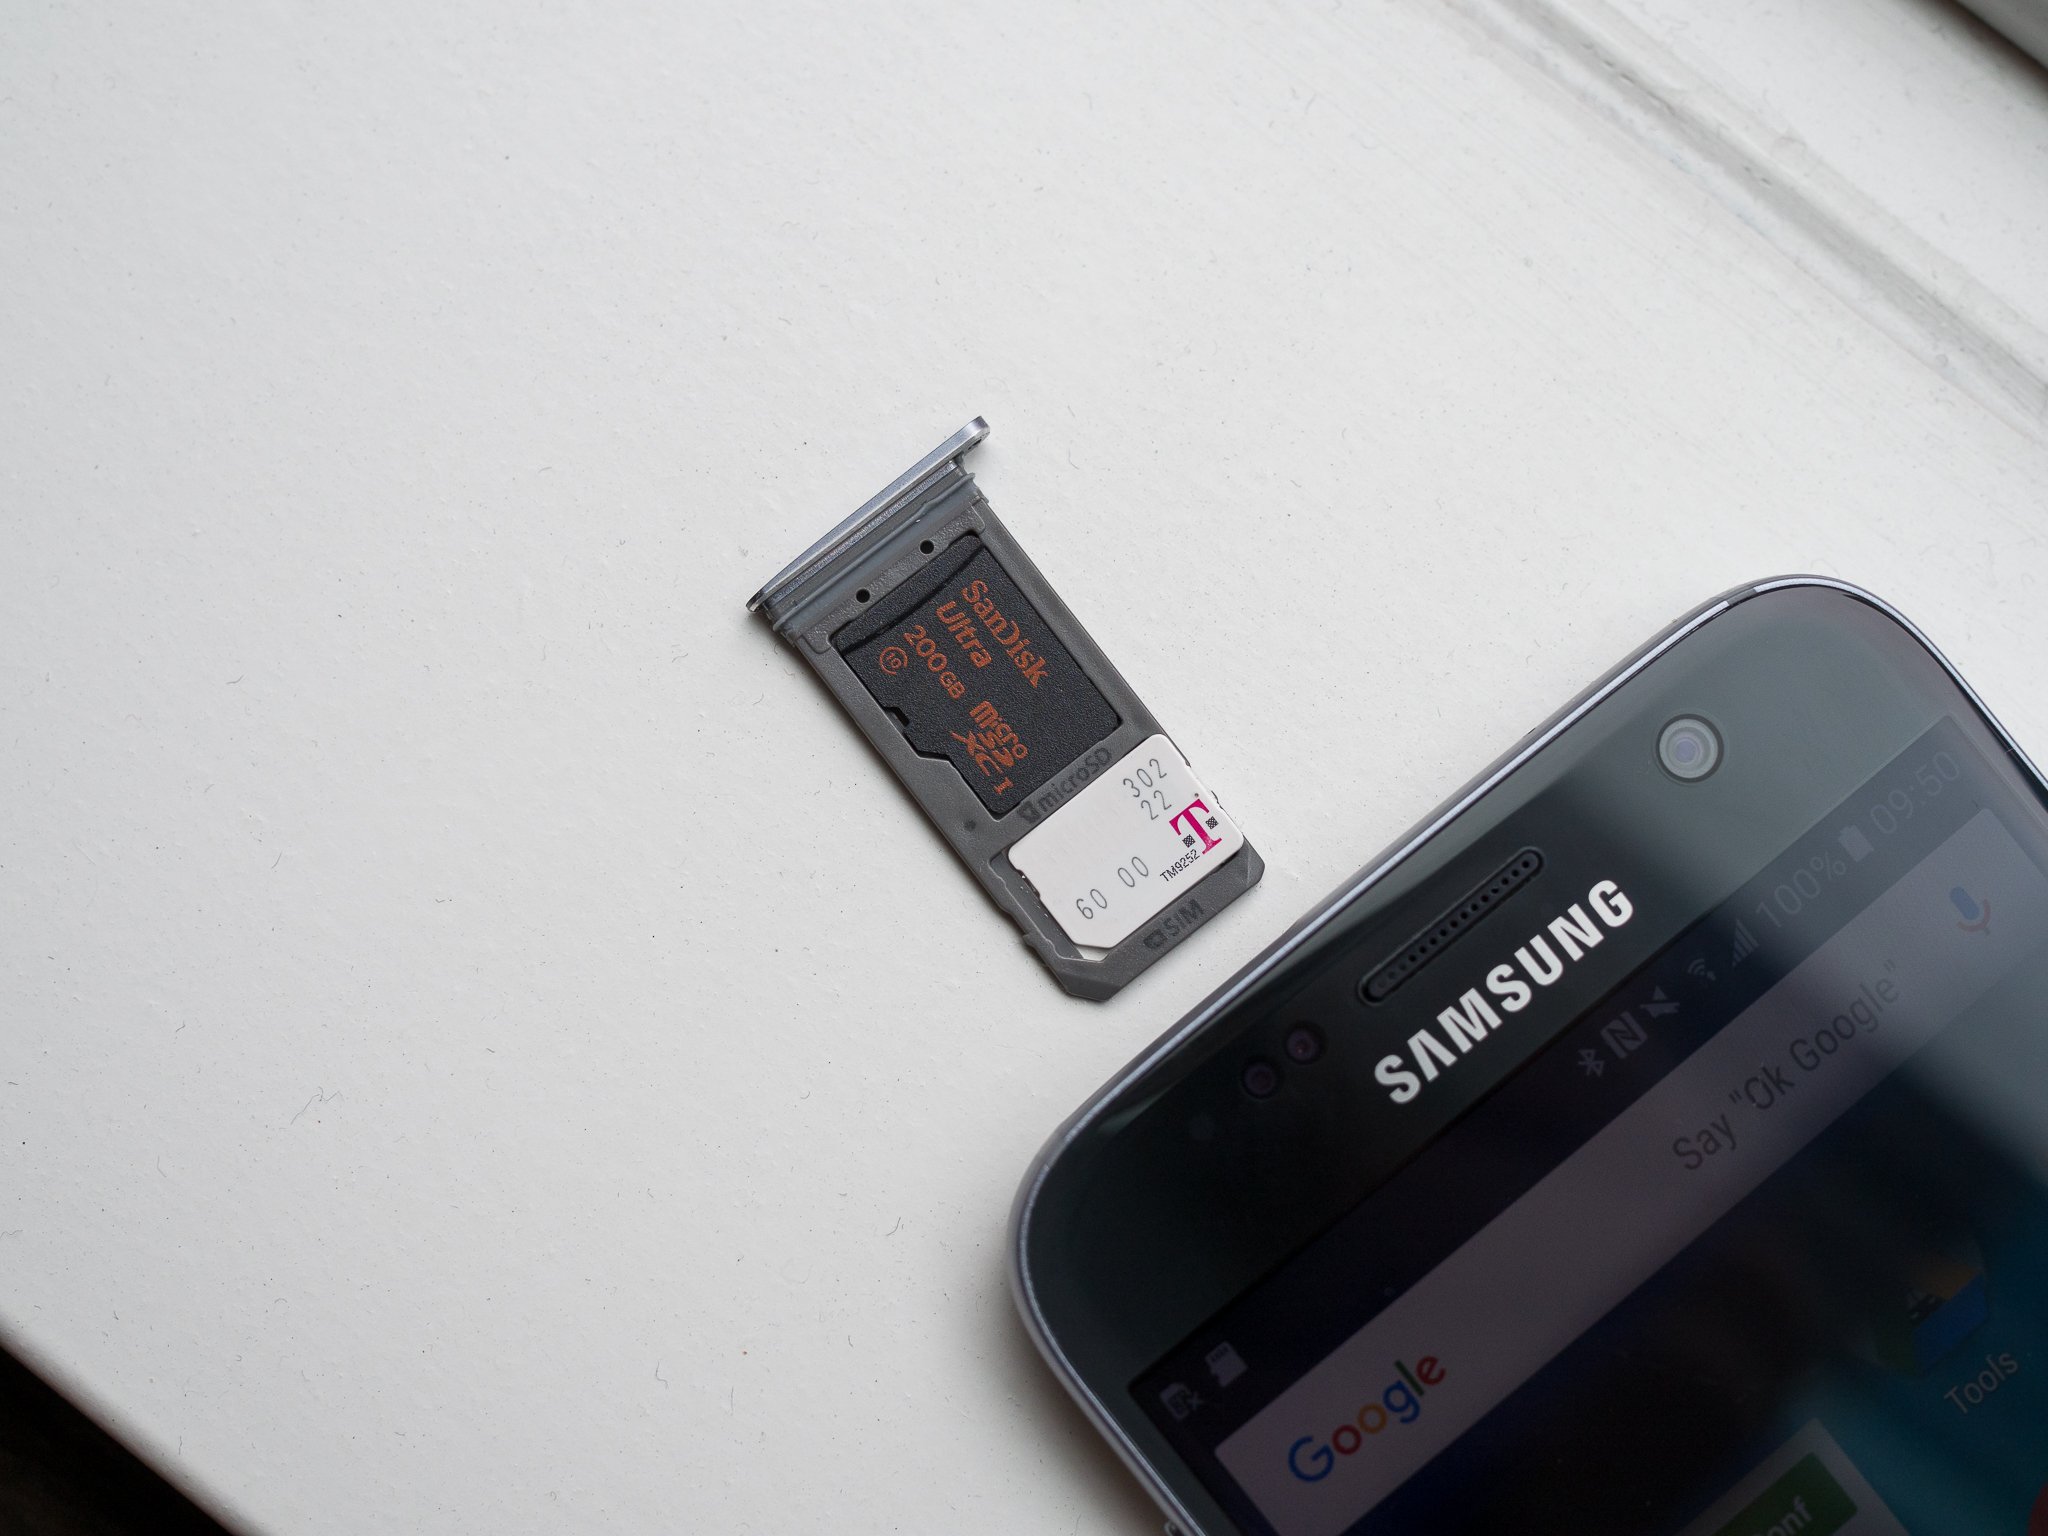
- Hold the SD card with the gold contacts facing down.
- Align the SD card with the rectangular slot in the SIM card tray, making sure it is in the correct orientation.
- Gently slide the SD card into the slot until it is fully seated.
- Ensure that the SD card is inserted securely and flush with the tray.
It’s important to be gentle when inserting the SD card to avoid any damage to the card or the device. Do not force the card into the slot if you encounter any resistance. Instead, double-check the card’s orientation and try again.
Once the SD card is properly inserted, you can proceed to the next step to safely close the SIM card tray and complete the process of adding the SD card to your Galaxy S7.
Step 5: Close the SIM card tray
After successfully inserting the SD card into the slot, it’s time to close the SIM card tray in your Galaxy S7. Follow these steps to securely close the tray:
- Hold the SIM card tray with your fingers.
- Gently and carefully slide the tray back into the device.
- Make sure the tray is inserted in the correct orientation, aligning it with the slot.
- Push the tray in until it is fully seated and flush with the device.
Take a moment to ensure that the tray is securely closed and there are no gaps or unevenness. This will prevent any potential issues and ensure that the SD card is properly connected to the device.
If you encounter any difficulty or resistance while closing the tray, remove it and double-check that the SD card is inserted correctly. If necessary, clean the tray and the SD card slot to remove any dust or debris that might be causing the issue.
Once the SIM card tray is securely closed, your Galaxy S7 is now ready to be turned on and used with the newly inserted SD card.
Step 6: Turn on your phone
With the SD card successfully inserted and the SIM card tray securely closed, you can now proceed to turn on your Galaxy S7. Follow these simple steps to power on your device:
- Press and hold the power button located on the side of the device.
- After a few seconds, you will see the Samsung logo appear on the screen, indicating that the device is booting up.
- Release the power button once the logo appears.
- Wait for the device to finish booting up. This may take a few seconds.
Once your Galaxy S7 is fully powered on, you can start enjoying the benefits of expanded storage with the SD card. The device should recognize the newly inserted SD card and automatically configure it for use.
It’s a good idea to check the storage settings on your device to ensure that the SD card is properly recognized and functioning as expected. Go to the device’s Settings menu, navigate to the Storage or Storage & USB section, and verify that the SD card is listed and displaying the correct amount of available storage.
Now that you have successfully inserted and set up the SD card in your Galaxy S7, you can start transferring files, installing apps, and capturing memorable moments without worrying about running out of storage space.
Conclusion
Congratulations! You have successfully learned how to put in an SD card in your Galaxy S7. By following the step-by-step instructions outlined in this guide, you can easily expand the storage capacity of your device and enjoy the benefits of having additional space for your files, photos, videos, and apps.
Remember to always turn off your phone before inserting or removing an SD card to avoid any potential damage to the card or the device. Also, ensure that you have a compatible microSD card available for use, as the Galaxy S7 utilizes this specific type of card.
By locating the SD card slot, turning off your phone, opening the SIM card tray, inserting the SD card, closing the tray, and turning on your device, you have completed the process of adding an SD card to your Galaxy S7.
Now, take advantage of the expanded storage capacity and utilize the extra space to store your favorite media, install more apps, and keep all your important files in one convenient location.
Should you ever need to remove or replace the SD card, simply follow the steps in reverse order. Remember to turn off your device, open the SIM card tray, carefully remove the SD card, close the tray, and power on your phone.
With these simple techniques, you can easily manage and enhance the storage capability of your Galaxy S7, ensuring that you have enough space for all your digital needs.