Introduction
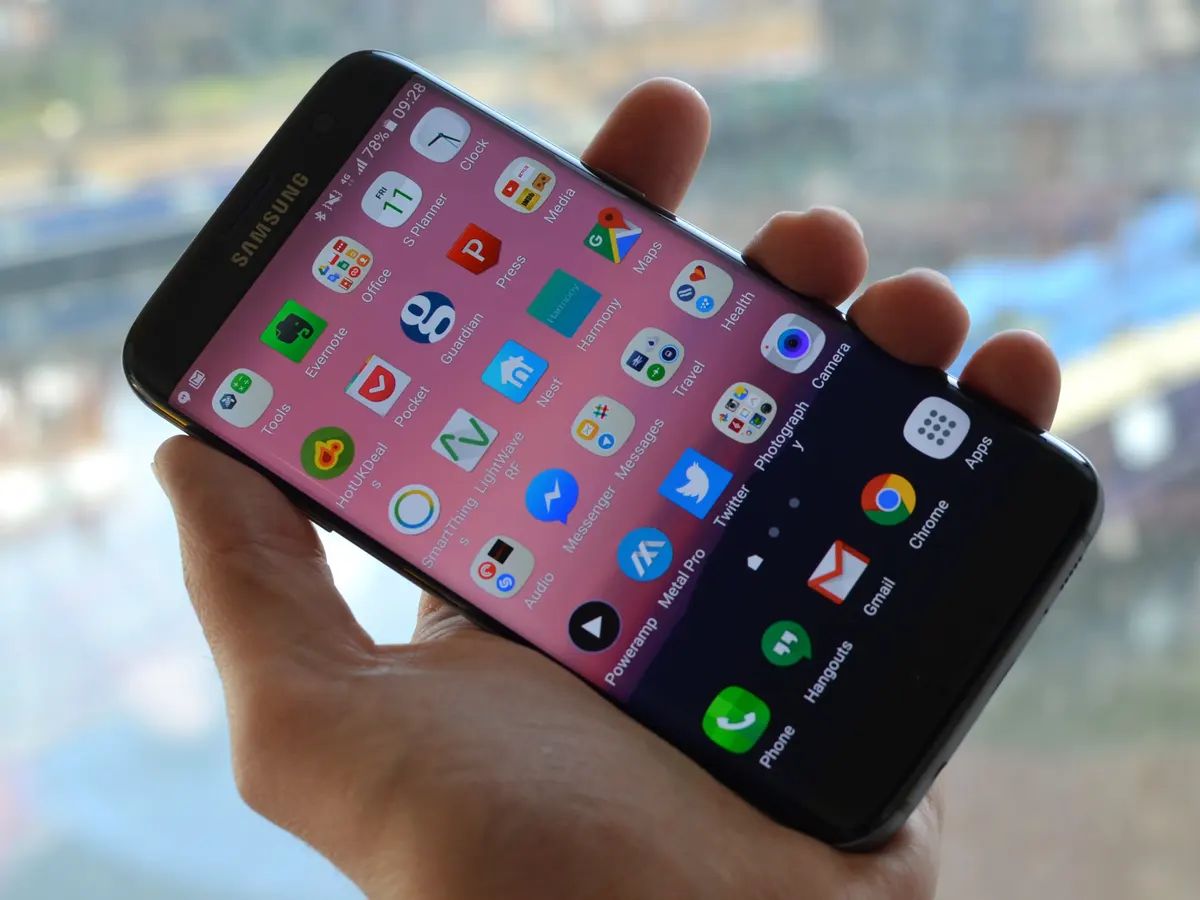
Welcome to the world of music on your Samsung Galaxy S7! Whether you’re a music enthusiast or just enjoy listening to your favorite tunes, having a reliable and convenient way to access and enjoy music on your smartphone is essential. In this article, we will explore various methods to put music on your Samsung Galaxy S7, allowing you to create your personalized music library on the go.
Your Samsung Galaxy S7 offers multiple options for transferring, downloading, and streaming music. From connecting your device to your computer to using online music platforms and streaming apps, we will guide you through the process step by step. We will also discuss syncing your music library with Samsung’s Music app and using a USB OTG cable to transfer music from external devices.
Getting music on your Samsung Galaxy S7 is not only about convenience but also about personalization. You can curate your own playlists, explore new genres and artists, and have your favorite songs at your fingertips. Whether you prefer the timeless classics or the latest hits, the possibilities to enhance your music experience are endless.
So, let’s dive into the various methods and unleash the musical potential of your Samsung Galaxy S7. Get ready to enjoy your favorite songs wherever you go and make your smartphone the ultimate music companion!
Connect Your Samsung Galaxy S7 to Your Computer
One of the most straightforward ways to transfer music to your Samsung Galaxy S7 is by connecting it to your computer. This method allows you to directly transfer music files from your computer to your phone. Here’s how you can do it:
- Grab a USB cable that is compatible with your Samsung Galaxy S7 and connect one end to your phone and the other end to an available USB port on your computer.
- Once connected, your computer should recognize your phone as a storage device and automatically install the necessary drivers. If prompted, follow the on-screen instructions to complete the driver installation process.
- On your Samsung Galaxy S7, swipe down from the top of the screen to access the notification panel and tap on the “USB for charging” option.
- Select the “Transfer files” or “File transfer” option. This will enable your phone to act as an external storage device, allowing you to access its files on your computer.
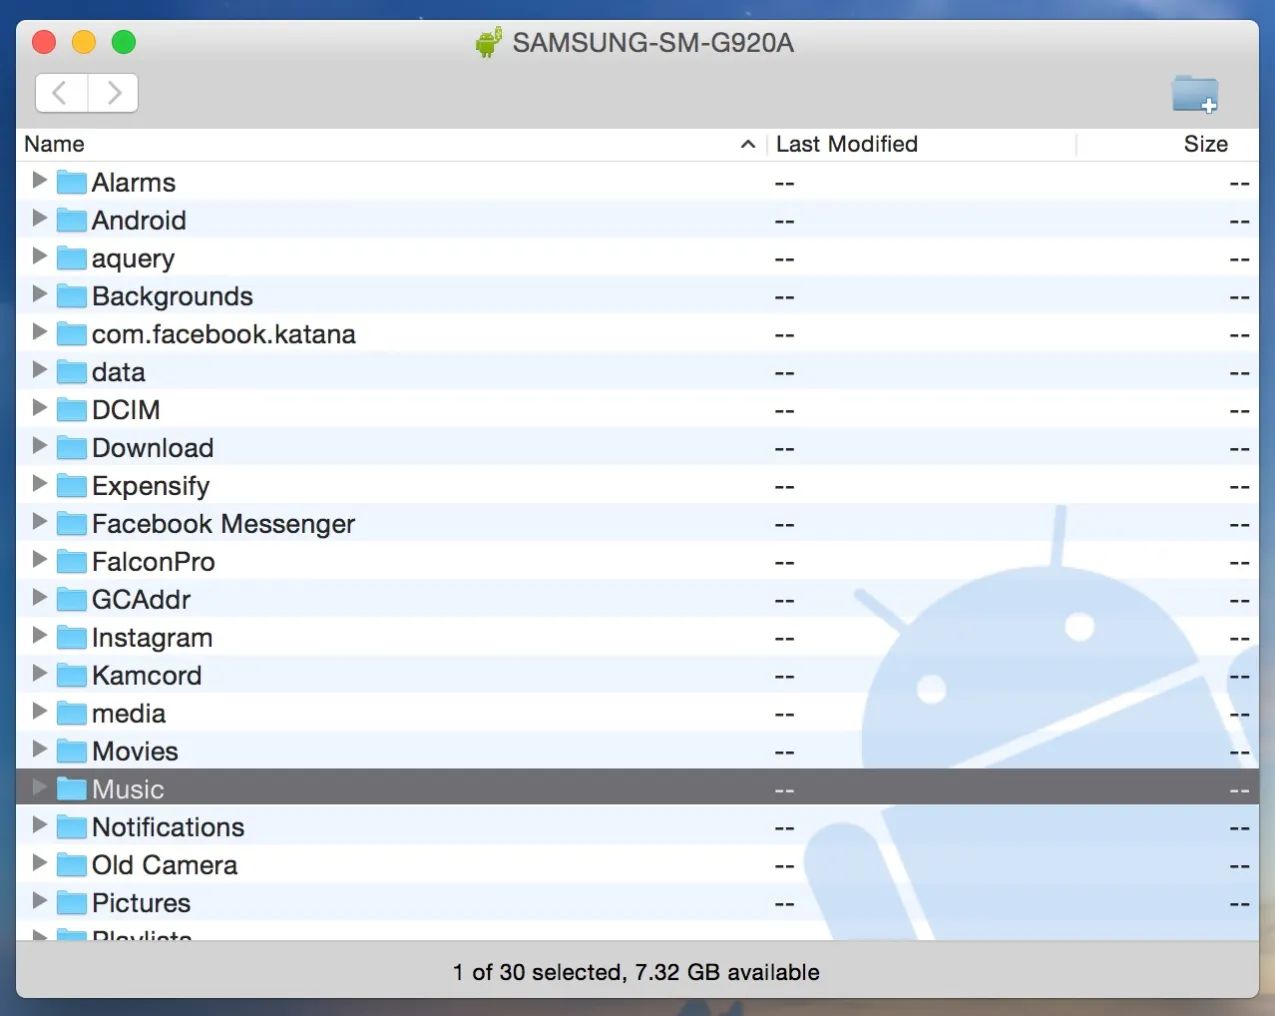
- On your computer, open File Explorer (Windows) or Finder (Mac) and navigate to the location where your music files are stored.
- Select the music files you want to transfer to your Samsung Galaxy S7 and copy them by either right-clicking and selecting “Copy” or using the keyboard shortcut (Ctrl+C on Windows, Command+C on Mac).
- Navigate to the folder representing your Samsung Galaxy S7 in File Explorer or Finder, usually labeled as “Galaxy S7” or “Samsung Galaxy S7”.
- Paste the copied music files into the desired location on your phone by right-clicking and selecting “Paste” or using the keyboard shortcut (Ctrl+V on Windows, Command+V on Mac).
- Once the transfer is complete, safely disconnect your Samsung Galaxy S7 from your computer by following the proper ejection procedure. On Windows, right-click on the device icon in the system tray and select “Eject” or “Safely Remove Hardware”. On Mac, drag the device icon to the trash can or use the eject button in Finder.
You have successfully connected your Samsung Galaxy S7 to your computer and transferred music files. Now you can enjoy your favorite songs on the go!
Transfer Music from Your Computer to Your Samsung Galaxy S7
Now that you have connected your Samsung Galaxy S7 to your computer, let’s explore the process of transferring music files from your computer to your phone. Follow these steps:
- On your computer, open File Explorer (Windows) or Finder (Mac) and navigate to the location where your music files are stored.
- Select the music files you want to transfer to your Samsung Galaxy S7 by either clicking and dragging to select multiple files or holding down the Ctrl or Command key while clicking on individual files.
- Once you have selected the desired music files, right-click on them and select “Copy”.
- Navigate to the folder representing your Samsung Galaxy S7 in File Explorer or Finder.
- Paste the copied music files into the desired location on your phone by right-clicking and selecting “Paste”.
- Alternatively, you can create a new folder on your phone to organize your music files. Right-click in the desired location on your Samsung Galaxy S7, select “New Folder”, and give it a name. Open the newly created folder and paste the copied music files into it.
- Wait for the transfer to complete. The time taken will depend on the number and size of the music files being transferred.
- Once the transfer is complete, safely disconnect your Samsung Galaxy S7 from your computer by following the proper ejection procedure. On Windows, right-click on the device icon in the system tray and select “Eject” or “Safely Remove Hardware”. On Mac, drag the device icon to the trash can or use the eject button in Finder.
Now you can find your transferred music files on your Samsung Galaxy S7. Use your favorite music app to play and enjoy your songs at any time!
Download Music from Online Music Platforms to Your Samsung Galaxy S7
If you prefer to download music directly onto your Samsung Galaxy S7 from online music platforms, there are various websites and apps available that allow you to legally acquire music for offline listening. Here’s how you can download music from online music platforms:
- Open a web browser on your Samsung Galaxy S7 and navigate to the website or app of your preferred online music platform.
- Create an account or log in to your existing account if required.
- Browse or search for the music you want to download. Most platforms offer a vast library of songs, albums, and playlists to choose from.
- Once you’ve found the desired music, look for the download option. It is usually indicated by a downward-facing arrow or a “Download” button.
- Tap on the download option for the music you want to save offline.
- Choose the desired quality or format for the downloaded music file, if applicable.
- Wait for the download to complete. The time taken will depend on the size and speed of your internet connection.
- Once the download is finished, you can access your downloaded music in the designated library or offline section of the music platform’s app.
- From there, you can play your downloaded music directly within the app or use a compatible music player app to access and enjoy your downloaded songs.
Remember to comply with the terms of service and copyright regulations when downloading music from online platforms. Ensure that you obtain music from legal sources to support the artists and creators behind the music.
With this method, you can build a personalized music library on your Samsung Galaxy S7 and listen to your favorite tracks even when you don’t have an active internet connection.
Use a Music Streaming App on Your Samsung Galaxy S7
Streaming music has become increasingly popular, providing instant access to a vast library of songs without the need for manual downloads. With a music streaming app installed on your Samsung Galaxy S7, you can discover new music, create playlists, and enjoy a seamless listening experience. Follow these steps to use a music streaming app:
- Open the Google Play Store on your Samsung Galaxy S7 and search for the music streaming app you want to use. Some popular options include Spotify, Apple Music, YouTube Music, and Amazon Music.
- Tap on the app to view its details and then select the “Install” button to download and install the app on your device.
- Once the app is installed, open it and sign in to your existing account or create a new account if required.
- Explore the app’s features, such as the ability to search for artists, albums, or songs, create personalized playlists, and discover curated playlists or recommendations.
- When you find a song or album you want to listen to, simply tap on it to start streaming. Most apps offer free versions with ads or premium subscriptions for an ad-free experience and additional features.
- You can also create and customize playlists to suit your preferences. Add songs to your playlists by tapping on the options provided, such as “Add to Playlist” or the “+” icon.
- The music will start playing, and you can control playback using the app’s interface or the media controls on your Samsung Galaxy S7’s notification panel.
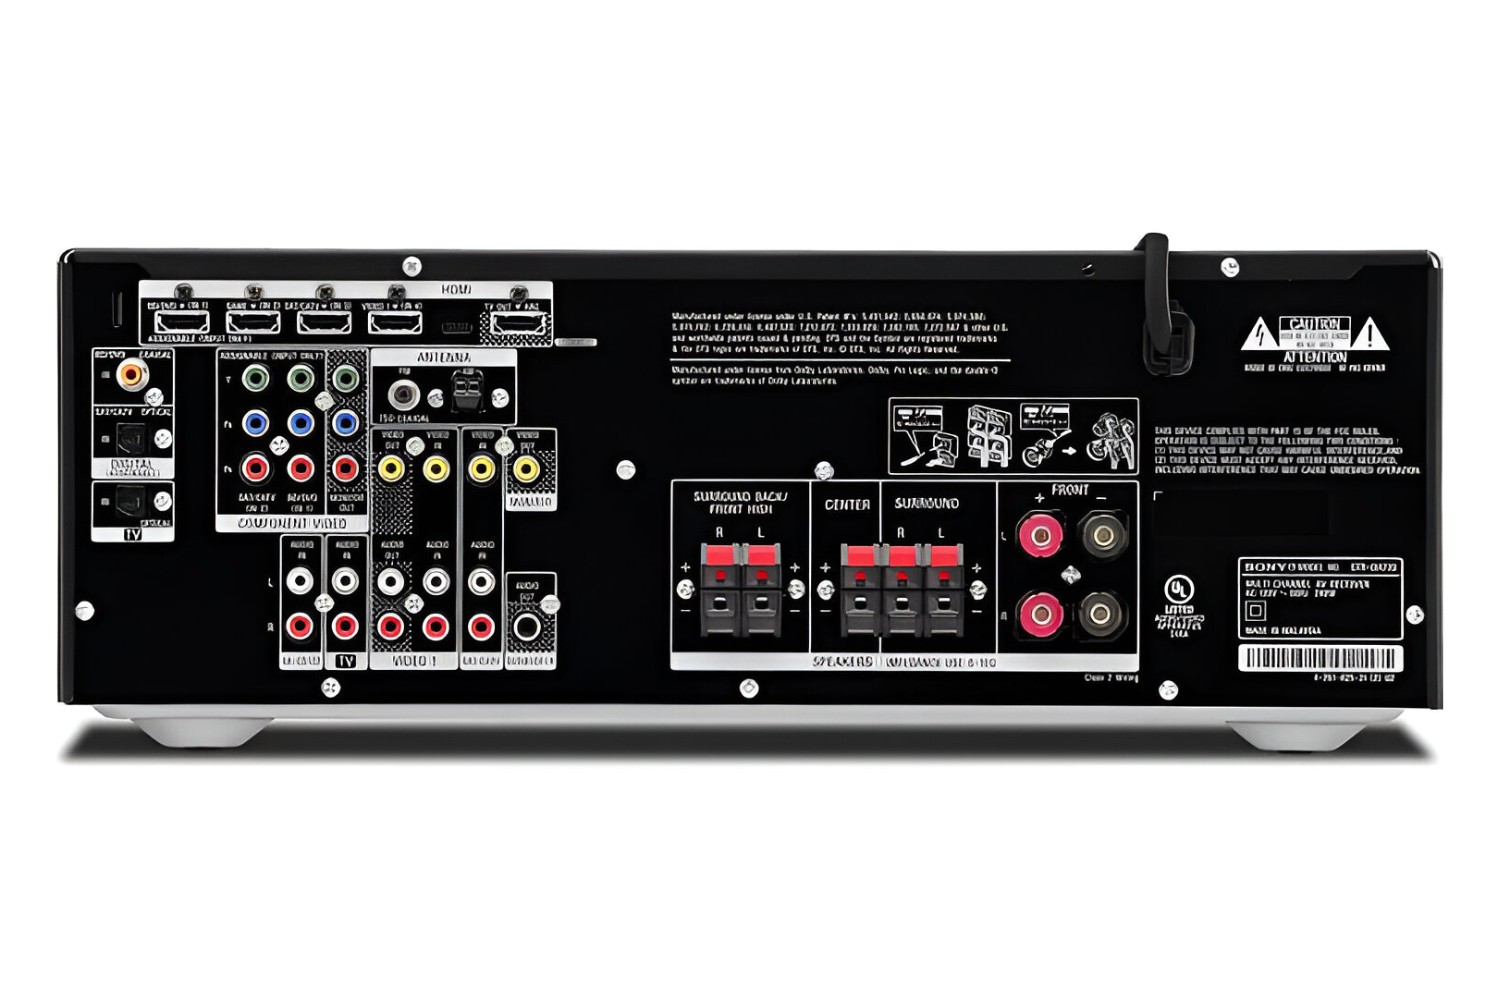
- Connect your headphones or speakers to your Samsung Galaxy S7 to enjoy the music privately or share it with others.
- Some music streaming apps also offer the option to download songs or playlists for offline listening. Look for the download icon next to the music you want to save and choose the desired quality or settings.
- Remember to manage your data usage and storage space when streaming music. Be mindful of your internet connection and keep an eye on your data usage if you are not connected to Wi-Fi.
Using a music streaming app on your Samsung Galaxy S7 allows you to access an extensive collection of songs and genres, giving you the flexibility to discover and enjoy music according to your preferences and mood.
Sync Your Music Library with Samsung’s Music App
If you prefer to manage and play your music on your Samsung Galaxy S7 using the built-in Music app, you can sync your music library to ensure that all your favorite songs are readily available. Here’s how you can sync your music library with Samsung’s Music app:
- Open the Music app on your Samsung Galaxy S7. If you don’t have the app installed, you can download it from the Google Play Store.
- On the main screen of the app, tap on the menu icon (typically represented by three vertical dots) to access the app’s settings.
- In the settings menu, look for the option to “Sync Library” or “Import Music”. Tap on it to begin the syncing process.
- The app will search your device for music files and populate your library with the detected songs. Depending on the size of your music library, this process may take some time.
- Once the syncing is complete, you can browse your music library within the app and play your songs by tapping on their respective titles. You can also create playlists, sort your songs by artists, albums, or genres, and access additional features offered by the Music app.
- If you add or remove music files from your device in the future, it’s a good idea to periodically resync your library to keep it up to date. Simply revisit the settings menu of the Music app and select the “Sync Library” or “Import Music” option again.
- Some music files may not be recognized by the Music app if they are in unsupported formats. In such cases, you can use a third-party audio file converter to convert the files to a compatible format and then sync them with the Music app.
- Remember to organize your music files in a way that makes it easier for the Music app to recognize and arrange them. Storing your music files in folders named by artist or album can help keep your library organized within the app.
By syncing your music library with Samsung’s Music app, you can conveniently access and enjoy all your songs in one place. Take advantage of the app’s features to create personalized playlists and customize your music listening experience on your Samsung Galaxy S7.
Use a USB OTG Cable to Transfer Music From External Devices
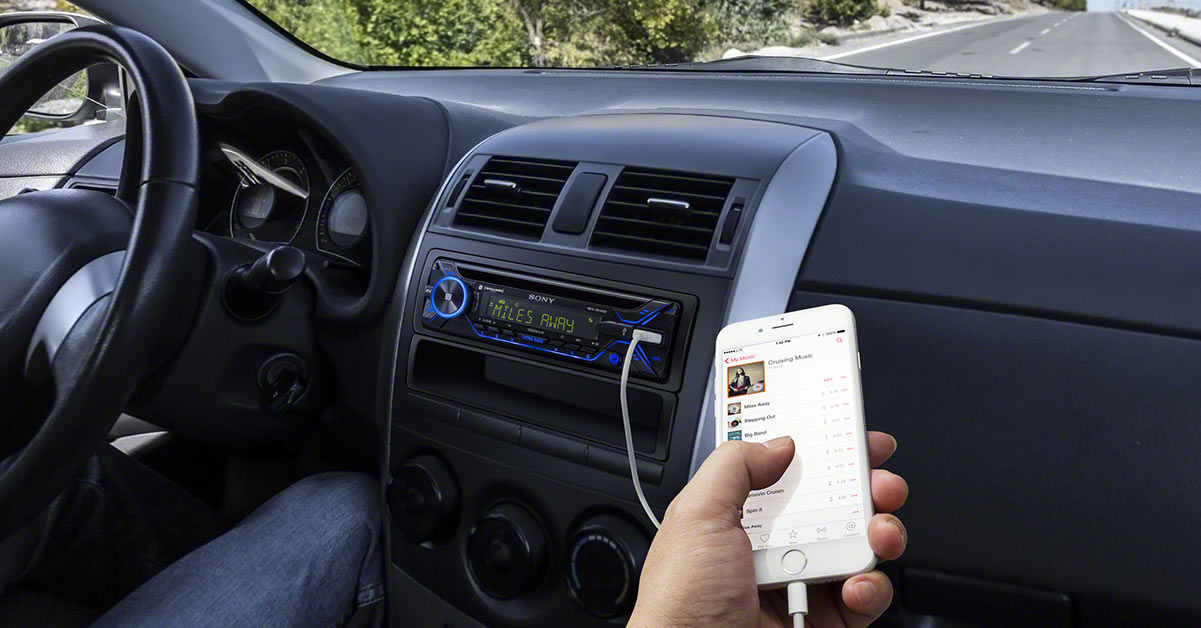
If you have music stored on external devices such as USB drives or SD cards, you can use a USB OTG (On-The-Go) cable to directly transfer music to your Samsung Galaxy S7. This method allows for easy access to your music collection without the need for a computer. Follow these steps to transfer music using a USB OTG cable:
- Obtain a USB OTG cable that is compatible with your Samsung Galaxy S7. This cable has a micro USB or USB Type-C connector on one end and a USB port on the other end.
- Connect the USB OTG cable to your Samsung Galaxy S7 by plugging the appropriate end into the charging port of your phone.
- If you have music stored on a USB drive or SD card, connect it to the USB port on the other end of the USB OTG cable.
- On your Samsung Galaxy S7, a file explorer or notification should automatically open, indicating that a USB device has been connected.
- Tap on the notification or open the file explorer to access the external device’s contents.
- Navigate to the folder or location where your music files are stored on the external device.
- Select the music files you want to transfer to your Samsung Galaxy S7 by tapping and holding on a file and then continuing to select the other files.
- Once you have selected the desired music files, tap on the “Copy” or “Move” option. You may need to tap on the three-dot menu icon to access these options.
- Navigate to the desired location on your Samsung Galaxy S7 where you want to transfer the music files. This can be the internal storage or an SD card if your device supports it.
- Tap on the “Paste” option to transfer the selected music files to your Samsung Galaxy S7.
- Wait for the transfer to complete. The time taken will depend on the size and number of the music files being transferred.
- Once the transfer is finished, safely disconnect the USB drive or SD card from the USB OTG cable.
You have successfully transferred music files from an external device to your Samsung Galaxy S7 using a USB OTG cable. Now you can enjoy your favorite songs directly on your phone without the need for an intermediary device!
Conclusion
Having music on your Samsung Galaxy S7 can greatly enhance your music listening experience, allowing you to enjoy your favorite songs wherever you go. In this article, we explored various methods to put music on your Samsung Galaxy S7.
We started by discussing how to connect your Samsung Galaxy S7 to your computer and transfer music files directly. This method provides a convenient way to transfer your existing music collection from your computer to your phone.
We then explored how to download music from online music platforms directly onto your Samsung Galaxy S7. This allows you to access a wide range of songs and albums for offline listening, perfect for when you don’t have an internet connection.
Next, we discussed the option of using music streaming apps on your Samsung Galaxy S7. These apps provide instant access to a vast library of songs, allowing you to discover new music, create playlists, and enjoy a seamless listening experience.
Syncing your music library with Samsung’s Music app was also covered in this article. This method ensures that all your favorite songs are readily available within the app, allowing for easy navigation and playback.
Lastly, we explored the use of a USB OTG cable to transfer music from external devices such as USB drives or SD cards directly to your Samsung Galaxy S7. This method provides a quick and convenient way to access music stored on external media.
By utilizing these methods, you can create a personalized music library on your Samsung Galaxy S7, filled with your favorite songs and albums. Whether you prefer to transfer music from your computer, download them from online platforms, stream music through apps, or transfer from external devices, the possibilities are endless.
So, go ahead and put some music on your Samsung Galaxy S7 and enjoy the rhythm and melodies that resonate with you. Let your smartphone become your ultimate music companion and indulge in the joy of music wherever you go!