Introduction
Having the correct drivers installed on your computer is crucial for optimal performance and compatibility. If you’re experiencing issues with your motherboard or simply want to ensure that all components are running smoothly, downloading and installing the latest motherboard drivers is a necessary step. These drivers act as a bridge between the hardware components and the operating system, allowing them to communicate effectively.
Downloading motherboard drivers can seem daunting if you’re not familiar with the process. However, with a little guidance, it can be a straightforward task. In this guide, we’ll walk you through the steps to download motherboard drivers, ensuring that you have the necessary knowledge to set up your computer for success.
Before diving into the step-by-step process, it’s essential to know your motherboard model. This information is vital because downloading incompatible drivers can lead to various issues and even system instability. Identifying your motherboard model is relatively easy and can be done in a few different ways. You can check the documentation that came with your motherboard, examine the physical board itself, or use system information utilities available in your operating system.
Once you have identified your motherboard model, you can proceed with the driver download process. Keep in mind that motherboard manufacturers frequently release driver updates to address bugs, improve performance, and enhance compatibility with new operating systems. Therefore, it’s advisable to download the latest drivers from the official manufacturer’s website rather than relying on outdated or third-party sources.
In the upcoming sections, we will guide you through the steps to download motherboard drivers and ensure that your computer is up to date. It’s important to note that the specific steps may vary slightly depending on the manufacturer and model of your motherboard, but the overall process remains the same.
Step 1: Identify Your Motherboard Model
The first step in downloading motherboard drivers is to identify the model of your motherboard. This information is crucial because it determines the specific drivers you need to download for your hardware to function properly.
There are several ways to identify your motherboard model. One option is to check the documentation that came with your motherboard. The documentation may include a label or sticker with the model name and number. If you no longer have the physical documentation, you can refer to the manufacturer’s website for downloadable user manuals or product specifications that provide this information.
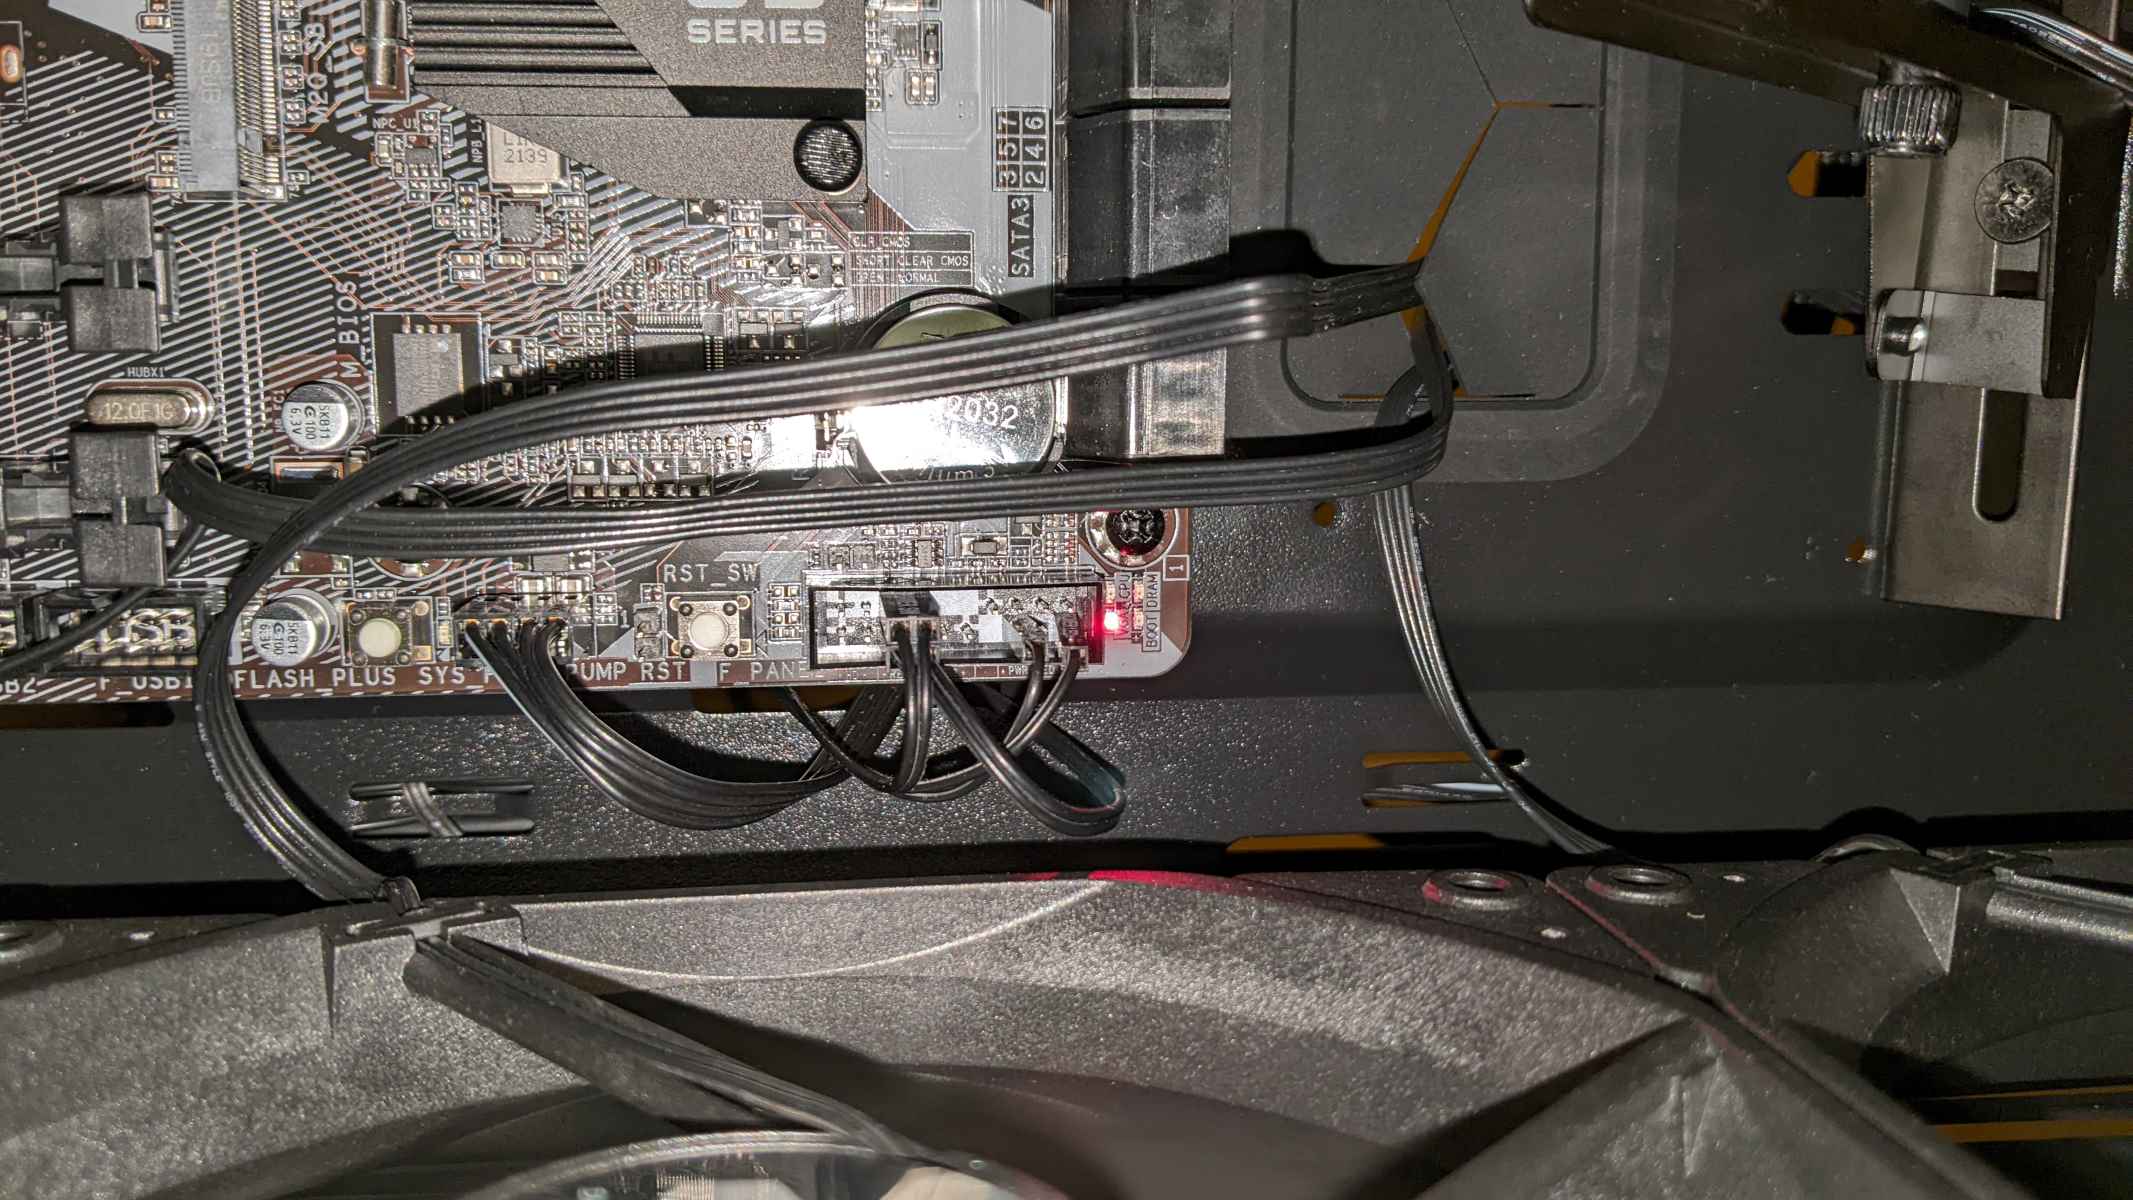
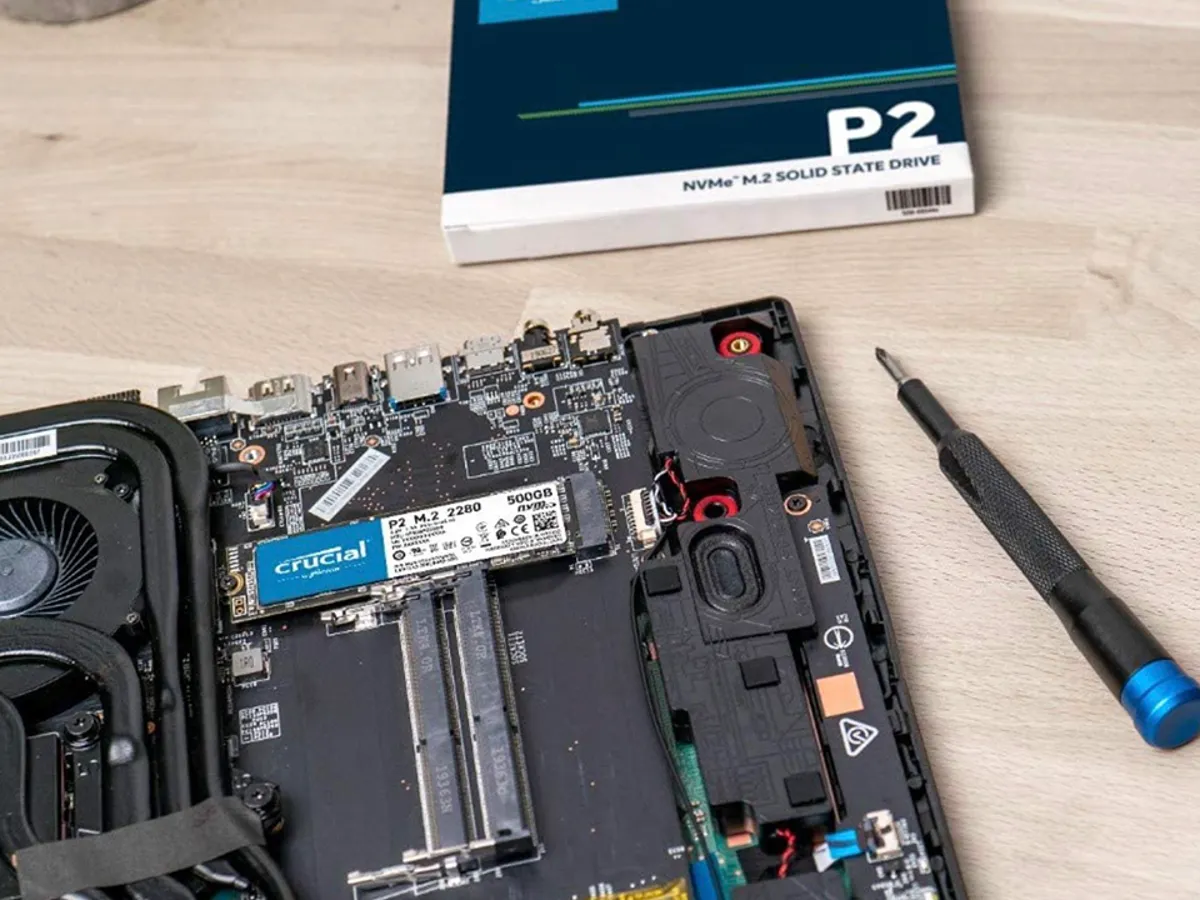
If the physical documentation is not available, you can physically examine the motherboard itself. Most motherboards have the model name and number printed directly on the board. You may need to open your computer case and carefully inspect the motherboard to locate this information. Look for a label or engraving near the CPU socket or along the edge of the board.
Alternatively, you can use system information utilities to find the motherboard model. Both Windows and macOS have built-in tools that can display detailed hardware information, including the motherboard model. On Windows, you can open the System Information utility by typing “msinfo32” in the Run dialog box (press Windows + R to open the dialog box). On macOS, you can access hardware information by going to About This Mac and clicking on System Report or Hardware Overview.
Once you have identified your motherboard model, make a note of it as you will need this information for the subsequent steps. Having the correct model number on hand ensures that you download the appropriate drivers for your specific hardware configuration.
In the next step, we will guide you on how to visit the manufacturer’s website to download the necessary motherboard drivers.
Step 2: Visit the Manufacturer’s Website
After identifying your motherboard model, the next step is to visit the manufacturer’s website to download the required drivers. It’s important to download drivers directly from the manufacturer to ensure compatibility and reliability.
To begin, open your web browser and search for the official website of your motherboard manufacturer. Most motherboard manufacturers have dedicated support sections on their websites where you can find driver downloads and other related resources. Alternatively, you can also search for your motherboard model followed by “drivers” to directly access the download page.
Once you’ve accessed the manufacturer’s website, look for a section or tab related to drivers or support. This section may have different names depending on the manufacturer, but it typically contains driver downloads and other useful resources.
It’s worth noting that some manufacturers provide separate sections for different product lines or series. Make sure to navigate to the correct section that corresponds to your motherboard model to find the appropriate drivers.
Some manufacturer websites may require you to enter your motherboard model or select it from a list to access the driver downloads page. This process ensures that you’re presented with the correct drivers specifically designed for your motherboard model.
Keep in mind that the layout and structure of manufacturer websites may vary, and it may take a bit of exploration to find the driver downloads section. If you’re having trouble locating the driver downloads, the website’s search function can be quite helpful. Simply enter keywords like “driver,” “download,” or your motherboard model to narrow down your search results.
Once you’ve reached the driver downloads section, you’ll likely see a list of available drivers for various components of your motherboard. Look for the drivers specific to your operating system, as these will be compatible with your system configuration. Manufacturers often provide drivers for multiple versions of Windows, as well as other operating systems like macOS or Linux.
With the manufacturer’s website open and the driver downloads section in front of you, you’re now ready to proceed with the next step: selecting the appropriate drivers for your operating system. We’ll guide you through this process in the upcoming section.
Step 3: Locate the Driver Downloads Section
After visiting the manufacturer’s website, the next step in downloading motherboard drivers is to locate the driver downloads section. This section contains the necessary drivers for your specific motherboard model.
The location of the driver downloads section may vary depending on the manufacturer’s website design. Here are a few common ways to find it:
- Look for a “Support” or “Downloads” tab or link. Many manufacturer websites have a dedicated section specifically for driver downloads and support resources. This tab is often prominently displayed on the website’s main navigation menu or homepage.
- Check the main menu or header area of the website. Some manufacturers include a drop-down menu or submenu directly on the main navigation bar, making it easy to access driver downloads.
- Use the website’s search function. If you’re having trouble finding the driver downloads section, try using the website’s search bar or function. Enter keywords like “driver downloads” or your motherboard model to help narrow down the search results.
- Refer to the website’s support or documentation pages. Manufacturers often provide comprehensive support and documentation for their products. These pages might include links or instructions for accessing driver downloads.
Once you have found the driver downloads section, you may need to further narrow down your search by selecting your specific motherboard model or series. Some manufacturer websites have a search feature or drop-down menu that allows you to filter the drivers based on your motherboard model.
Remember to choose the drivers that are compatible with your operating system. Most manufacturers provide drivers for various versions of Windows, including Windows 10, Windows 8, and Windows 7. If you’re using a different operating system, such as macOS or Linux, look for the corresponding drivers, if available.
At this stage, you should have successfully located the driver downloads section on the manufacturer’s website and be ready to proceed with the next step: selecting and downloading the appropriate drivers for your operating system. We will guide you through this process in the upcoming section.
Step 4: Select the Operating System
Once you have accessed the driver downloads section on the manufacturer’s website, it’s time to select the appropriate operating system for which you need to download the motherboard drivers. Selecting the correct operating system ensures that you download drivers that are compatible with your system.
Most manufacturer websites provide a drop-down menu or a list of operating systems for you to choose from. Common options include various versions of Windows (such as Windows 10, Windows 8, or Windows 7) as well as other operating systems like macOS or Linux.
If you’re using Windows, make sure to select the version that matches the one installed on your computer. Choosing the wrong version of the operating system may result in incompatible drivers, which can cause issues or prevent them from functioning properly.
In some cases, the manufacturer’s website may automatically detect your operating system and provide the appropriate drivers. This can make the process even easier, as you won’t have to manually select the operating system.
It’s worth noting that drivers may differ depending on the operating system version and architecture. For example, you might need to choose between 32-bit or 64-bit drivers if you’re using a Windows operating system. Select the version that matches your system configuration to ensure proper compatibility and functionality.
Once you have chosen the correct operating system, the website will display a list of available drivers for download. These drivers are specifically tailored to work with your motherboard model and the chosen operating system. Make sure to review the driver names and descriptions to ensure you download the ones you need.
With the operating system selected, you’re one step closer to obtaining the necessary drivers for your motherboard. In the next section, we will guide you through the process of downloading and installing the drivers to ensure smooth functionality and optimal performance of your motherboard and connected components.
Step 5: Download and Install the Drivers
Now that you have selected the appropriate operating system, it’s time to download and install the motherboard drivers. Follow these steps to ensure a successful installation:
- Locate the drivers for your motherboard model and operating system. You should see a list of drivers available for download on the manufacturer’s website. Look for the ones specifically labeled for your motherboard model and operating system version.
- Click on the download link for each driver you need. You may need to accept any terms or agreements before the download begins. Save the drivers to a location on your computer where you can easily access them later.
- Once the download is complete, locate the driver files on your computer. Typically, they will be in a compressed format, such as a ZIP file. Extract the files using an extraction tool like WinRAR or built-in extraction software on your operating system.
- After extracting the files, navigate to the folder where the driver files are located. Look for an executable file with a filename that ends in “.exe” or a setup file with a similar name.
- Double-click on the executable file to start the driver installation process. Follow any on-screen prompts or instructions that appear during the installation. Review and accept any license agreements if prompted.
- The installation process may take a few minutes as the necessary files are copied and configured. Once the installation is complete, you may be prompted to restart your computer. It’s recommended to do so to ensure that the newly installed drivers take effect.
Repeat these steps for any additional drivers you need to install for other components of your motherboard, such as audio, chipset, or LAN drivers. It’s important to install all the necessary drivers to ensure proper functionality of your motherboard and connected devices.
Keep in mind that the specific installation process may differ slightly depending on the manufacturer and the driver you are installing. However, in most cases, the process outlined here should cover the basics.
With the drivers successfully installed, you’re ready to move on to the final step: restarting your computer to ensure that the changes take effect and your system is ready to utilize the updated drivers.
Step 6: Restart Your Computer
After downloading and installing the motherboard drivers, it’s essential to restart your computer to ensure that the changes take effect. Restarting your computer allows the operating system to recognize and properly configure the newly installed drivers.
Here’s how you can restart your computer:
- Save any unsaved work or close any running programs on your computer.
- Click on the “Start” menu in Windows, typically located in the bottom-left corner of the screen.
- From the Start menu, click on the “Power” button.
- In the power options menu, choose the “Restart” option. This will initiate the restart process.
- Wait for your computer to shut down and restart. The restart process may take a few moments.
Restarting your computer allows the new motherboard drivers to take effect and ensures that any changes made during the installation process are properly applied. It also refreshes various system resources and processes, improving stability and performance.
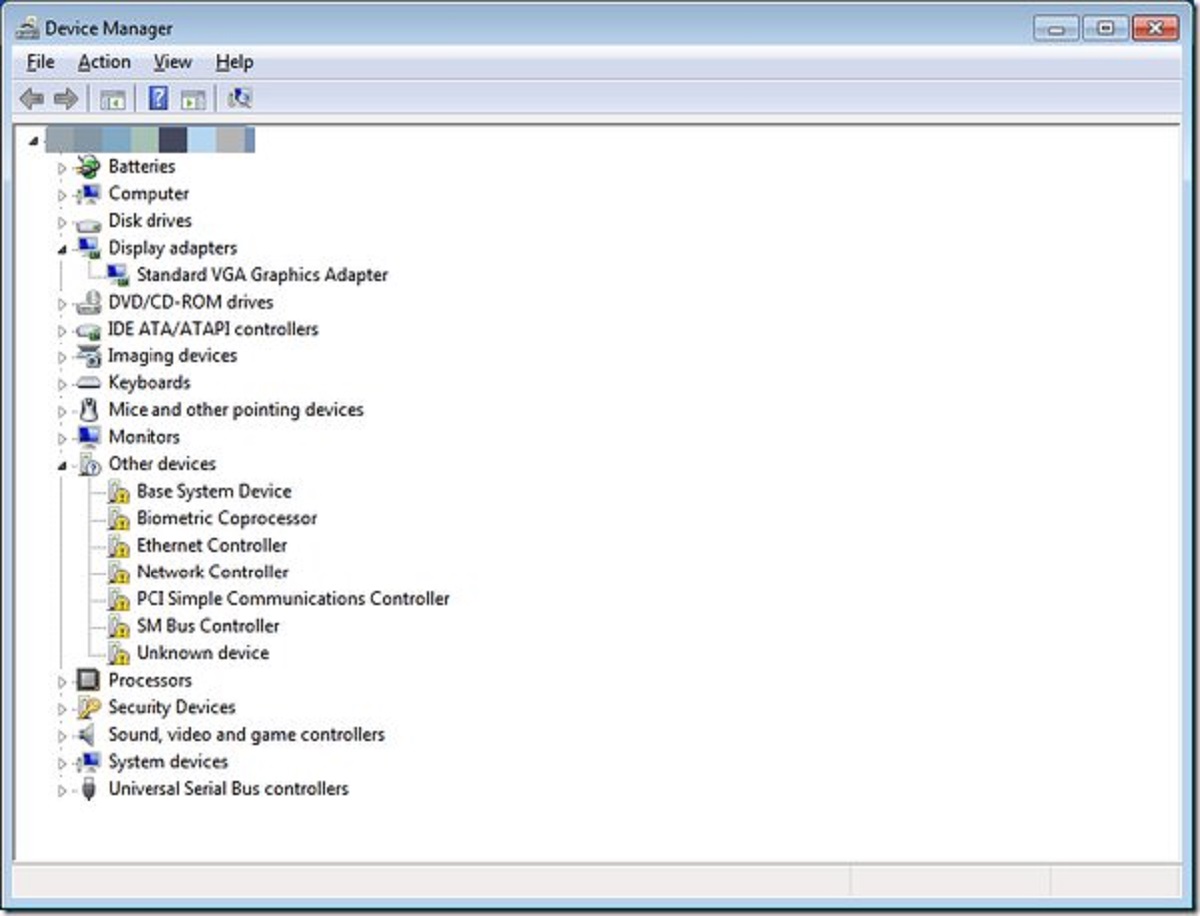
Once your computer has restarted, it’s a good idea to verify that the drivers have been successfully installed. You can do this by checking the device manager on your system.
To access the device manager on a Windows computer, right-click on the “Start” button, then select “Device Manager” from the context menu. In the device manager, expand the sections related to your motherboard components (such as audio, chipset, or network adapters) to ensure that the drivers are displayed without any errors or warnings.
If you notice any errors or warnings in the device manager, it may indicate that the drivers are not installed correctly or that there are compatibility issues. In such cases, you may need to repeat the driver installation process or seek further assistance from the motherboard manufacturer’s support resources.
With your computer successfully restarted and the drivers installed and recognized, you can now enjoy the benefits of having the latest motherboard drivers, including improved performance, stability, and compatibility with your hardware and operating system.
Conclusion
Downloading and installing the latest motherboard drivers is an important step in ensuring optimal performance and compatibility for your computer’s hardware components. Although the process may initially seem daunting, by following the steps outlined in this guide, you can easily download and install the necessary drivers.
Starting with identifying your motherboard model, you can then visit the manufacturer’s website to locate the driver downloads section. Selecting the appropriate operating system is crucial to ensure compatibility. After downloading the drivers, you can install them by executing the setup files and following the on-screen instructions. Finally, restarting your computer allows the changes to take effect and ensures that the newly installed drivers are properly recognized by the operating system.
Keep in mind that the specific steps and installation processes may vary slightly depending on the manufacturer and motherboard model. It’s important to refer to the manufacturer’s documentation and support resources for any specific instructions or troubleshooting guidance.
By keeping your motherboard drivers up to date, you can improve system stability, performance, and compatibility with the latest operating systems and applications. Regularly checking for driver updates and installing them when available is a good practice to ensure your computer runs smoothly and efficiently.
Now that you have the necessary knowledge and steps, you can confidently download and install motherboard drivers, maintaining your system’s performance and compatibility with ease.


